This project is part of the Gears Collection
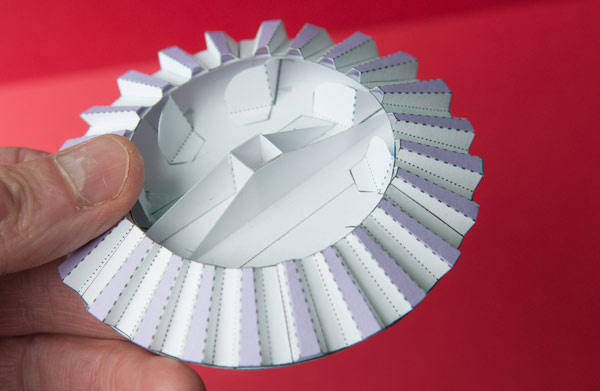
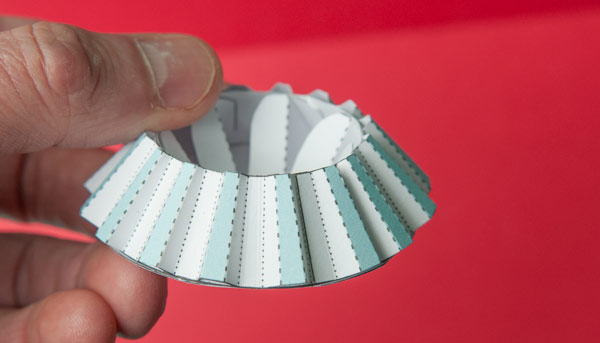
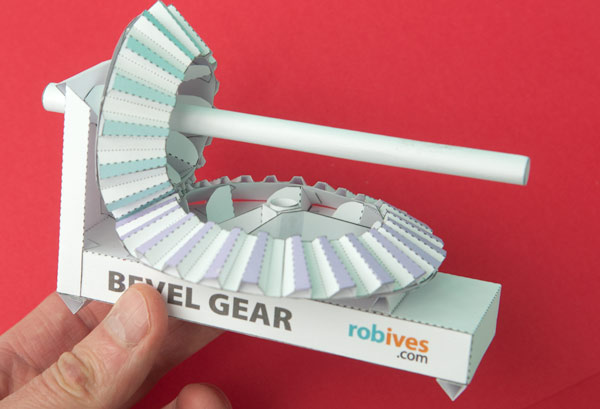
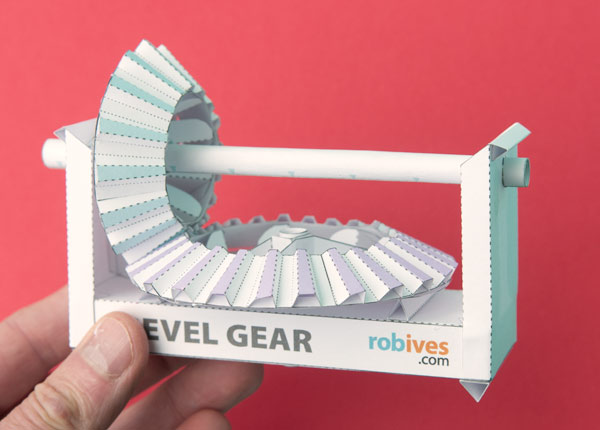
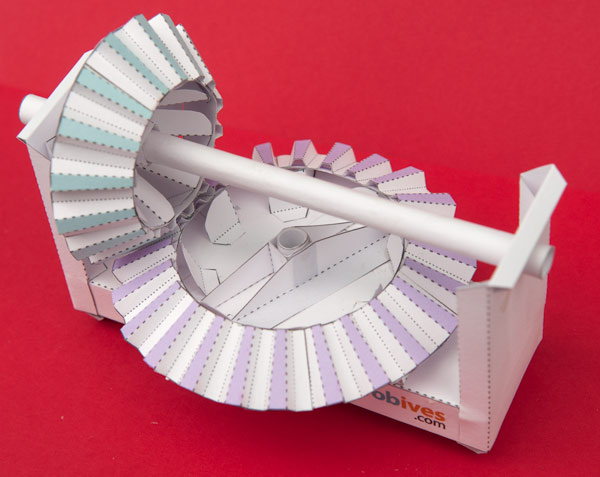
 This working bevel gear has been designed as part of my forthcoming Gear Zine. The larger gear wheel has twenty four teeth, the smaller one has sixteen teeth.
Members can download the parts for free from the link at the top of the page, non-members can download the parts for £2.50
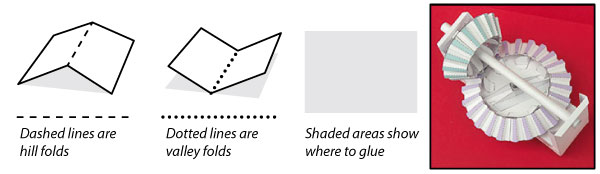
Print out the four sheets onto thin card (230 micron / 67lb) Score the dotted lines and cut out the holes before carefully cutting out the parts.
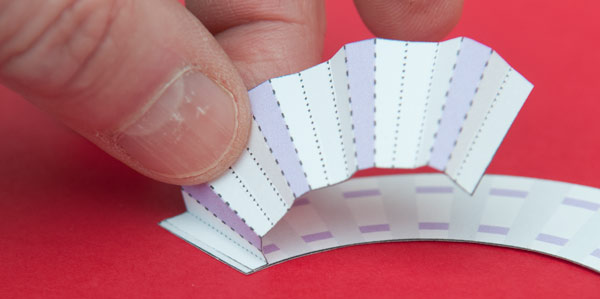
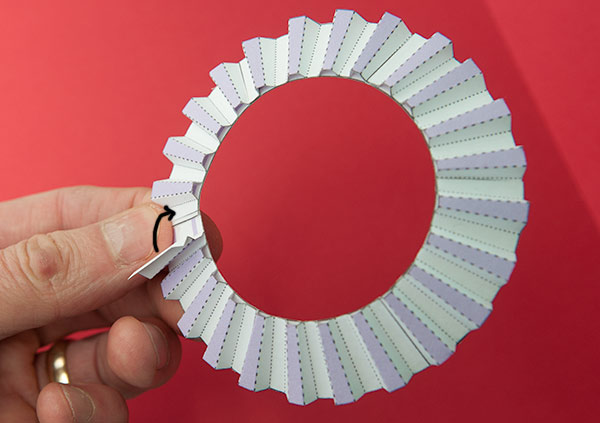
Starting from the end of the bevel ring without the tab, glue the first tab of a tooth piece with matching colour into place.
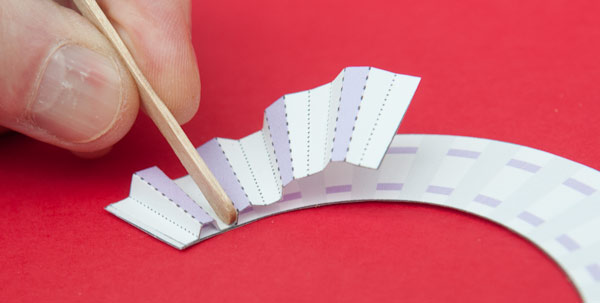
Work your way along gluing the flats to the grey areas as accurately as possible. A coffee stirring stick is handy for pressing the parts into place.
The first tooth section into place. The next tooth piece glues down overlapping the first.
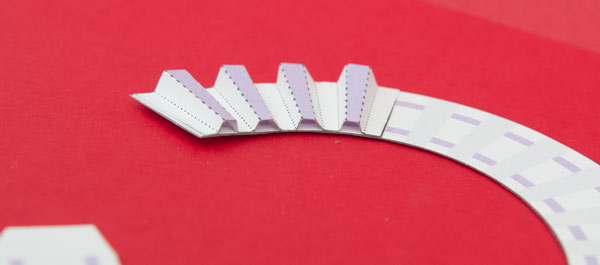
Work your way round gluing down the tooth sections. Leave the very last section open as shown.
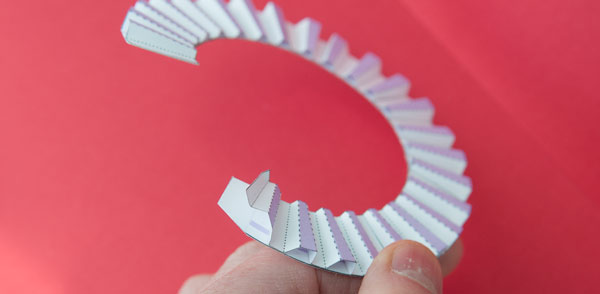
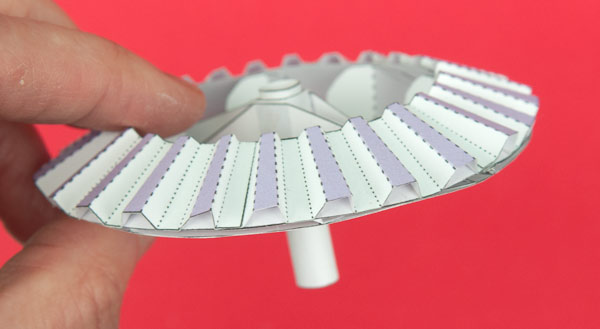
Curve round and glue down the ring then glue the last of the teeth pieces into place.
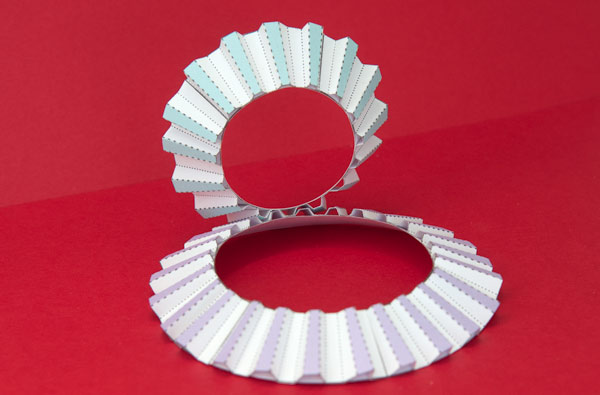
Repeat this process with the other gear ring.
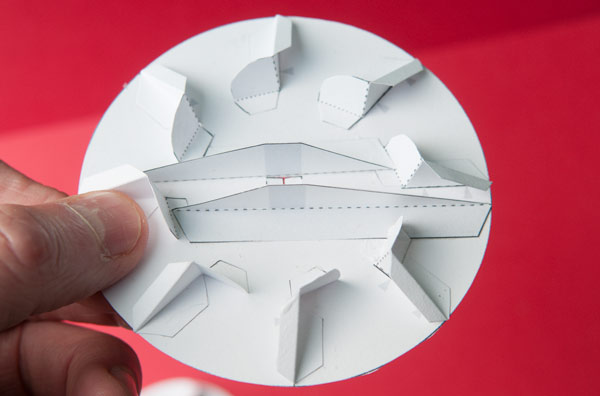
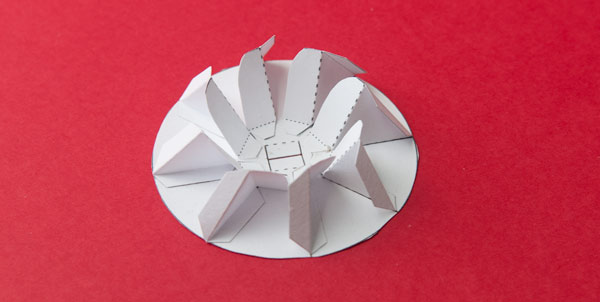
Assemble the large base plate as shown being sure to note the hill and valley folds.
Glue the axle tube into place so that it is aligned with the top of the centre support pieces.
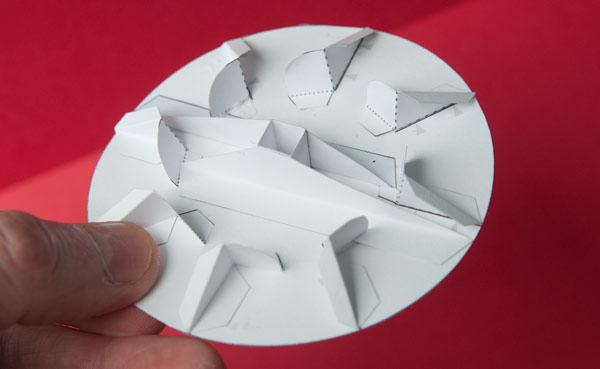
Fit the gear ring into place gluing it to the eight tabs as accurately as possible. Tweezers are useful for nipping the tabs down.
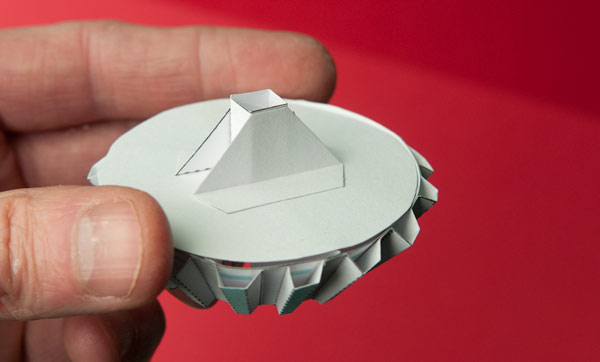
Assemble the smaller base as shown.
Glue the gear into place on the gear base as shown.
Glue the two axle supports into place then glue the axle tube into the hole.
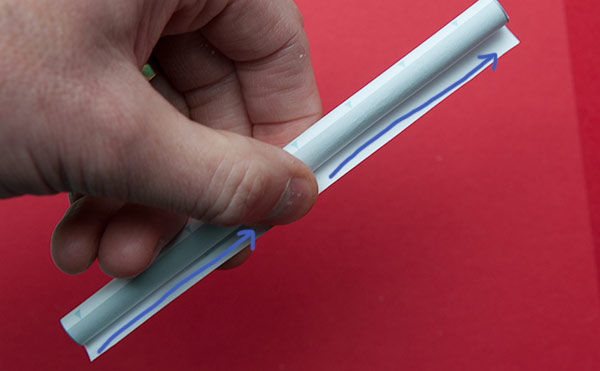
Roll round the long axle tube so that the edge lines up with the edge of the grey area. Apply glue along the entire length of the flap…
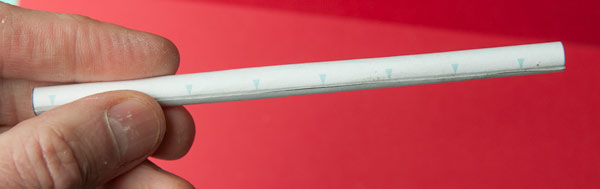
…then roll it round and glue it down. The shorter axle is made in the same way.
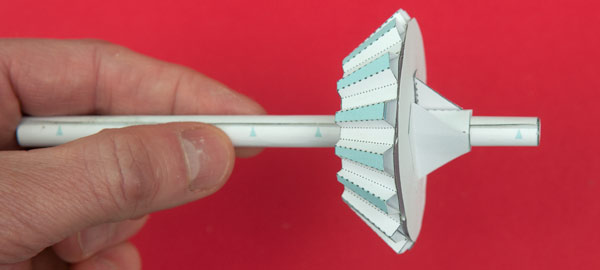
Slide the smaller bevel onto the long tube, don’t glue it down.
Push the smaller axle into place. Again, there is no need to glue it down.
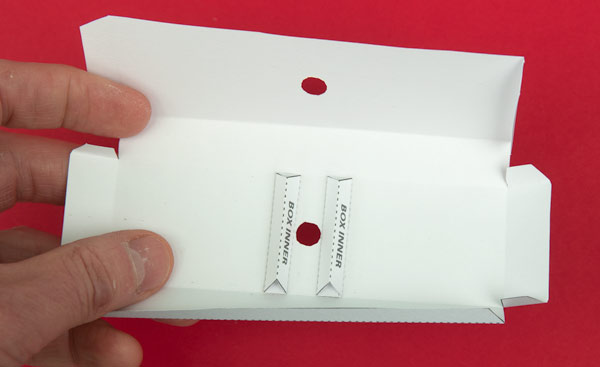
Glue the two box stiffeners into place on the inside top of the base so that they just touch the hole.
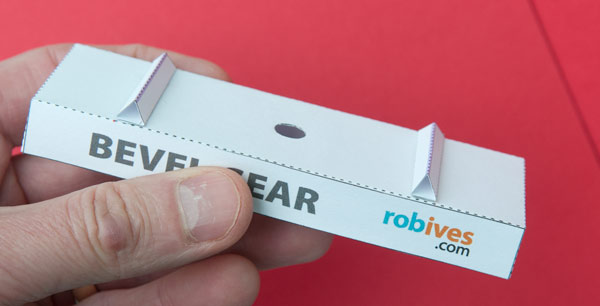
Assemble the base box and glue on the two triangular stops.
Glue on the feet then fit the large gear into the base.
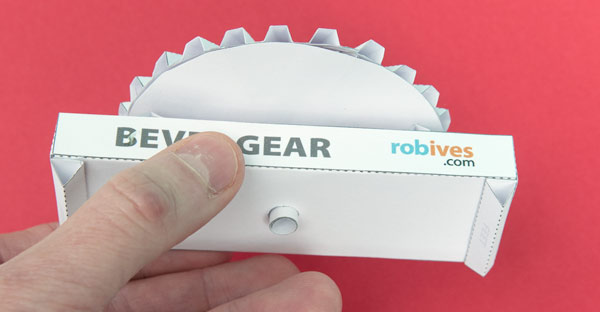
Glue the end piece onto the base making sure that it is exactly at right angles with the base. Fit the second gear into place.
Complete the project by adding the second box end.
That’s it! The project is aesthetically quite attractive in its own right but could also be used as the internal drive mechanism for your own project. Have fun!