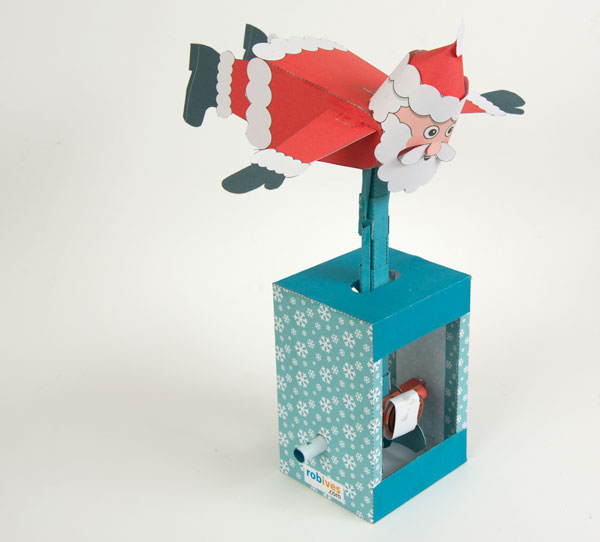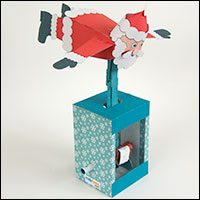
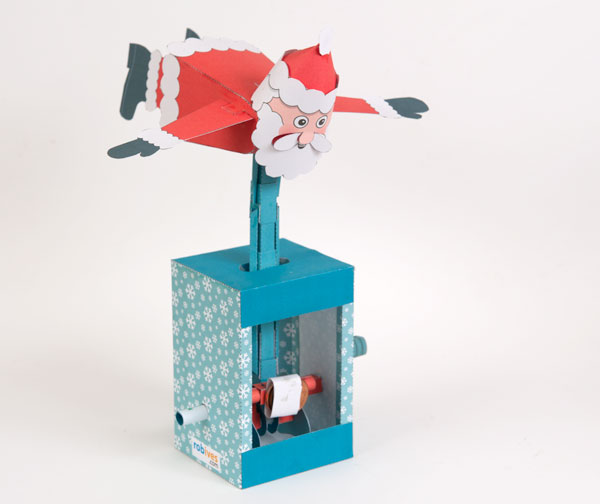
Just in time for Christmas! Turn the handle on the Flying Santa and his arms flap as he bobs and swoops through the frosty winter air. Three flaps for each bob. Ho ho ho!
Members can download the parts for this model for free at the link. Thanks for signing up! Non-members can join in the fun for £2.50.
Print the parts out onto thin card. 230 gsm / 67lb. The coloured version of the kit is printed on both sides of the sheet. Print one side, flip the card over then print the other side on the back.
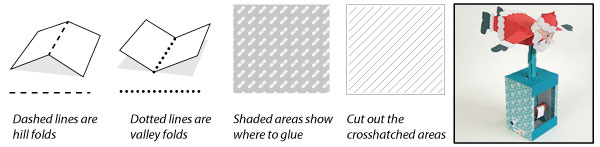
Once the ink is completely dry, score along all the dotted and dashed lines and cut out the holes before carefully cutting out the pieces.
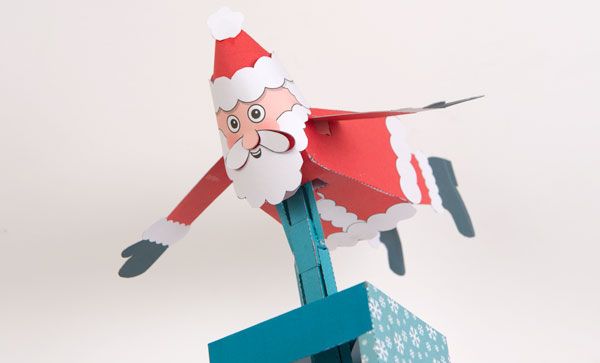
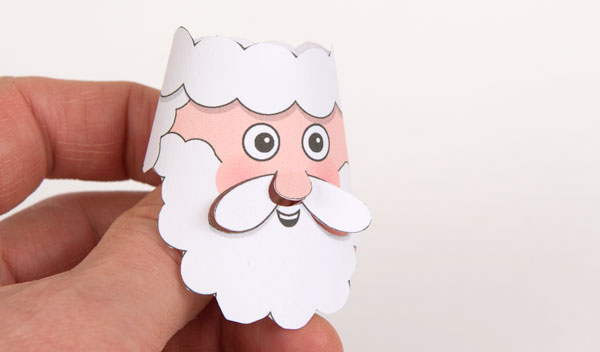
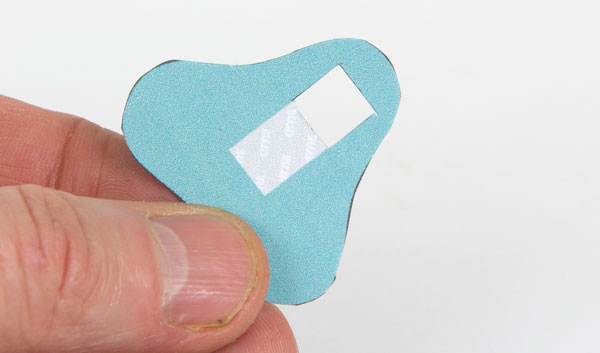
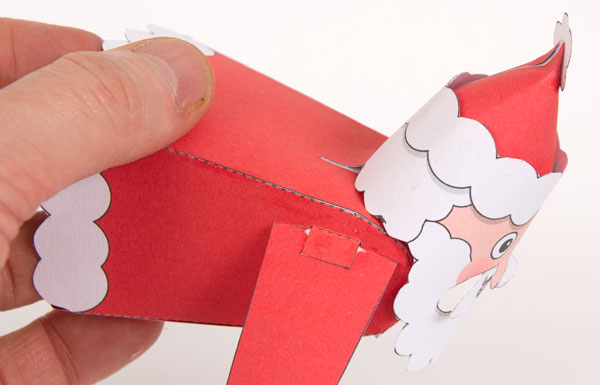
Notice that the nose and moustache are cut round the edges and lifted out a little to give a 3D effect.
Roll the head round and glue it down.
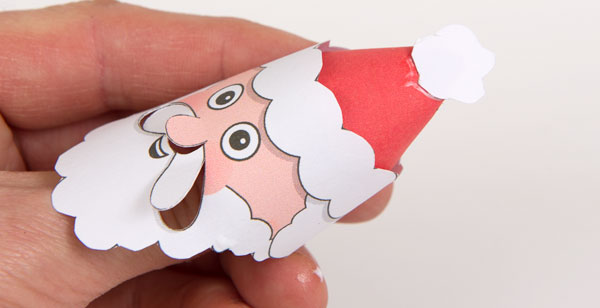
Curve the hat into a cone and thread it up through the head. Glue the bobble into place.
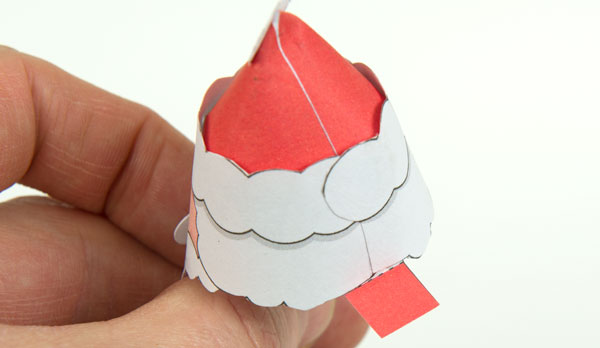
Glue the small tab to the back of the head.
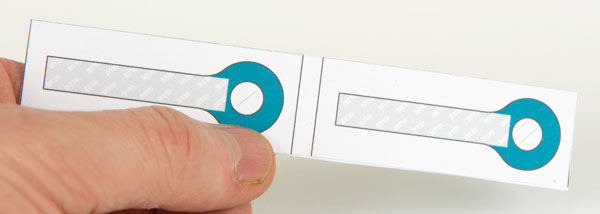
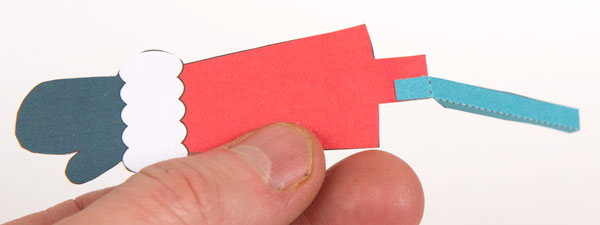
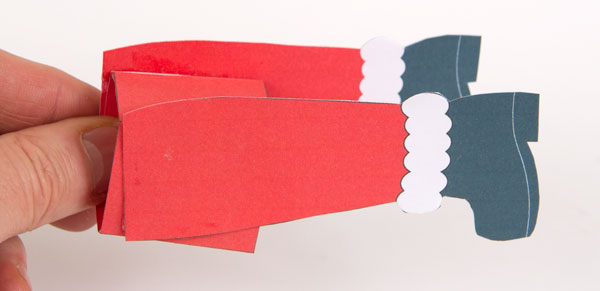
Fold over and glue down the arms and legs to make double thickness card.

Fold over and glue together the push rod ends and cams to make double thickness card.
Cut them out once the glue is dry
Glue the arm push rod to the arm as shown.
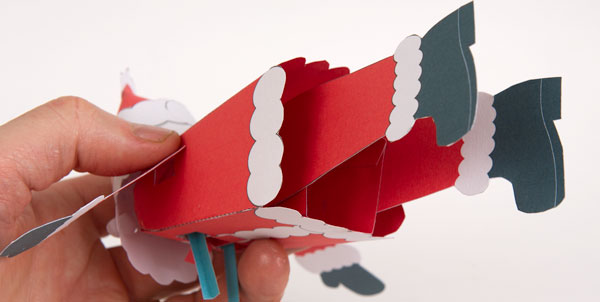
Fold up the body inner.
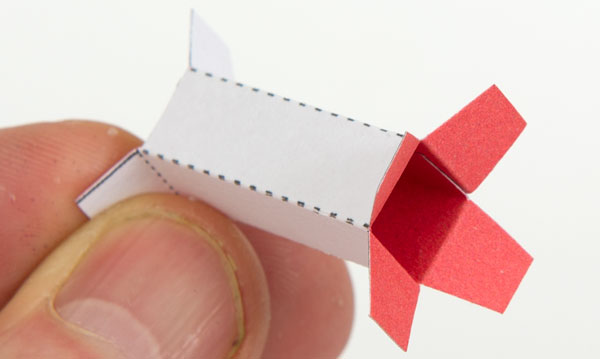
Glue together the three parts of the body.
Fit the body inner into the body.
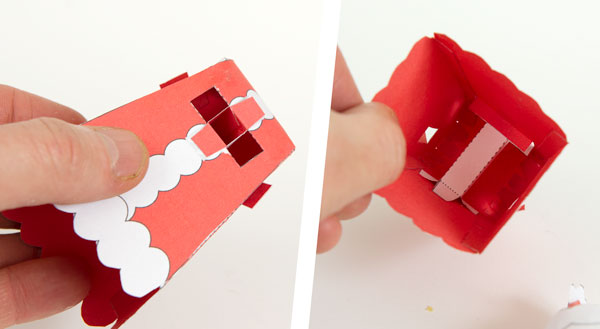
Thread the arm push rods and arms through the holes in the side of the body and glue them to the tab. Make sure that the arms are free to flap up and down.

Glue the tab on the back of the head to the grey area on the back of the body.
Assemble the leg support parts and glue the legs into position.
Glue the legs into the body.
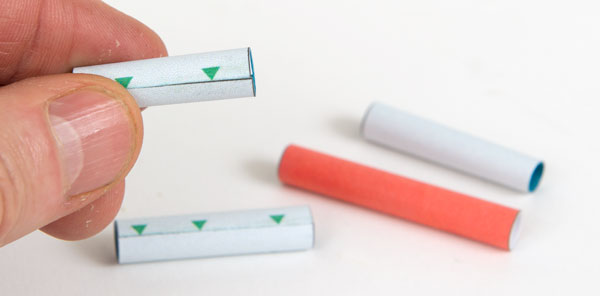
Roll up and make the various tubes lining up their edges with the arrow points.
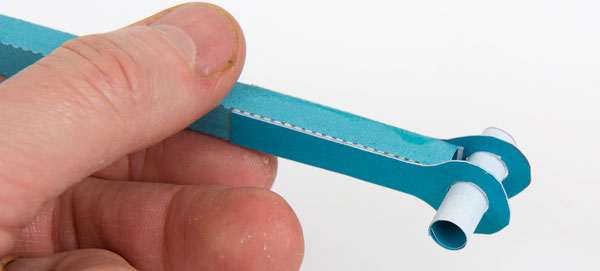
Assemble the push rod. Glue the push rod end into place with the shortest tube threaded into position.
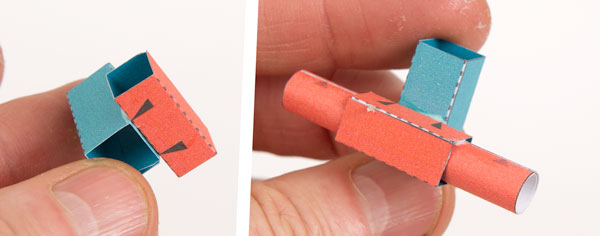
Assemble the two crank pieces.
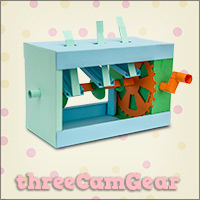
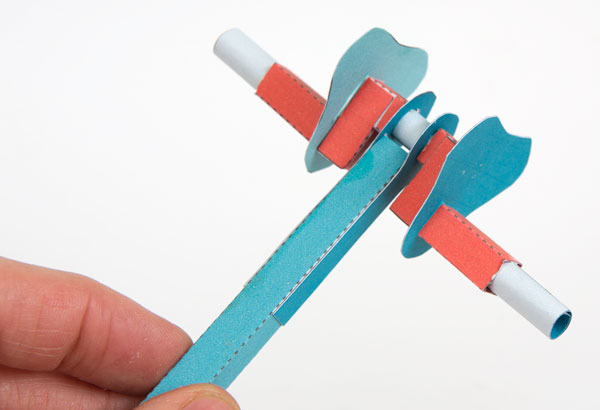
Thread the two cams onto the crank pieces and glue them down.
Glue the crank pieces to the centre axle. Make sure that they are lined up.
Fit the two axle tubes into place.
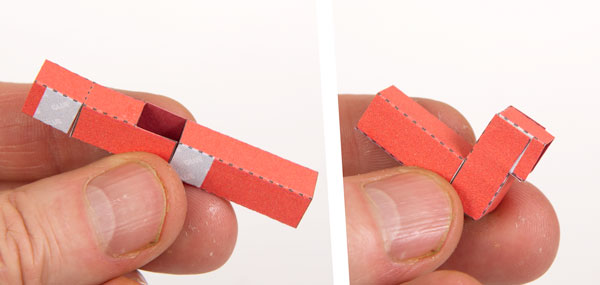
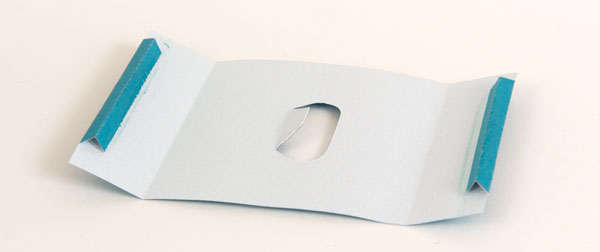
Glue together the two parts of the cam follower. Thread the cam follower tube into place and glue it down.
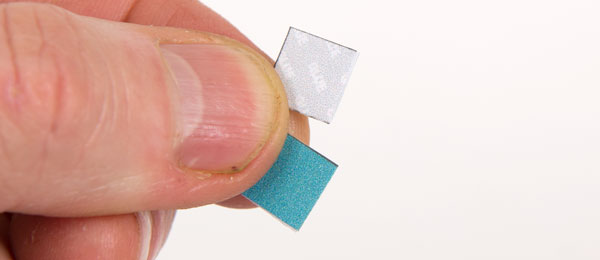
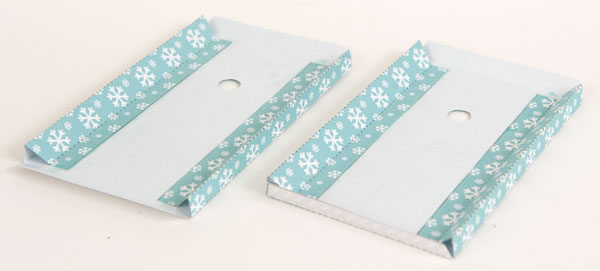
Make up the four spaces by folding in half and gluing down the small rectangles making four double thickness squares.
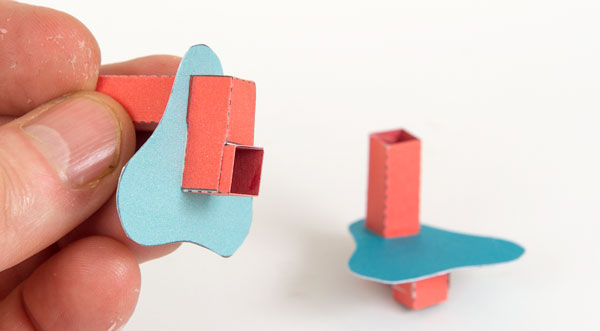
Thread the cam follower down onto the push rod. Don’t glue it! It must be free to move up and down. Glue two spacers into place on the end of the slider tube as shown.
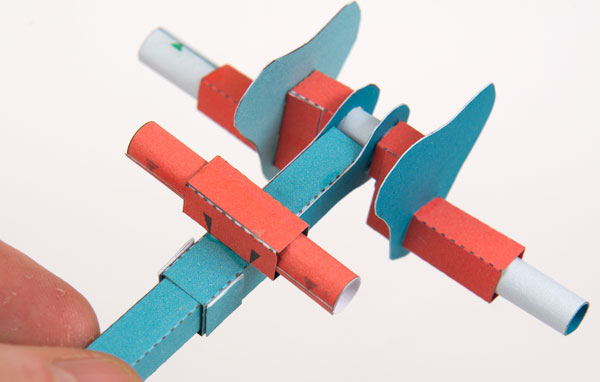
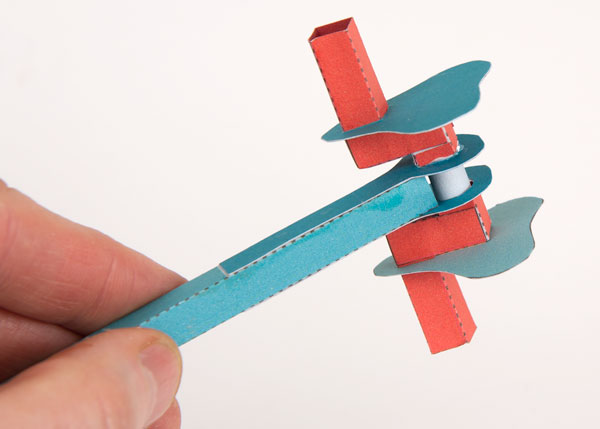
Slide the other two slider tubes into place. Glue the two remaining spacer pieces onto the second slider tube as shown.
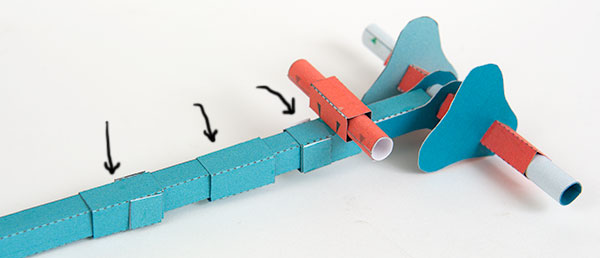
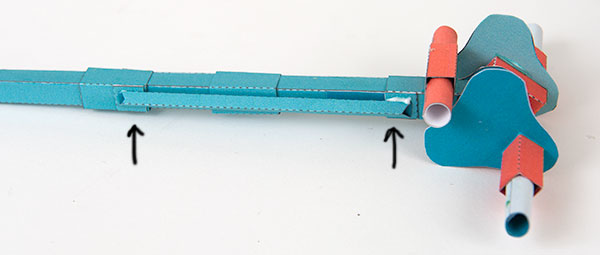
Assemble the link pieces and use them to join together the two spacer pieces on each side. Make sure no glue gets onto the centre slider tube.
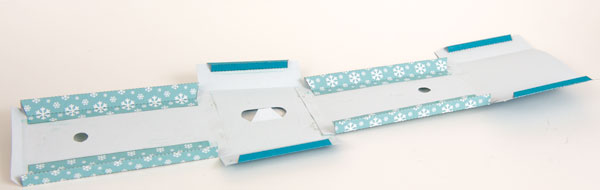
Assemble the box top and box base by make triangle section tubes.
Assemble the two box sides by making right angle triangle tubes.
Join the four box pieces together. Use the picture to ensure they are in the correct order.
Thread the push rod assembly up through the box top and glue the centre slider tube to the box top tab.
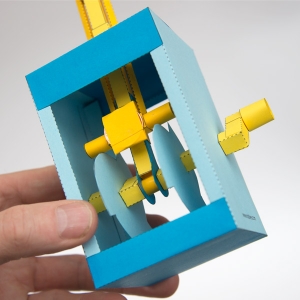
Fit the axles through the holes in the box sides.
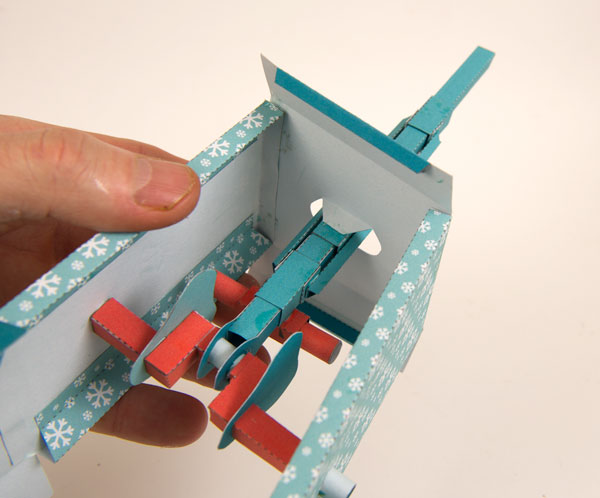
Fold up and complete the box keeping everything as square as possible.
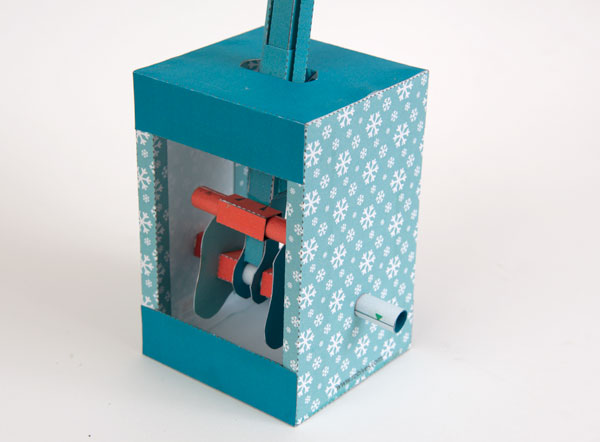
Assemble the handle in three steps as shown.

Glue the handle into place. Notice that the cam follower assembly is at the front and the handle is on the right.
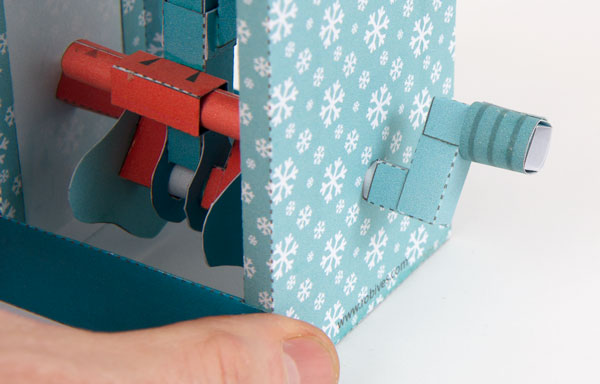
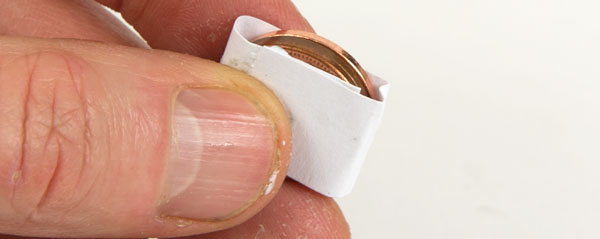
Tightly fold up a couple pennies (4 grams each 20mm diameter) into an off-cut of card.
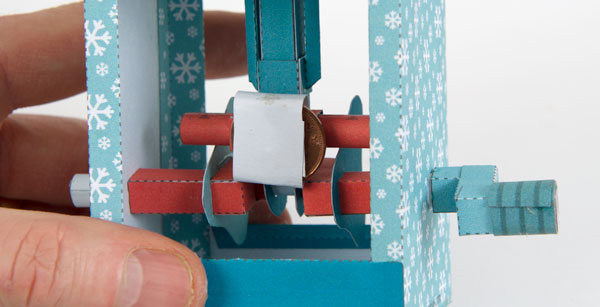
Glue the coin bundle to the front of the cam follower.
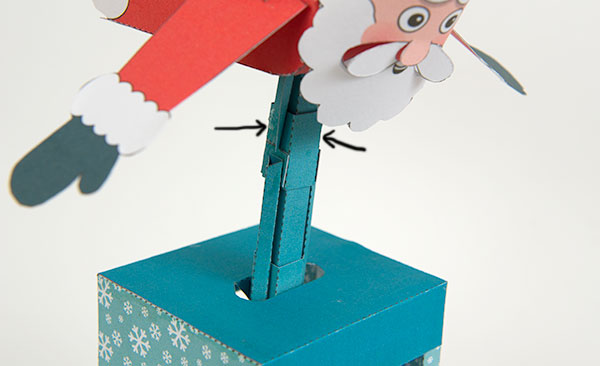
Thread Santa down onto the top of the push rod. He should be facing towards the front where the cam follower and coins are.
Glue the ends of the arm push rods to the top slider tube.
That should do it! Turn the handle and Santa will flap his arms three times for each time he swoops. Ho ho ho!