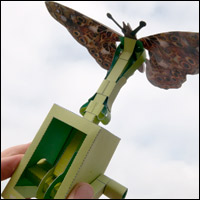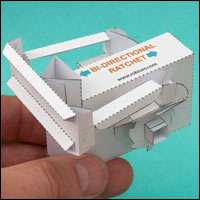
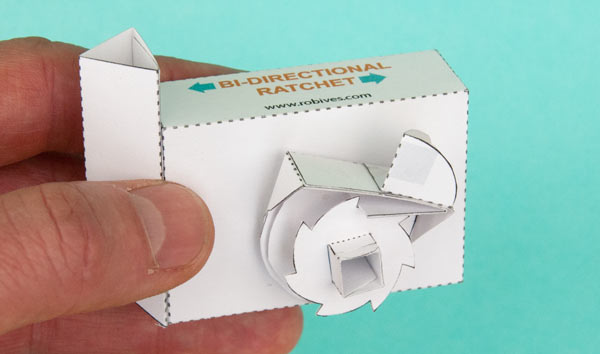
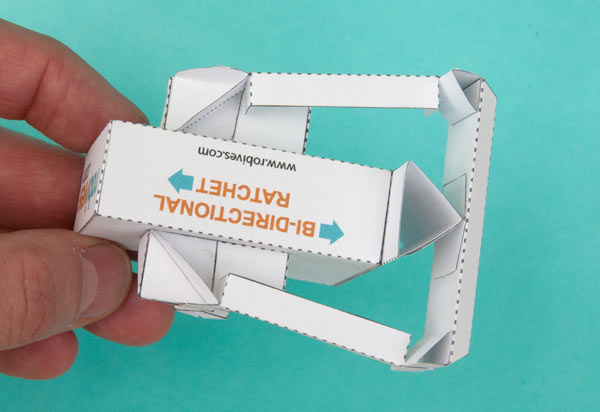
A bi-directional ratchet to download, print out and make. As the rocker is rocked back and forth the two ratchets drive the wheel continuously in a single direction. Members can download the parts sheets for free, non-members can download the parts for a small fee.
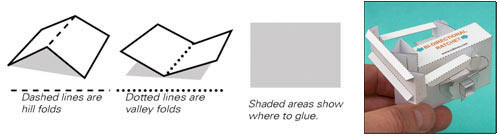
Print out the two parts sheets onto thin card. (230 micron, 230 gsm) Dotted and dashed lines show where to score, solid black lines are cut lines and the grey areas show where to glue. Carefully score and cut out the holes in the parts before cutting out the pieces.
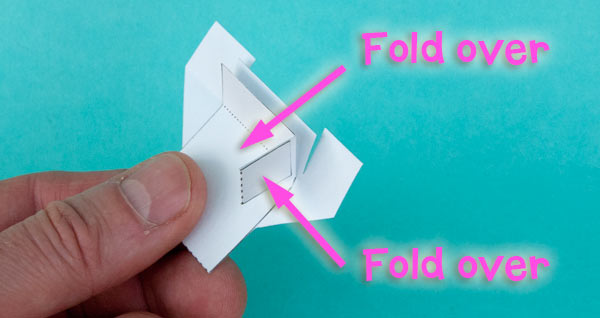
Assemble the two ratchet housings in the same way as each other. Note that they are mirror images of each other. Fold the main body of the piece in half and glue it together to make it double thickness. Fold the end of the long tab over and glue it together to make a double thickness ratchet pawl.
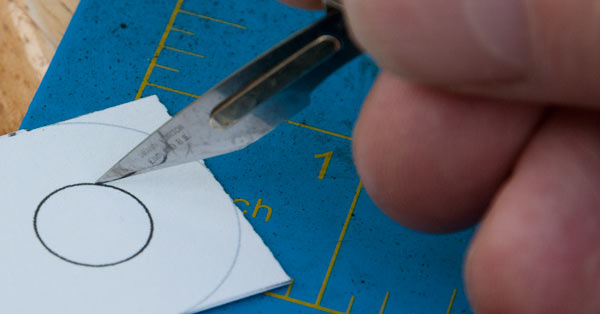
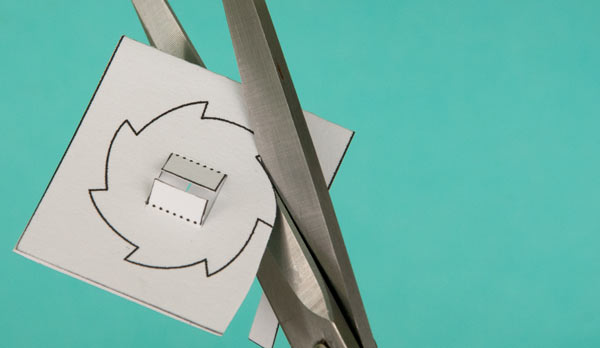
Carefully cut out the circle on the main piece with a sharp knife.
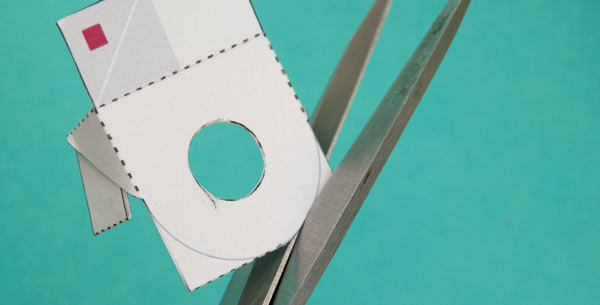
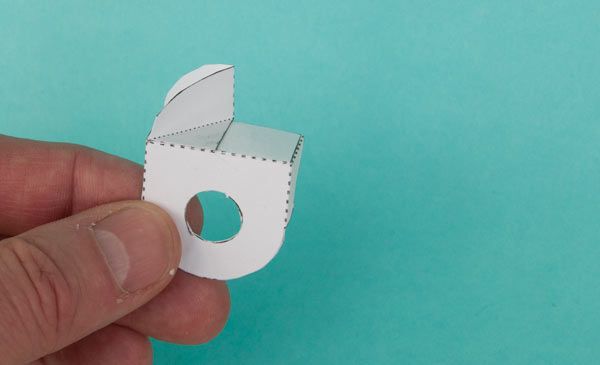
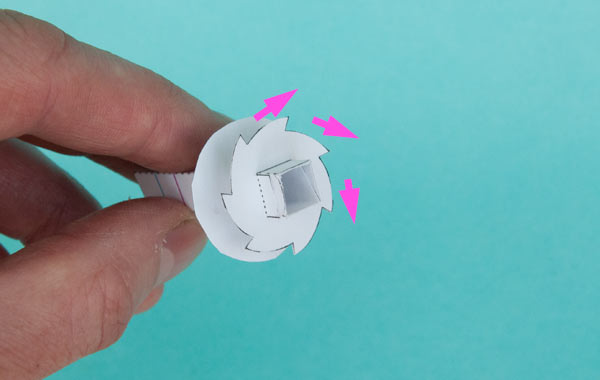
Cut along the two grey curves to make a semi-circular end to the ratchet housing.
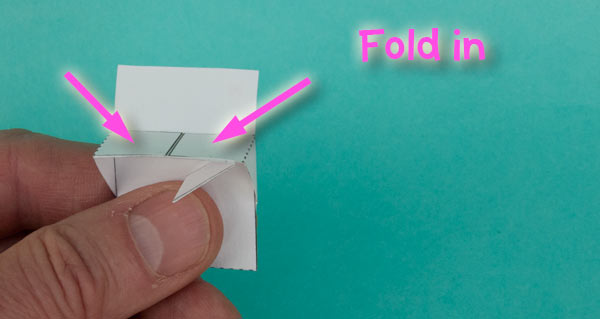
Fold the two tabs at the top over and glue them down.
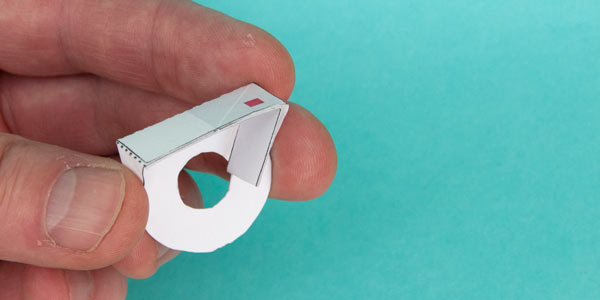
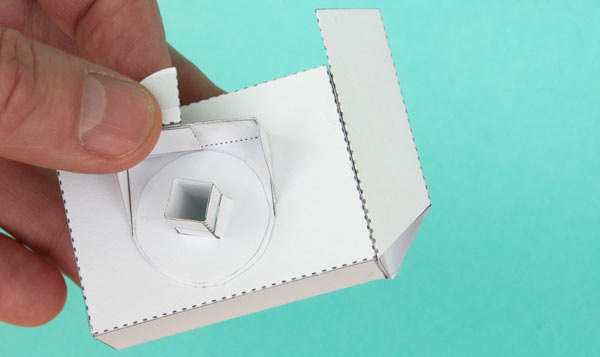
Fold the remaining tab over and glue it down. The ratchet pawl piece should be free to move up and down. Notice the colour of the square on the top of the housing, in this case, red.
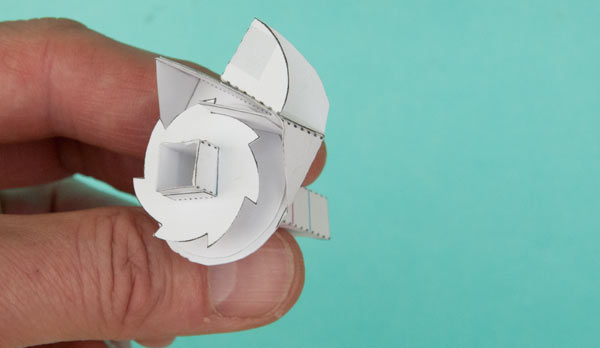
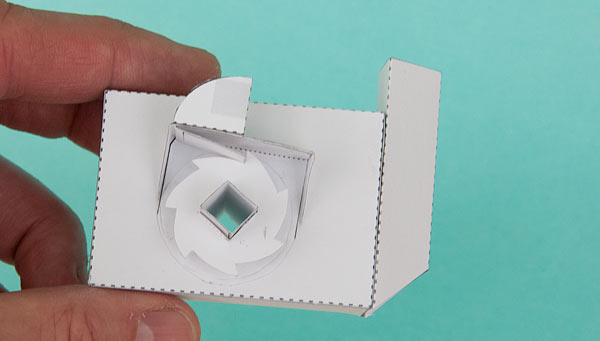
Find the link point with the same colour square and glue it to the top of the housing using the two triangular grey areas for alignment. Notice that the dotted line on the link point is a valley fold.
Fold the gear in half and glue it down to make double thickness pieces. Notice that the four centre tabs are not glued down. When the glue is completely dry, carefully cut it out. Repeat this process with the other gear.
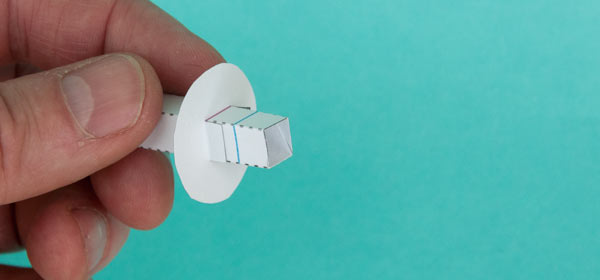
Fold round and glue together the square sectioned drive shaft. Glue one of the washers into place lining it up with the red line.
Thread a gear onto the drive shaft as shown. Make sure that the teeth are pointing in the same direction as the picture.
Find the same housing as the one in the picture. (remember that they are mirror images of each other) Thread the gear into place in the housing as shown above.
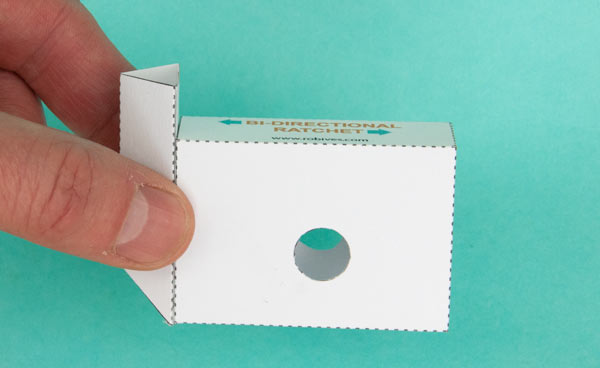
Make up the box and rocker stand as shown.
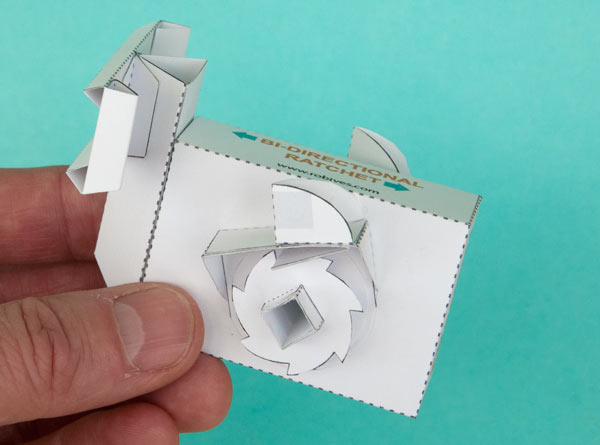
With the rocker stand to the left, thread the ratchet assemble through the hole on the box so that the housing is flush with the box.
Flip the box over. Thread the remaining housing onto the drive shaft. Thread the washer into place and glue it to the shaft lined up with the red line.
Fit the second gear lining it up with the blue line and making sure that the teeth are again pointing the right way.
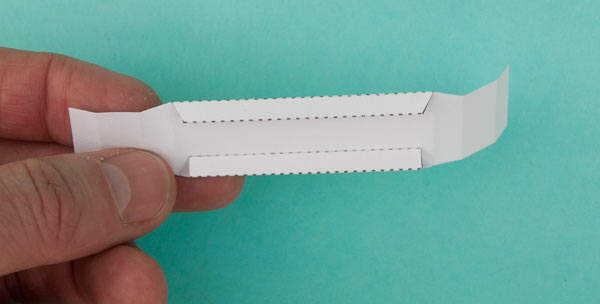
Fold round and glue down the two long tabs on the rocker to make triangular sections as shown.
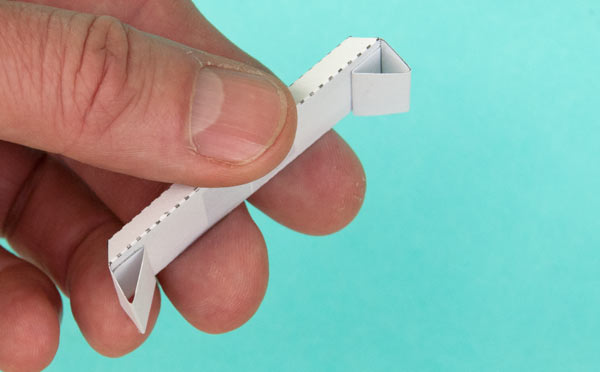
Fold round the end tabs and glue them down. Notice that they are valley folds.
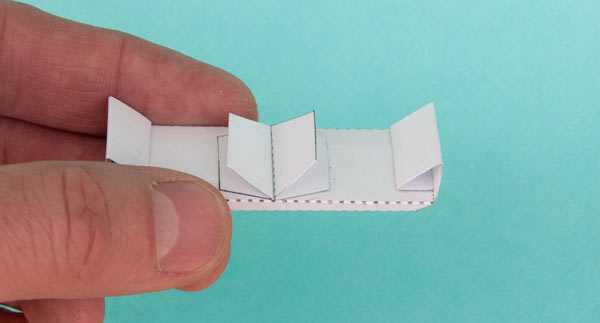
Glue the two hinges onto the two grey areas.
Glue the hinges to the top of the rocker shaft.
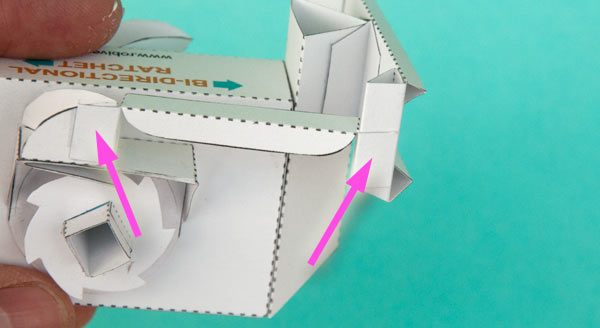
Glue the linkage to join the ratchet housing to the rocker as shown above.
Repeat the process with the other linkage.
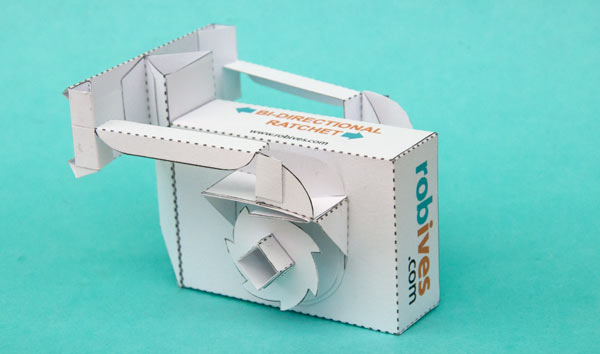
That’s it. Once the glue is dry, rock the rocker back and forth and the wheel will turn. Use the Bi-Di-Rat as an interesting mechanism in its own right or as the starting point for your own design.
Have fun!