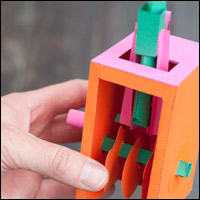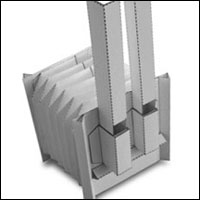
Essential Mechanisms ™
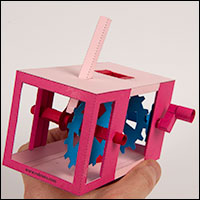
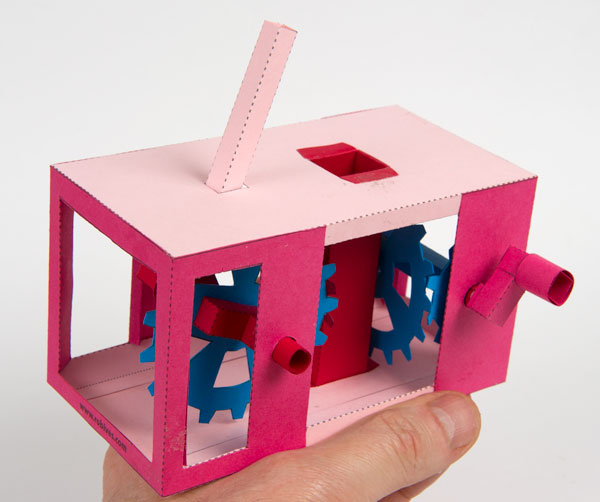
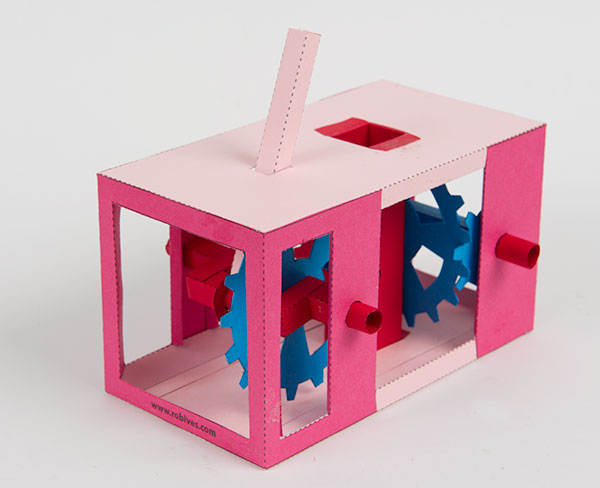
A two stage gear with crank output. Turn the handle on the side of the box and the crank turns slowly. The gear box works in two stages at each stage a nine tooth gear drives a seventeen tooth gear. The output stage is driven at 1/3.57th the speed of the drive handle.
Members can download the parts for free at the link. Thanks for signing up!
Print out the parts onto four sheets of thin card. (230 gsm / 67lb) I’ve used pre-coloured card to make a colourful model.
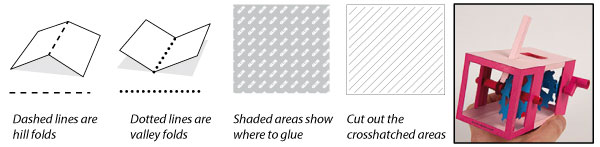
Score along all the dotted and dashed lines and cut out the holes before carefully cutting out the parts.
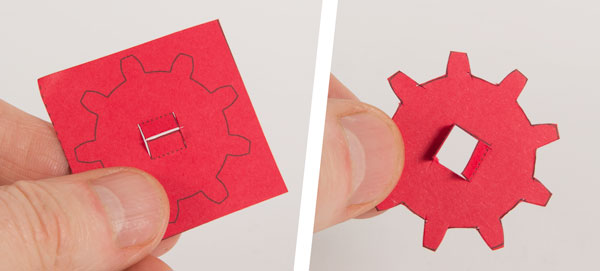
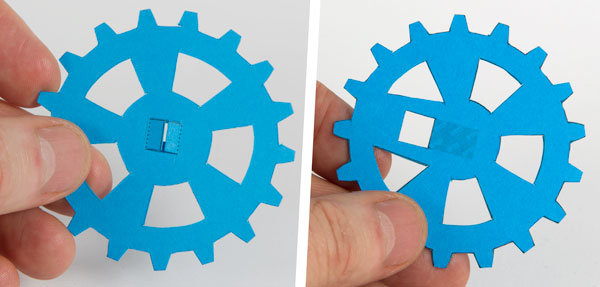
The gears are all made from double thickness card. Fold them in half and glue them down. Once the glue is dry carefully cut them out.
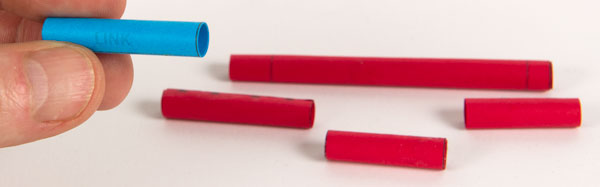
Roll up and glue down the five tube sections. Line up the end of the tube with point of the arrow heads on the tube sides.
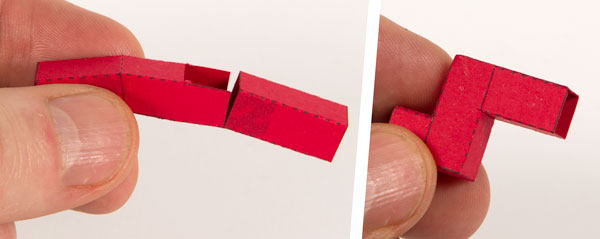
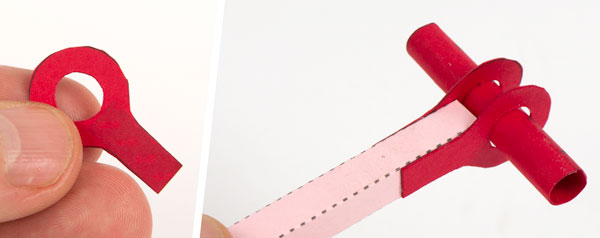
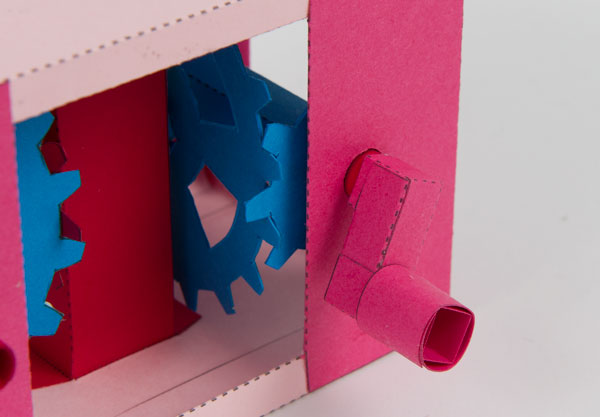
Assemble the two crank pieces as shown.
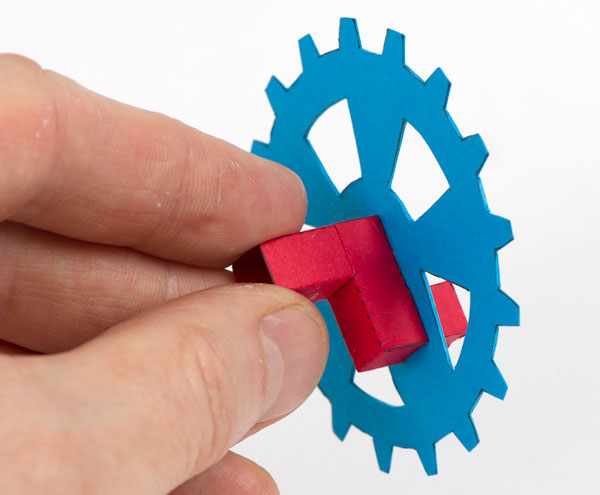
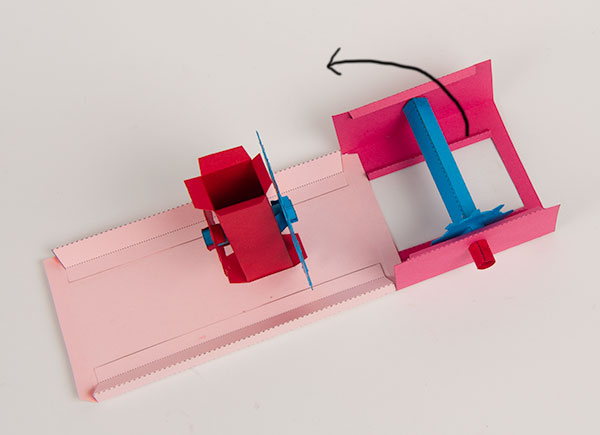
Find the large gear with the offset square hole. Fit the crank piece into place gluing it to the grey area. The short end of the crank goes through the hole.
Make up the two push rod ends from double thickness card. Once the glue is dry carefully them out.
Thread the longer of the three crank tubes through the push rod ends. Assemble the push rod tube then glue the push ends into place on the grey areas.
Fit the crank pieces to the push rod tube then glue the other two axle tubes into the open ends of the crank pieces as shwon in the picture.
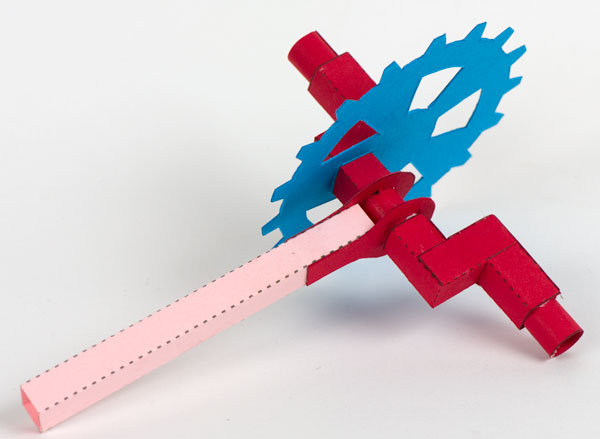
Assemble the three parts of the drive gear as shown.
Glue together the box base and box top – the edges are right-angle triangles.
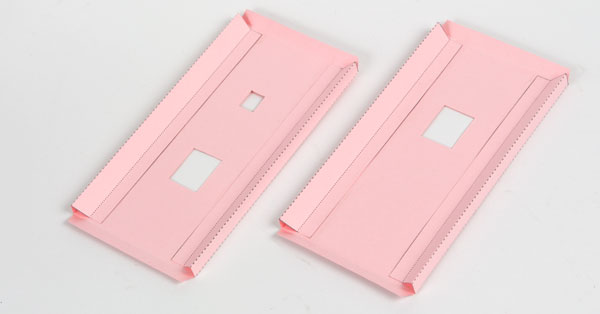
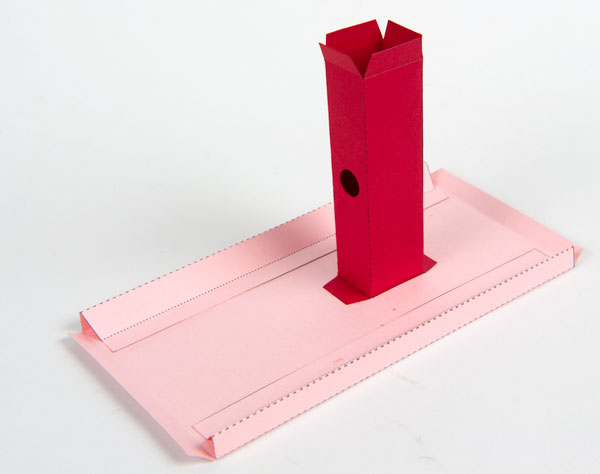
Glue the centre piece into place in the box base. (The one with only one hole)
Glue two tabs onto one side of the base and the other two onto the other side.
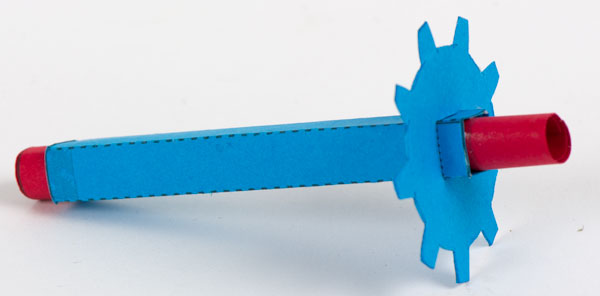
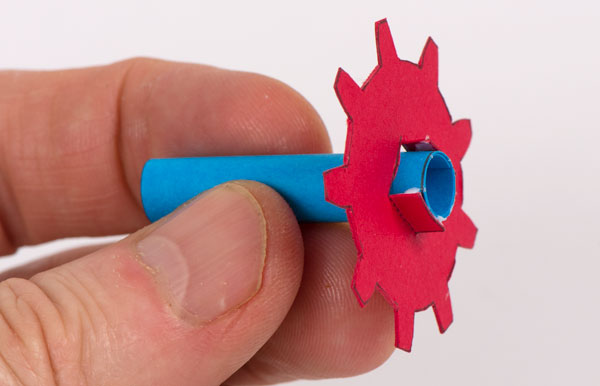
Fit the second small gear to the link tube as shown lining up the edge of the tab with the end of the tube.
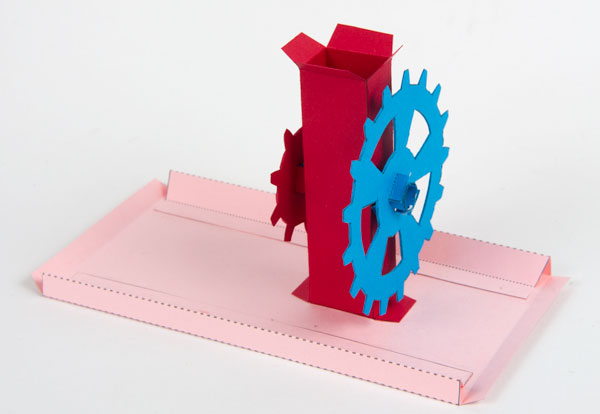
Thread the link tube through the hole in the centre piece with the small gear closest to the centre of the box base. Glue the second large gear to the link tube. Make sure that the gears are free to turn.
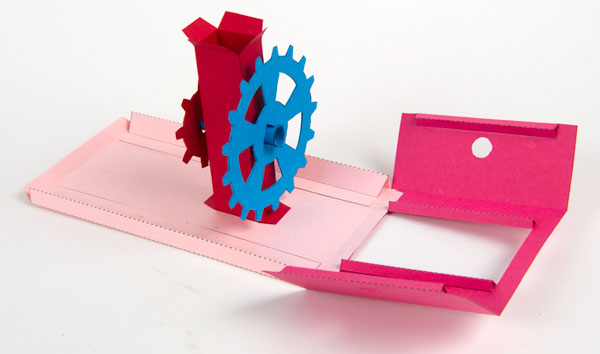
Fold in the various tabs on both of the box-end pieces to make triangular tubes.
Glue the box end without the side cut-outs to the tab on the base nearest the large gear.
Thread the drive gear into place in the box-end then fold up the box end and glue it to the base.
Repeat the same process with the other box-end, don’t glue the sides down yet.
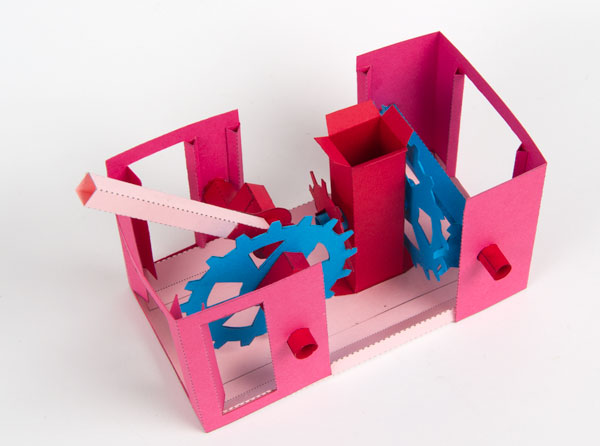
Fit the box top into place. Make sure the centre piece is glued into place in the hole in the box top.
Glue the ends to the top then glue the sides into place to complete the box.
Assemble the handle in three stages as shown.
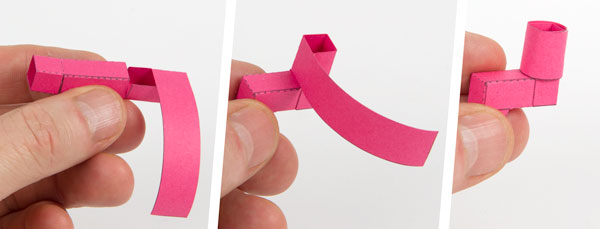
Complete the model by gluing the handle to the drive shaft.
Once the glue is dry, turn the handle and marvel as the gears mesh together driving the crank!
Use this model as an exercise in pure mechanism or as the starting point for your own character based models