
“Paper Animals in Action” Giveaway!
I’ve taken delivery of some “Paper Animals in Action” books

I’ve taken delivery of some “Paper Animals in Action” books

Just arrived from Dover Publications, my new book, Paper Animals
I’ve been working on poseable dinosaurs and poseable maquettes recently.
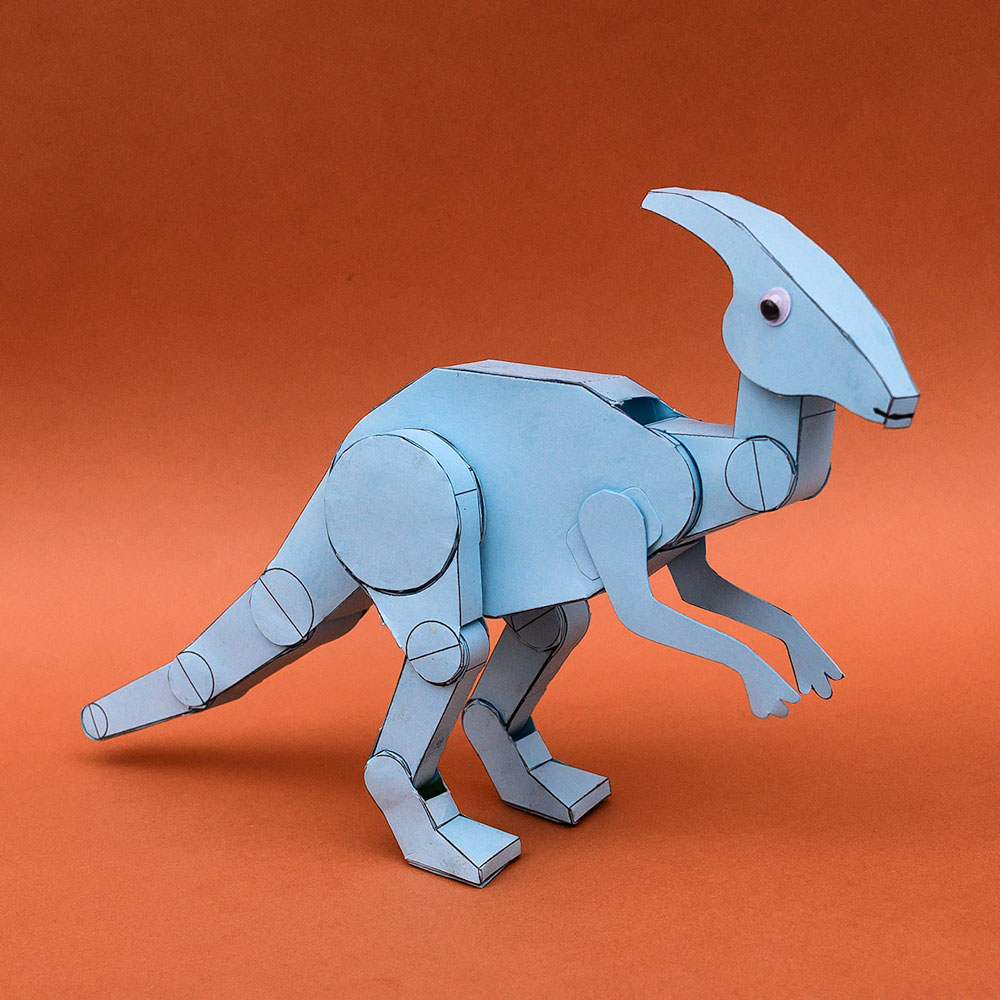
I’ve nearly finished the parts design for this poseable paper
Over the years I’ve developed new ways of tacking different

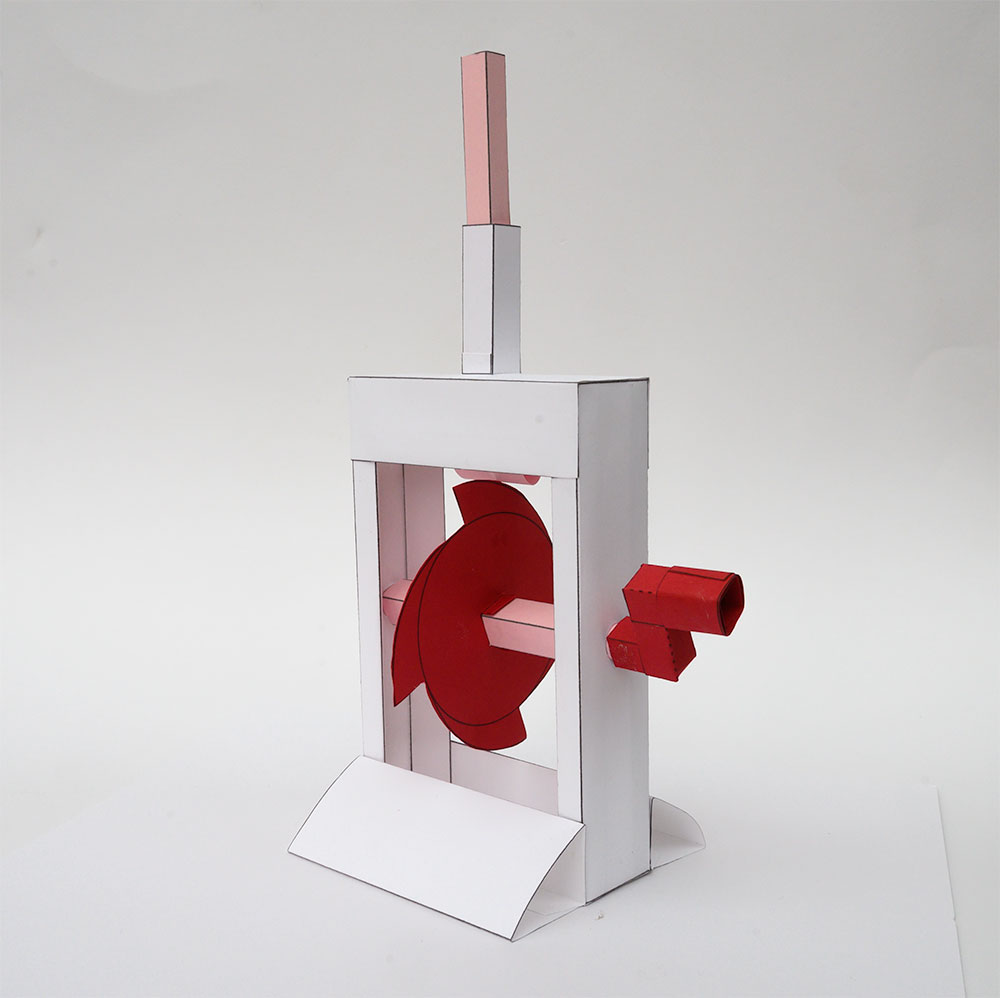
This paper worm-gear is available to download and make from
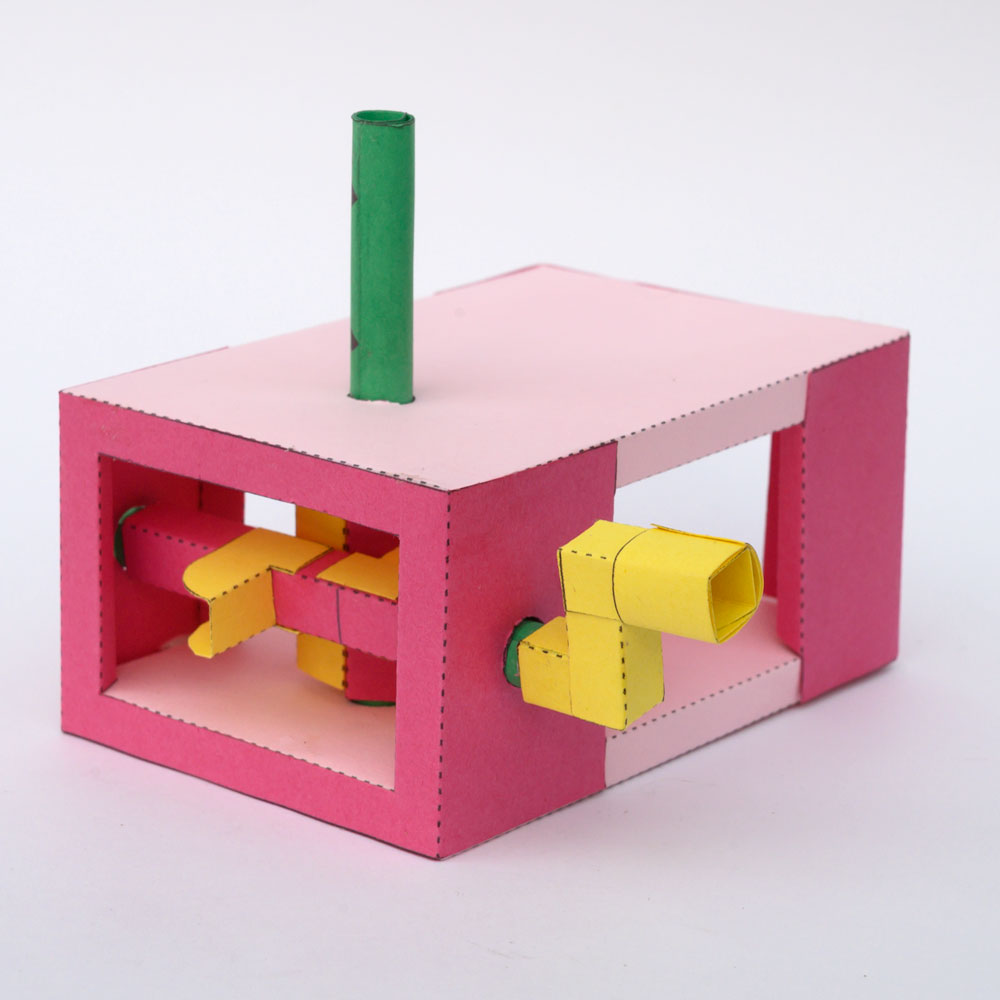
Shark Attack! Turn the handle and the sharks circle menacing
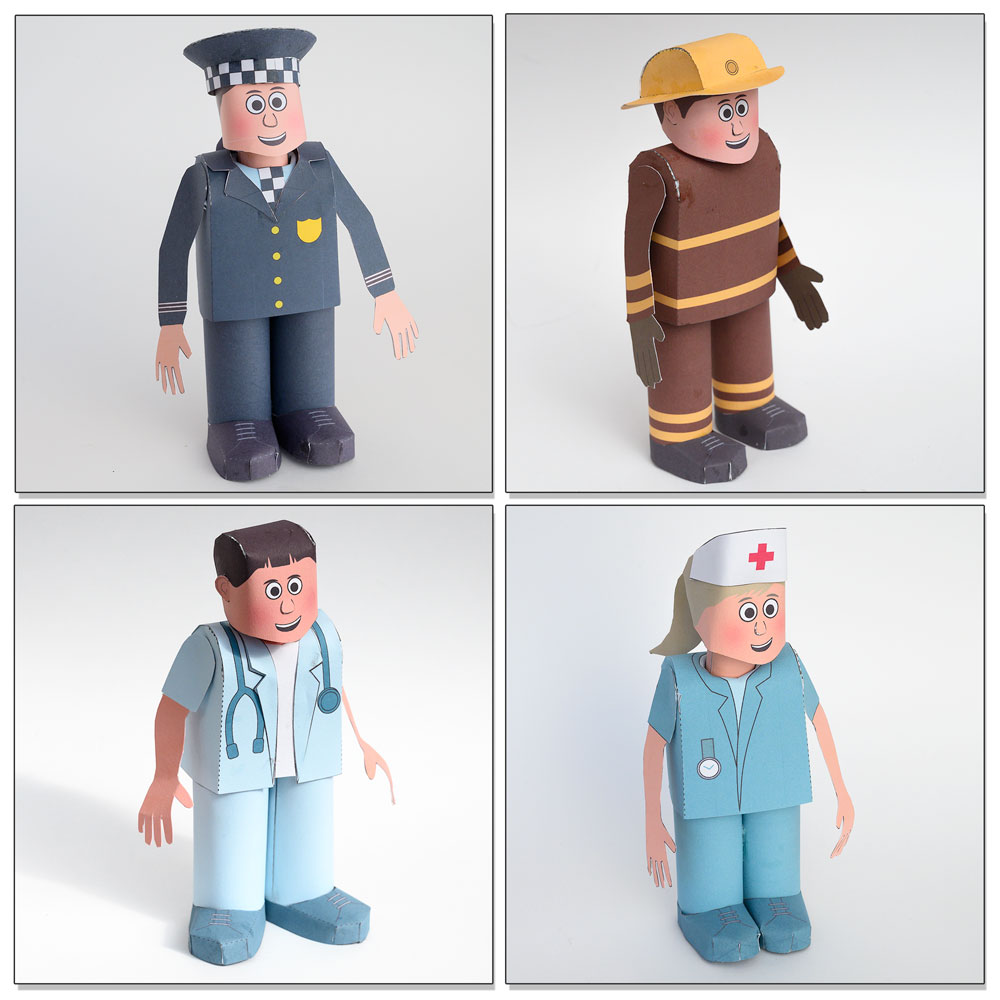
Paper People who help you. I designed this set of
