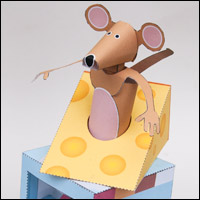
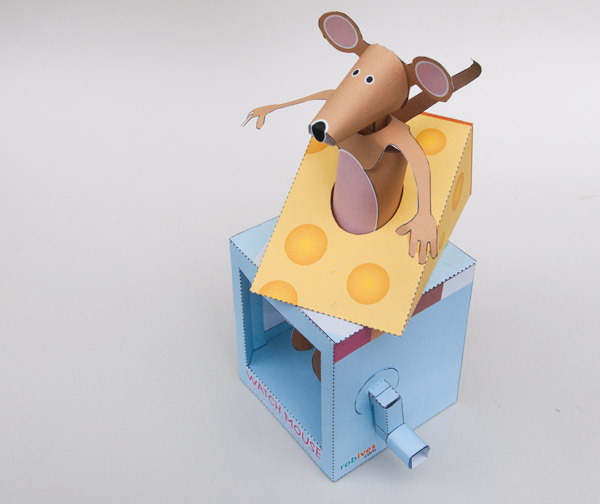
Download and make your own Watch Mouse! Turn the handle and the Watch Mouse flits his head from side to side, guarding the cheese and looking out for the cat.
Members can download this project for free, non-members can by their copy at the link.
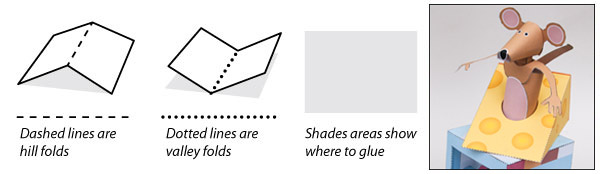
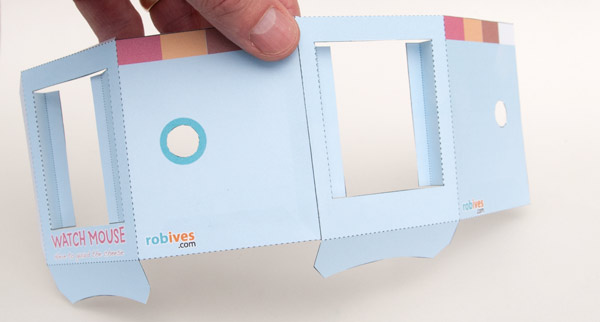
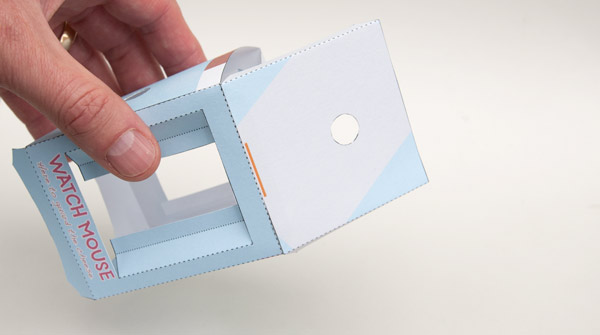
Print the parts onto thin card. (230 micron / 230 gsm) Score along the dotted and dashed lines and cut out the holes then carefully cut out the pieces.
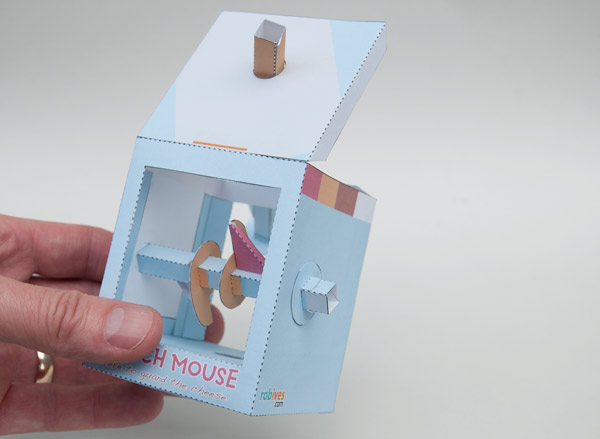
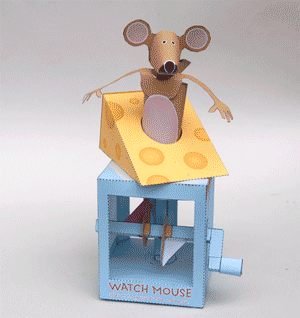 The Watch Mouse in all his glory!
Turn the handle on this handsome model and the mouse looks from left to right using a simple cam and striker plate mechanism.
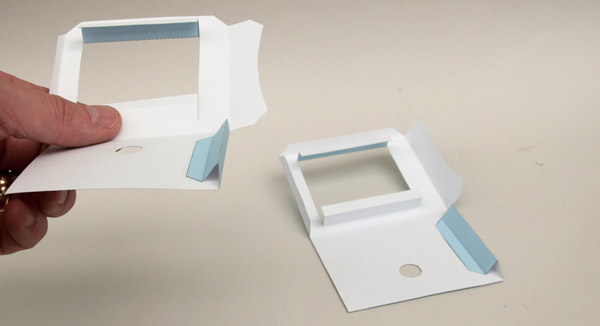
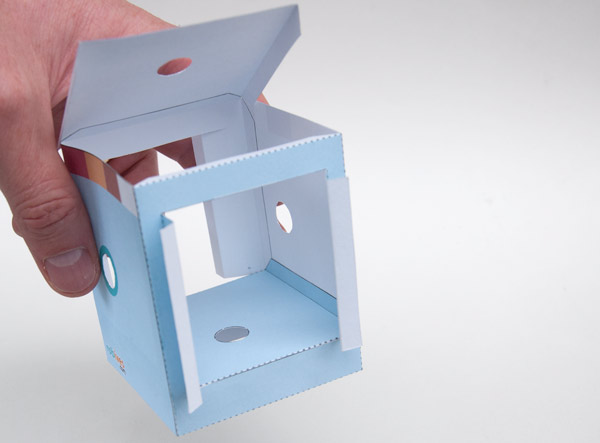
Fold up the tabs on the box pieces to make triangular sections as shown.
Glue the two box pieces together.
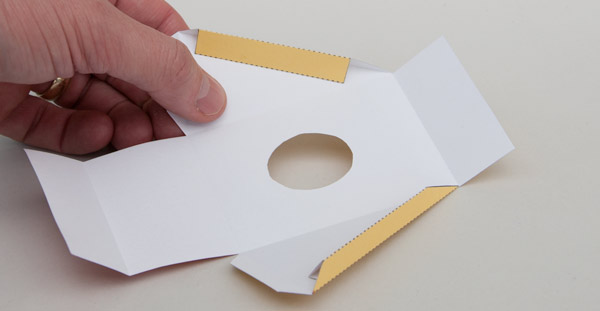
Fold round and glue the two box halves together. Glue the front of the box lid to the front tab. Don’t glue the other tabs yet.
Fit the base into place and glue it down. Line it up with the top of the cut out at the front and back of the box.
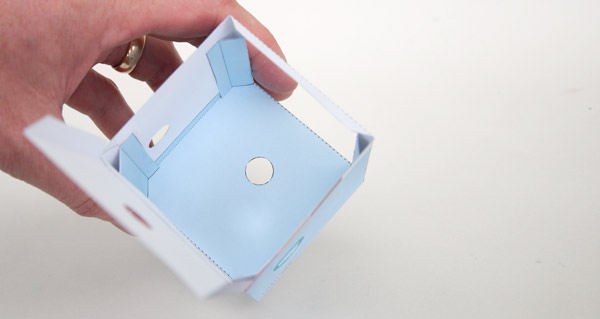
Glue the four inner flap into place as shown. Make sure that the box stays square!
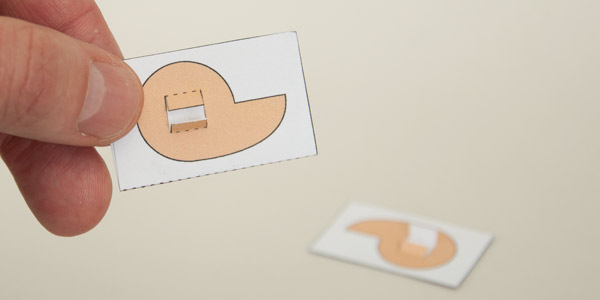
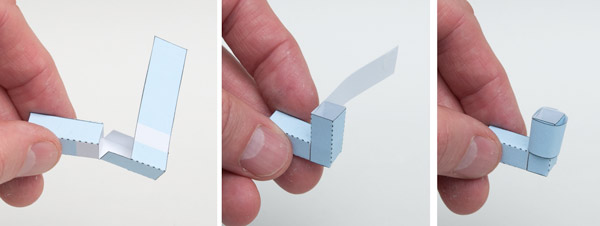
Fold over and glue together the two cam fingers to make double thickness card.
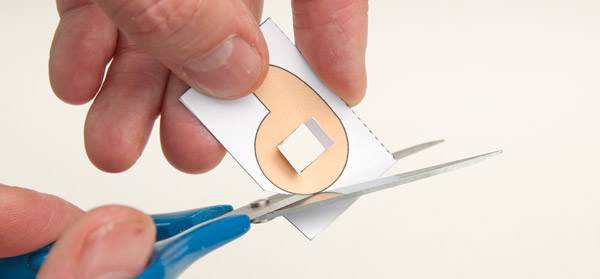
Once the glue is dry, carefully cut out the cam fingers
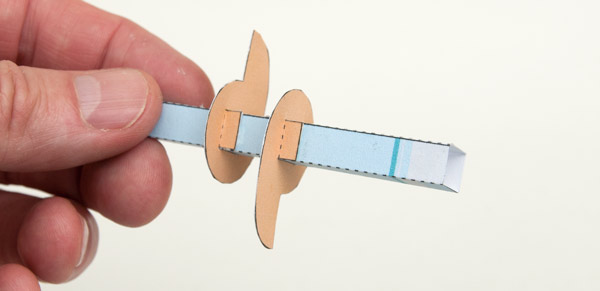
Thread the cams onto the axle lining them up with the grey lines near the centre of the axles length. Glue the tabs down making sure that the cams are square to the shaft.
Glue on the two supports to stop the cams bending over as the handle is turned.
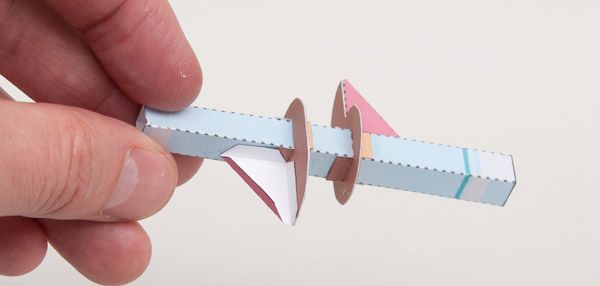
Glue the striker plate to the grey area on the vertical shaft.
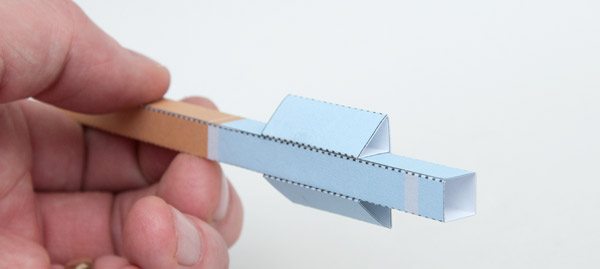
Assemble the handle in three steps. Fold over and glue down the two square section tubes. Fold one tube into the other and glue down. Roll round the long tab and glue it into place.
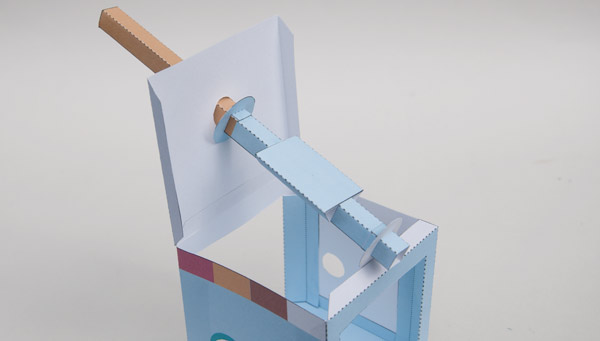
Glue the two washers to the vertical shaft, lining them up with the grey lines. Thread the vertical shaft up through the hole in the box top.
Thread the axle through the holes in the box side. The axle end with the darker blue line goes through the hole with the matching blue surround.

Fold the box lid down threading the vertical shaft into the hole in the box base. The flat side of the striker plate should be to the back of the box.
Glue down the lid.
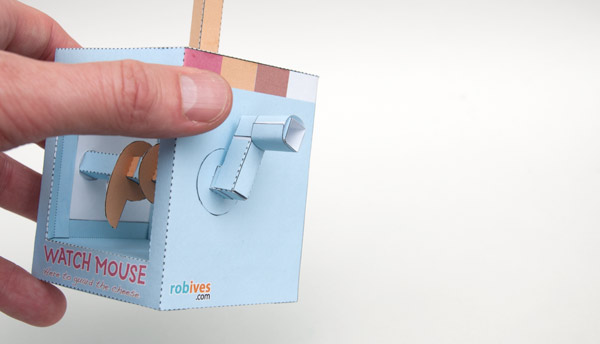
Glue the handle to the axle.
Assemble the cheese by first gluing up the triangular tube sections then fold the rest of the flaps round and glue the cheese block together.
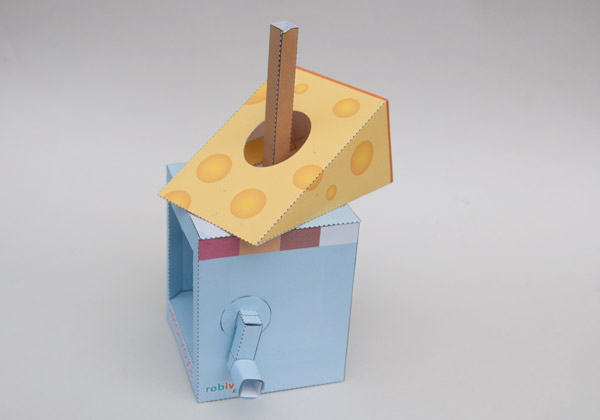
Fit the cheese block to the top of the box. The vertical shaft should be centred within the hole in the cheese.
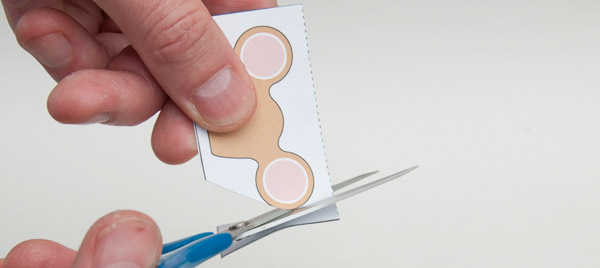
Fold over the ears and glue them back to back. When the glue is dry carefully cut them out.
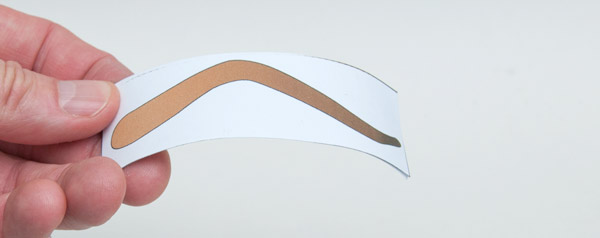
Glue the two tail pieces back to back. While the glue is still wet, add a curve to the tail. Once the glue is dry, cut out the parts.
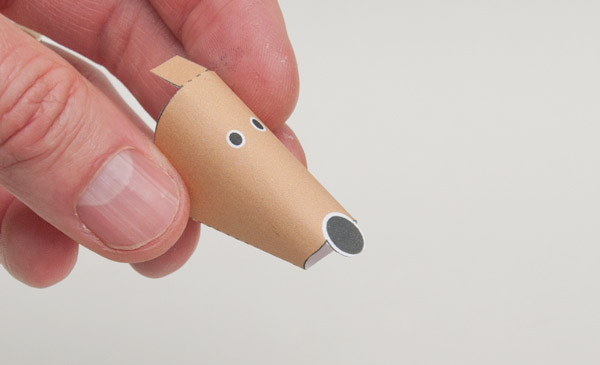
Fold up and glue together the head.
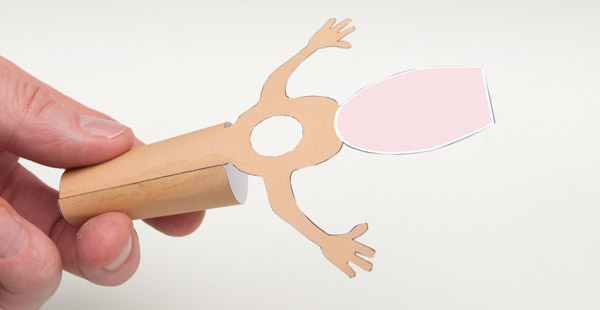
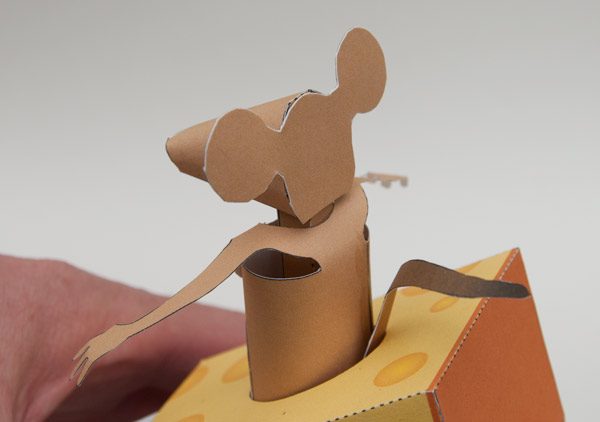
Roll round the body and glue it down as shown above.
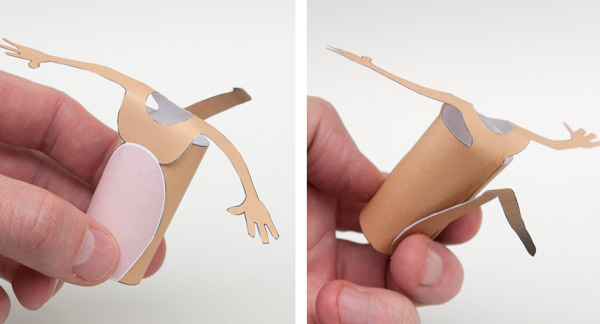
Curve the shoulders over the top of the body and glue the body-front onto the front of the body.
Glue the tail to the back of the body.
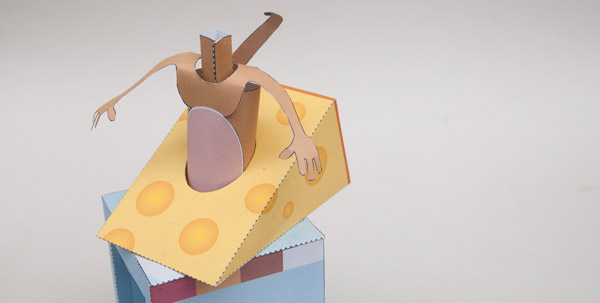
Drop the body over the shaft. There is no need to glue it down as friction holds it roughly into place and the small amount of movement in the loosely fitted body adds some more realism to the movement.
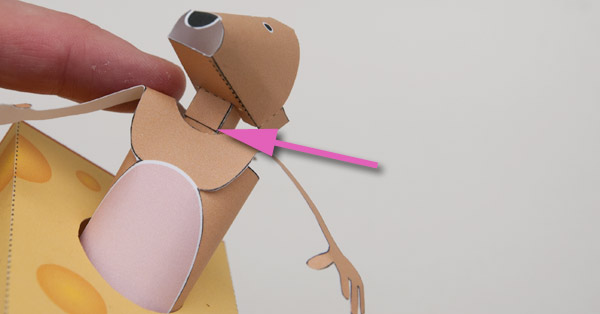
Glue the head to the vertical shaft. Line the bottom of the tab with the top of the neck cut-out.
Complete the model by gluing the back of the head to the three tabs.
Once the glue is dry, turn the handle and start guarding!