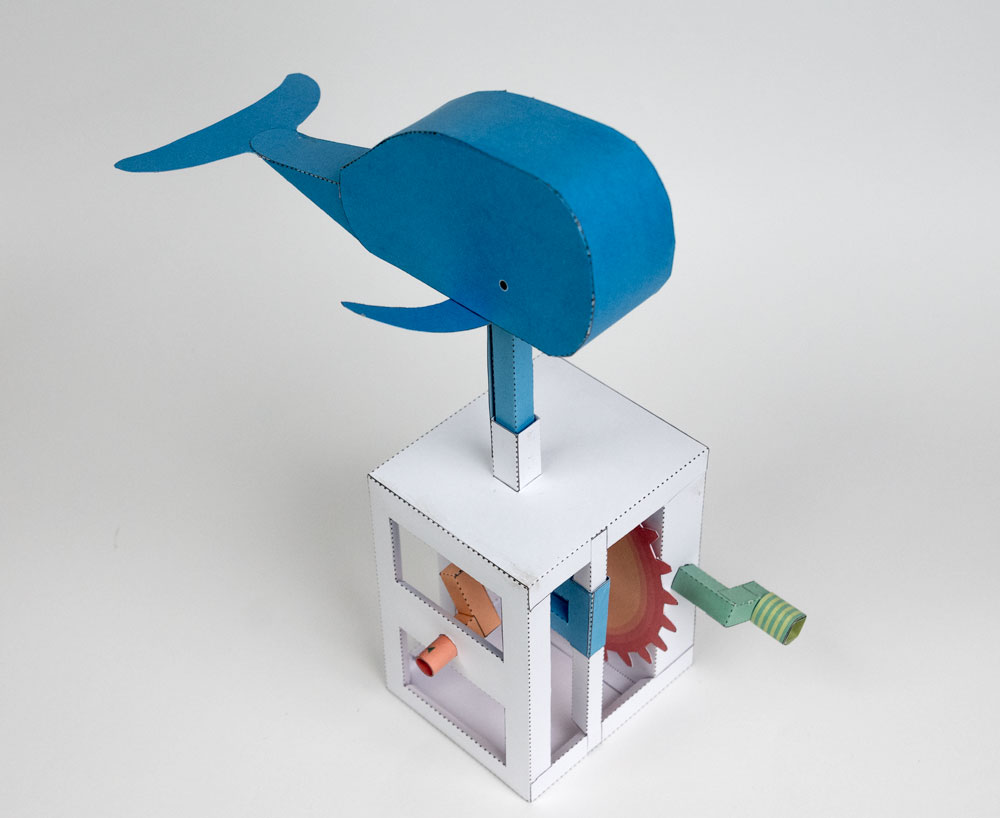
 Paper Whale
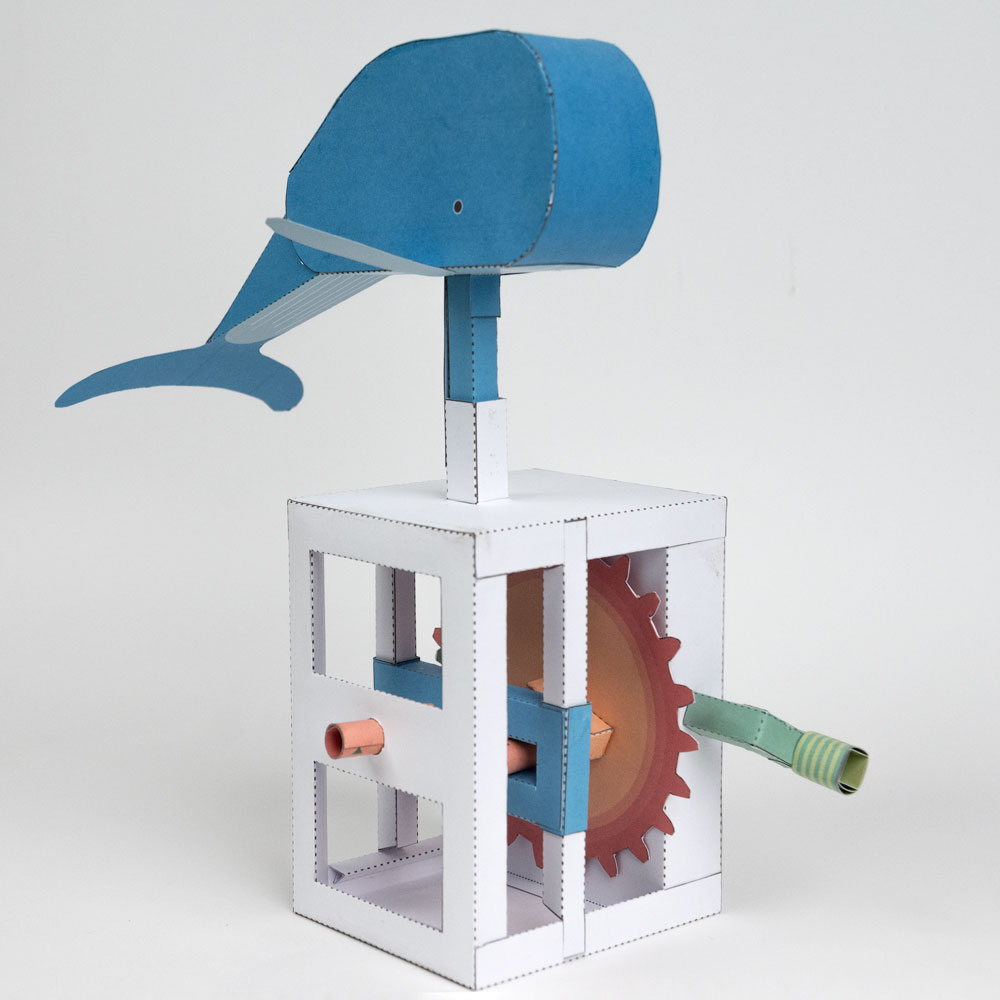
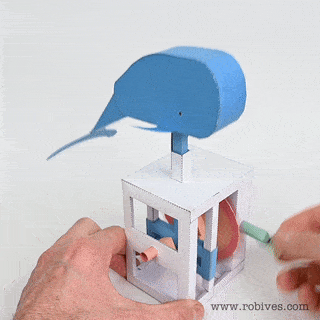
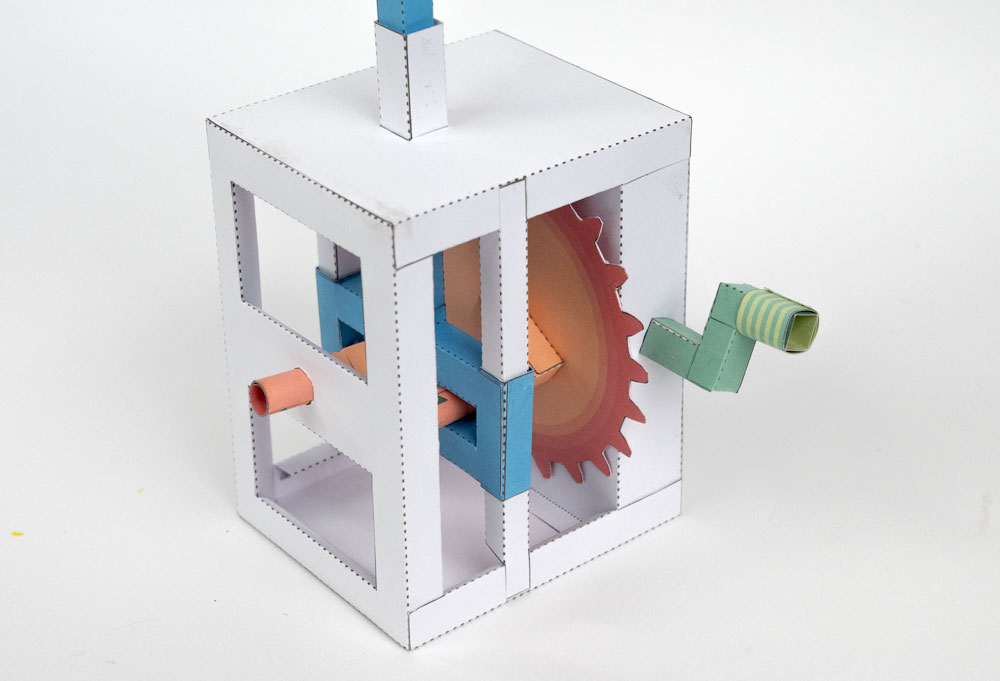
Turn the handle on this Paper Whale to make her swim! Using a combination of Scotch Yoke, Crank and Bell Crank the downloadable paper animation kit comes to life!
Members can check out the parts for free by adding to the cart. Non-members can join in the fun for £2.50 or equivalent or better still, become a member and get free access to this and all the other project site. Find out about membership here.[clearboth]
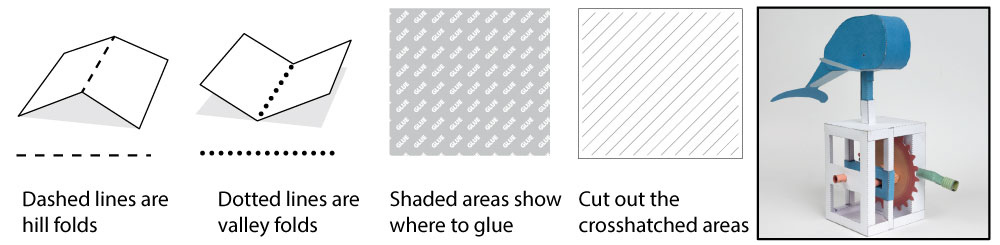
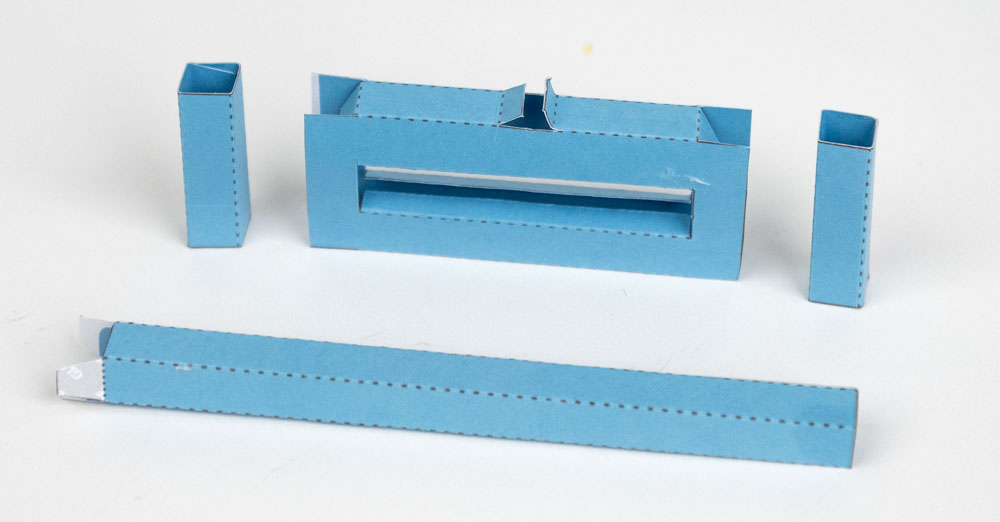
Print out the parts onto seven sheets of thin card. (230gsm or so) Note that this model is printed on both sides. Print out the front, flip the card over, return it to the printer and print out the back. Once the ink is dry, score all the dotted and dashed lines and cut out the holes then carefully cut out the parts ready for assembly.
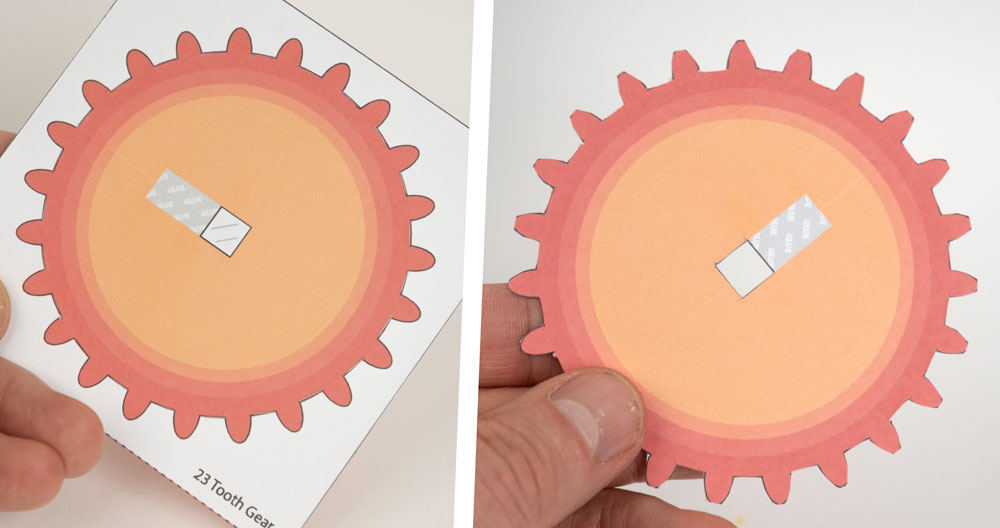
Fold over and glue down the gear to make double thickness card. Once the glue is dry carefully cut out the gear.
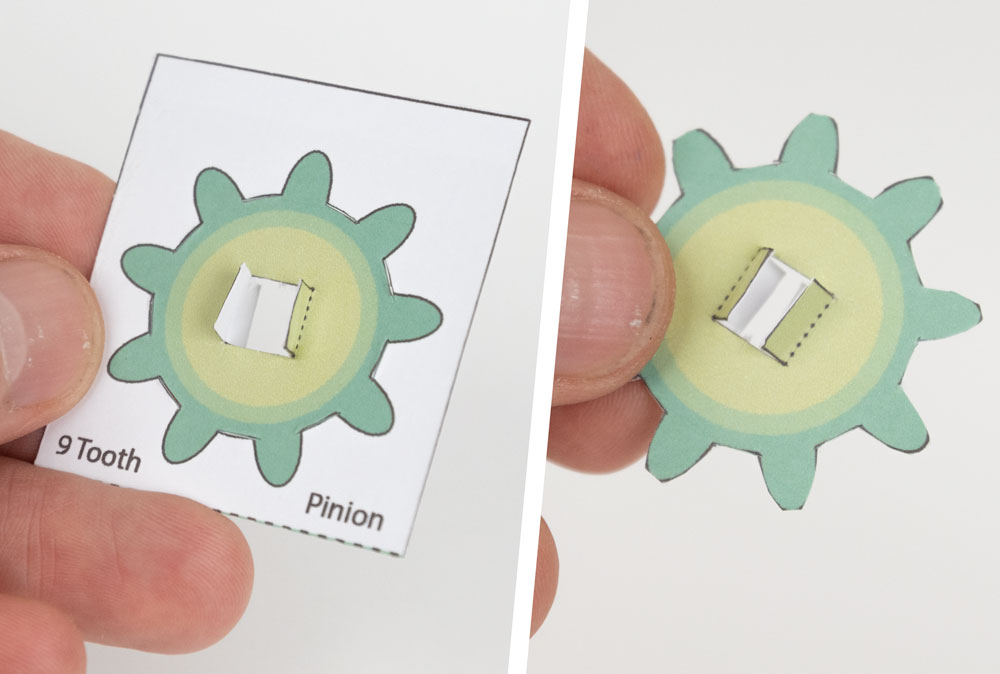
Make a double thickness pinion in the same way, make sure you have pulled the tabs out of the way.
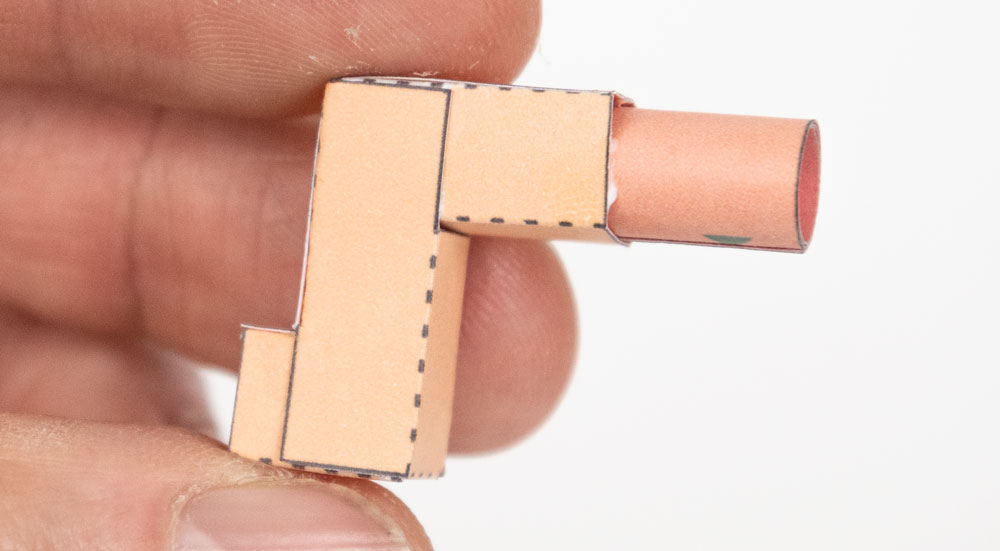
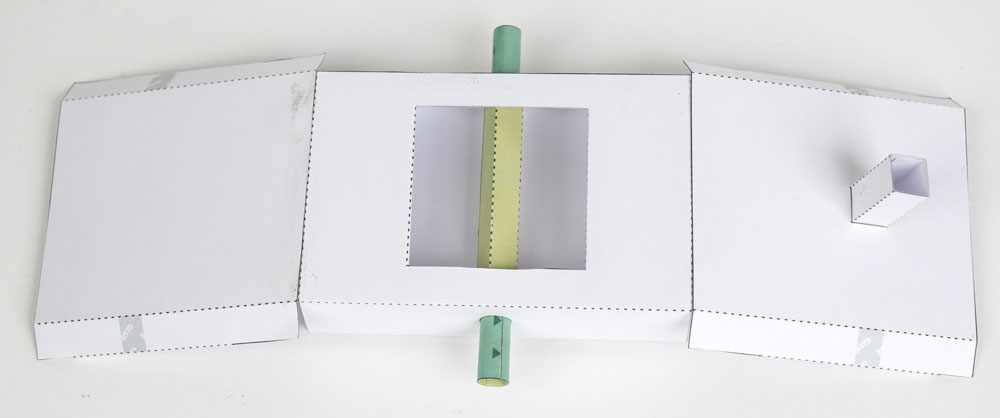
Assemble the yoke and slider tubes.
Glue the slider tubes into place on the sides of the yoke. Keep them as straight as possible.
Glue the pushrod into the yoke. Keep it as upright as possible.
Slide the two pillars into place. No glue! They need to be free to slide.
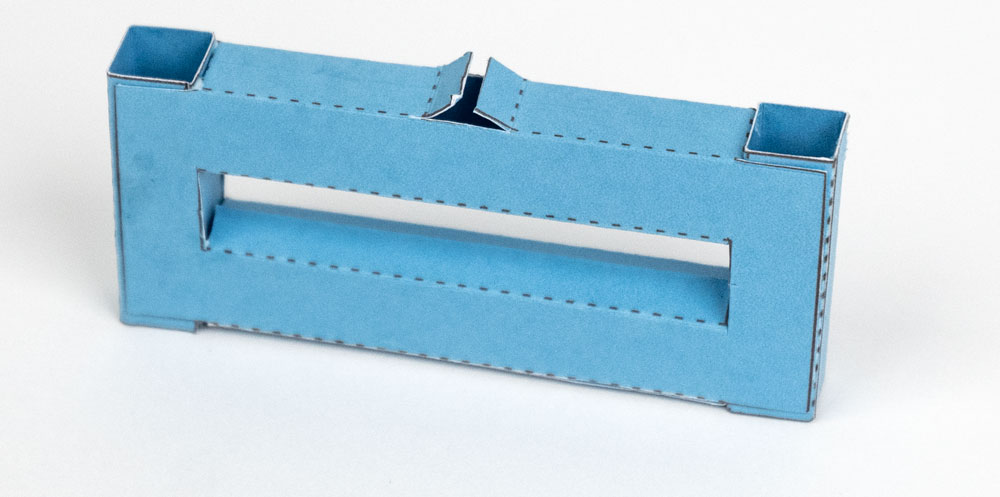
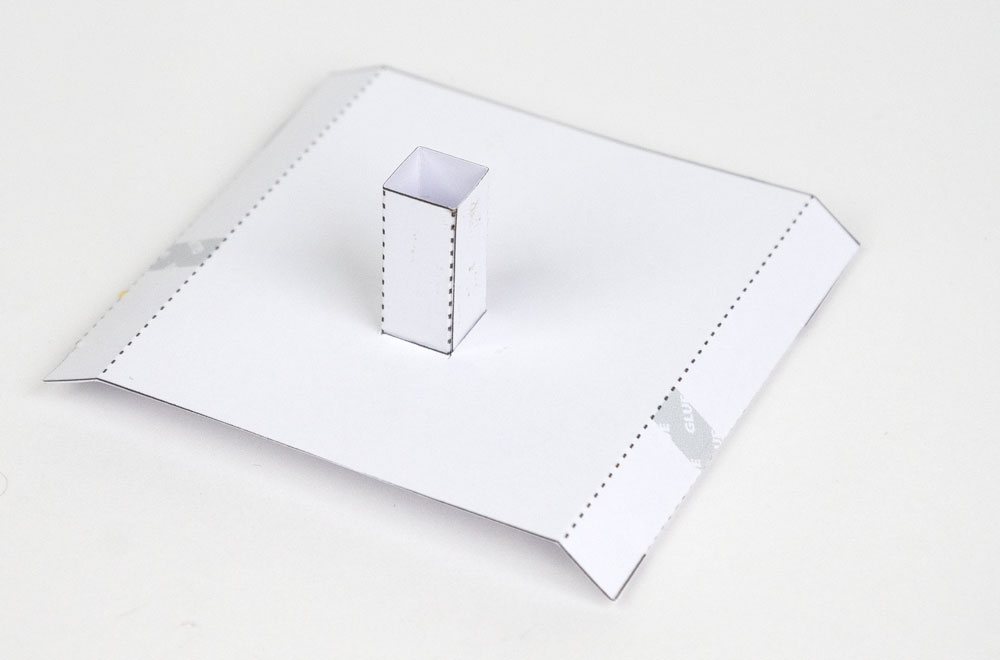
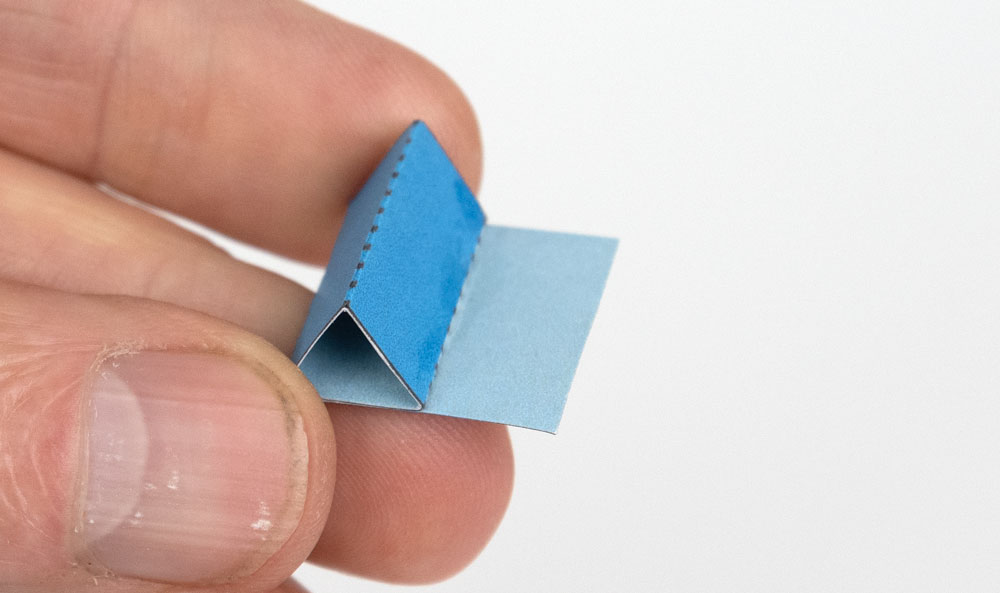
Fold round and glue the triangle sections on the top and base.
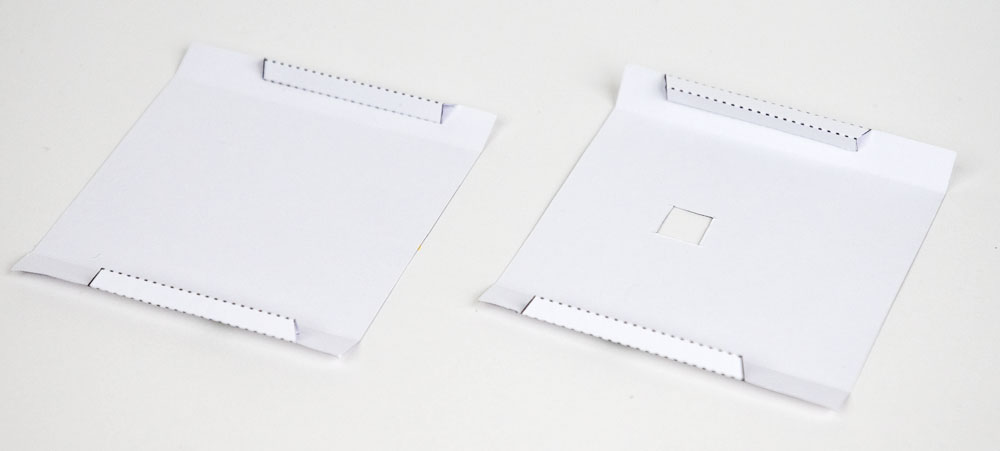
Fold round and glue the triangle sections on the box front.
Fold round and glue the triangle sections on the box back.
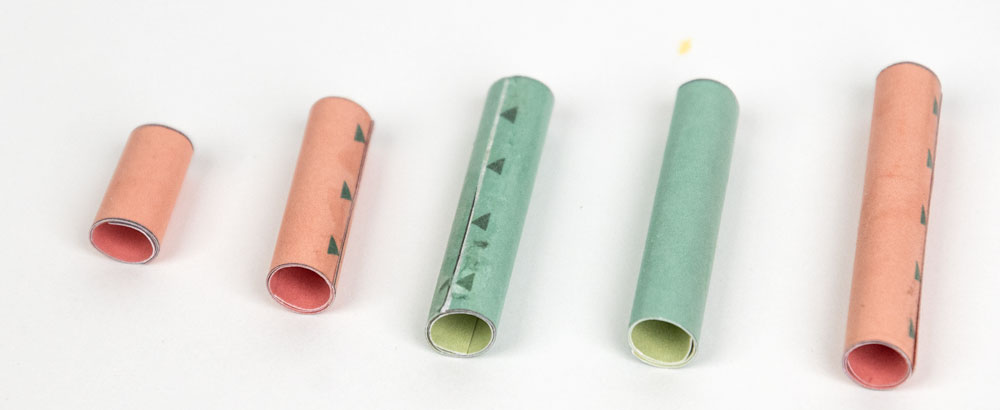
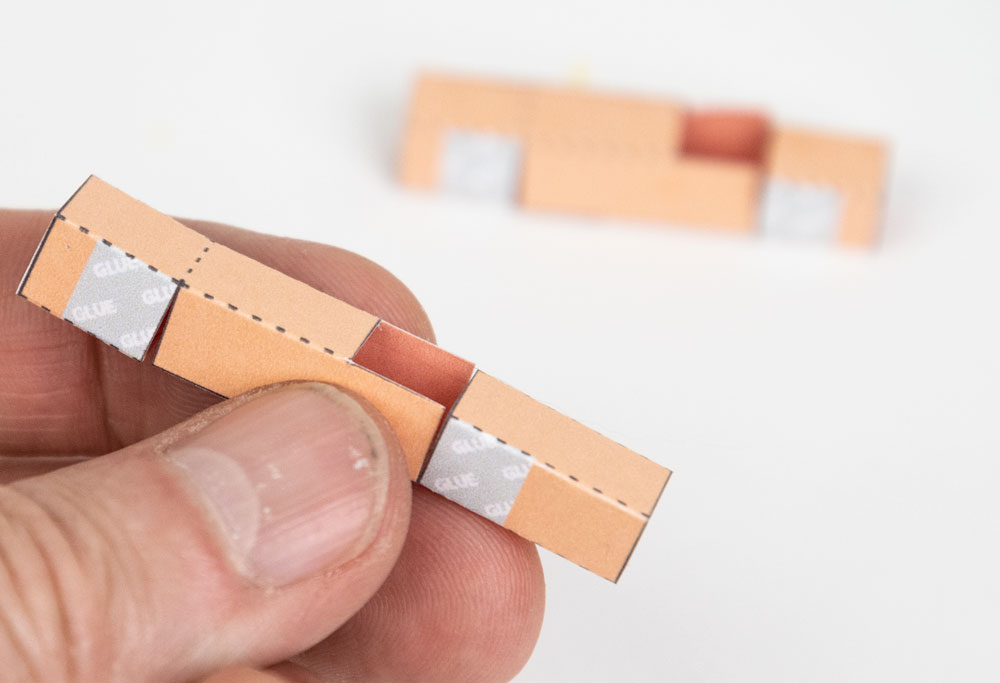
Roll up and glue the five axle tube sections as accurately as possible.
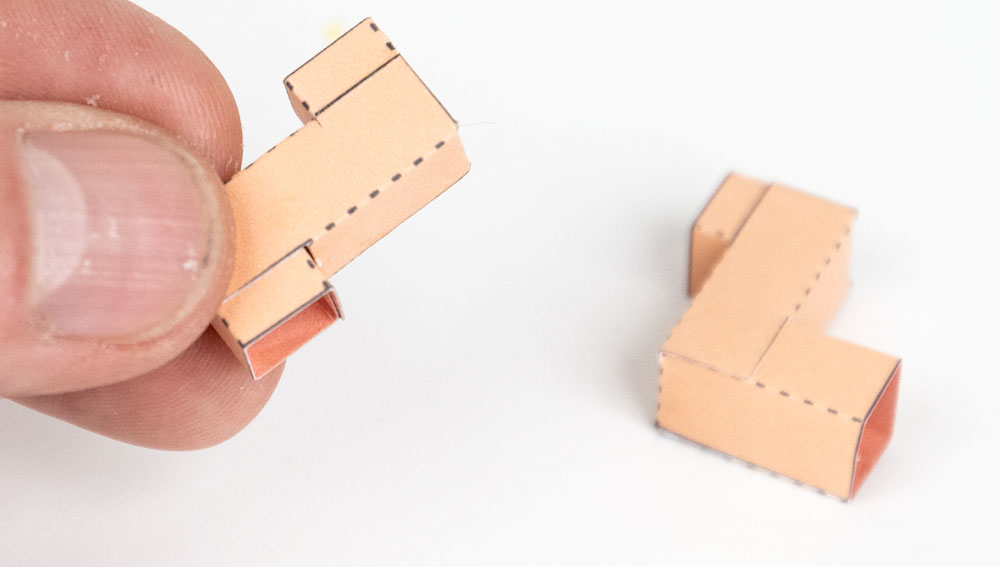
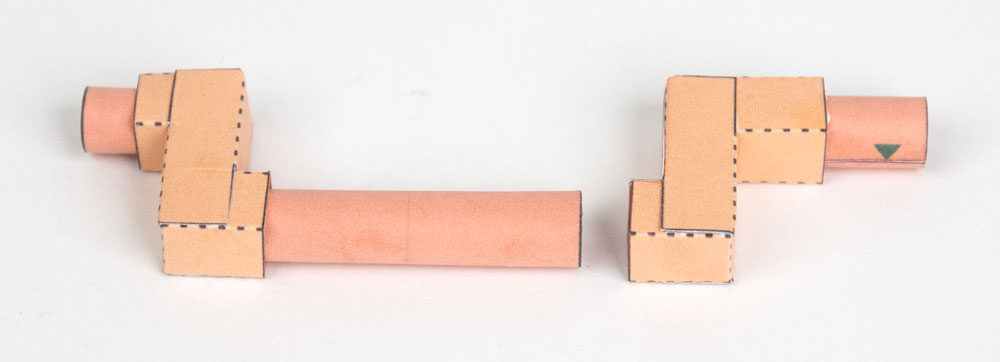
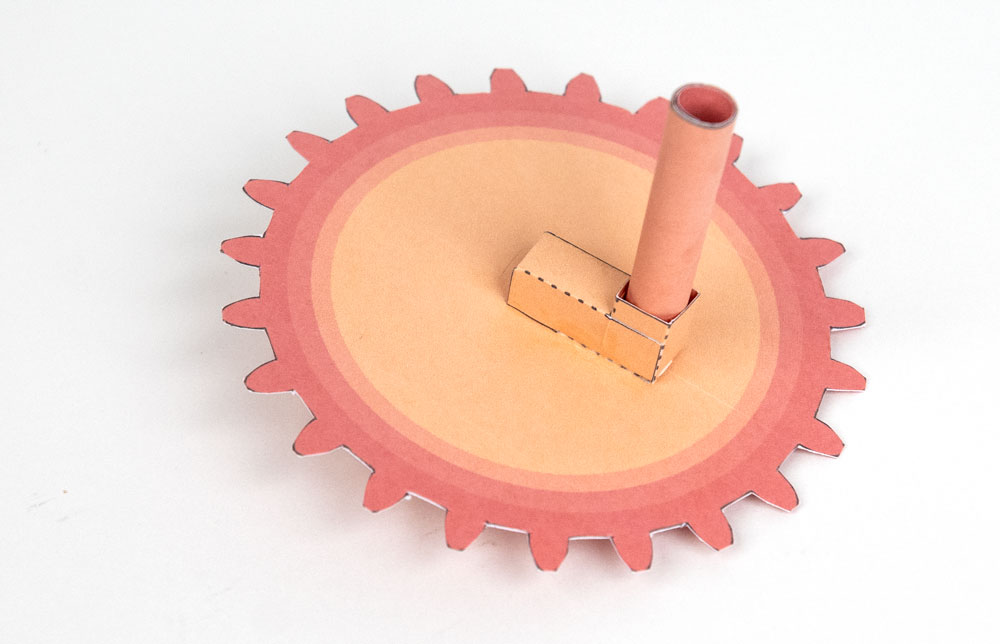
Fold up and glue the crank sections.
Glue them to make 90-degree sections as shown.
Fold up and glue the crank handle in three steps as shown.
Fit the shortest and longest axle tubes into the smaller crank and secure with a dot of glue.
Fit the second shortest axle tube into the long arm of the other crank.
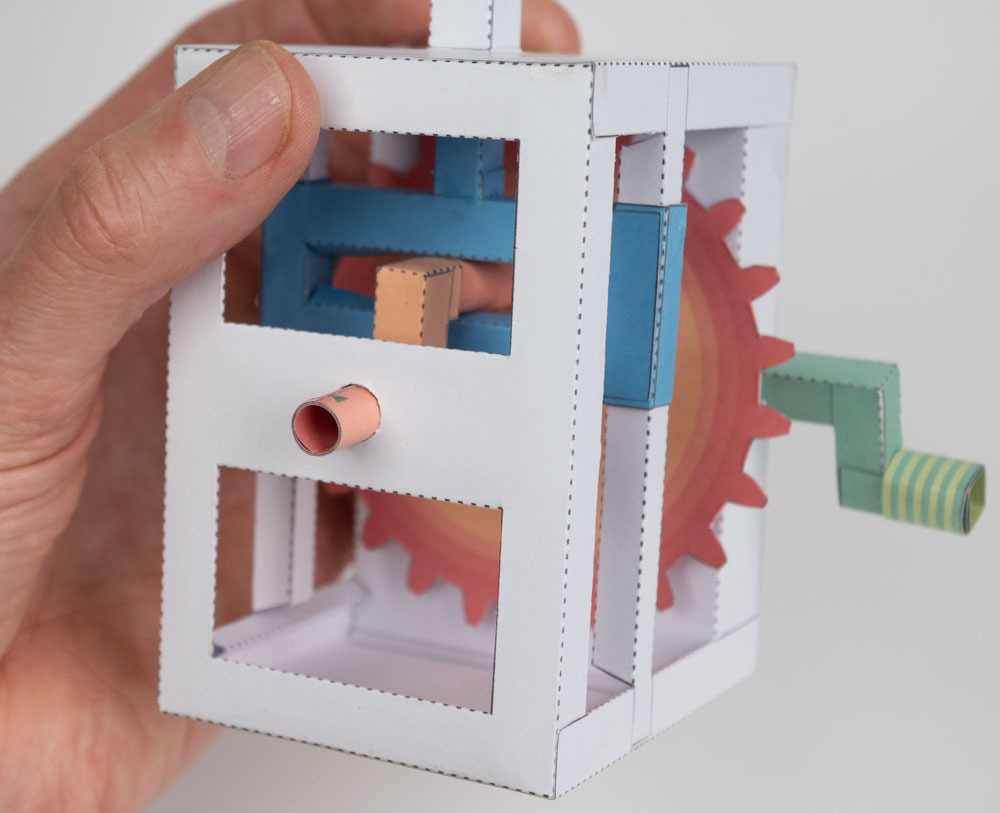
The crank parts ready for action!
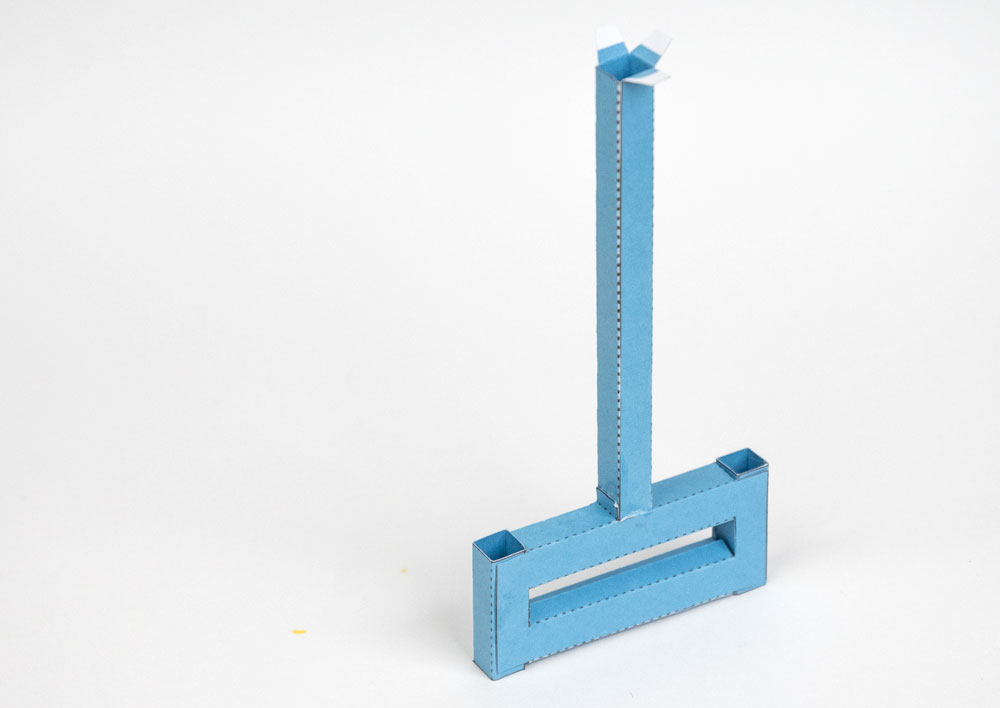
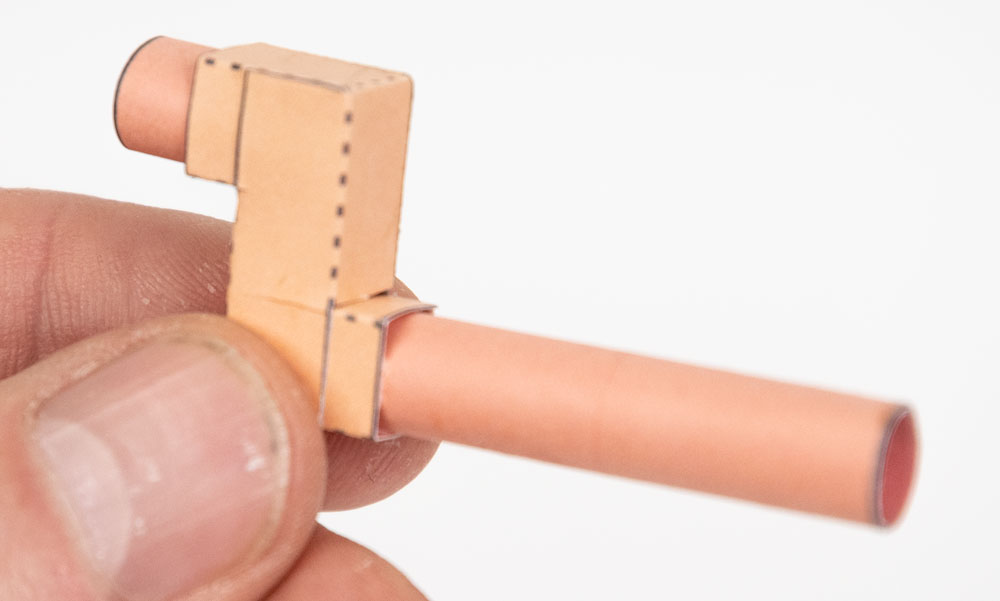
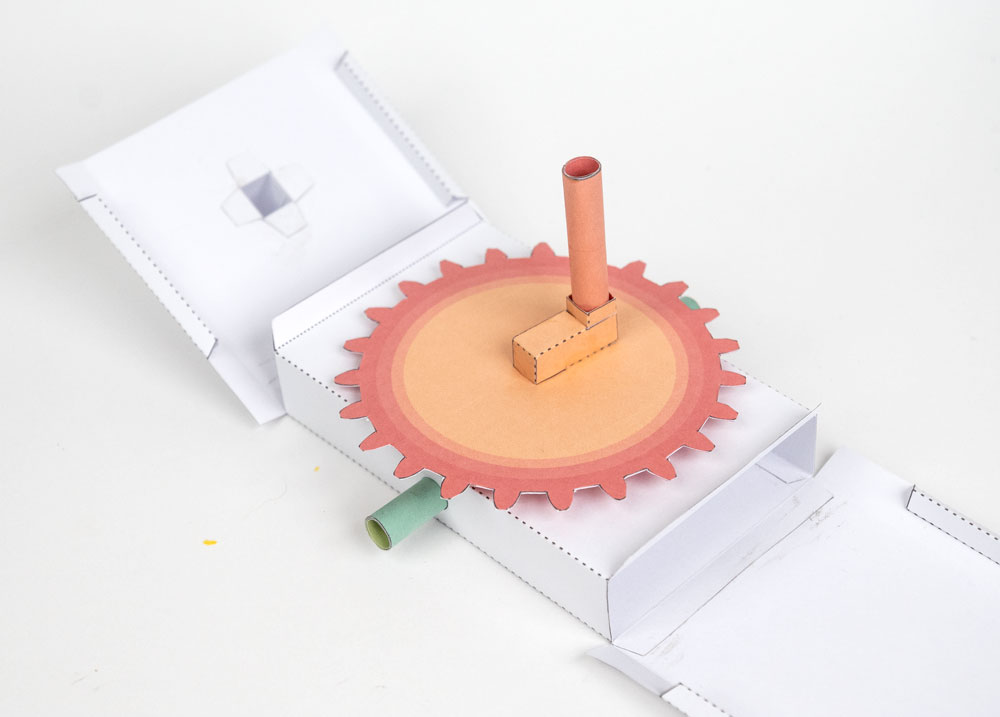
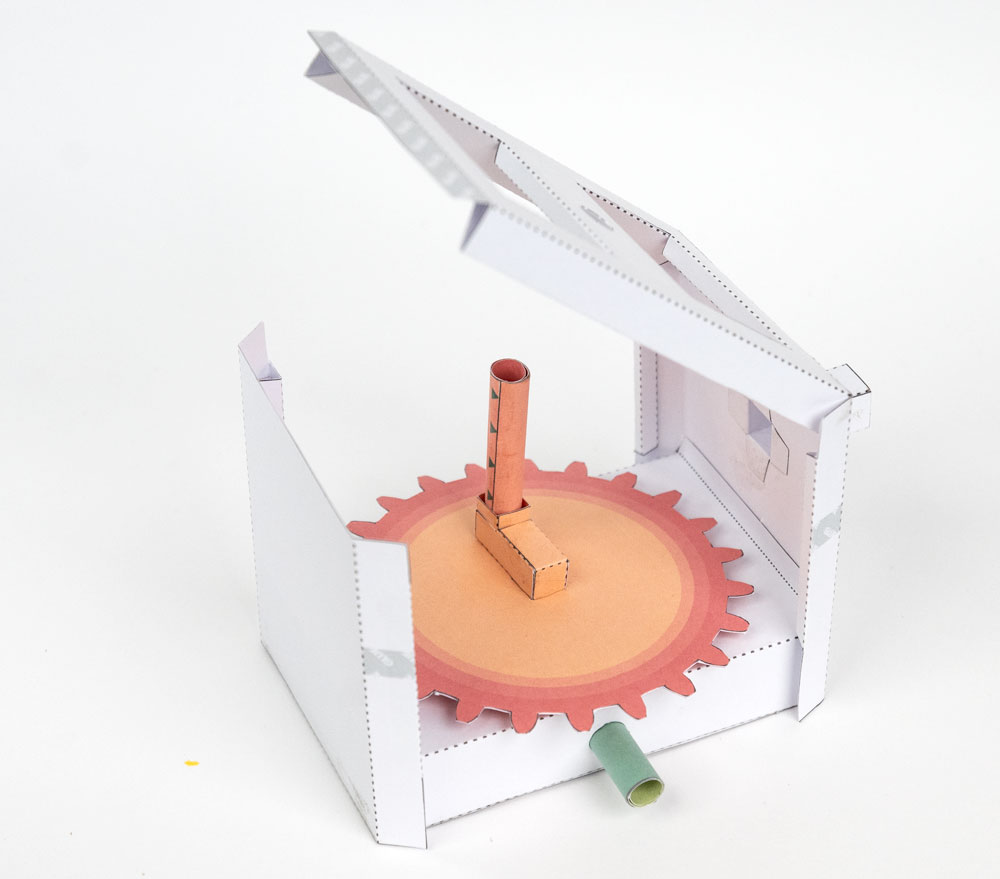
Thread the long pinion axle into the box back and fit the two axle tubes halfway in. Make sure the axle is free to turn.
Glue the pinion to the pinion axle using the tabs and grey lines for alignment.
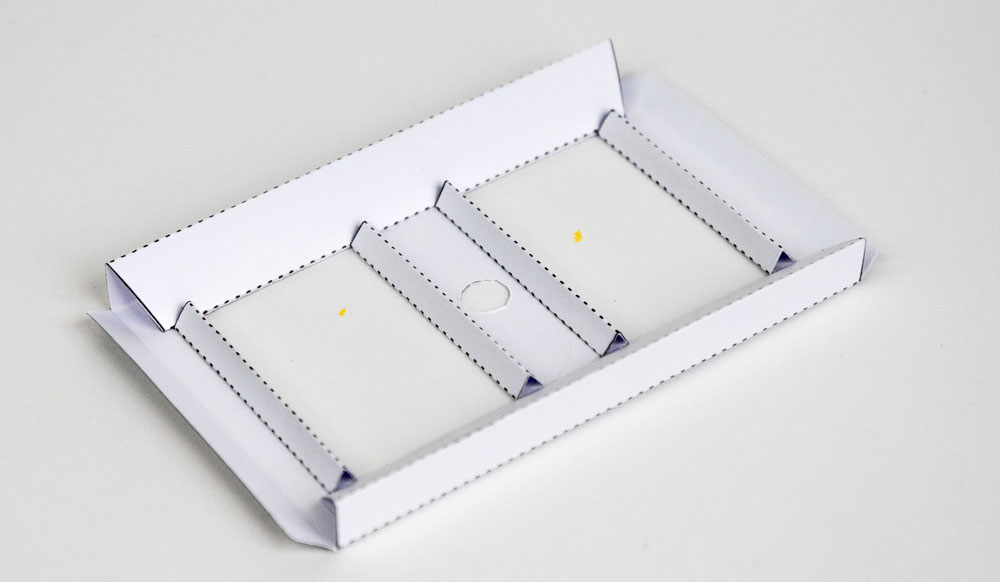
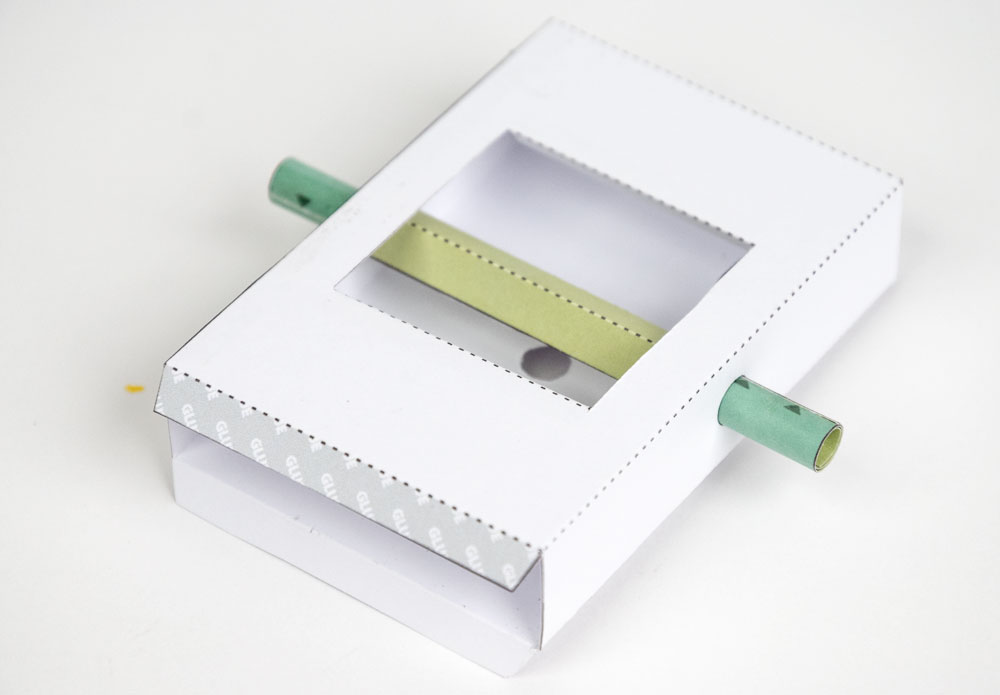
Fit the slider tube into the box top.
Glue the top and base to the tabs on the box-back. Check the image to make sure you get the parts the right way round
Glue the crank to the gear as shown.
Thread the gear axle into the box back. No glue! It needs to turn freely.
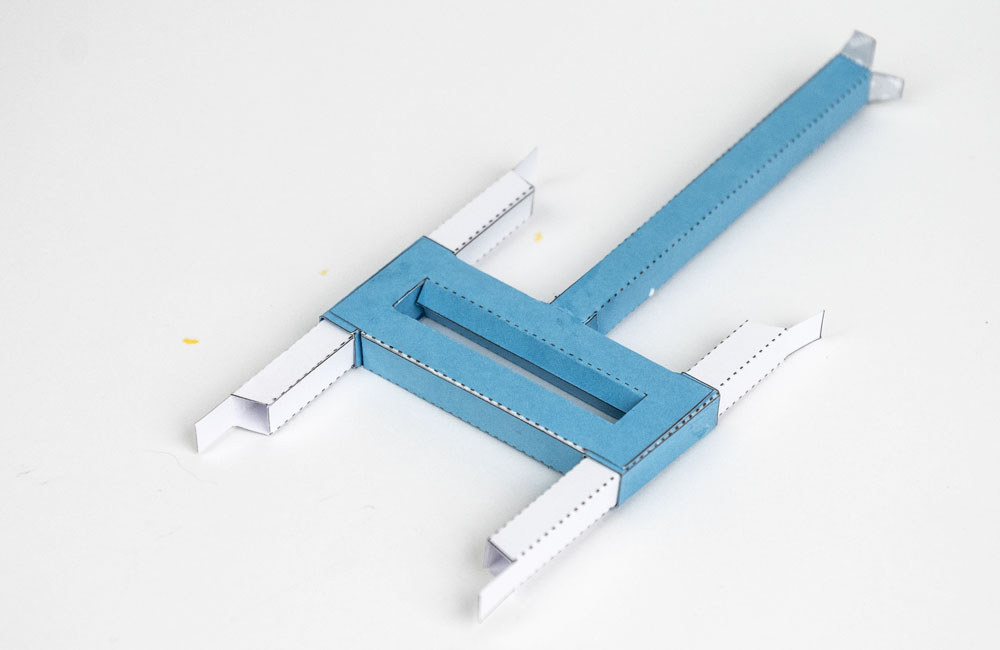
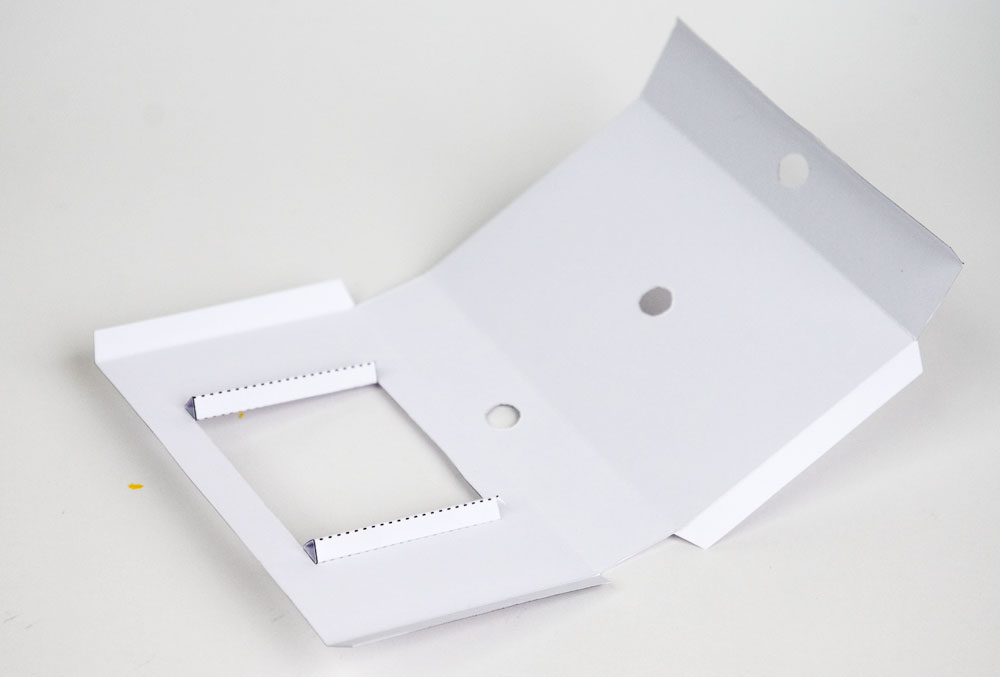
Glue one end of the box front into place.
Thread the pushrod up through the slider tube then fit the yoke and pillars into position. Don’t glue anything yet.

Glue the other crank into position. Make sure it is lined up accurately with the first crank.
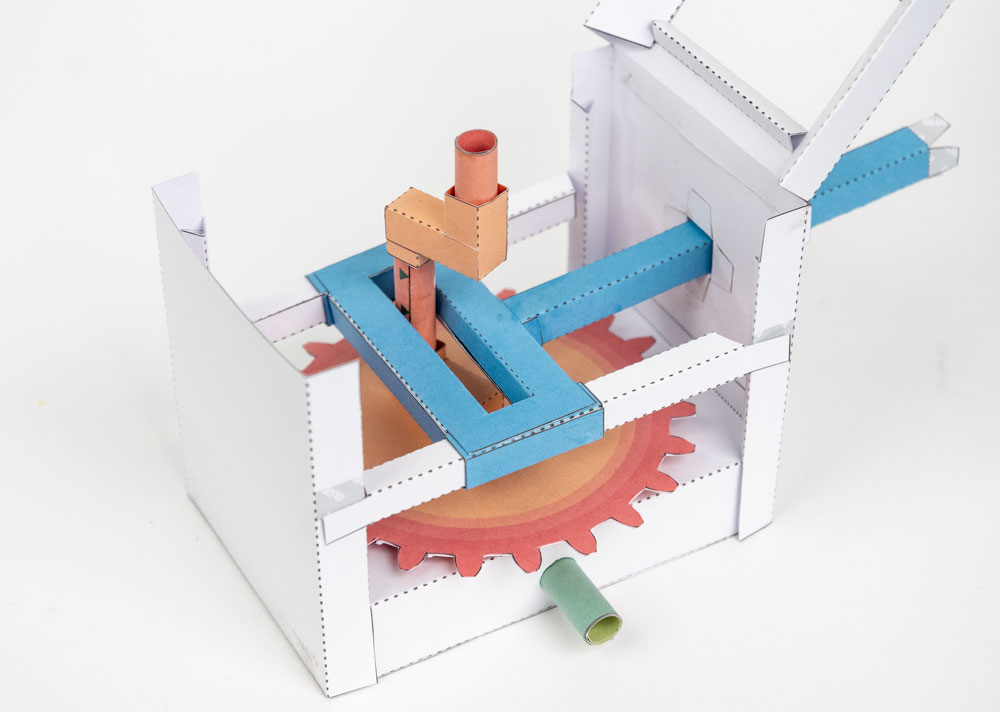
Fold the front into position threading the axle as you do so.
Glue the front, back and side together and glue down the pillars, top and bottom.
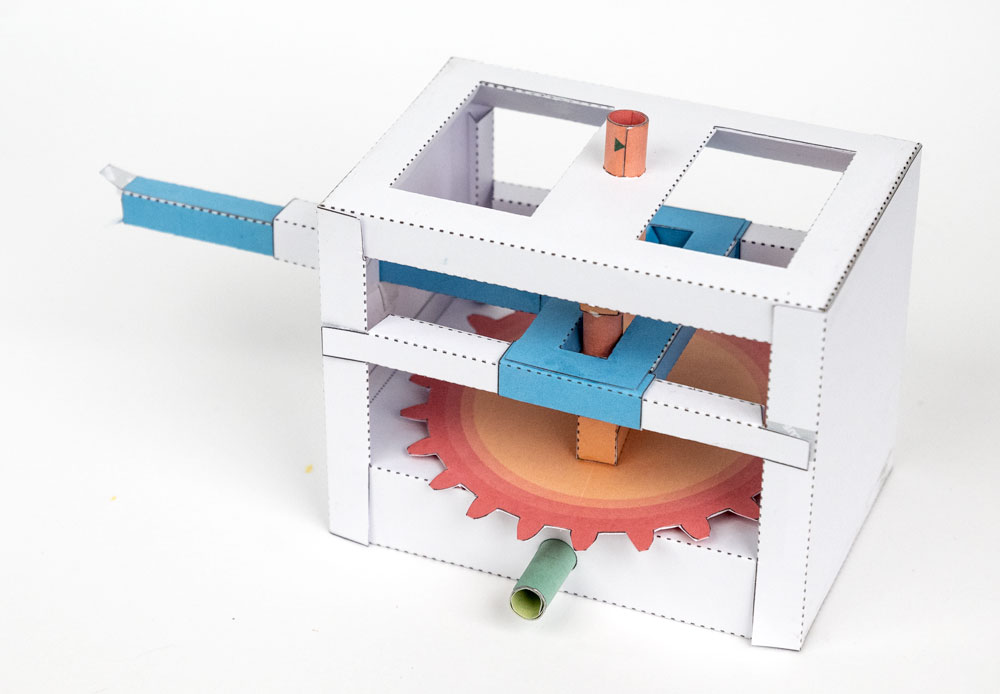
Glue the pinion into place so that it meshes with the large gear.
Glue the handle to the other end of the axle to complete the main mechanism for this automata.
Making the Whale
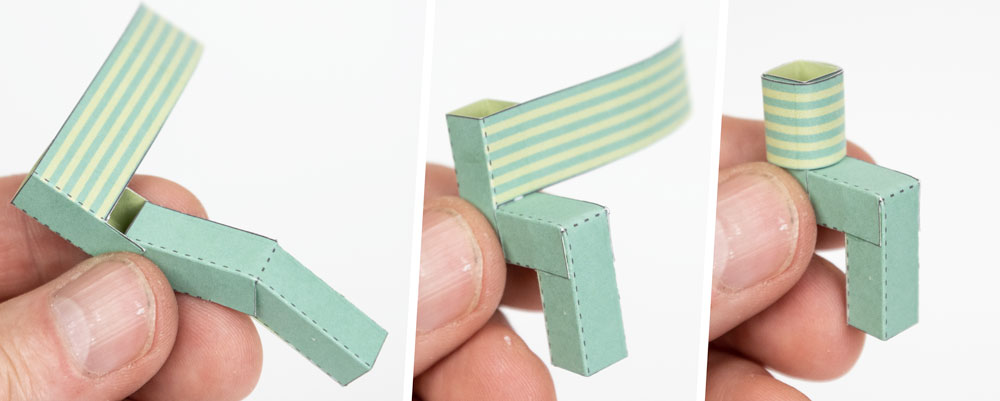
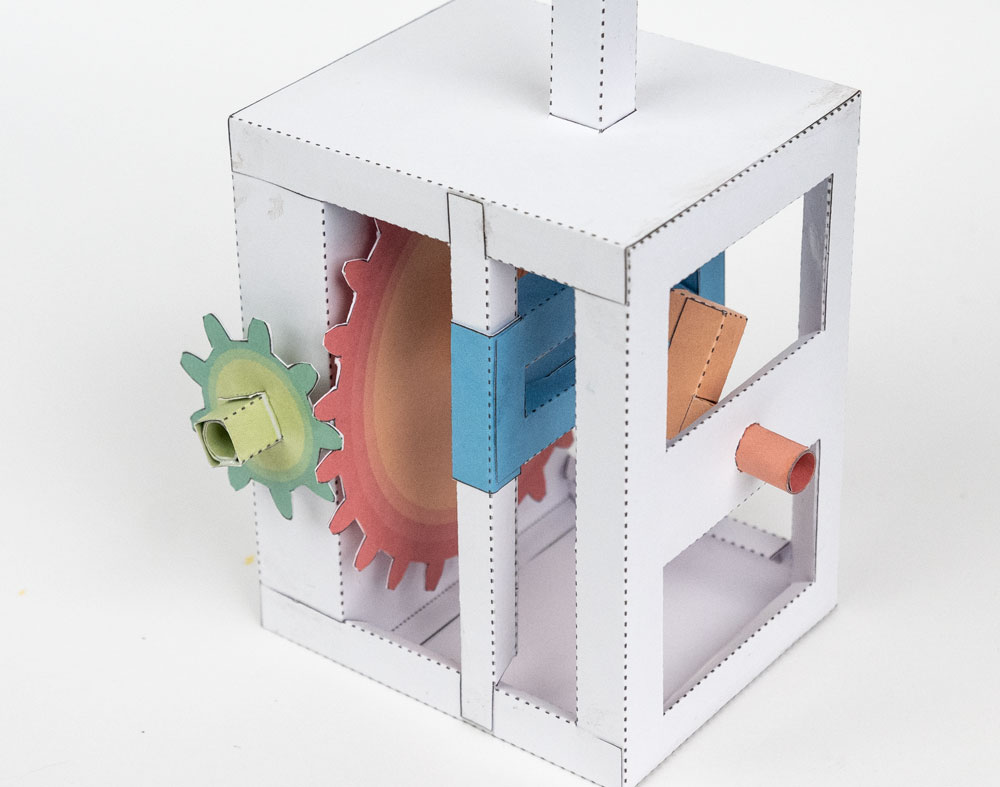
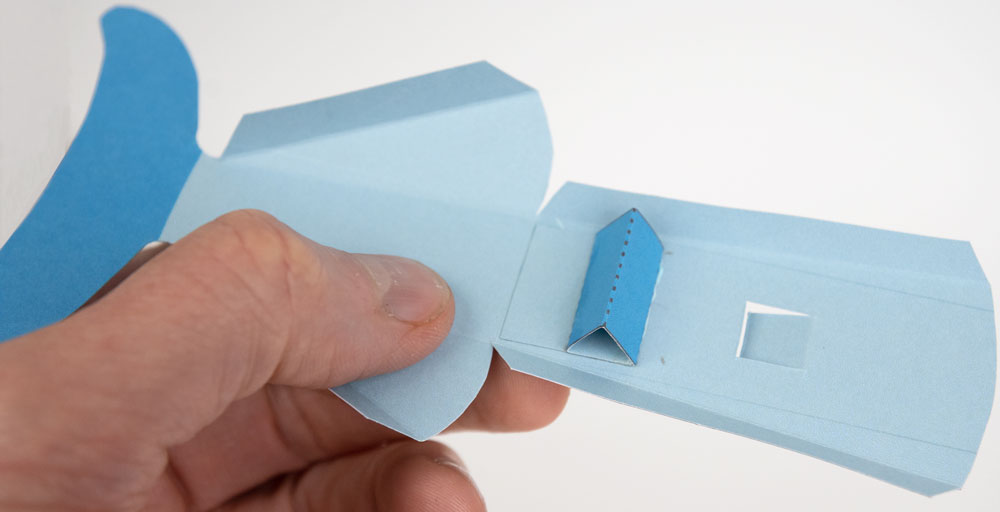
Fold round and glue the bell crank stand.
Glue the bell crank stand into position so that it lines up with the crease line in the base.
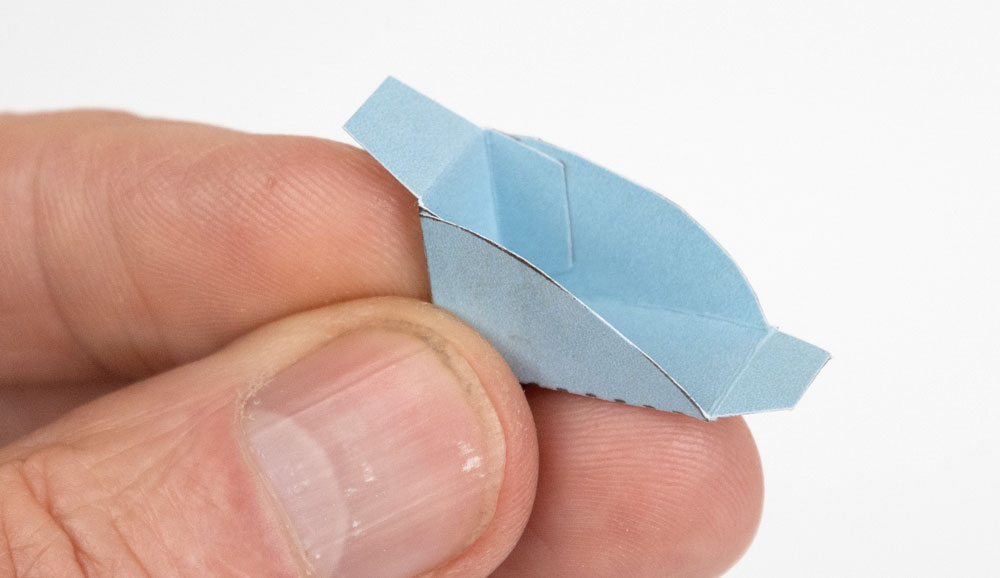
Assemble the bell crank.
Glue the hinge to the bell crank stand.
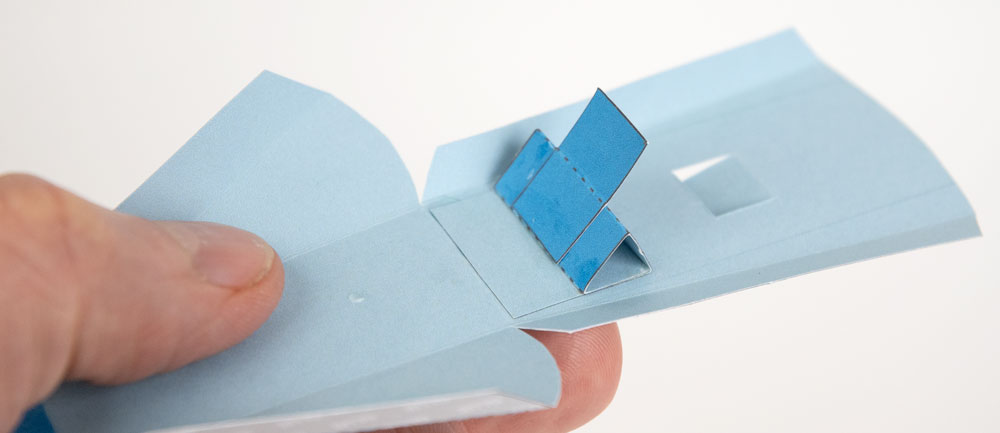
Glue the bell crank to the hinge.
Glue the tail top into position.
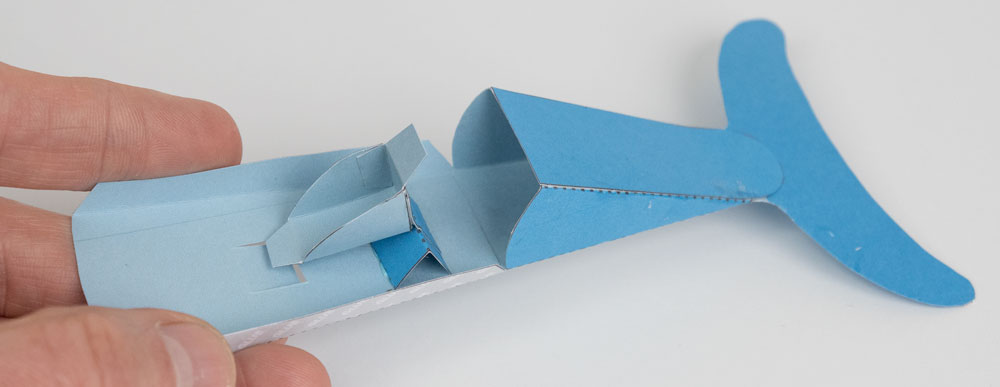
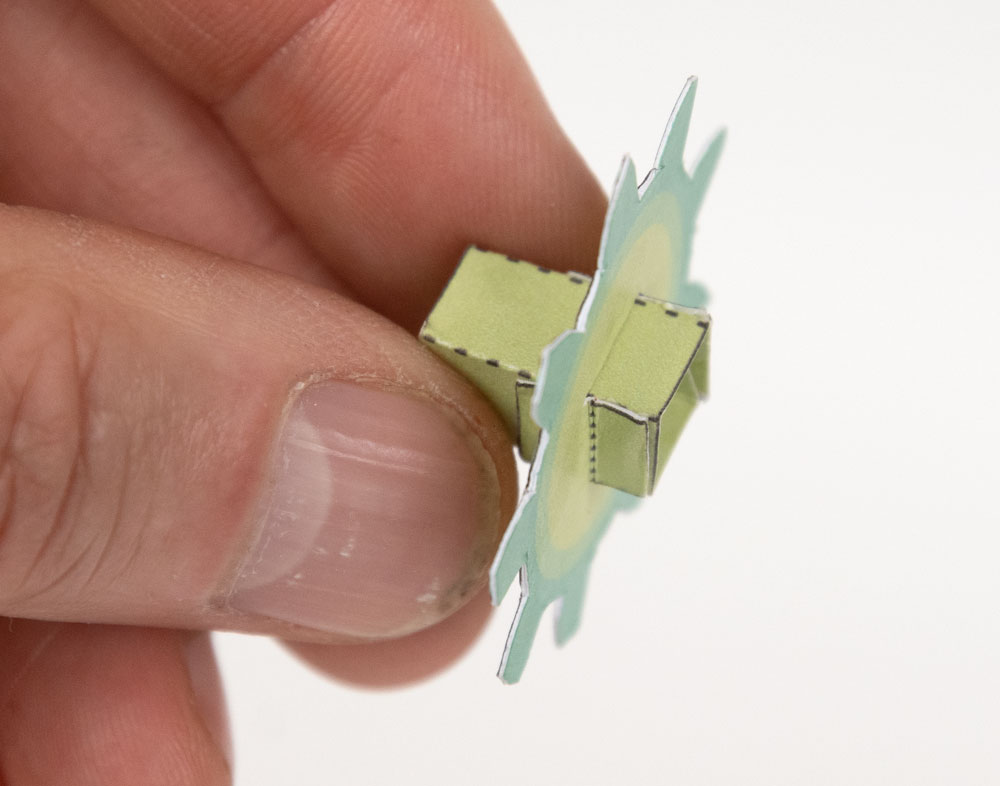
Fold over and glue the link to make a double thickness section.
Glue the tab on the link to the middle underside of the tail top.
Glue the other end to the bell crank.
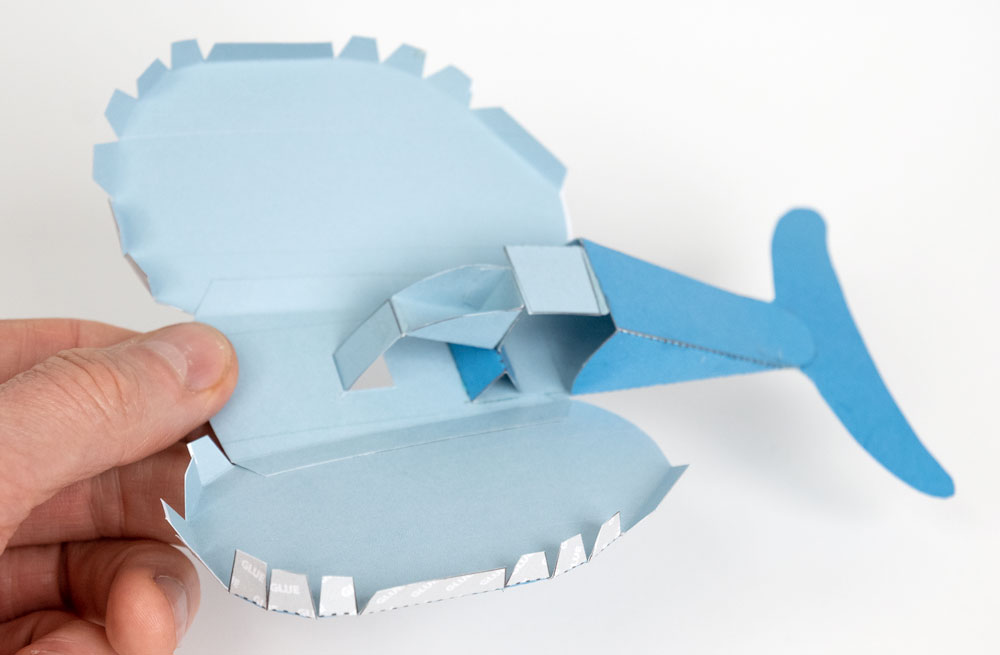
Glue the long pull tab to the other end of the bell crank and thread it down through the hole in the body-base.
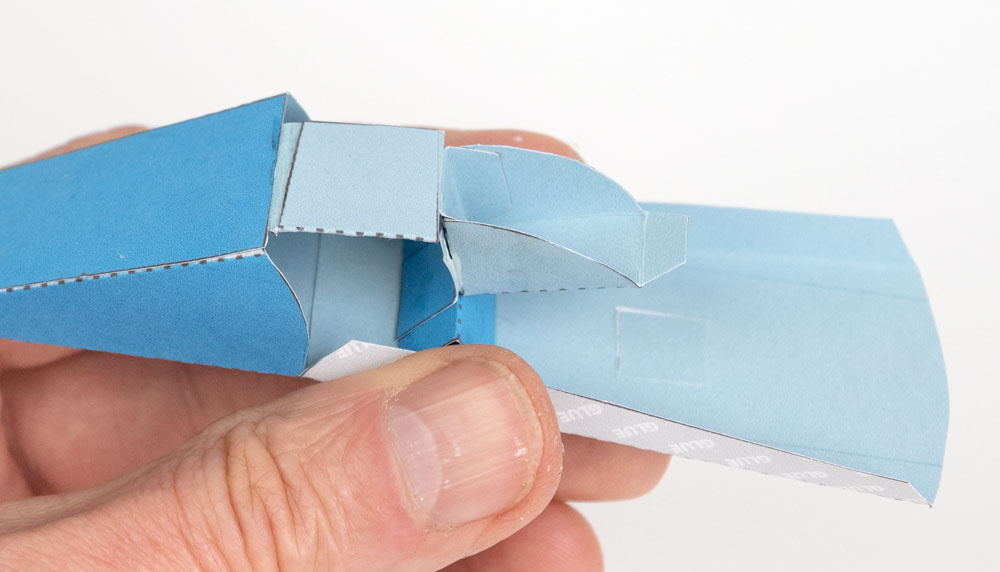
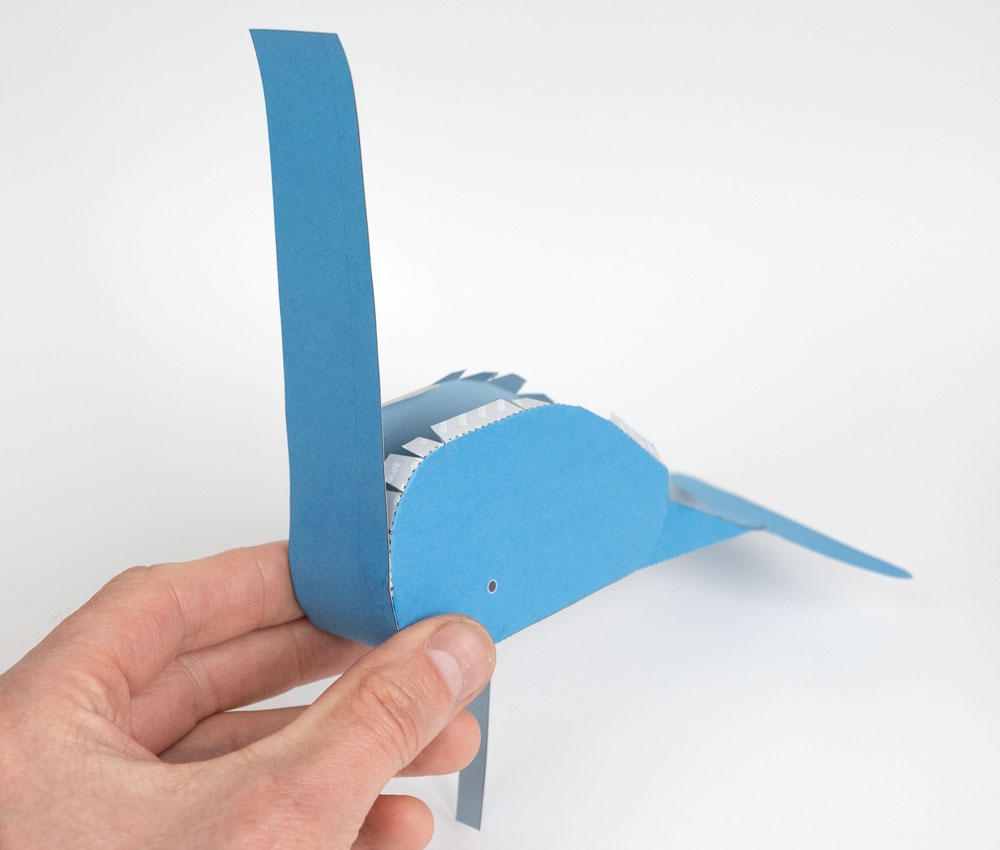
Glue the body sides into place as accurately as possible.
Starting with the wide end of the body front, glue it to the underside then work your way around, glueing a few tabs at a time.
Keep the body front tight to the tabs as you work your way around glueing it into place.
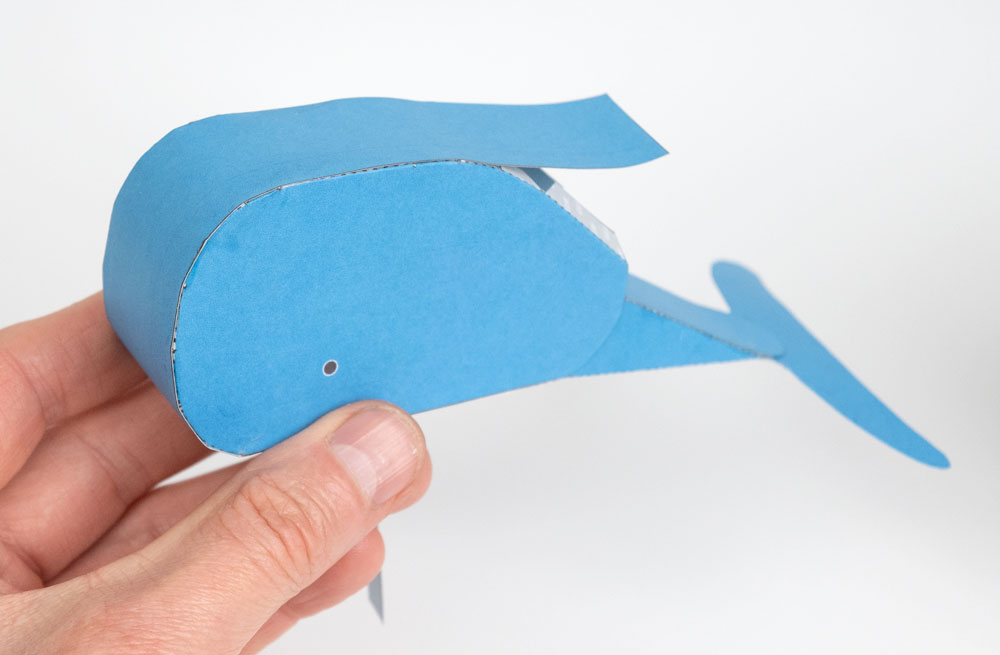
The body front glued into place.
Glue the fins into place.
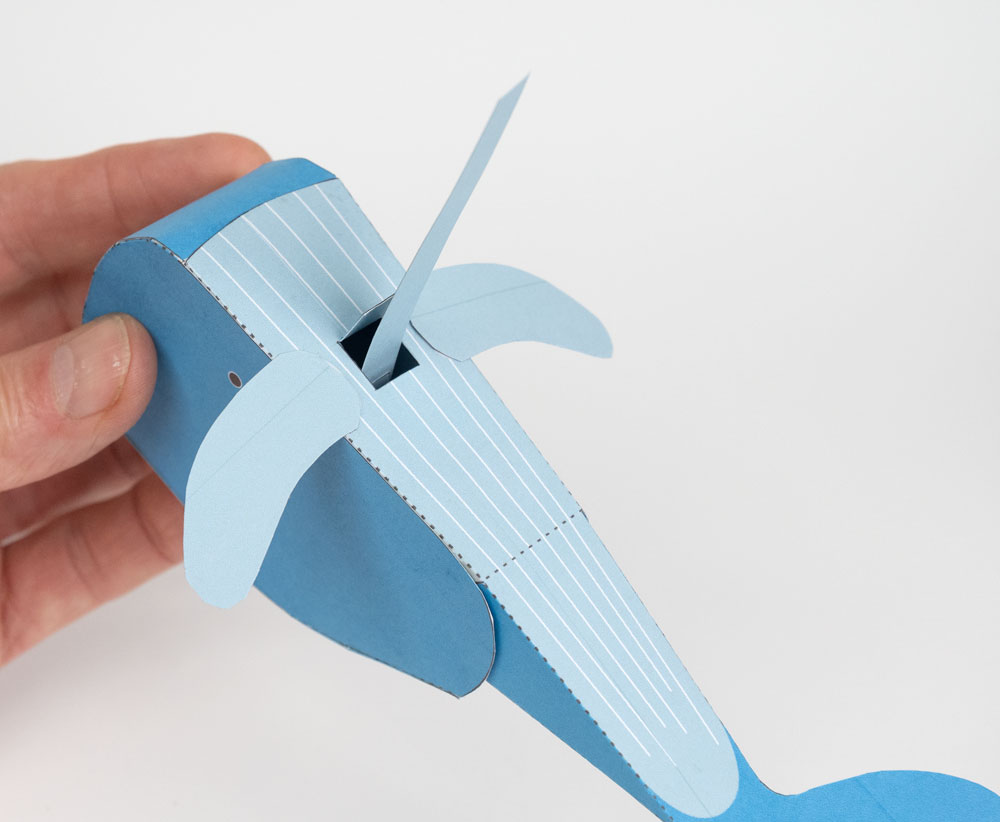
Note that the pull tab that moves the tail comes from the back of the square hole on the whale-base.
Add glue to the tabs at the top of the main pushrod, thread it into place and glue it to the upper inside of the whale. Glue the other tab to the front of the push rod.

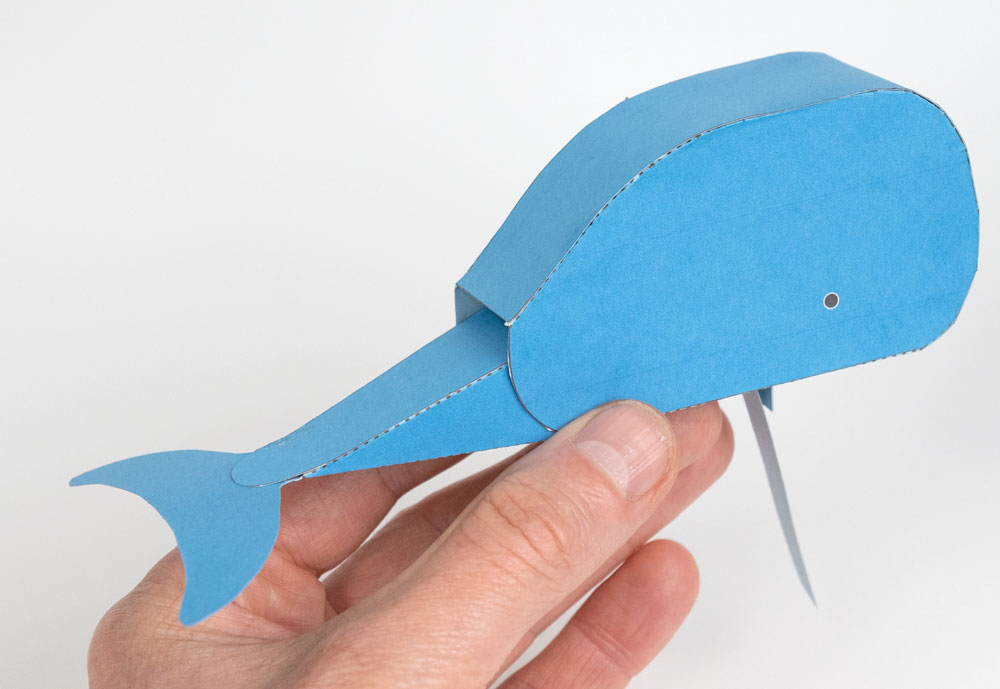
Turn the handle until the crank is at its highest position.
Pull the tail pull-tab as far down as it will go, lifting the tail, then glue it to the slider tube.
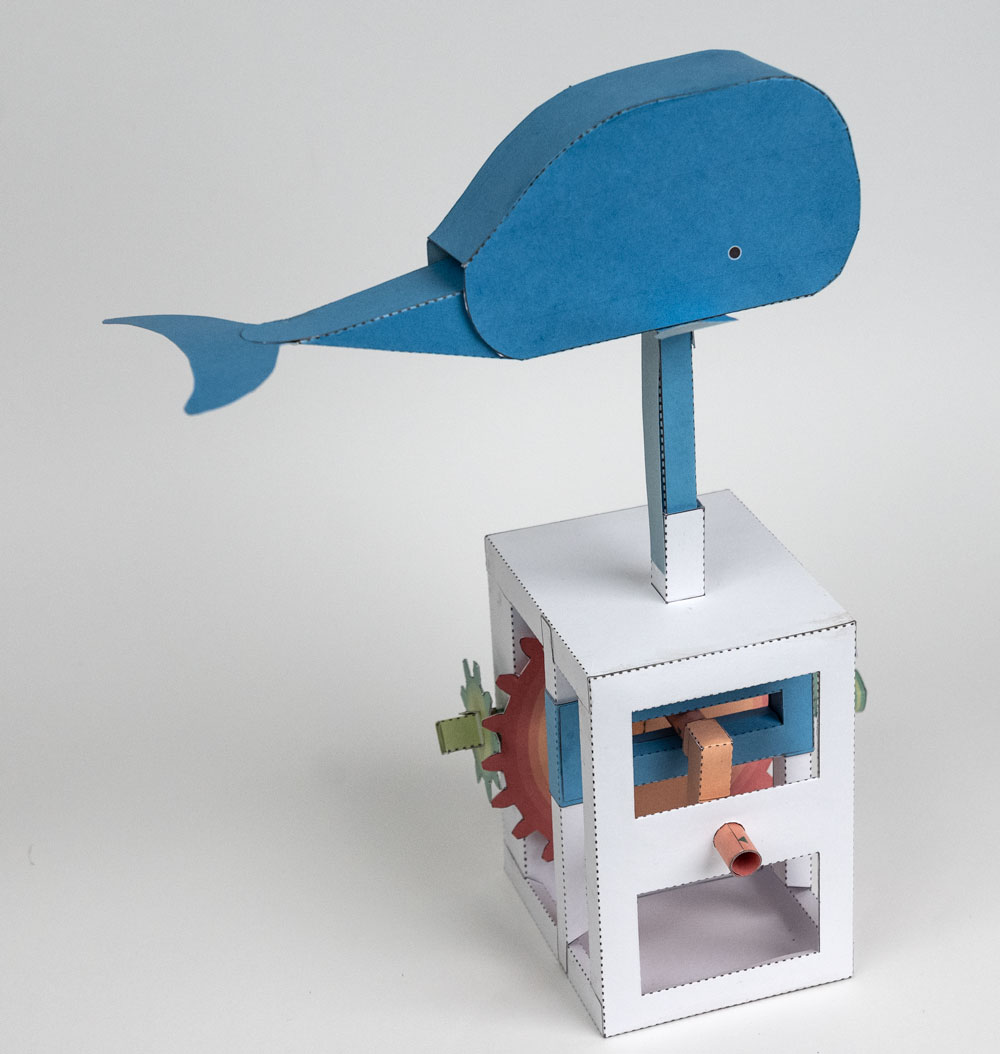
Turn the handle and watch the whale swim!