£5.00
Double Bell Crank
Categories Essential Mechanism, Paper
Tags bell crank, crank, mechanism
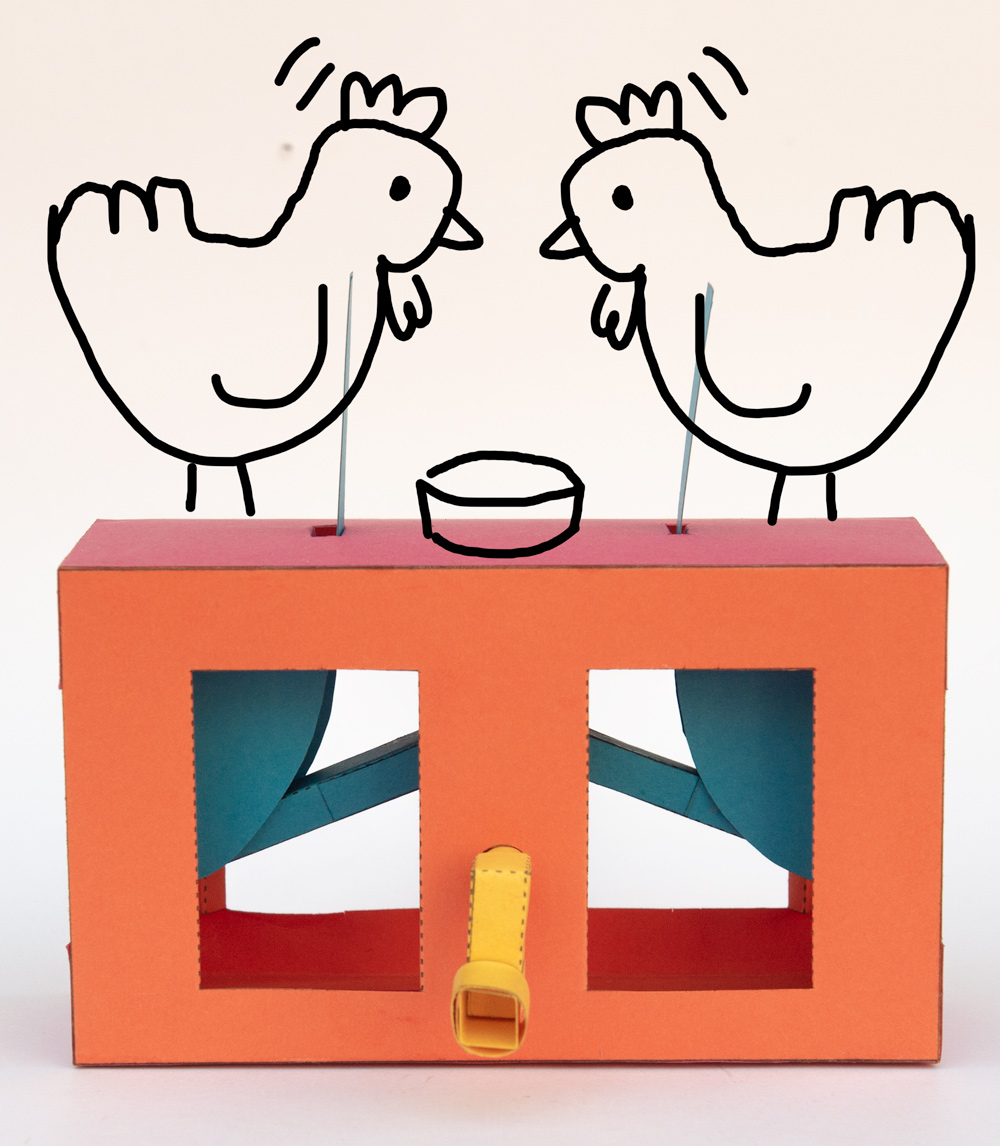
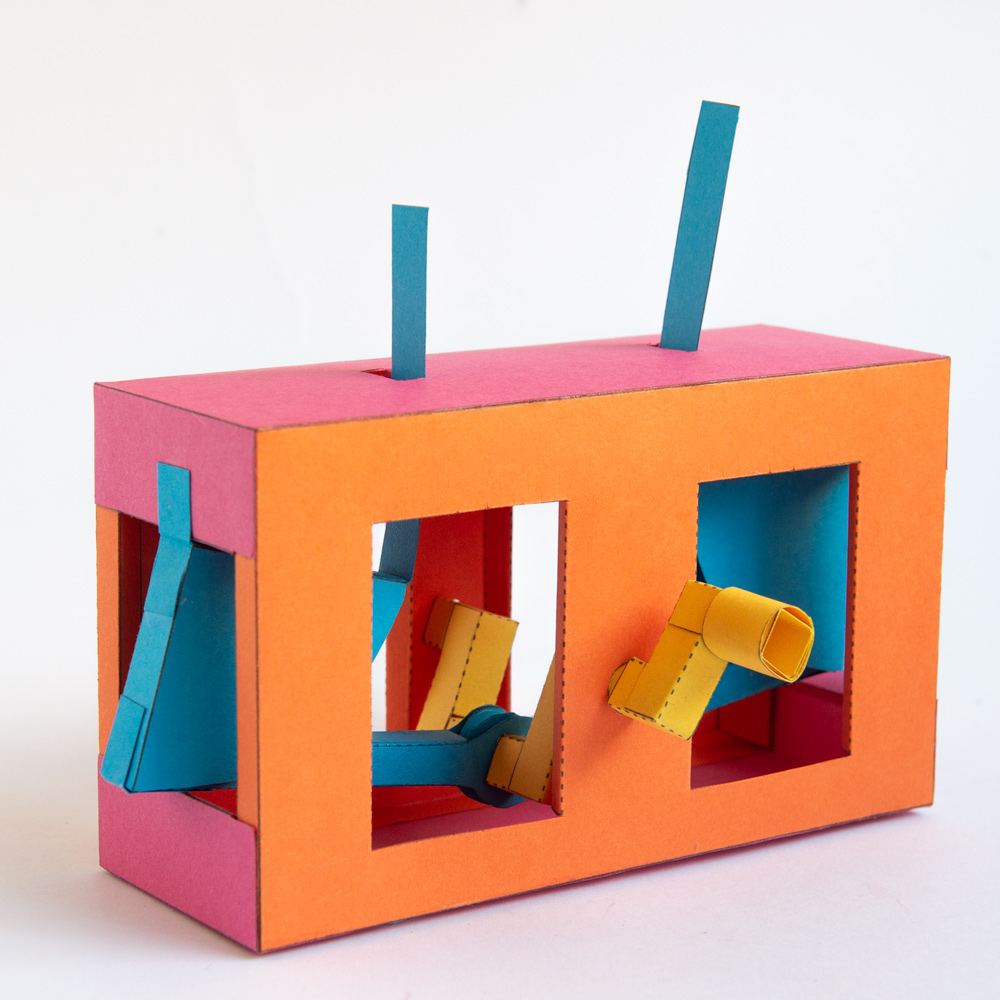
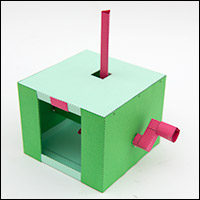
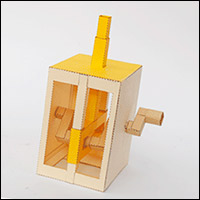
Two bell cranks connected to a central crank drive a pair of straps up and down. Make the model as an exercise in pure paper engineering or as the starting point for your own character based model!
Members can download the parts for free, thanks for signing up! Non-members can join in the fun for £2.50 or equivalent.
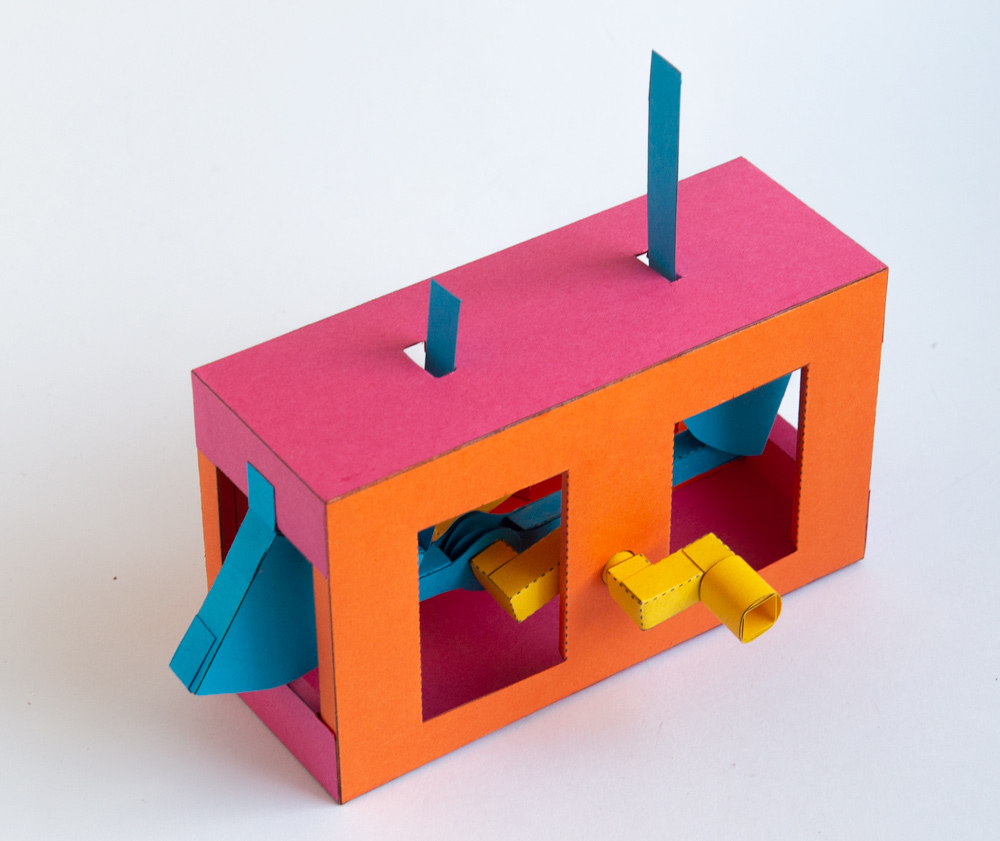
Print out the parts onto thin card, (230gsm) I used coloured card for a colourful model. Score the dotted and dashed lines and cut out the holes before carefully cutting out the parts.

Roll up and glue the three axle-tubes lining up the edges as accurately as possible.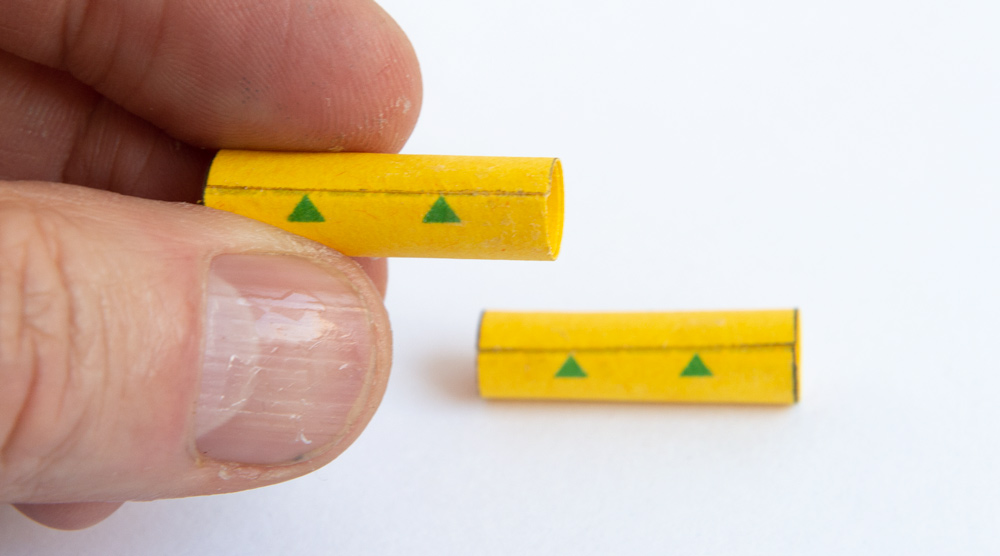 Fold over and glue down the pushrod ends to make double thickness card. Once the glue is dry carefully cut out the parts. Make up the Make the pushrods and glue the pushrod ends into place using the grey areas for alignment.
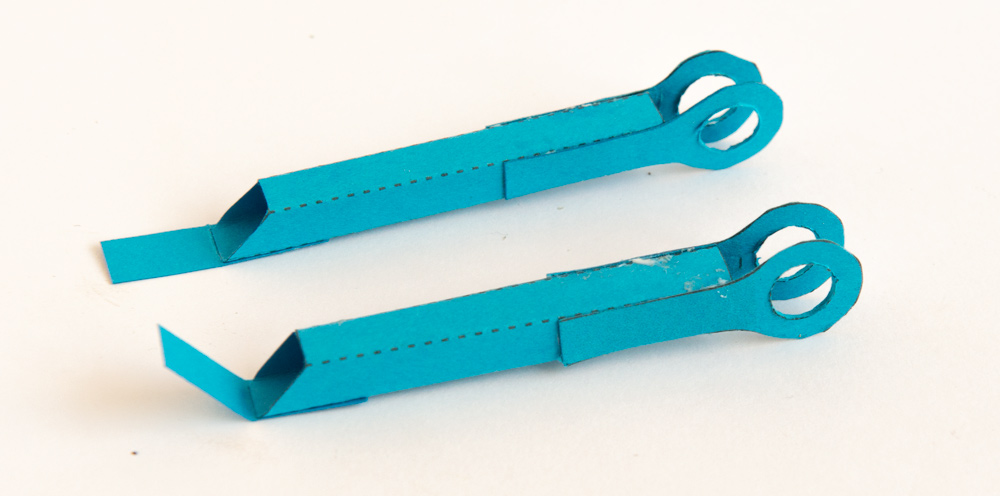
Thread the longer of the three axles through the meshed pushrod ends as shown
Make up the crank pieces and glue them to the ends of the axle.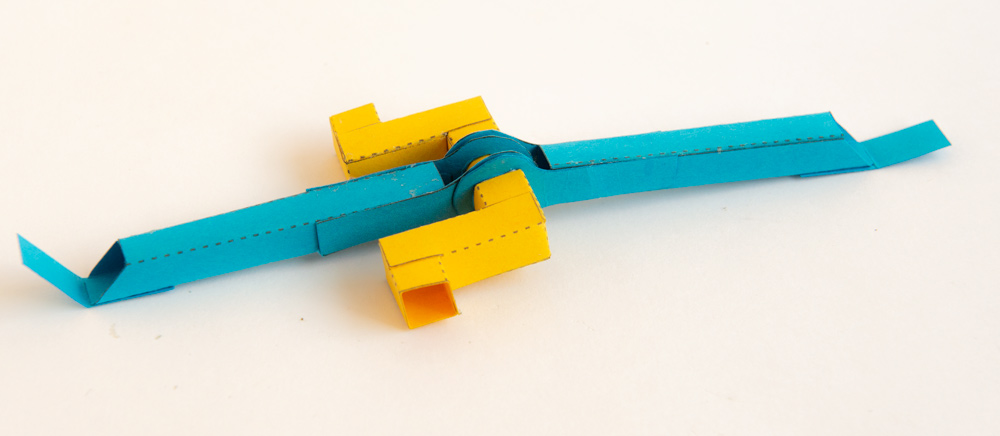
Glue the two remaining axle pieces into place.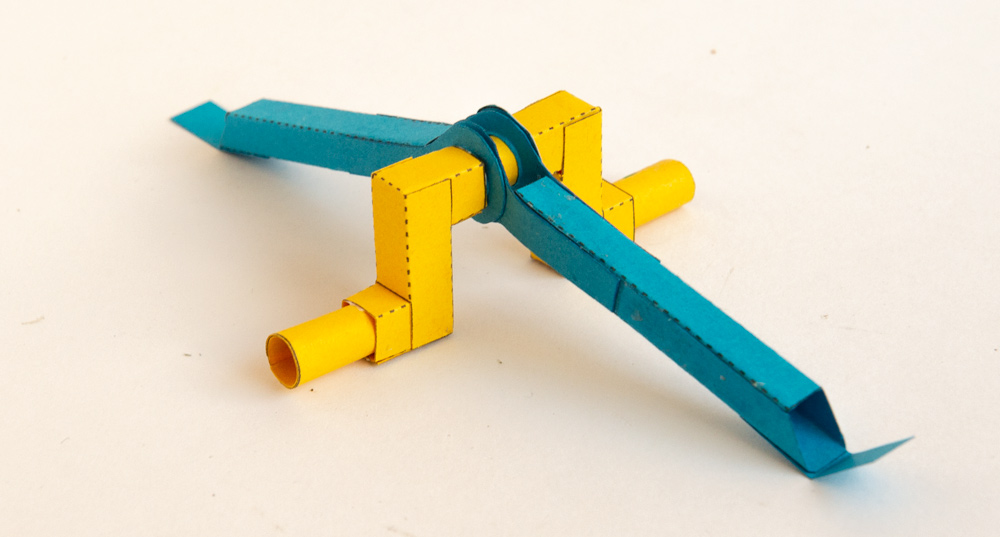
Assemble the two bell crank pieces as shown.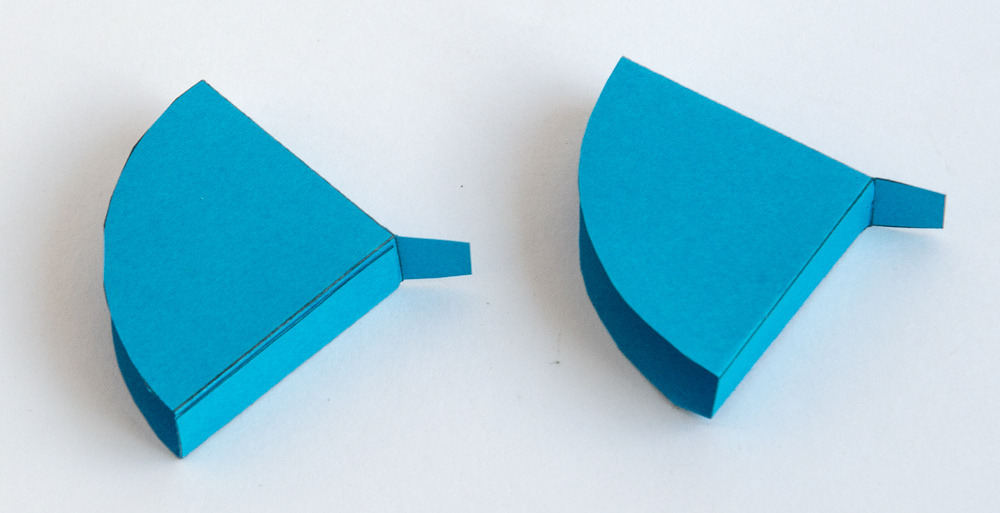
Glue the straps to the bell cranks.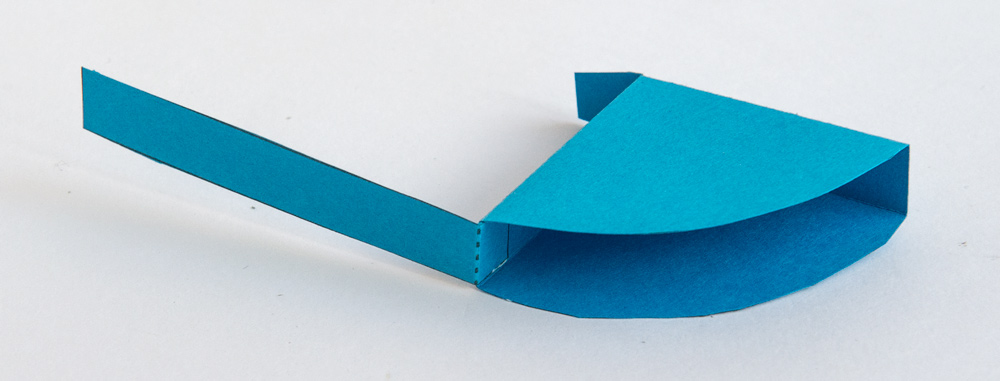
Glue the tabs on the pushrods to the bell cranks.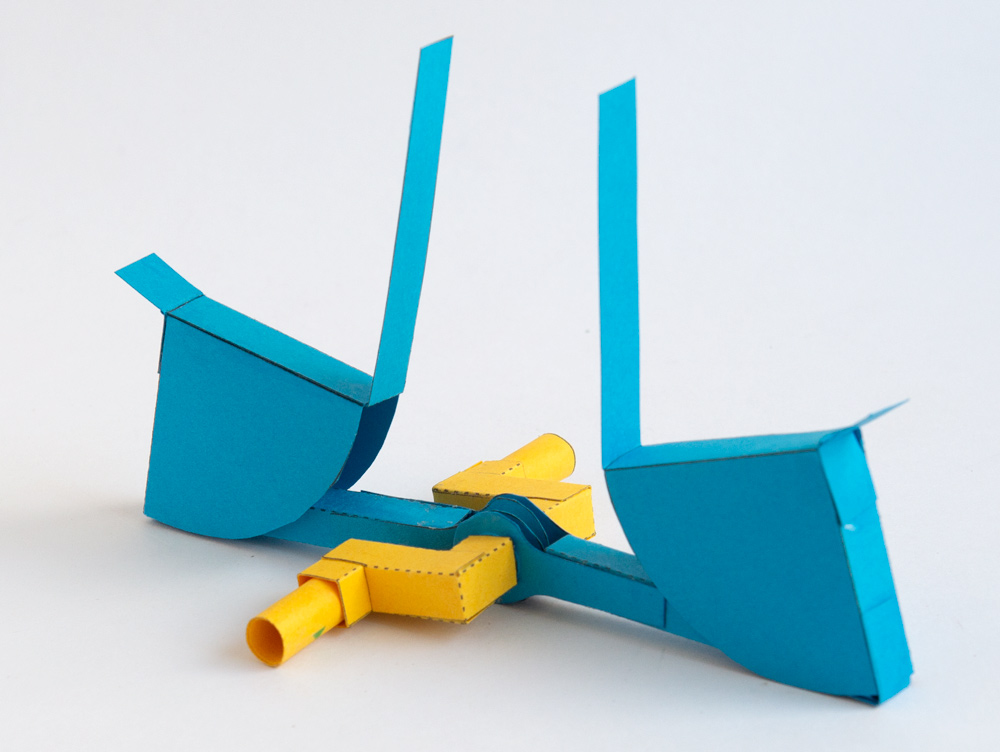
Make up the side pieces as shown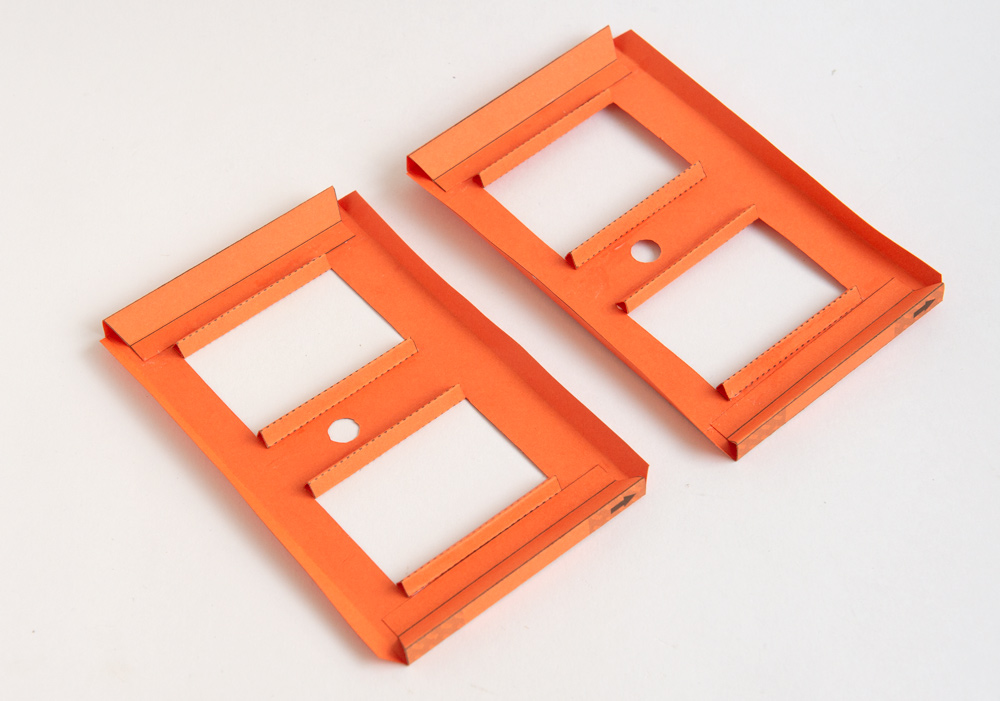
Make up the top and bottom pieces.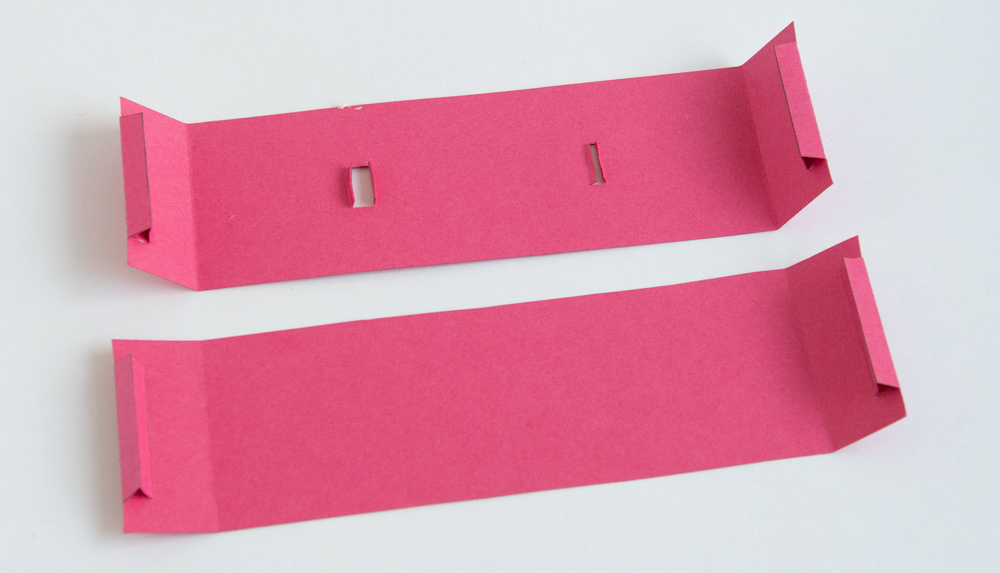
Glue the sides to the top. The arrows on the sides point to the top.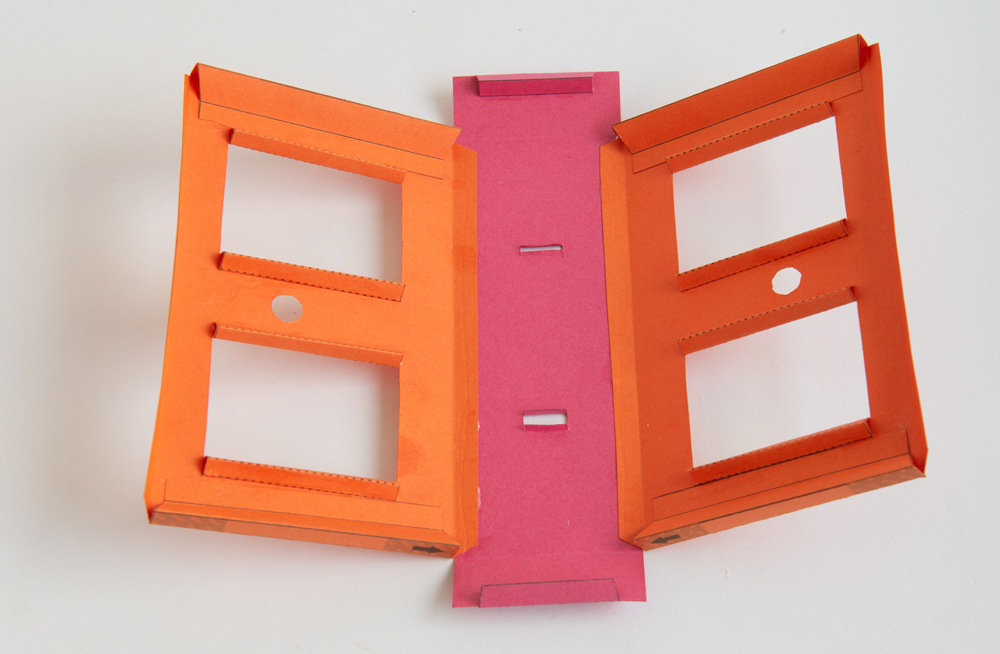
Glue the base to one of the sides.
Thread the straps up through the holes in the box top and fit one of the axles through the hole in the side.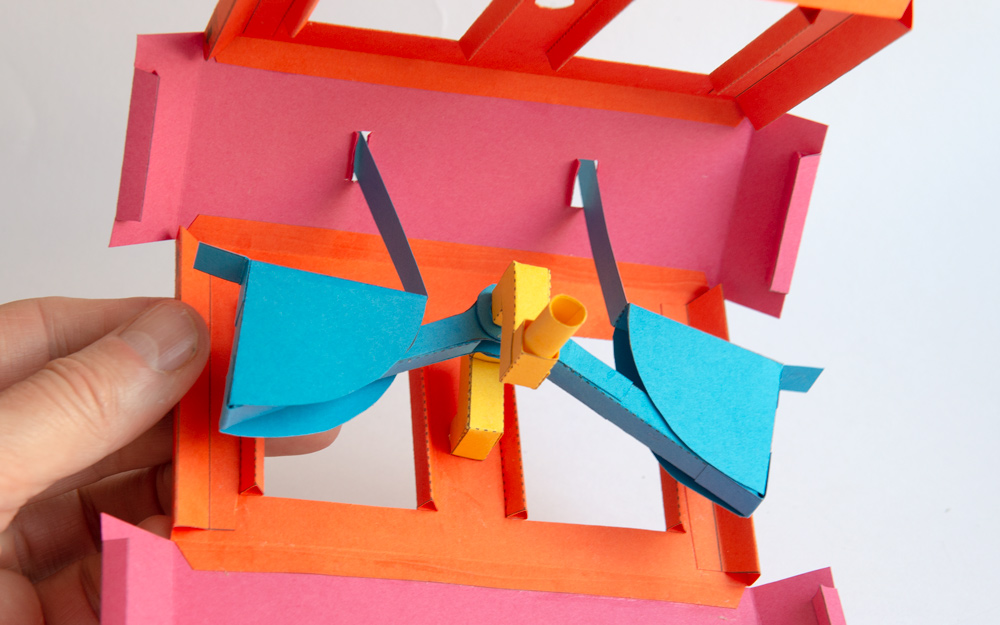
Fold round the box and glue it together.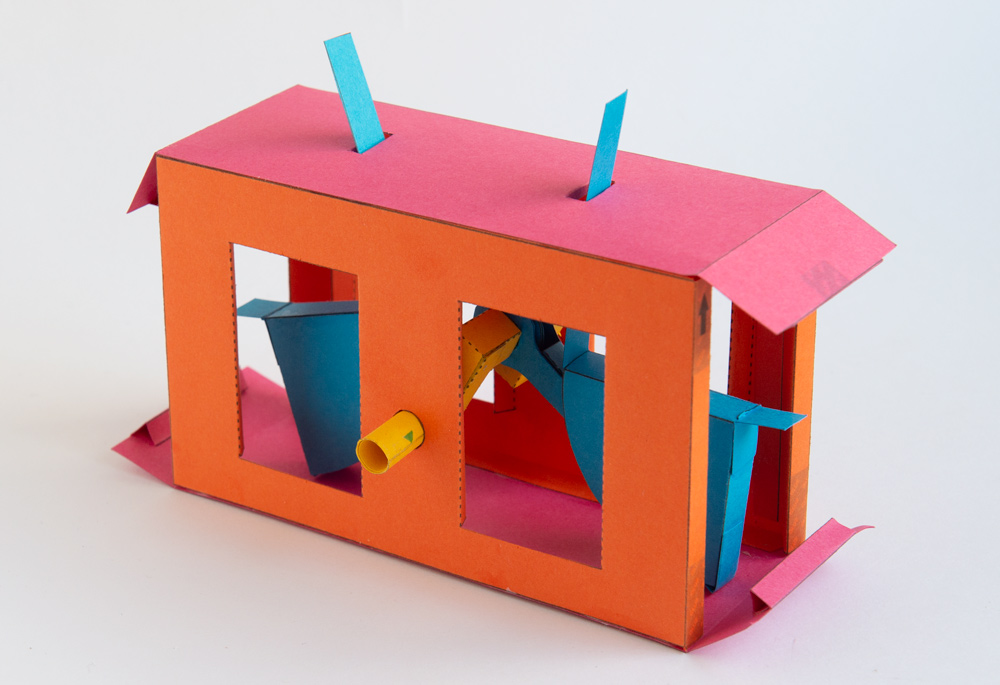
Glue down the end flaps.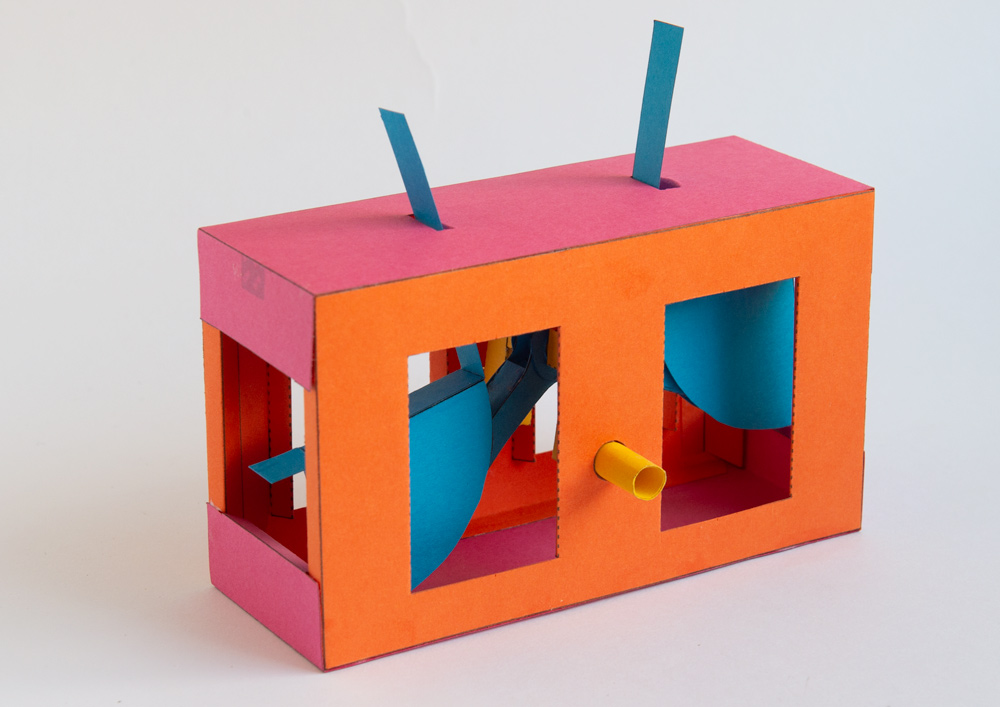
Glue the tabs from the bell cranks to the ends of the box.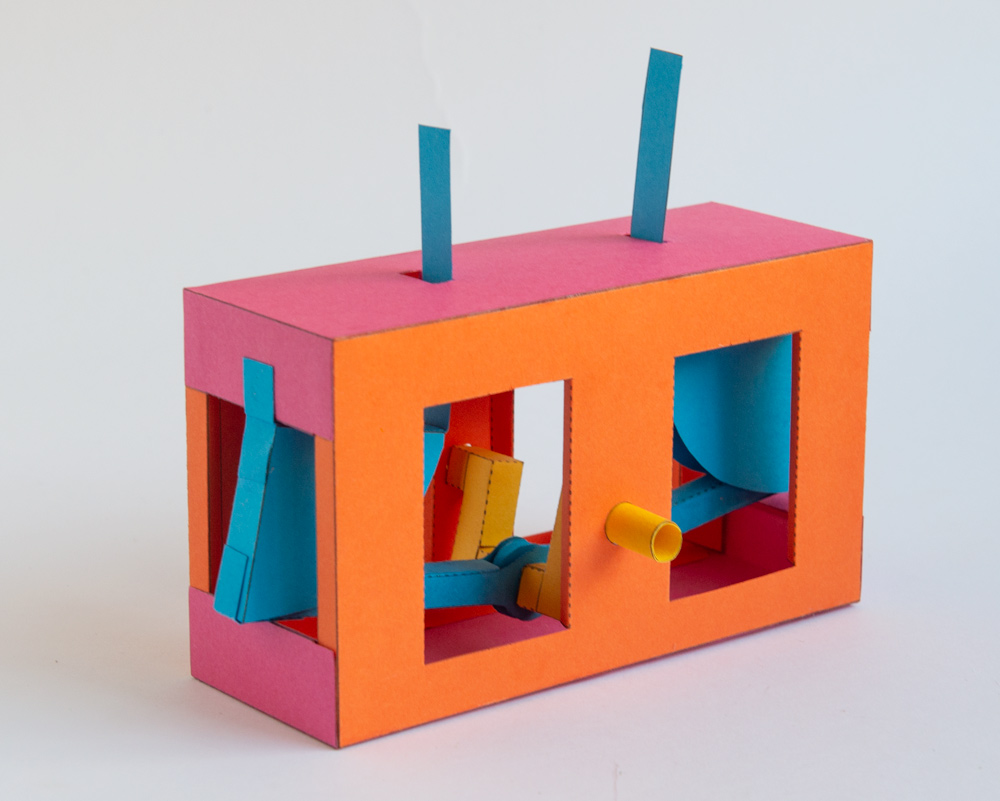
Assemble the handle in three steps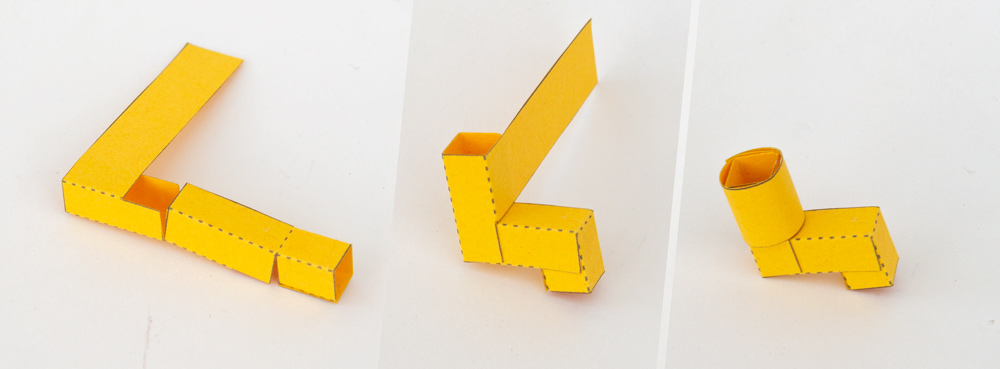
Glue the handle to the axle to the complete the mechanism.
Try adding your own characters to the top of the box!