A paper butterfly for you to download and make. If you are a subscriber (thank you!) you can download the model at the end of this blog post. None subscribers can download the file for a small fee. You’ll need three sheets of thin card (230gsm) and two sheets of 80gsm printer paper.
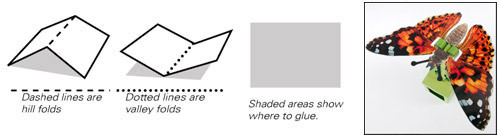
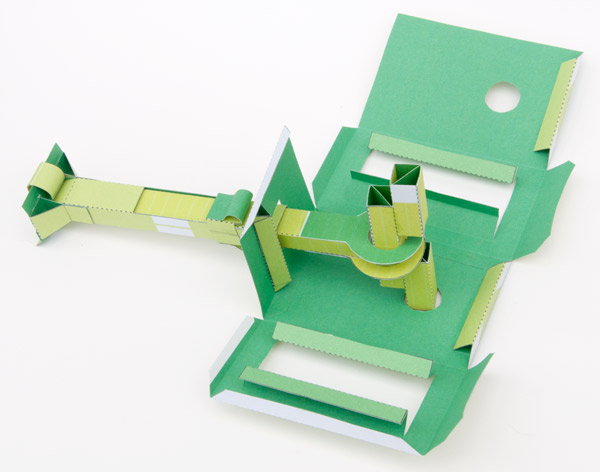
Print out the parts onto the card, note that the first six pages are marked front and back. Print out the front onto card, flip the card over and return it to the printer then print out the back. Let the ink to dry completely before proceeding. Dotted and dashed lines show crease lines, solid black lines are the cut lines. Score all the dotted lines and cut out all the holes except the push rod ends while the sheets are still whole then carefully cut out all the parts.
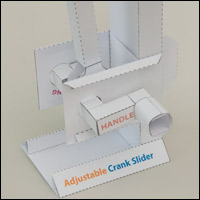
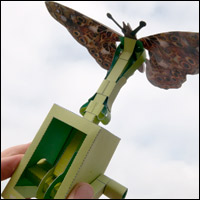
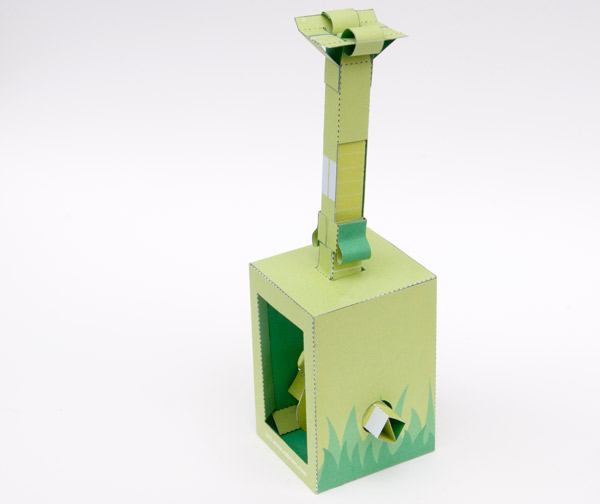
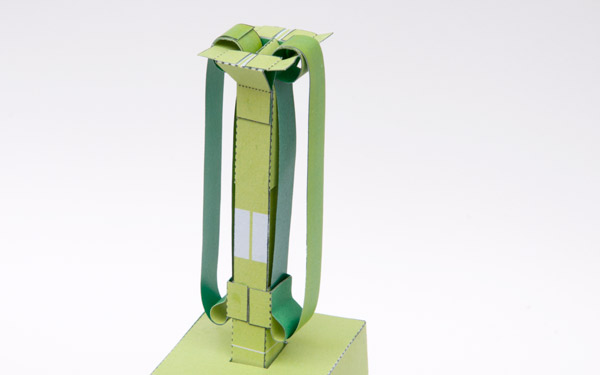
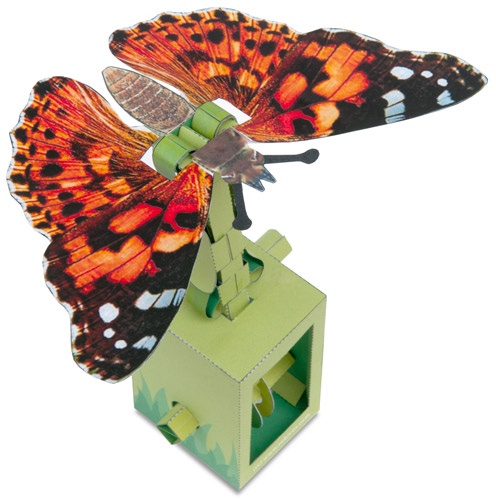
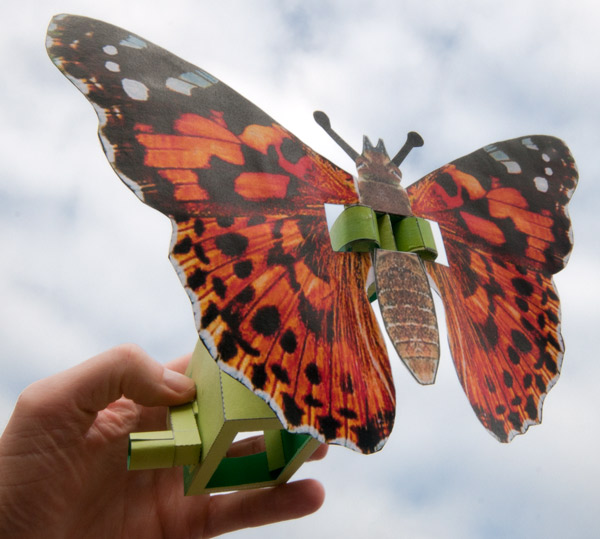 This is the completed model, this is what you are aiming at. Turn the handle and the crank slider / belt drive makes the wings flap vigourously.
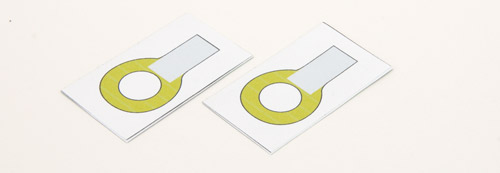
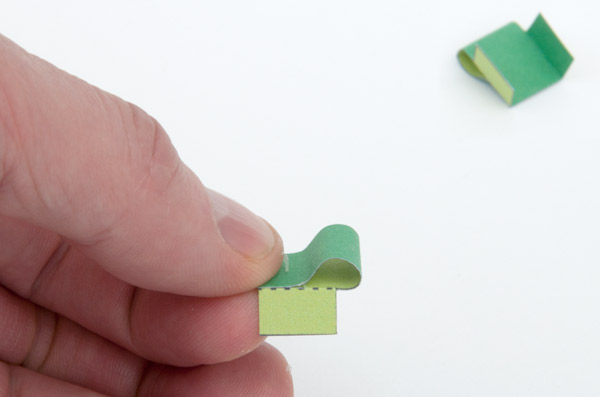
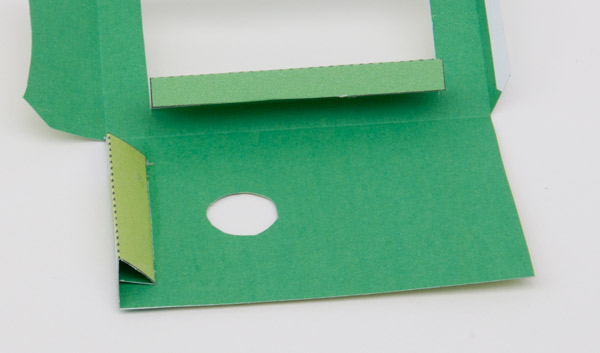
Fold the push rod ends in half and glue them down to make double thickness card.
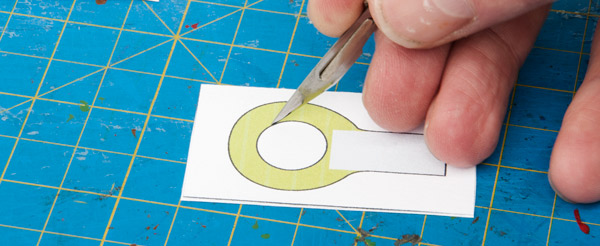
Once the glue is completely dry cut out the holes in the centre and cut out the two push rod ends.

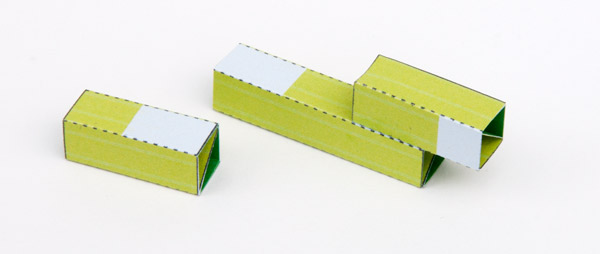
Make up the crank shaft parts in two stages. Fold the diagonal into place and glue it down, this makes the tube rigid and strong. Fold the remaining flap round and glue it down.
Glue one of the crank ends to the crank centre as shown above. Don’t glue the second one down yet.
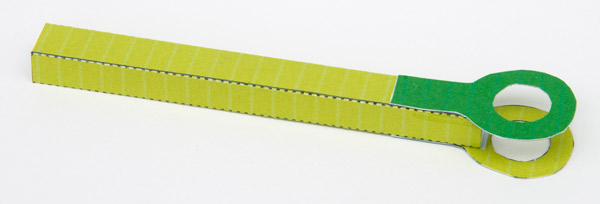
Glue together the main push rod and glue on the push rod ends using the grey area for alignment.
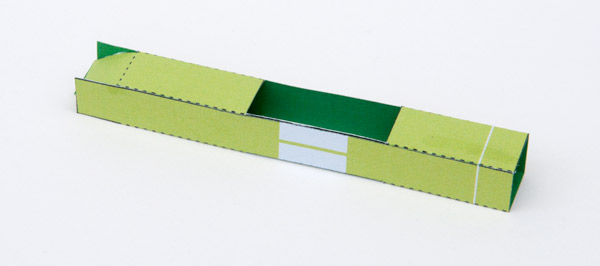
Fold the slider tube round and glue it down. Use the small tab to join the two top ends of the slider tube together to make a roof like point. Glue the adjacent ends of the slider to to the ends of this roof.
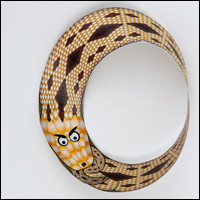
Roll round and glue together the two wheels as shown above. Use the thin grey line to line up the piece that goes across the diameter of the wheel.
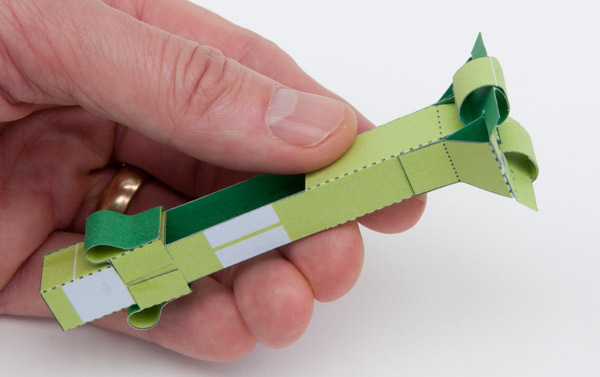
Assemble the two wheel supports and glue then to the top of the slider tube.
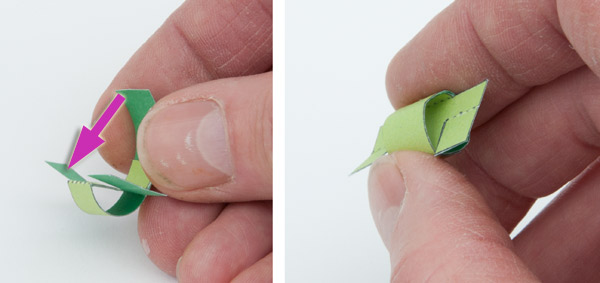
Gently curve round and glue together the end guides as shown.
Glue the end guides to the slider tube. There should be a gap under the end guides where the belt will thread.
Glue the tabs on the wheels to the supports. The wheels should be free to roll back and forth.
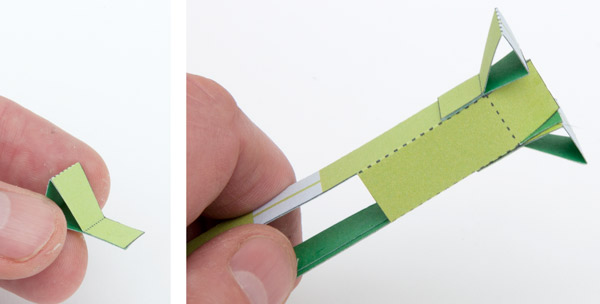
Fold round and glue down the tabs on the bottom of each of the box parts to make a triangular tube.
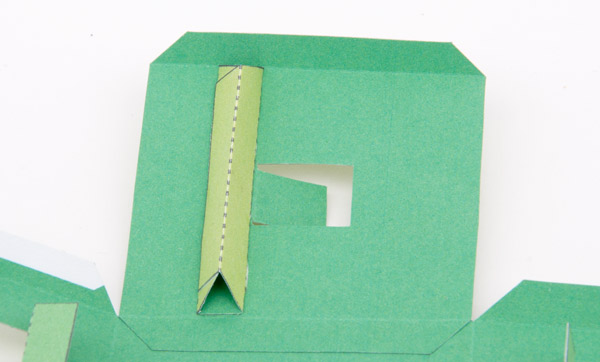
Fold round and glue together the box top stiffener. Glue it to the box top so that it lines up with the crease line where the tab sits.
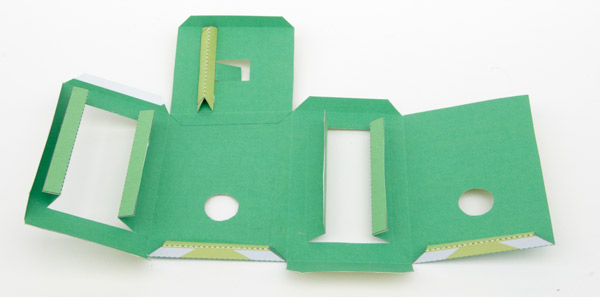
Glue the box parts together and glue on the box top.
Thread the crank through the holes in the push rod ends. Complete the crank by gluing on the remain crank part.
Glue the slider tube to the tab on the box top using the grey area for alignment.
thread the push rod up into the lider tube.
Fold the box round and fit the crank through the holes in the box sides.
Glue down the lid.
Glue down the two tabs on the base.
Fold the vertical tabs inside the box into place to make triangular tubes.
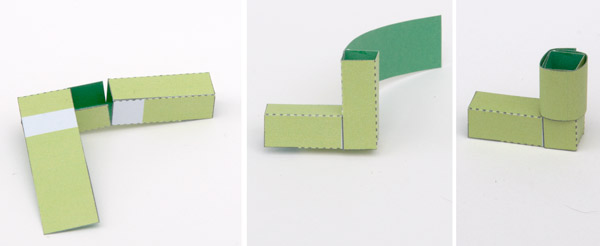
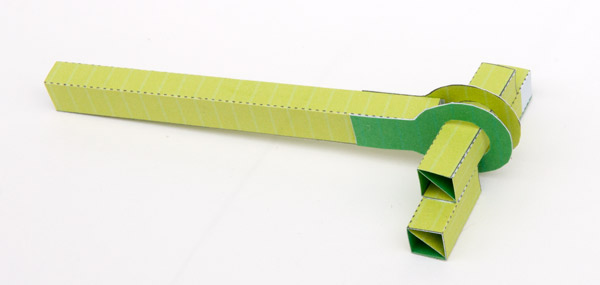
Make up the handle in three stages. Make up the two tubes, fold them one into the other, finish off by rolling the long tab round and gluing it down.
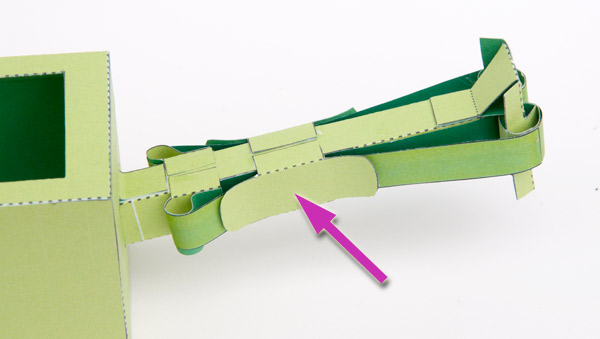
Glue the handle into place
With the wheel level as shown, glue the end of the paper belt to the top of the wheel in the position shown. Use a thin strip of glue.
Thread the bolt down through the end guide and back up again. Glue it to the belt where it joined the wheel, you may need to cut it down to length.
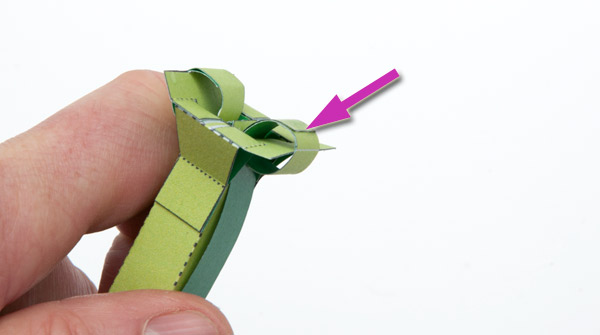
Tricky bit. Move the wheel so that it is at its lowest point point (top arrow)
Apply a dot of glue to join the belt to the push rod right at the top near the top of the hole in the slider tube. Make sure you don’t get any glue anywhere except where it joins the belt to the pushrod.
Repeat the process on the other belt.
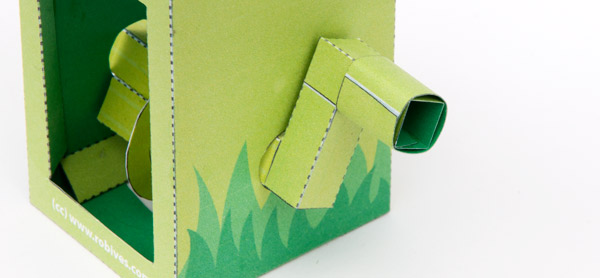
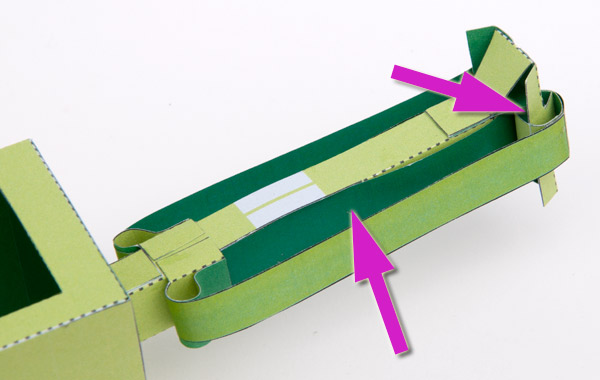
Glue the two belt guides into place as shown in the picture. They will hold the belt out of the way but the belt should be free to slide through the gap.
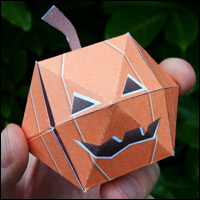
Complete the model by gluing on the wings and body. Let the glue dry completely then give it a try!