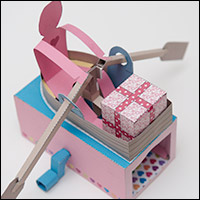
 The Love Boat.
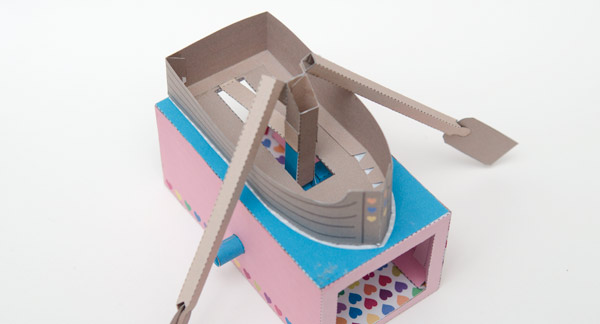
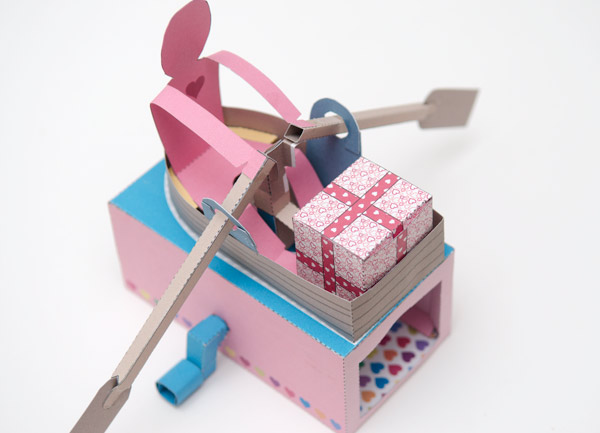
Turn the handle on this paper animation and the enthusiastic rower delivers his chocolate candy gift to your True Love.
This delightful model is driven via an interesting crank and linkage mechanism. The download comes in both coloured and un-coloured versions and can be easily adapted to add your own rowing character.
Members can download this project for free thanks for signing up! Non-members can join in the fun for £2.50
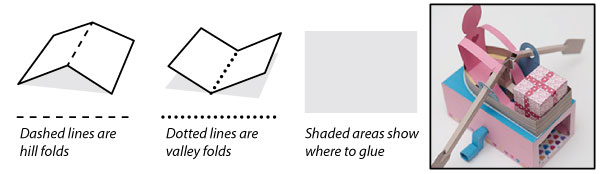
Print out the three pages onto thin card. 230 gsm / 67lb is perfect for the job. Score along all the dotted and dashed lines and cut out the holes before carefully cutting out the parts.

Make up the two crank ends by folding over the card and gluing it down to make double thickness before carefully cutting out the parts.

Roll up the three crank pins gluing down the ends as accurately as possible.
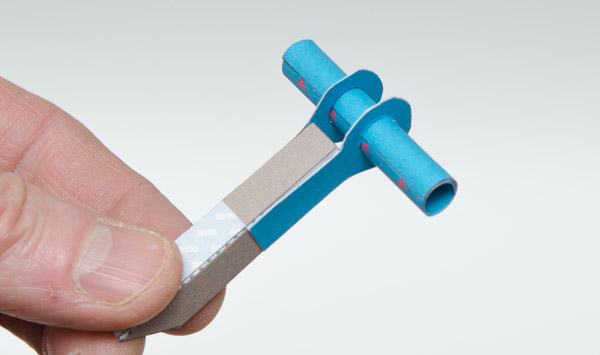
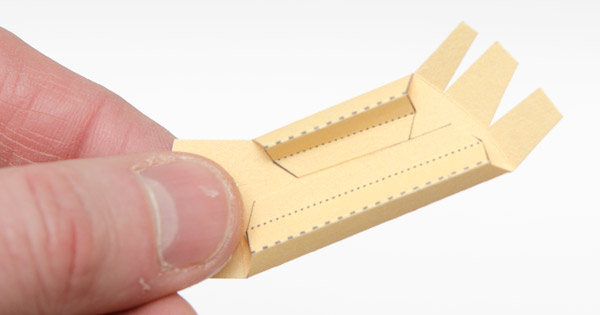
Make the push rod. Glue the cranks ends to the push rod and fit the longer pin through the holes.

Assemble the two crank pieces.
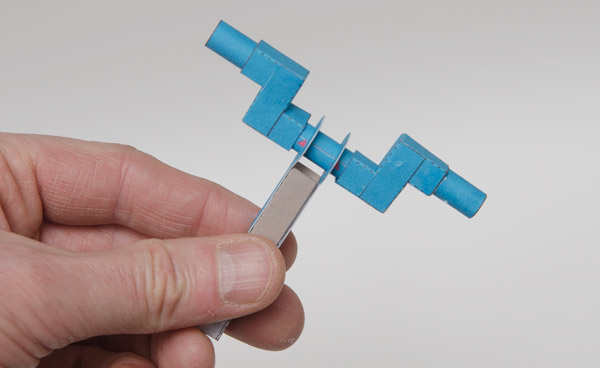
Glue the crank pieces to the centre pin lining them up as accurately as possible with each other.
Glue the other two pins into place.
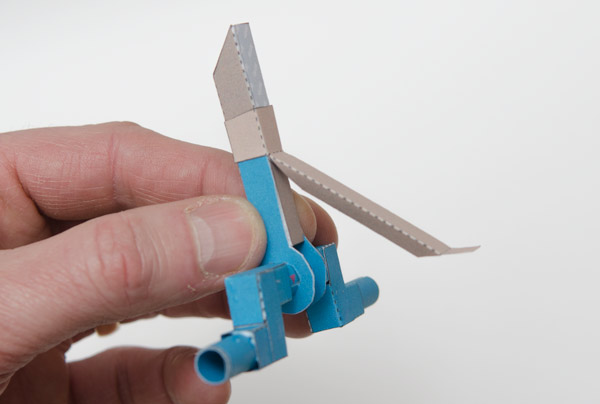
Assemble the linkage. Glue it to the push rod so that the tabs are touching the tops of the crank ends.
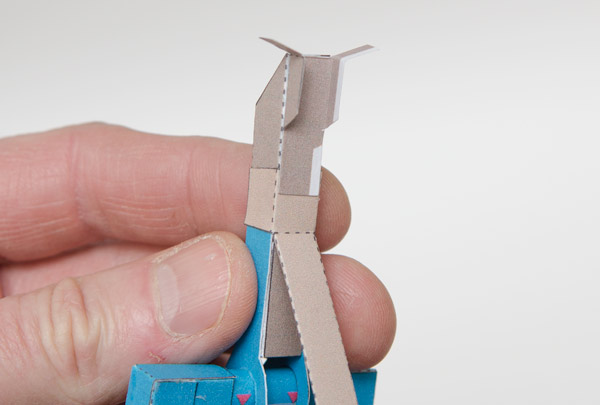
Glue the oar holder into place.
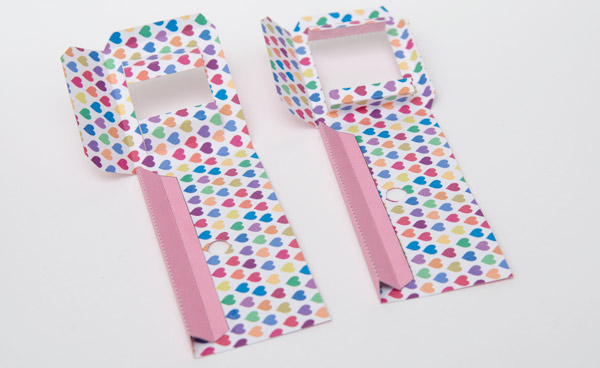
Fold up the tabs on the box to make triangular tube sections.
Join the two box pieces together at one end and glue on one end of the box top.
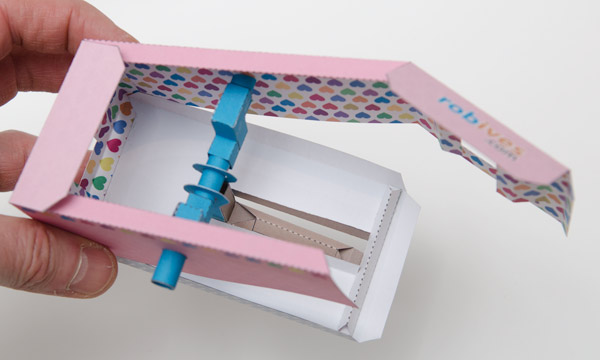
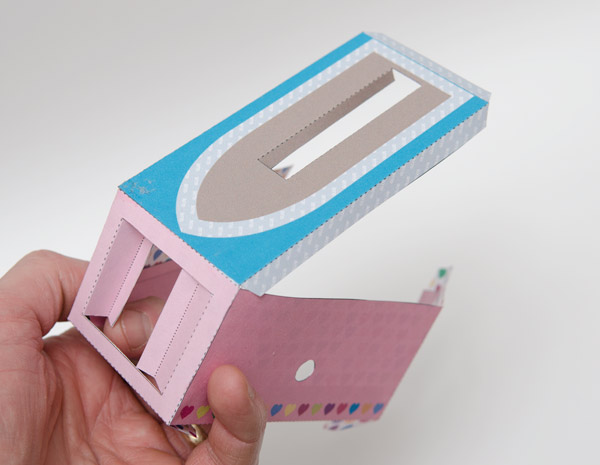
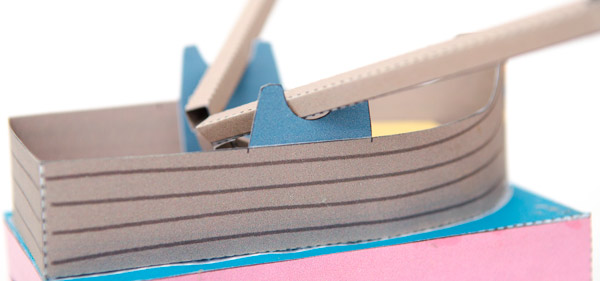
Thread the crank pins through the holes in the side of the box and the push rod up through the hole in the box top. Glue the box top stiffener across the width of the underside of the box top lining it up with the edge of the long hole
Fold the box round and glue it closed. Glue the end of the linkage to the end of the long hole as seen in the picture.
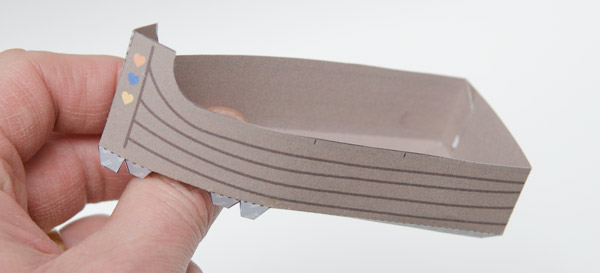
Glue together the two boat sides.
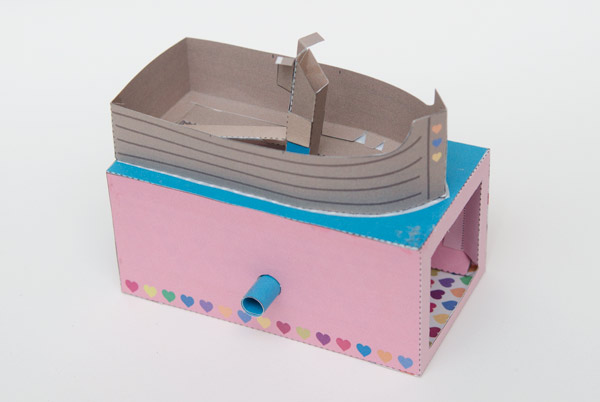
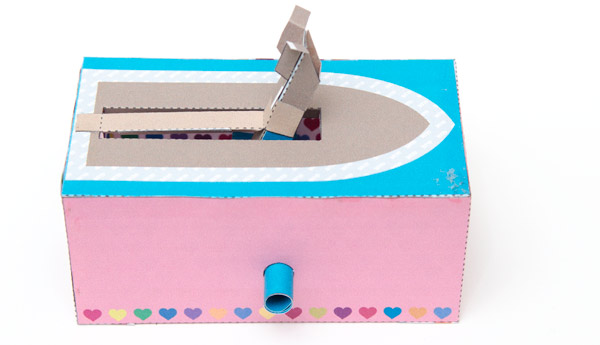
Glue the boat to the box top.
Assemble the two oars and glue them to the oar linkage.
Assemble the seat.

Glue the seat into the prow of the boat using the long tabs to determine the height.
Make up the rowlocks with double thickness card and cut them out.
Glue them into the side of the boat between the two small black lines.
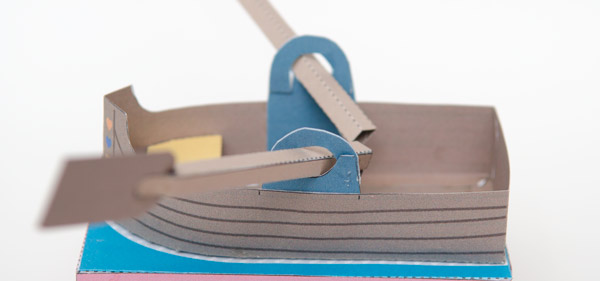
Glue the rowlock tops into place loosely constraining the oars.
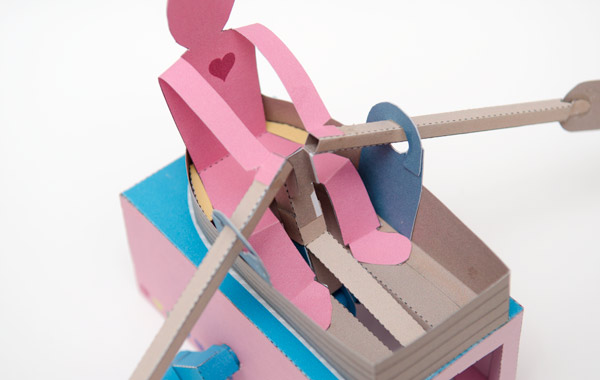
Fit the rower into the boat. His waist crease line should be approximately five millimetres from the back of the seat. Glue his feet to the deck and his hands to the oars. He’s going nowhere!
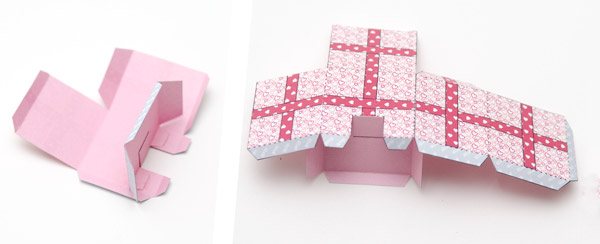
The box has a cut out at the bottom front so that it clears the linkage. Fit the base into place first then join the two sides together.
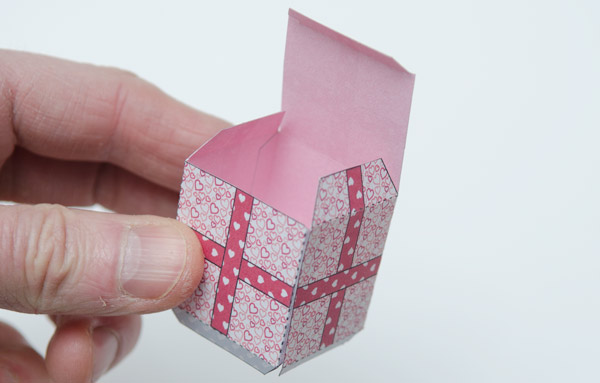
Complete the box but don’t glue down the lid.
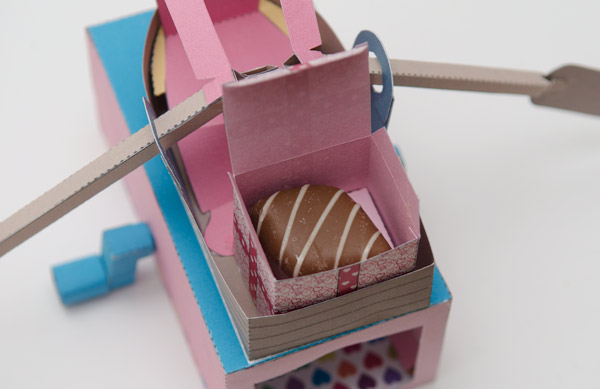
Glue the box into the boat with the cut out facing towards the rower. Add a chocolate and close the lid.
Set your rower to work delivering your gift to your True Love!