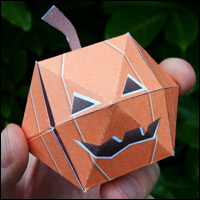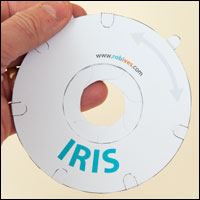
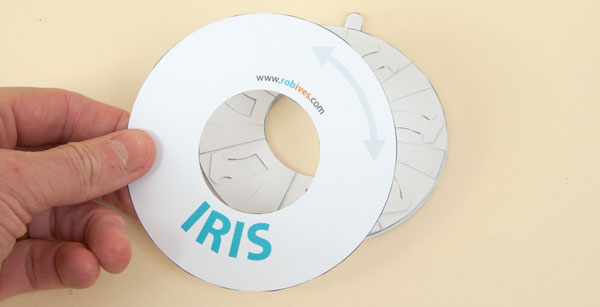
 A working paper iris to download and make. This seven blade iris is the same mechanism that is used in camera lenses. I’m sure this mechanism will come in useful for future projects!
Members can download the parts for free at the link, non-members can download the parts for £2.50
I’ve added a slightly modified version of the file for users with laser cutters.
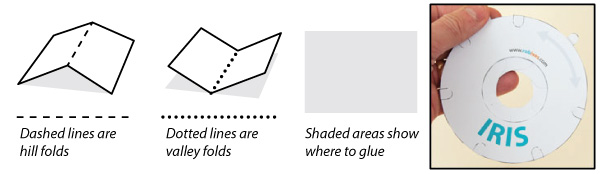
Print out the parts onto thin card. (230 micron / 67lb) Score along the dashed lines and carefully cut out the holes before cutting out the pieces.
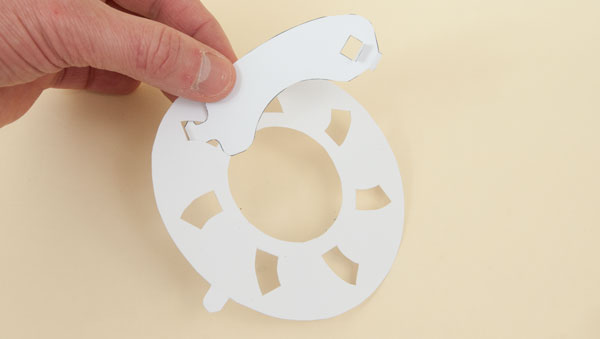
Flip over the inner front piece. Working from the back, thread the vane tab into the slot. Use the picture above to ensure that you have the alignment correct.
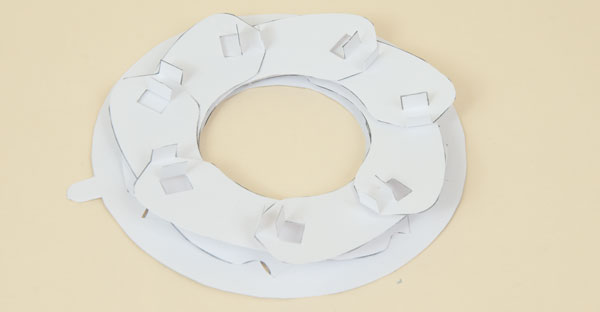
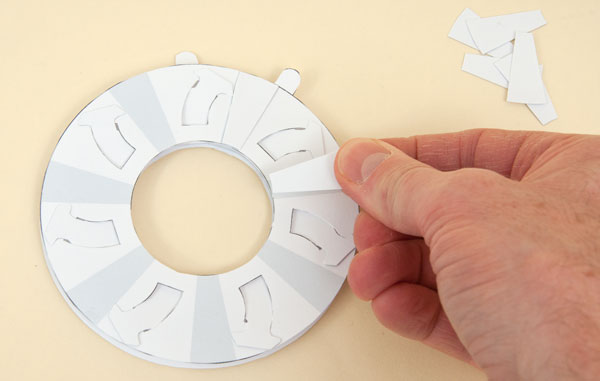
Fit all seven of the vanes into place so that they overlap each other and are lined up with the edge of the hole. Notice that the tabs on the free end of the vanes are folded up at ninety degrees.
Locate the inner back piece so that the small handle is slightly to the right of the small handle on the inner front piece. Fit the vane tabs through each of the seven holes.
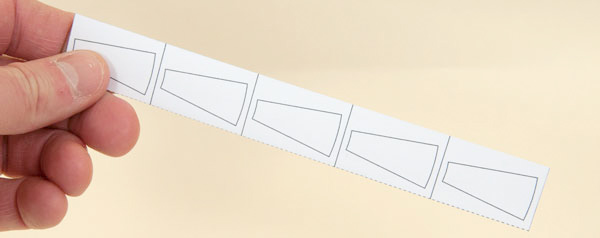
Fold over the three strips of spacers and glue them together to make double thickness card. Set them aside until the glue dries.
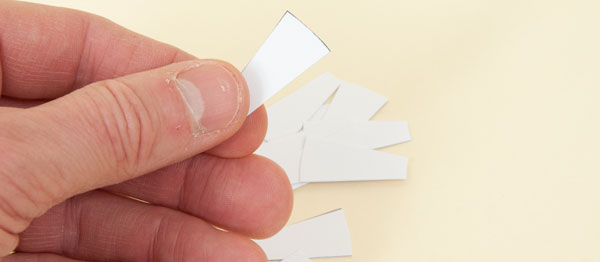
Cut out the spacers.
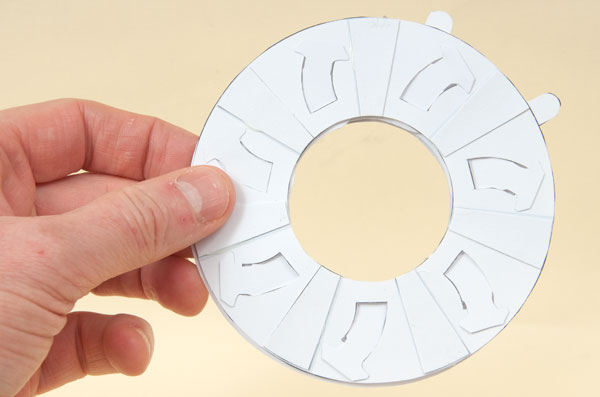
Flip the iris so that you are looking at the inner back.
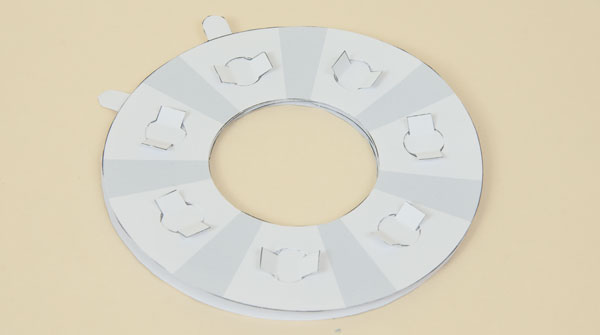
Glue a spacer to each of the grey areas. Line up the end of the spacer with the edge of the hole. The spacers are just slightly shorter than the width of the inner back, this ensures that the spacer doesn’t stick out past the edge of the back.
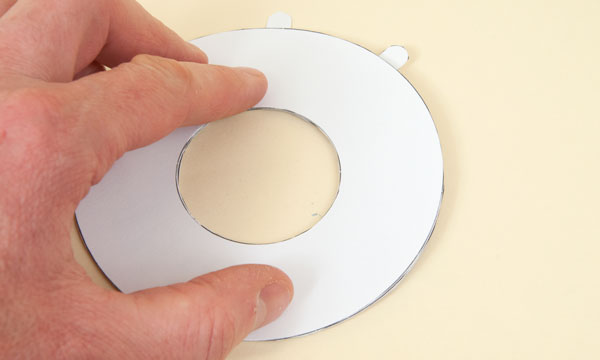
Lay the iris on its front and glue the back cover to the seven spacers.
Flip the iris over so that you are looking at the front.
Glue the remaining spacers to the grey areas on the inner front again lining up the spacers with the inner edge of the hole.
Prepare the iris front cover without gluing anything yet.
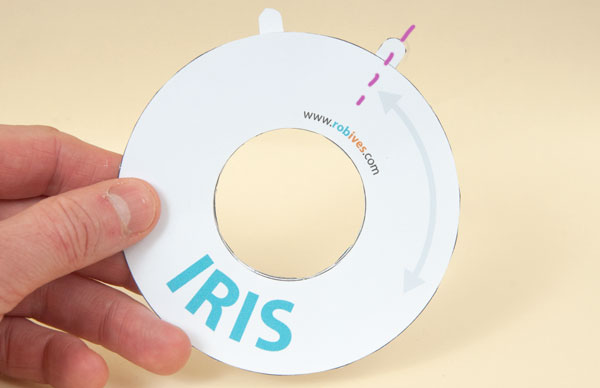
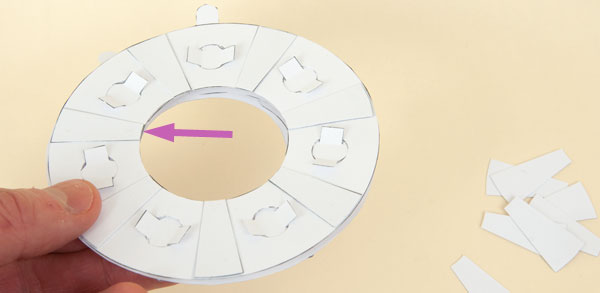
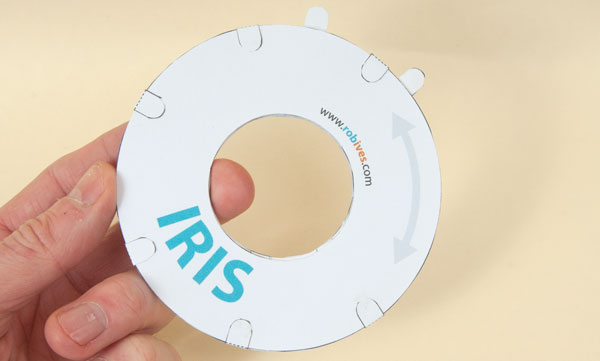
With the iris fully open, line the end of the grey arrow with the right hand handle. Hold all the parts together.
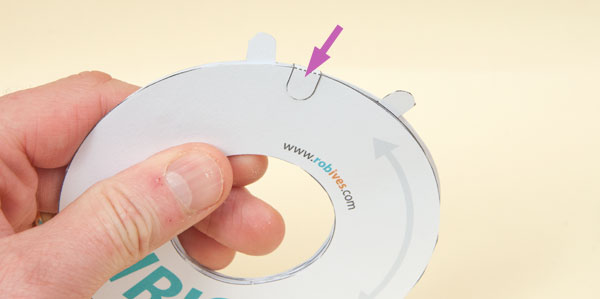
There are six tabs used to join the front to the back. The first tab fits between the two handles. Glue the tab to the front and back covers to that it is over the spacer inside the mechanism.
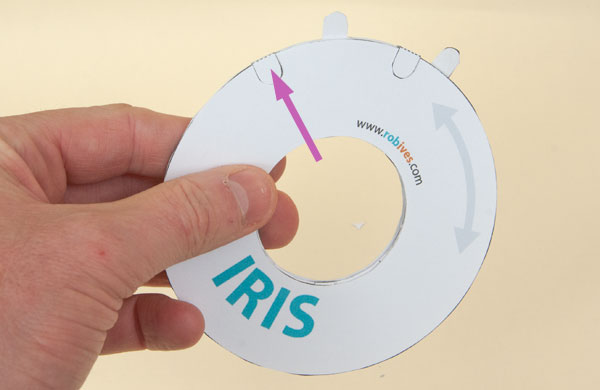
Work your way round in an ant-clockwise direction adding a tab aligned with each of the spacers.
Once complete let the glue dry completely. Once you are complete, hold one handle and move the other to open and close the iris. See if you can extent this project by putting the iris to use. Perhaps a gift box or cover for a picture.