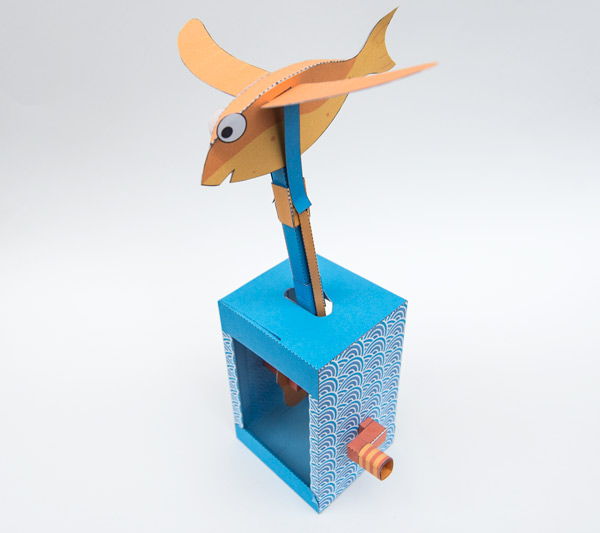
 Check out the Flying Fish is animated action on my Instagram feed here This paper animation is based around the Crank/Cam Essential Mechanism and fitted with one of the alternate cams from here. Members can download the model for free, thanks for your support! Non members can join in the fun for $3.75/£2.50
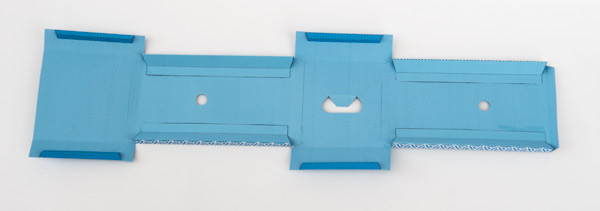
The parts are provided in both coloured and un-coloured format. Choose which you would like then print out the parts onto thin card (230gsm is ideal) The coloured sheets are printed front and back. Print out one side, flip it over and return it to the printer to print out the other side.
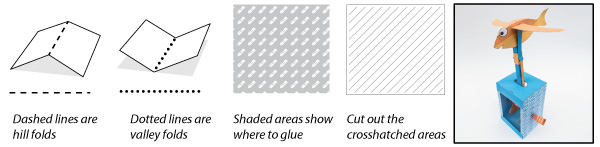
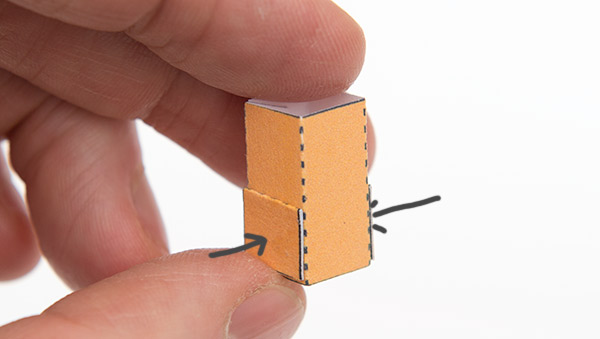
Score along the dotted and dashed lines and cut out the holes before carefully cutting out the parts.
Some of the parts are made from double thickness card for extra strength. Fold the card over and glue it down. Once the glue is completely dry carefully cut out the parts.
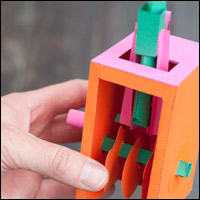
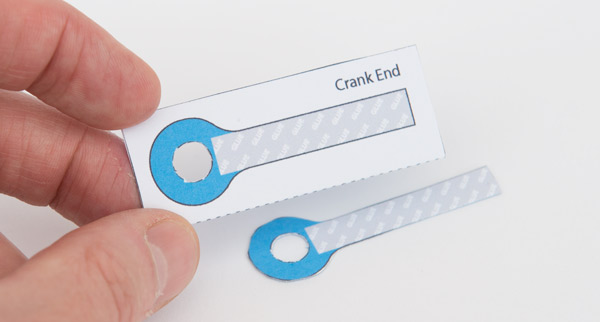
Crank ends:
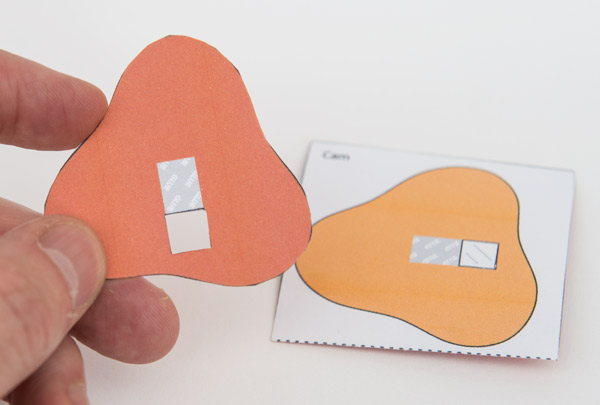
Cams:
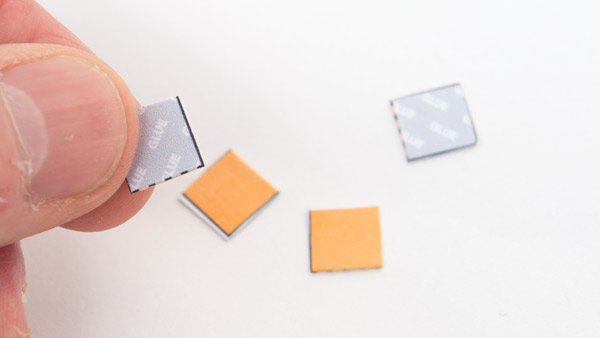
Spacers:
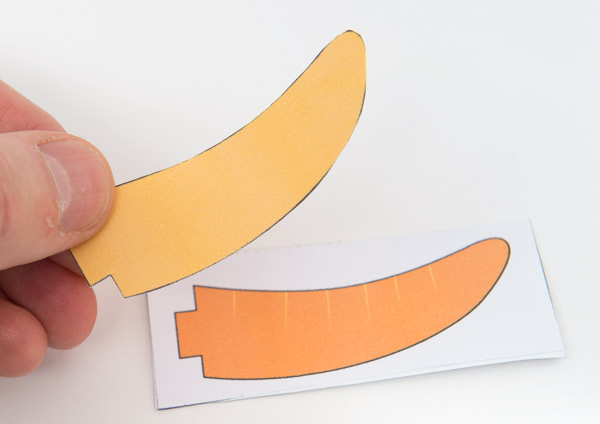
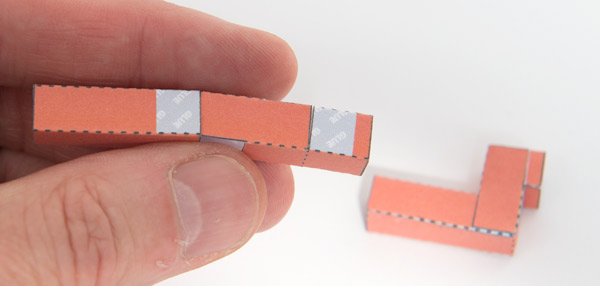
Fins:
Make up the two crank shaft pieces.
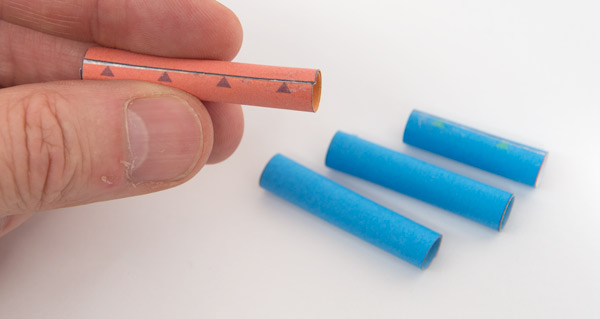
Roll round and glue down the axle tubes carefully lining up the edges with the end of the glue area.
Thread the shortest axle onto the two crank ends then glue them to the end of the push rod so that the axle is accurately lined up perpendicular to the push rod.
Glue the crank shaft pieces to the short axle tube. Make sure that it is free to turn.
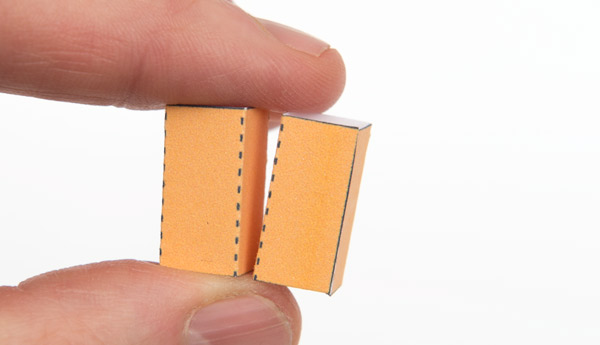
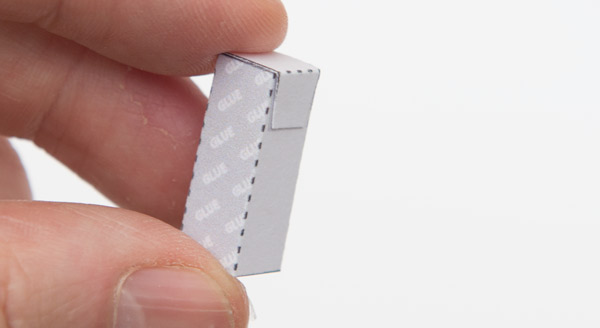
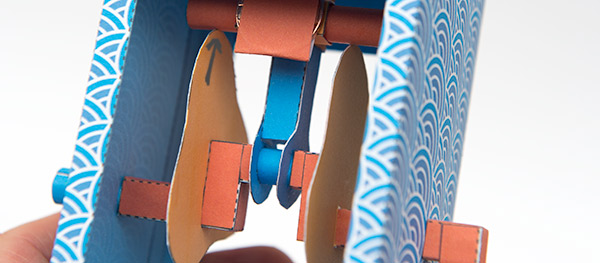
Glue together the two slider tubes.
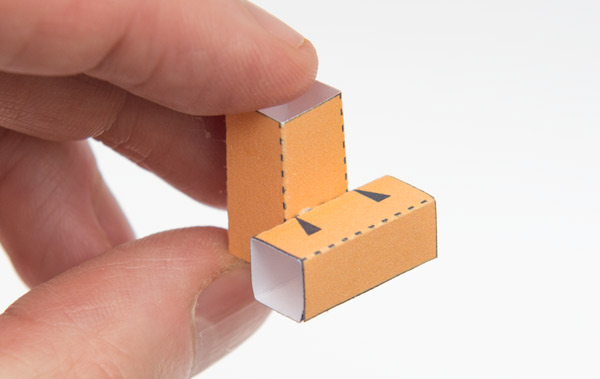
Glue the cam follower tube to one of the slider tubes as shown.
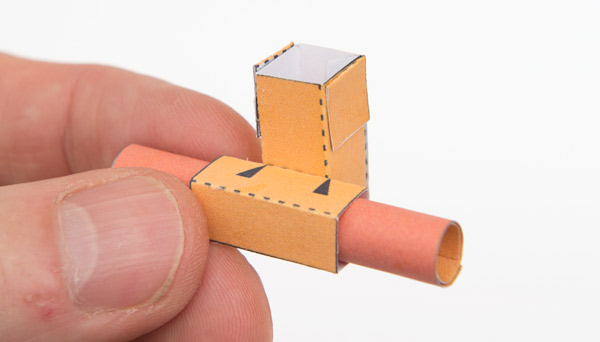
Thread the longest axle through the cam follower tube and glue it into position. Glue two of the spacers into position on the top of the slider tube.
Glue the other two spacers to the other slider tube.
Glue the first cam into place.

Glue the second cam to the other side.
Slide the cam follower down the push rod into position. No glue! It must be free to slide up and down.
Slip the other two slider tubes into position.
Make up the two triangular link pieces and glue them to the spacers on the top and bottom slider tube.
Tightly wrap a coin (4 gram, 20mm diameter, a UK penny is perfect!) in a scrap of card.
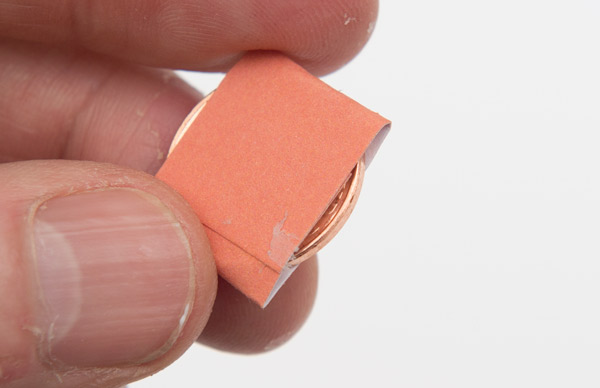
Glue the coin package to the front of the cam follower to complete the crank/cam assembly.
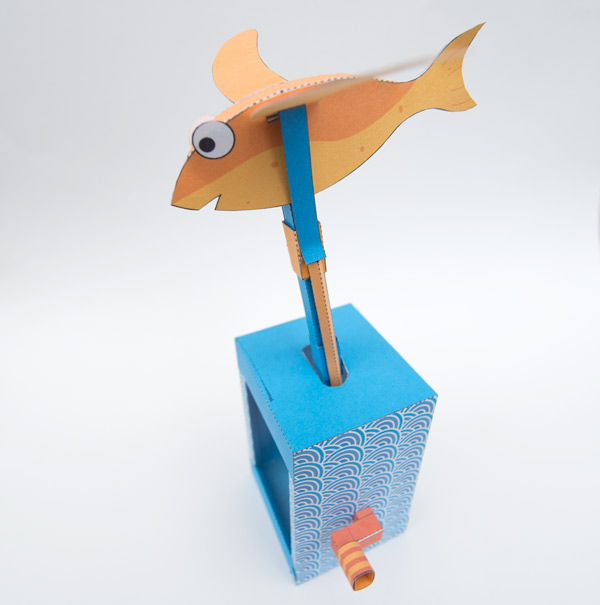
Making the Box
Fold round and glue down the tabs on the box top and base to make triangular sections.
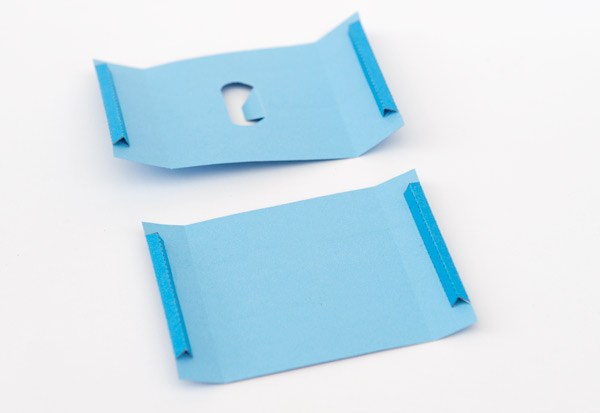
Fold round and glue down the box sides making right angled triangle sides.
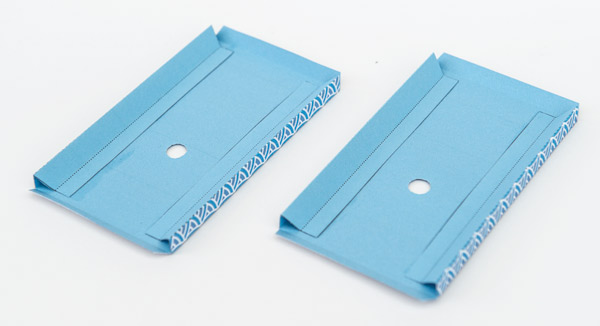
Glue together the four sections of the box. Note that the circular holes are furthest away from the hole in the box top.
Fold round and complete the box making sure that it is straight and true.

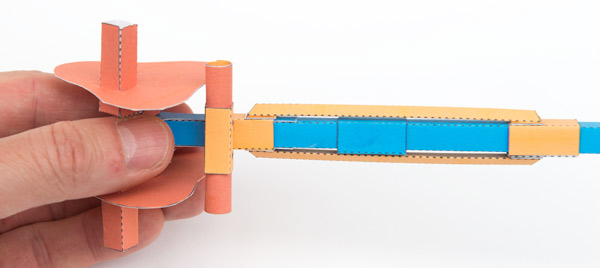
Thread the push rod up through the hole in the box top and glue the middle slider tube to the tab.
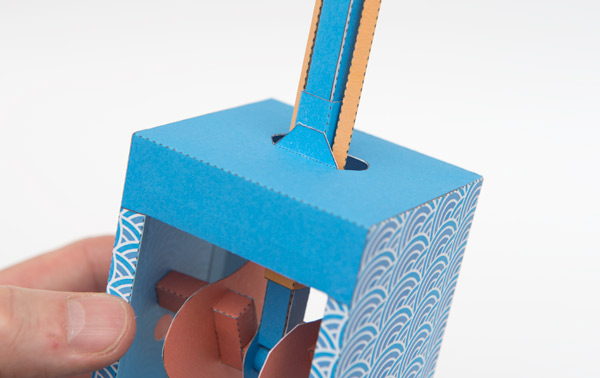
Line up the crank with the holes in the side of the box and fit the two remaining axles securing them with a small dot of glue.

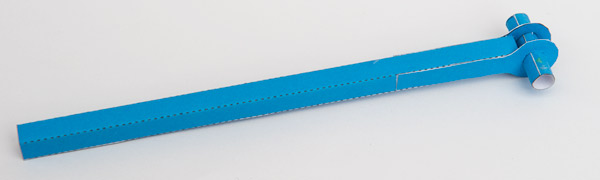
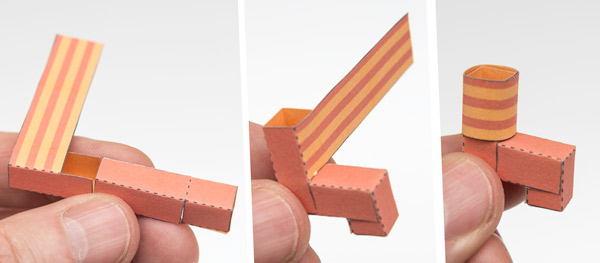
Assemble the handle in three steps.
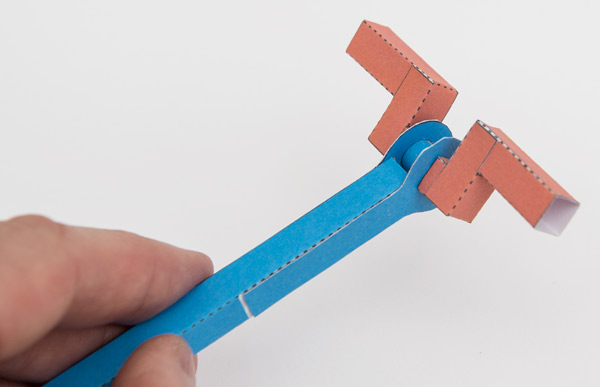
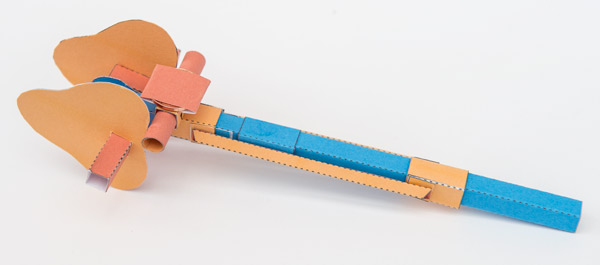
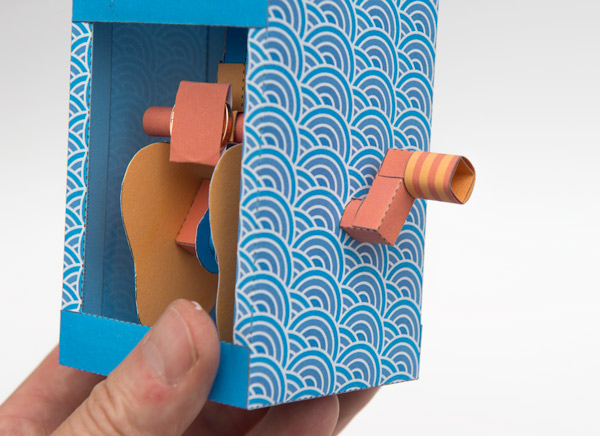
Fit the handle to the axle as shown to complete the Crank/Cam mechanism.
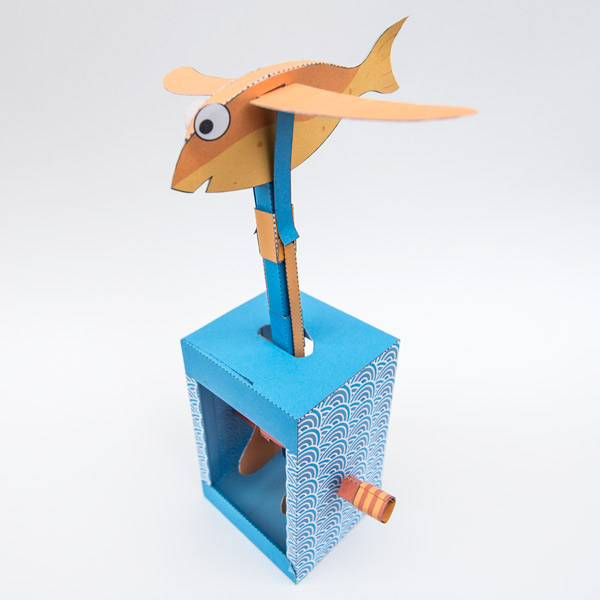
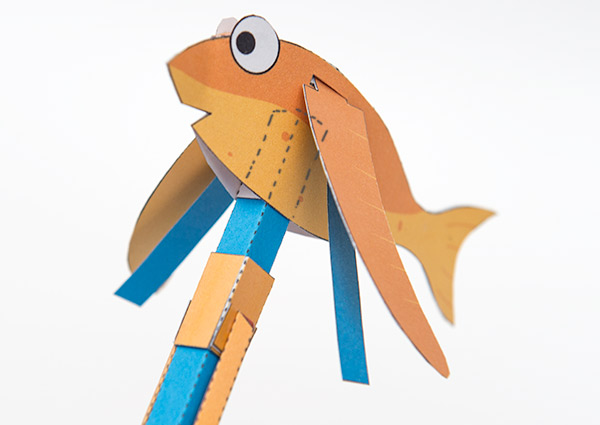
Making the Fish
The wings are made from double thickness card.

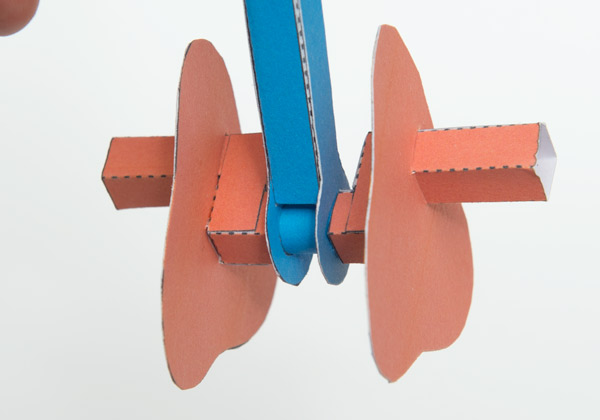
Glue the wing push rods to the underside of the wings lining them up as shown.
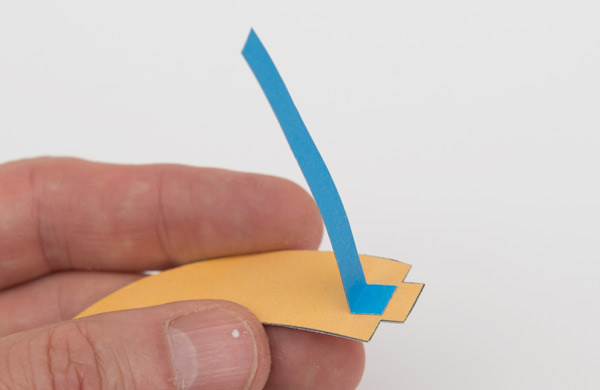
Thread the wing stub through the side of the fish body and glue the fin end into place to stop it falling out.
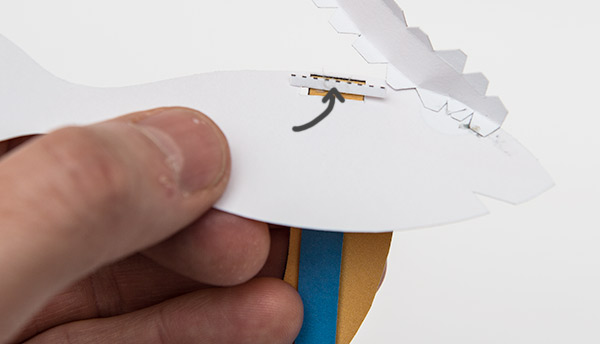
Glue the two halves of the fish together with the body top in place as shown.
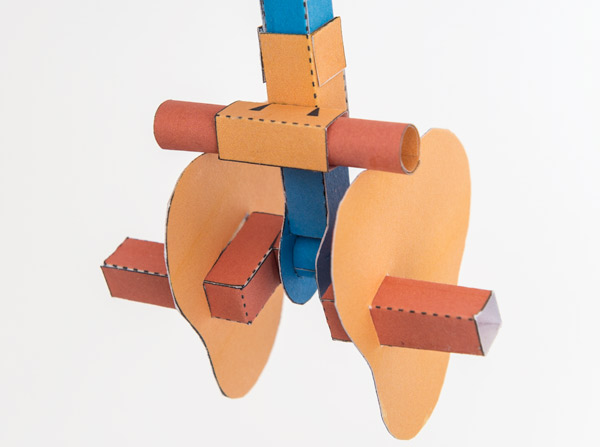
Assemble the body inner.
Glue the body inner into the fish then fit the completed fish over the end of the main push rod. Secure it with a dot of glue.
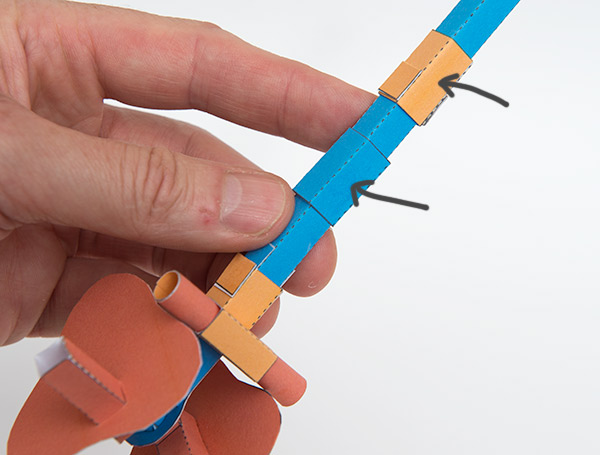
Turn the handle so that the cam and cam follower are at their maximum height.
With the wings pointing roughly 45 degrees upwards, glue the end of the wing push rods to the top slider tube. Cut off any excess push rod if necessary.
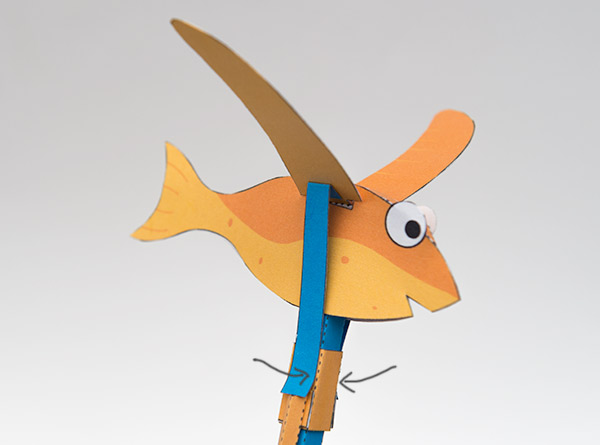
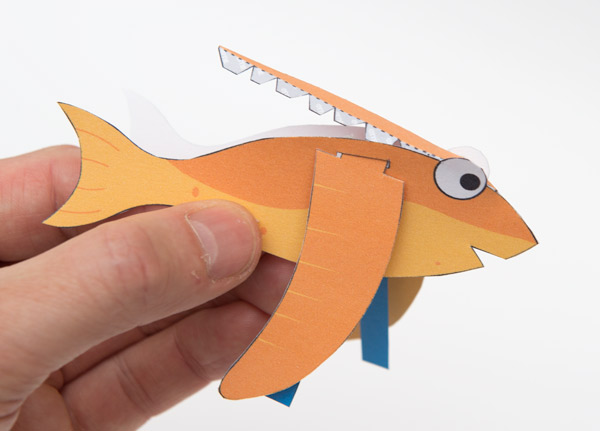
That completes your Flying Fish model. Turn the handle to bring it to life!