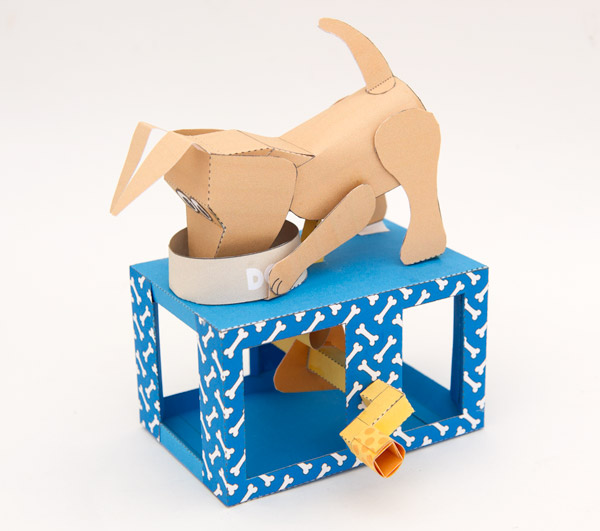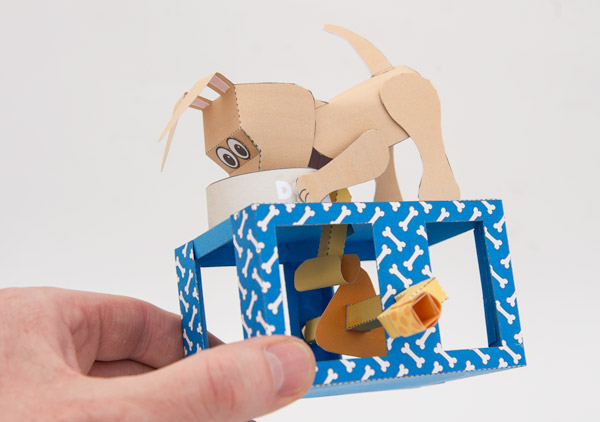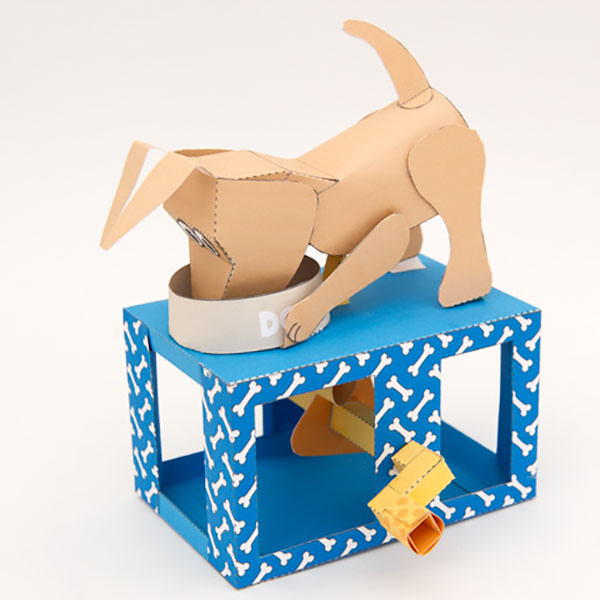
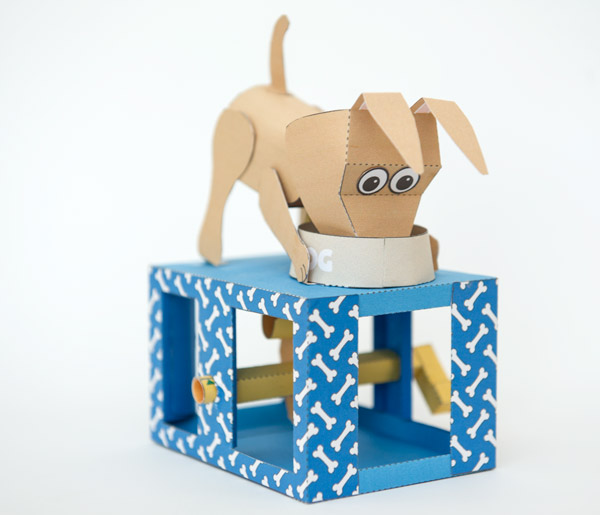
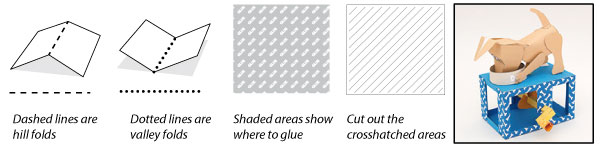
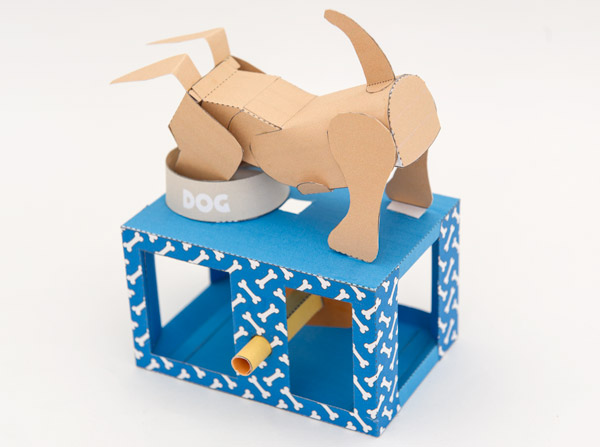
Dog’s Dinner. Turn the handle and the cam powered dog munches enthusiastically in his bowl.
Members can download the parts for free at the link. Thanks for signing up. Non-members can download the parts file for £2.50
The parts file comes in both colour and un-coloured version. Choose the one you are making and print out the parts onto thin card. (230 gsm / 67lb) The colour version is printed on both sides. Print out the front, flip the card and return it to the printer and print out the back.
Once the ink is dry, score along the dotted and dashed lines and cut out the holes before carefully cutting out the parts.
Nom, nom nom!
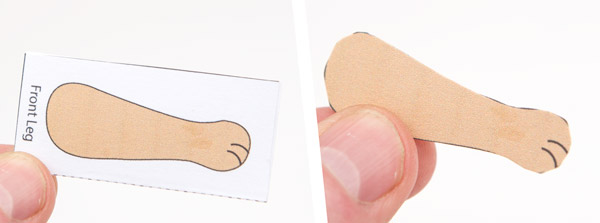
Fold over the legs to make double thickness card then once the glue is dry cut them out.
Repeat with the rear legs.
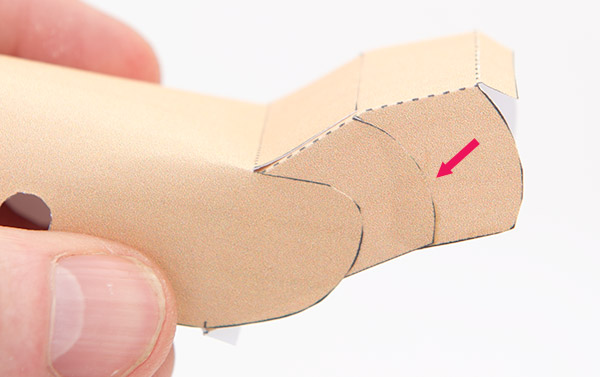
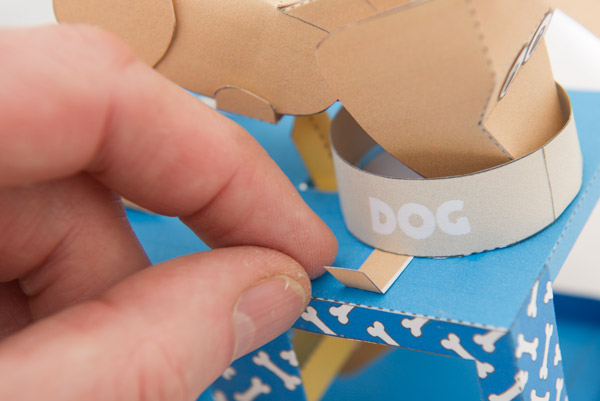
Assemble the neck as shown.
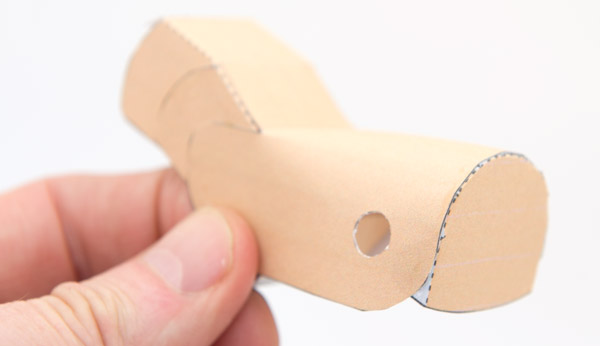
Glue the neck into the body. Line up the body tab with the crease line and the bottom of the neck with the small lines on the lower edge of the body.

Tuck in and glue the neck as shown.
Glue on the body back.
Glue on the tail.

Thread the rear leg link through the holes on the body and glue the legs to the tabs so that they are free to rock back and forth.
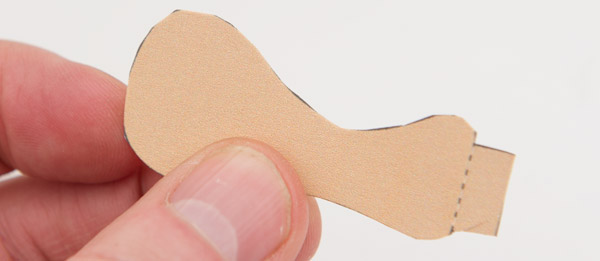
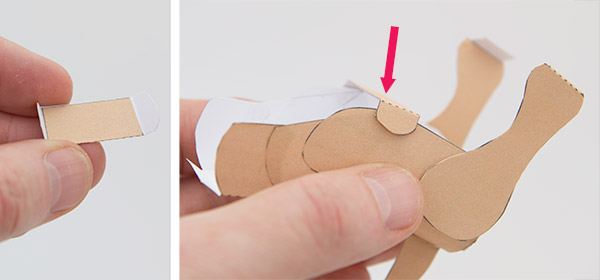
Fold over and glue down the front leg support to make double thickness card.
Glue it to the tab at the bottom end of the neck so that the crease line runs along the middle of the support.
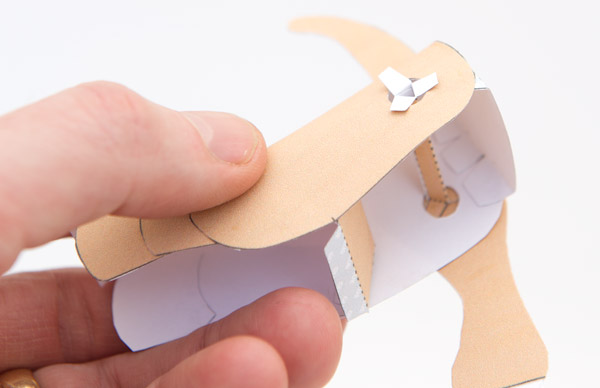
Assemble the head as shown.
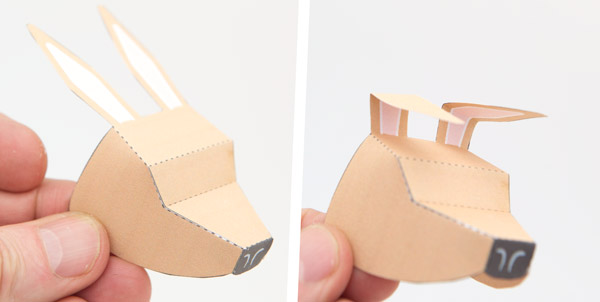
Glue on the eyes.

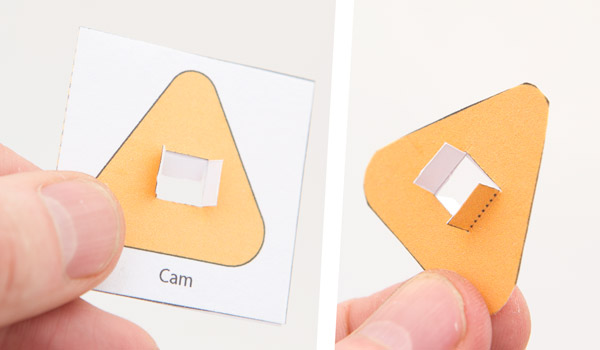
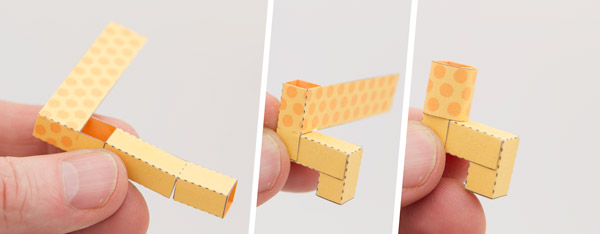
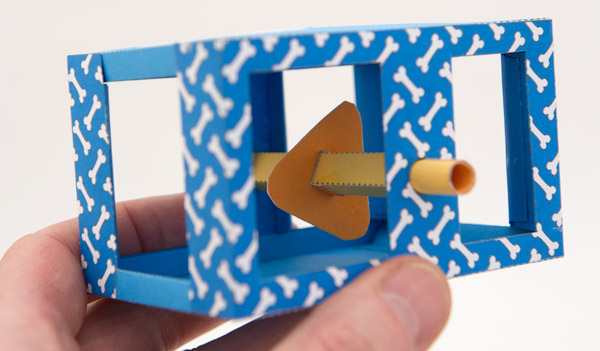
Assemble the cam.
Thread the cam on to the axle tube and glue it down.
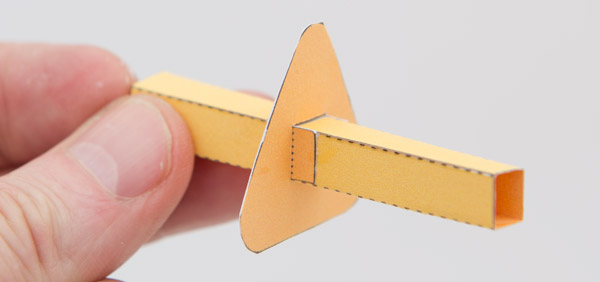
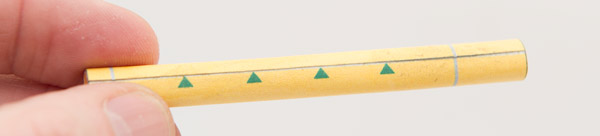
Roll up the axle tube gluing it down so that the ends lined up with the points of the arrows
Assemble the handle in three steps.
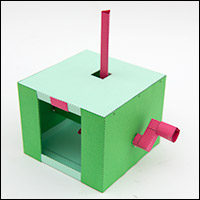
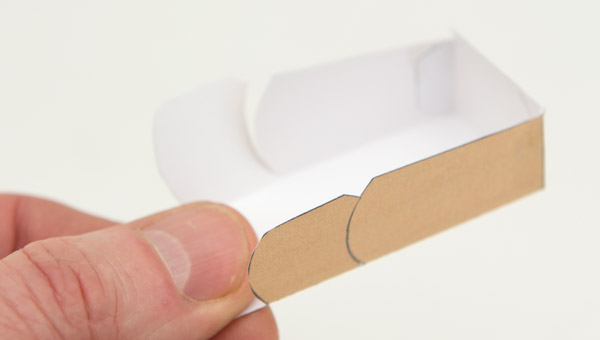
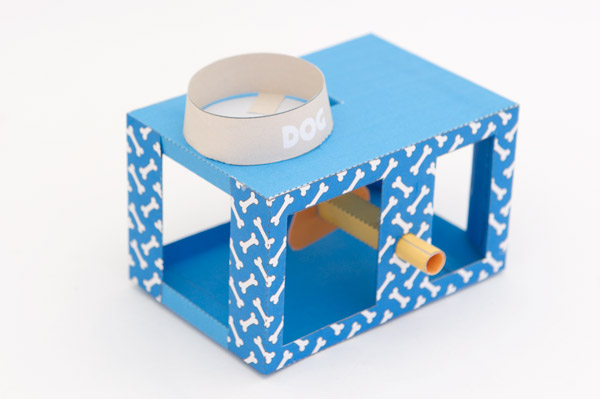
Glue together the top and bottom of the box.
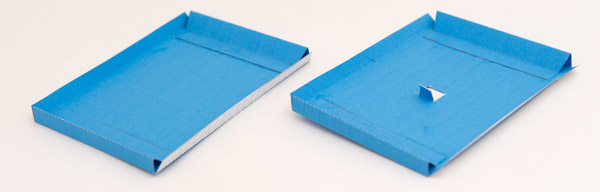
Glue the push rod support to the underside of the box top.
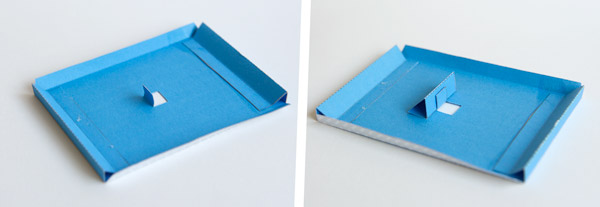
Assemble the sides.
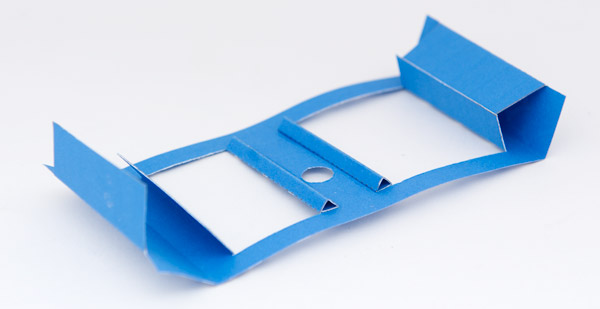
Glue the sides to the top as shown. Note that the round holes should be furthest away from the box top and the largest square hole is at the front of the top near the bowl circle.
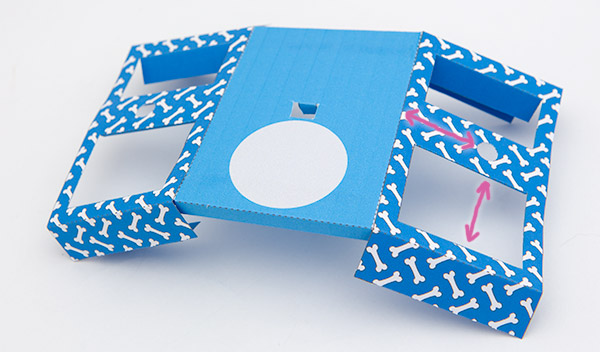
Glue in the base.
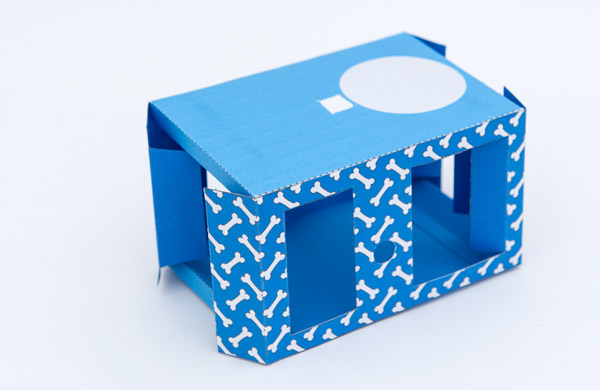
Glue the ends of the box into place.

Thread the axle tube into place as shown.
Assemble the dog bowl.
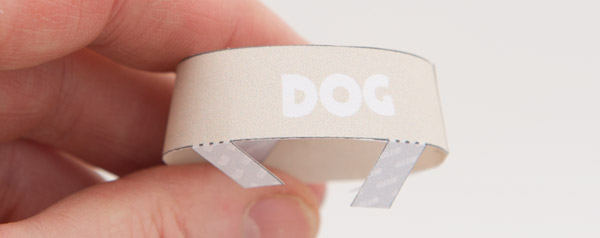
Glue the dog bowl to the top of the box.
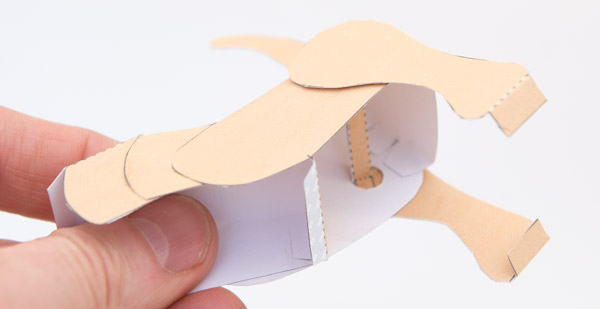
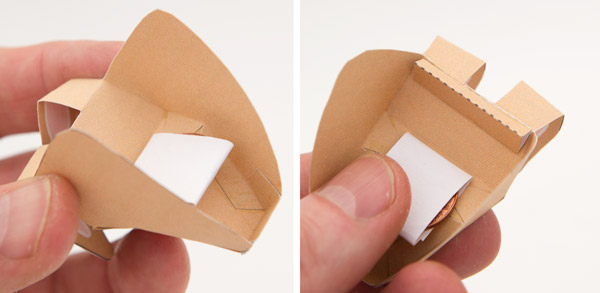
Roll a penny (20mm diameter coin 4 gram weight) in an off-cut of card and glue it to the inside of the head. Assemble the head inner triangle and glue it to the inside back of the head.
Glue the head to the neck tab.

Glue the rear legs to the base so that the head hands into the middle of the bowl.
Assemble the push rod. Thread it up through the hole in the box top and glue the end to the back of the front-leg support.

Thread the front leg tabs under the edge of the bowl without gluing them down.
Glue the front legs between the front leg tabs and the front leg holder.
Finish off the model by gluing on the handle.