£5.00 – £7.50
Dog Ate My Homework
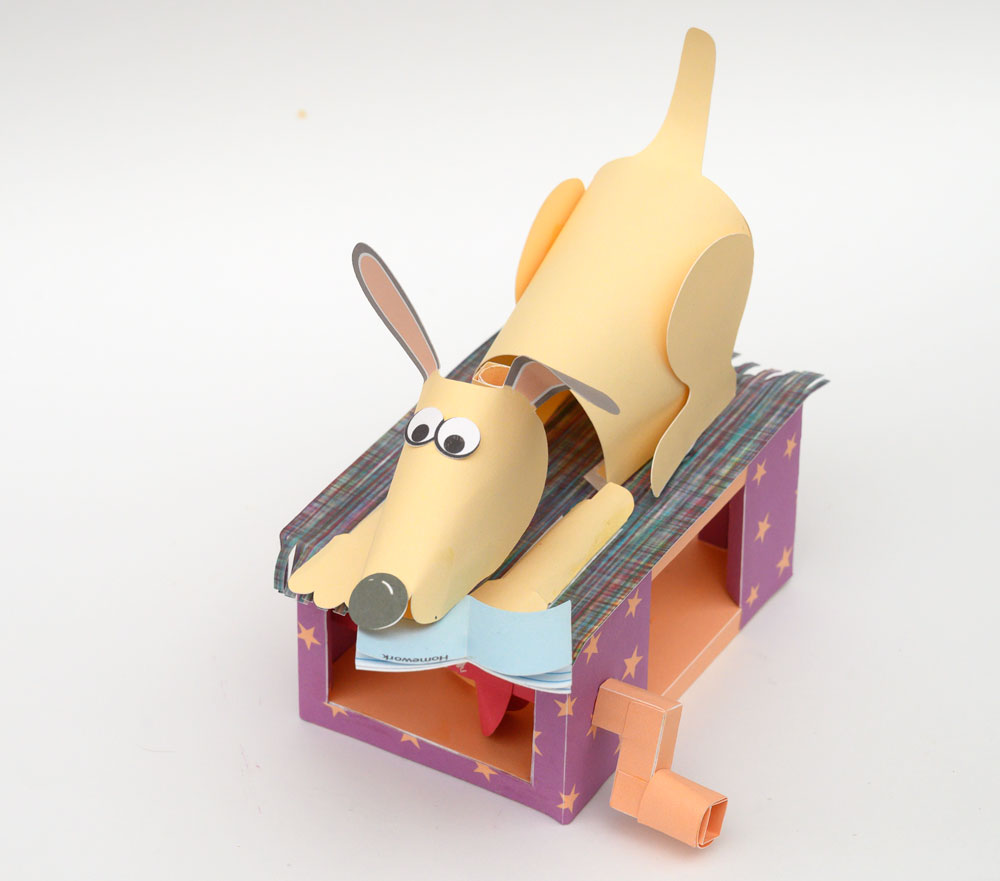
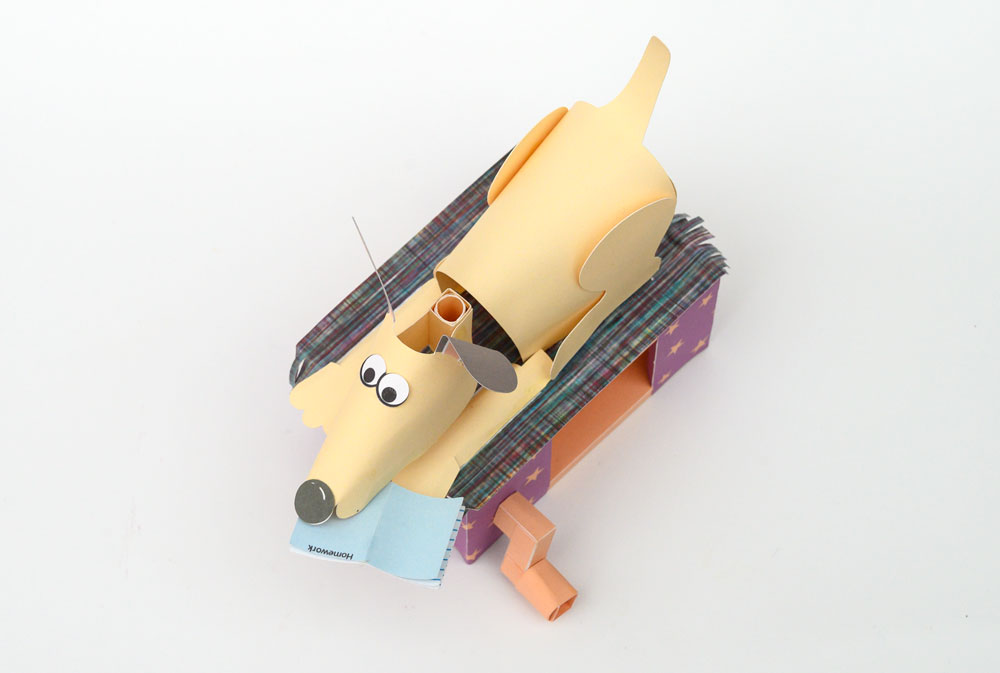
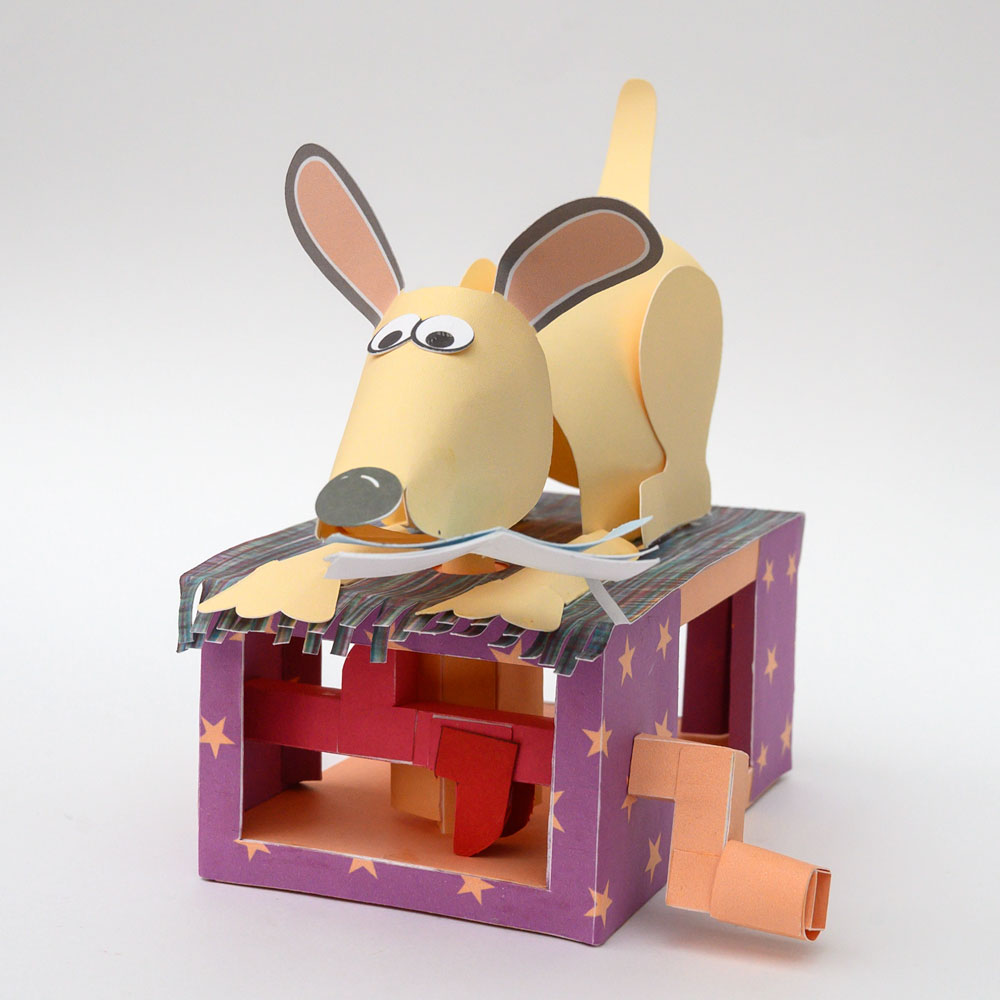
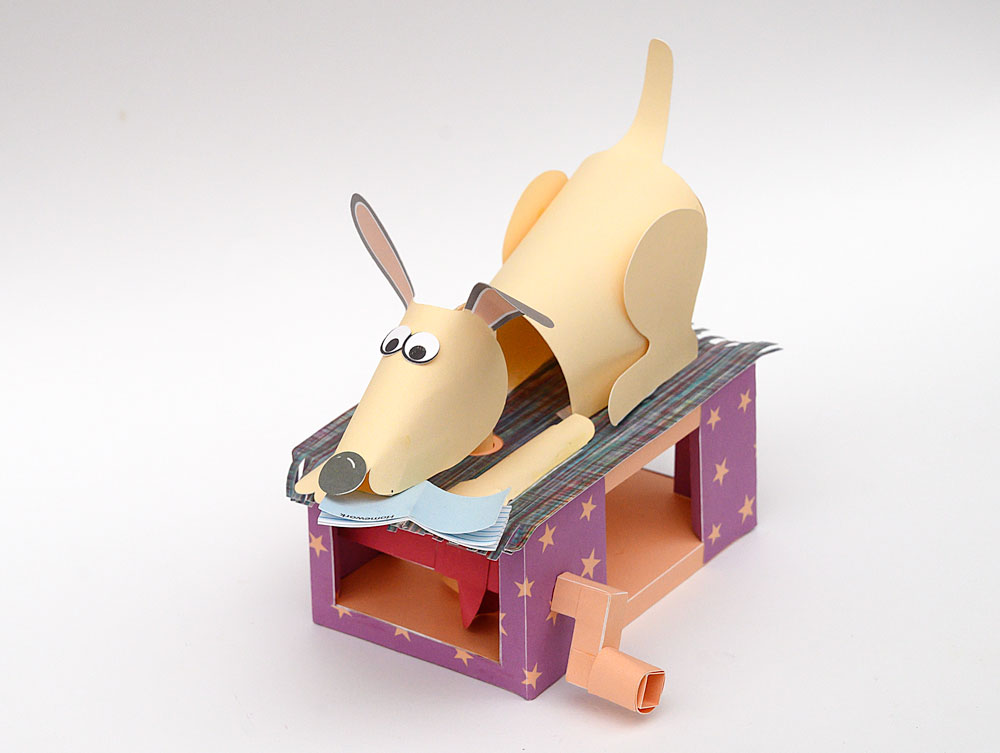
The Dog Ate My Homework. The perfect excuse in paper animation form! Turn the handle and the dog shakes the homework book vigorously. This project uses five sheets of thin card made into a shaker mechanism to bring the paper dog to life. Members can download the project for free from the website at the link. Non-members can join in the fun by purchasing the plans through the checkout.
View this post on InstagramA post shared by Rob Ives (@robivescom) on
This project comes in two versions. The print version contains a pdf for you to print out onto thin card then cut out with scissors. The cutting machine version comes with the same pdf but also includes files ready for Silhouette Cameo 3 as well as svg and jpg files. This project is suitable to print and cut on most popular paper cutting machines.
Print out the pages onto thin card.
If you are making the hand-cut version, score the dotted and dashed lines cut out the holes then carefully cut out the pieces.
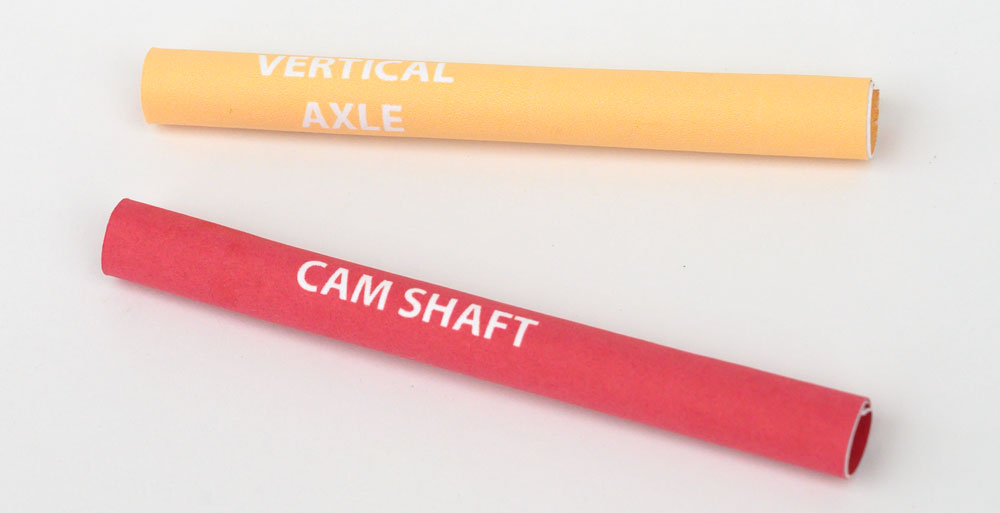
Roll up and glue the axle tubes as accurately as possible
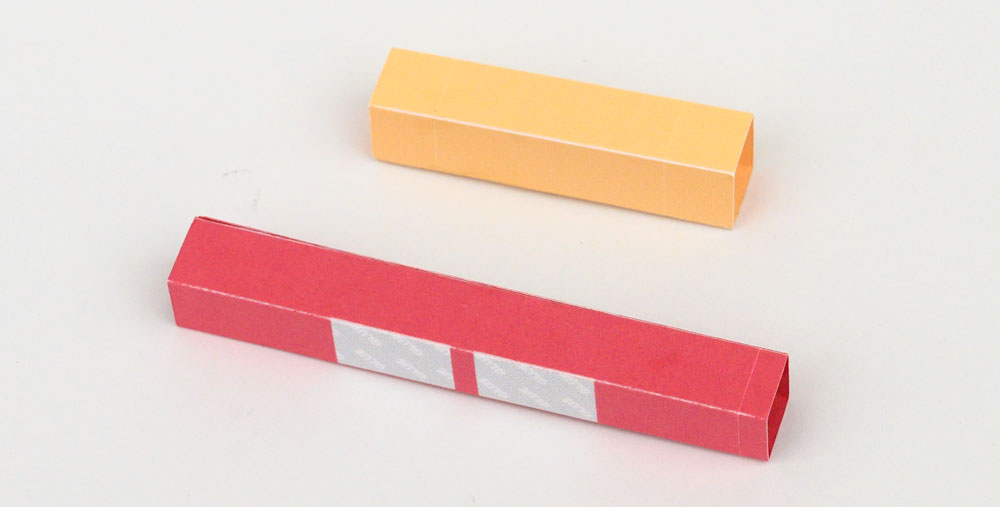
Fold round and make the two square section tubes.
Thread the shorter axle tube onto the vertical shaft and glue roughly 5mm from the end of the axle.
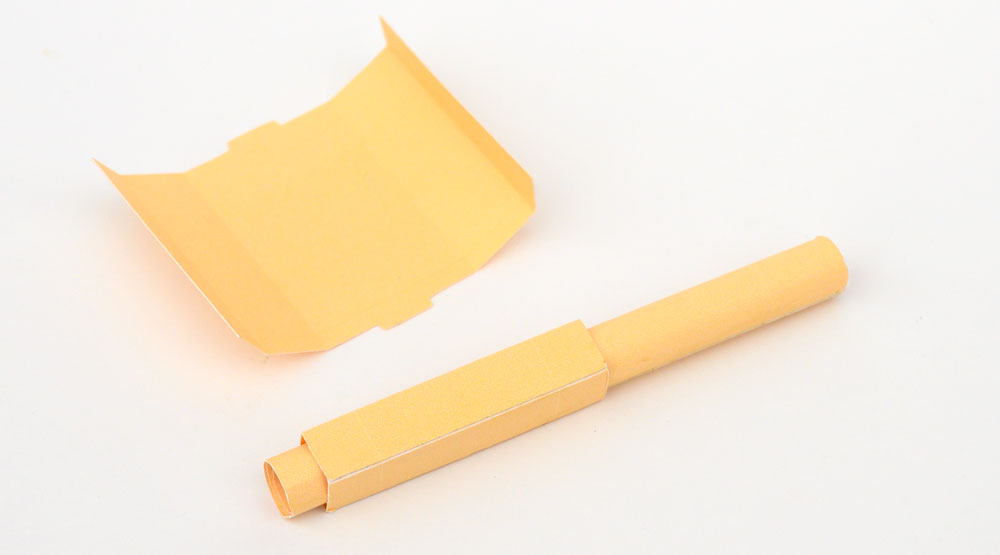
Glue the striker plate into place.
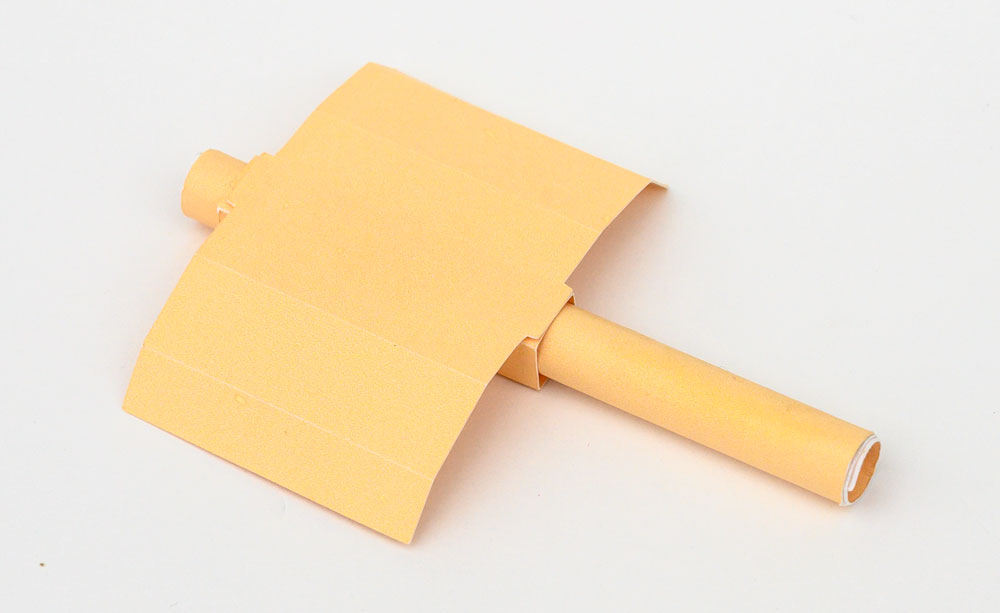
Flip over and glue the tabs of the striker plate down.
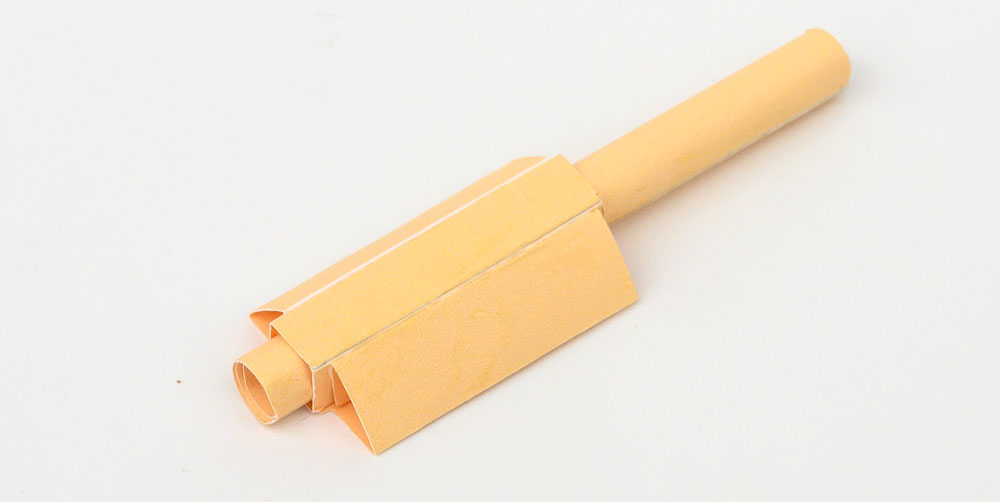
Thread the cam shaft parts together and glue so there is roughly 5mm sticking out of one end.
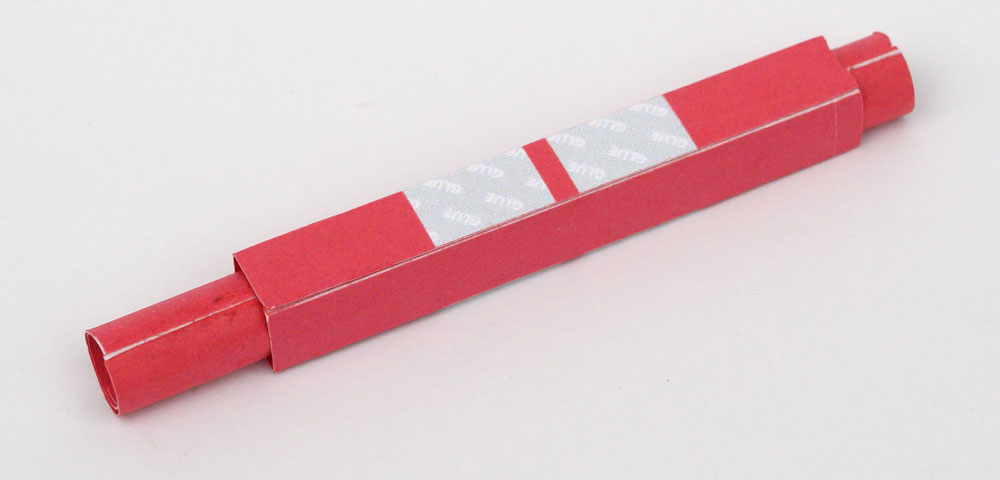
Glue the two cam fingers into position.
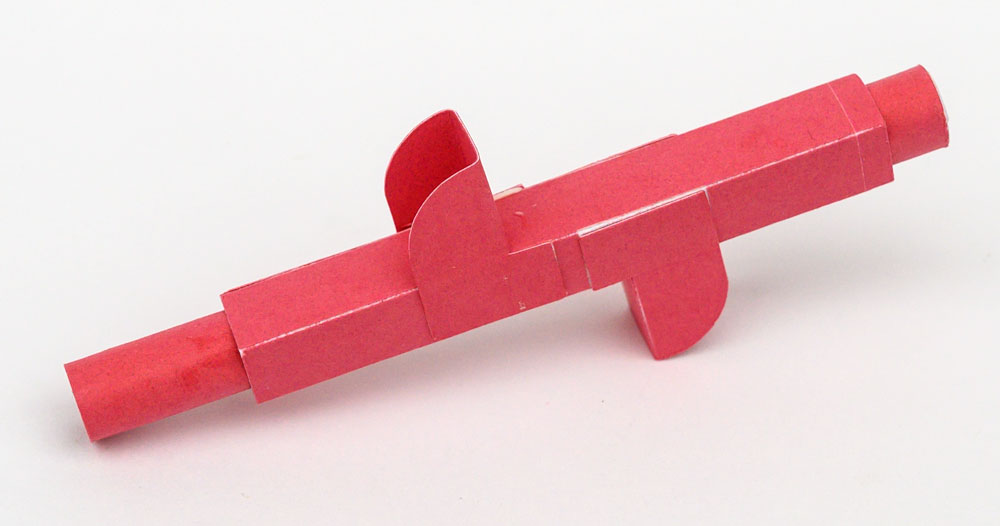
Assemble the handle in three steps.
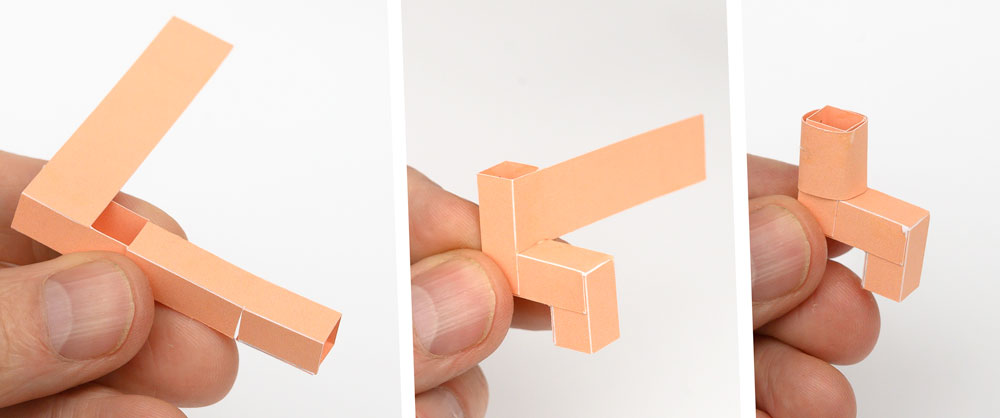
Fold over and glue down the tabs on the end piece to make triangle tubes.
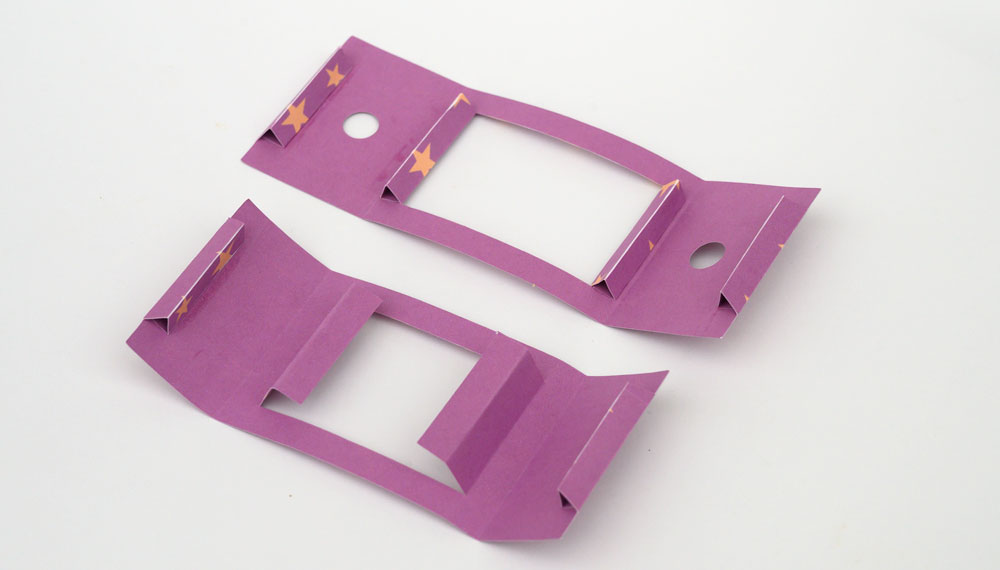
Fold over and glue the tabs on the box top and base to make right angled triangle tubes.
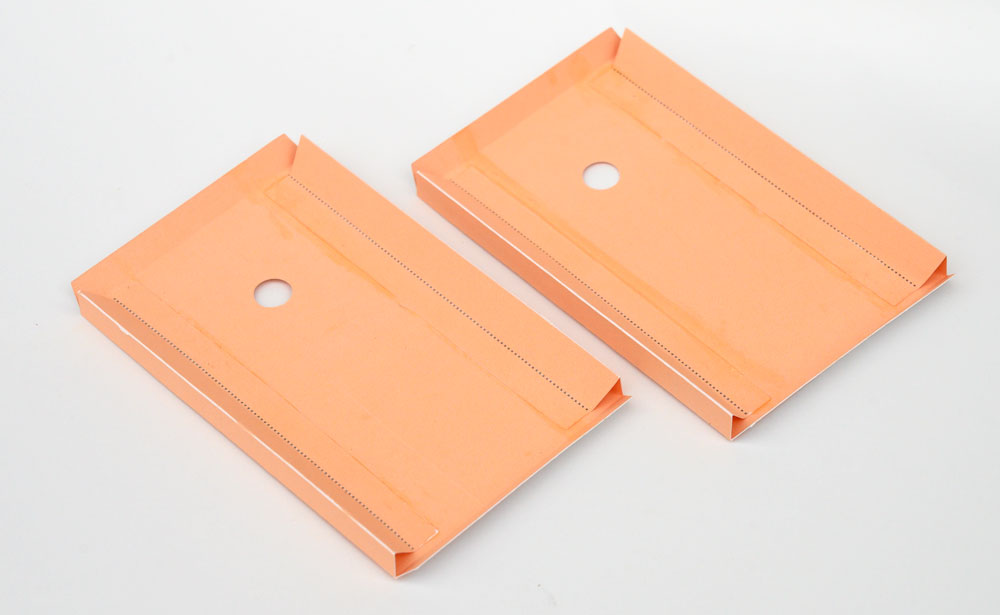
Glue the ends to the base. Note that the end piece with the holes fits on the base end with the hole.
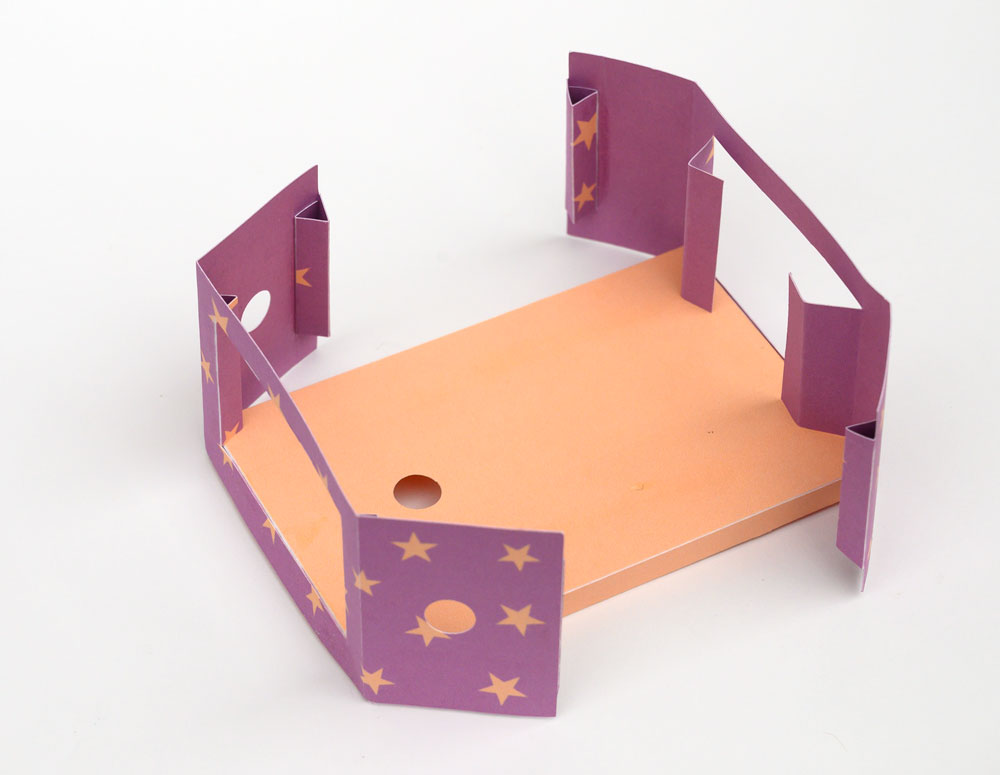
Fit the short end of the vertical axle into the base. Make sure it turns freely. Glue the top to one of the ends.
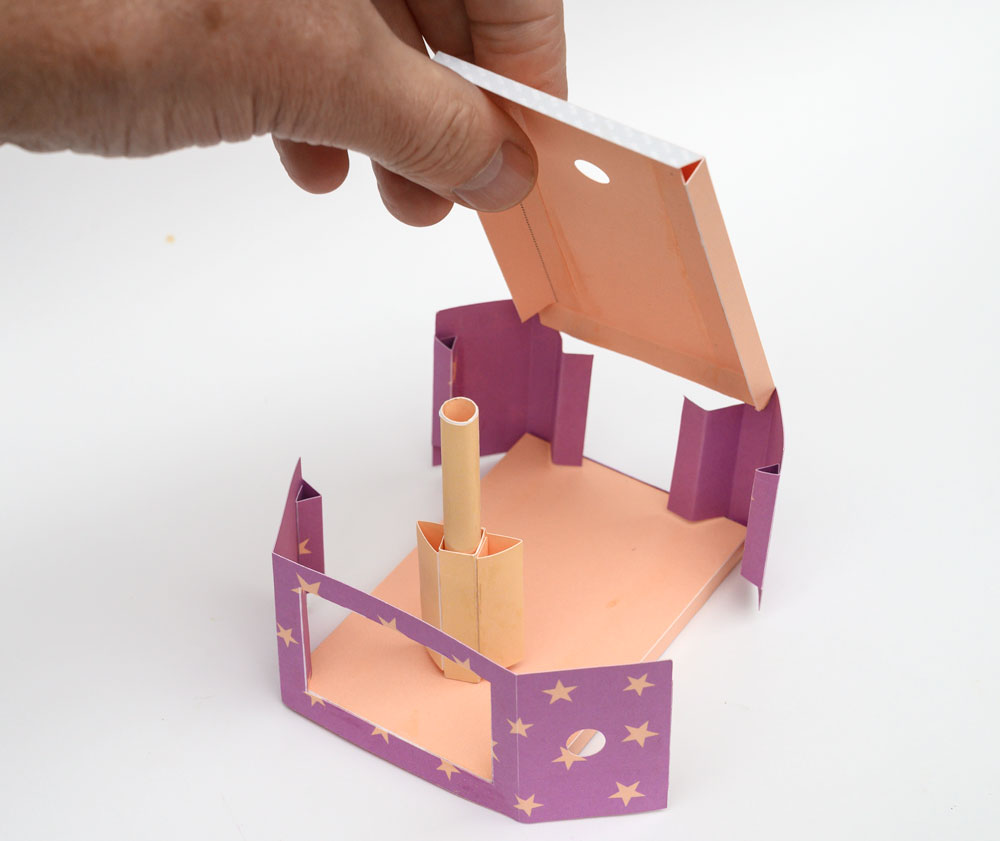
Fold down the top and thread it over the vertical axle.
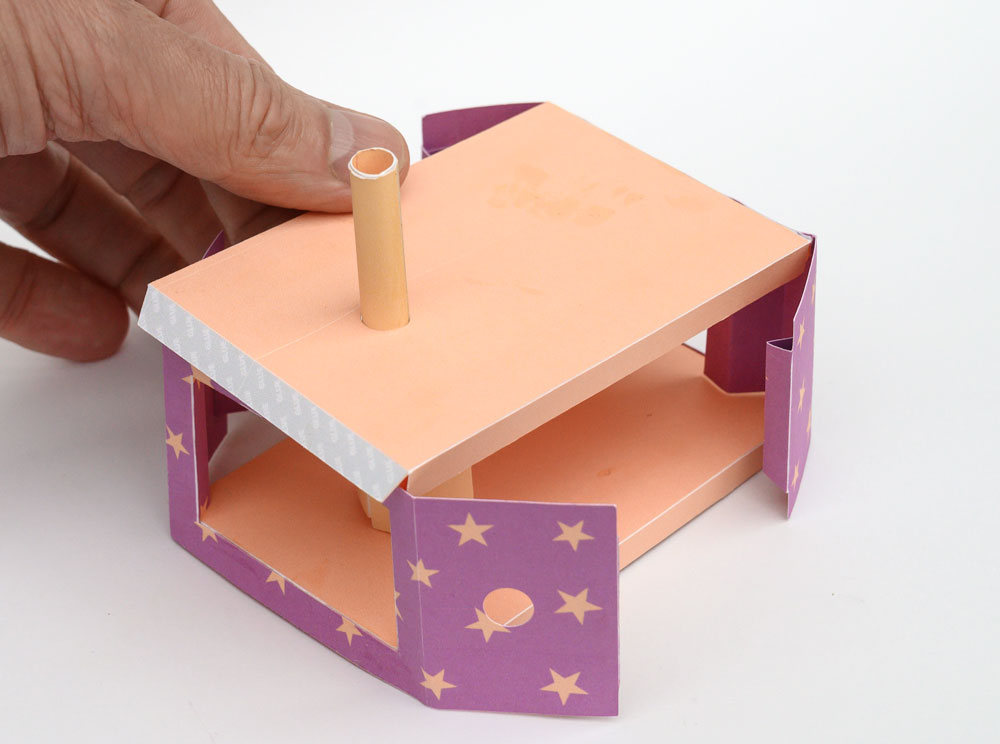
Glue the top onto position.
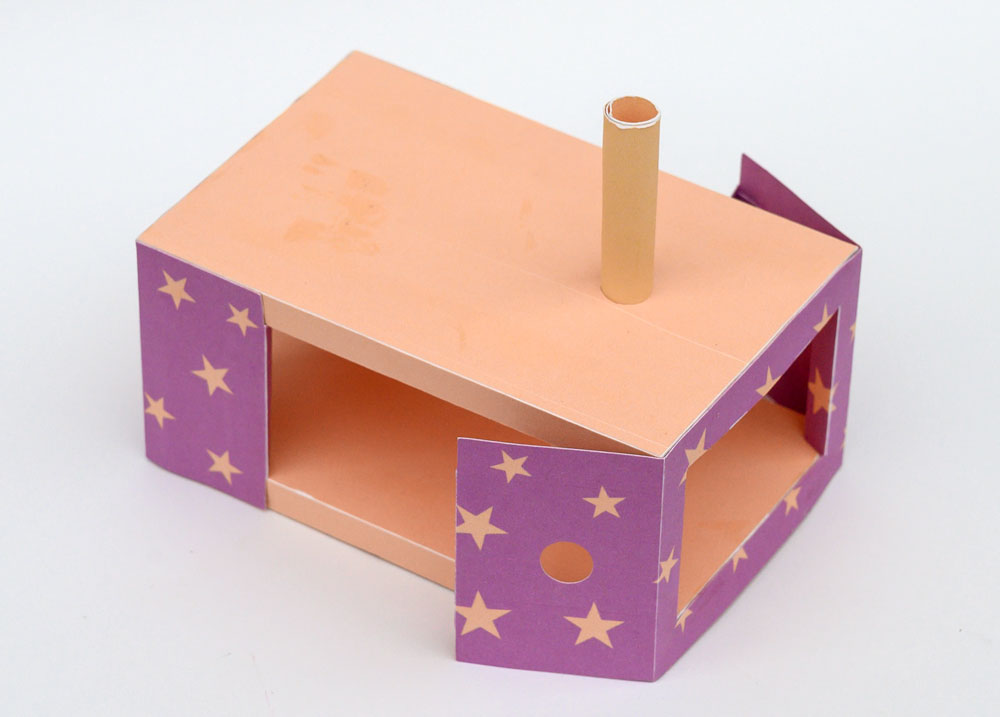
Thread the cam shaft into place then glue down the sides.
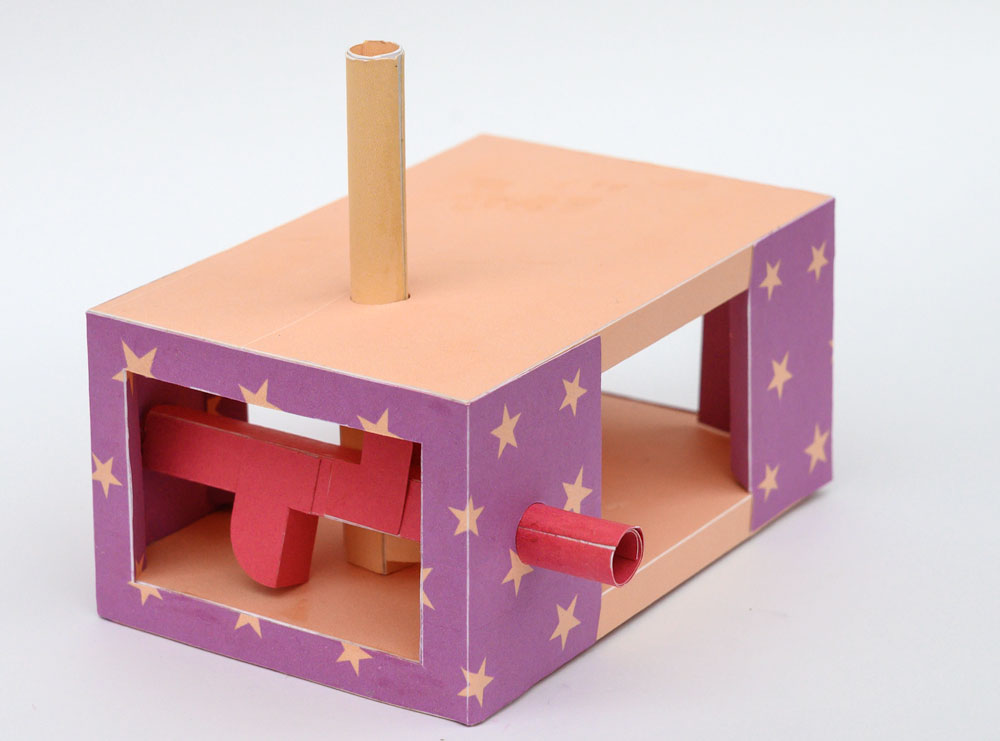
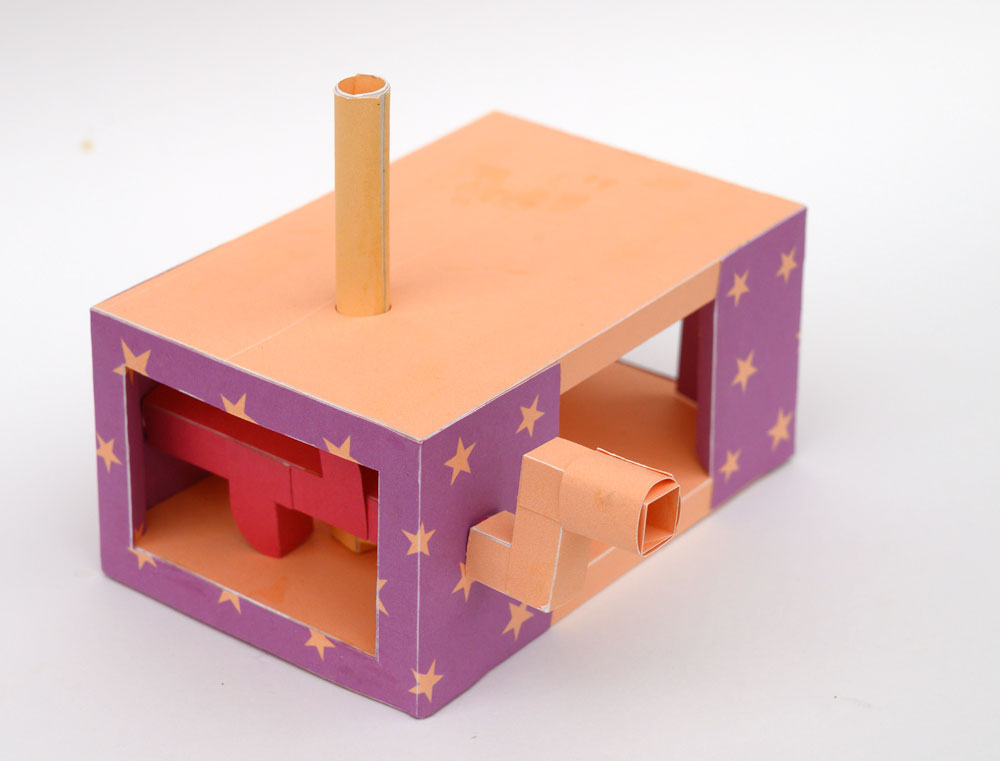
Complete the mechanism by gluing on the handle.
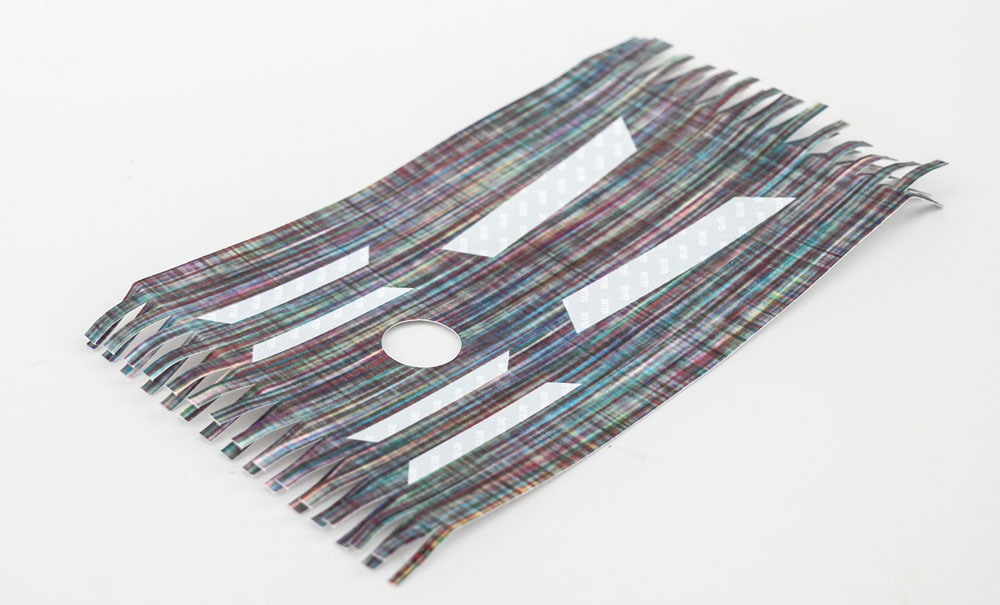
Cut out the rug. Lift alternate tassels to give the rug a ruggy look.
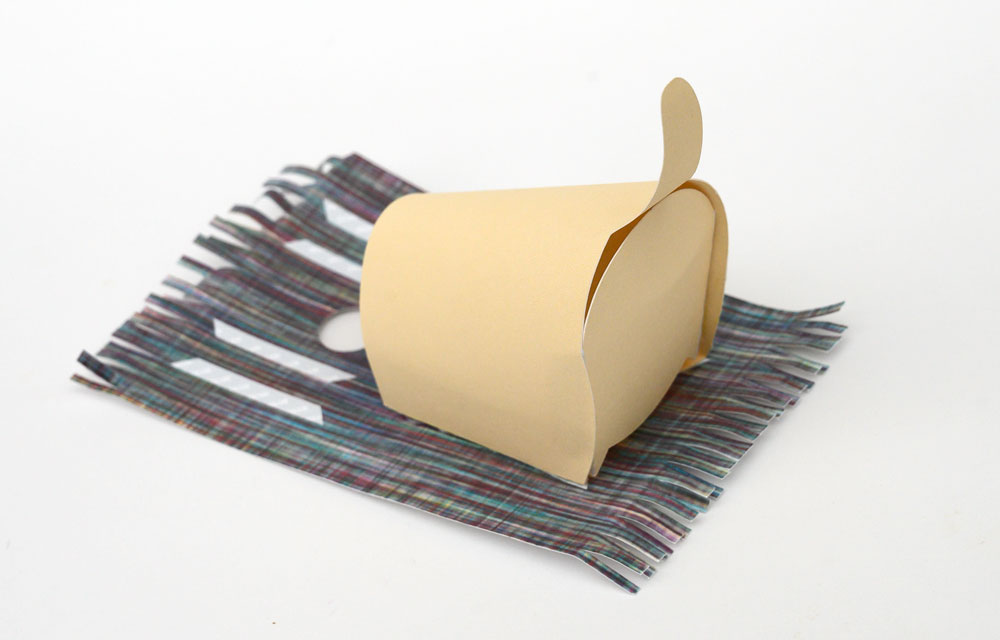
Glue the dog end into the body then glue the body to the rug.
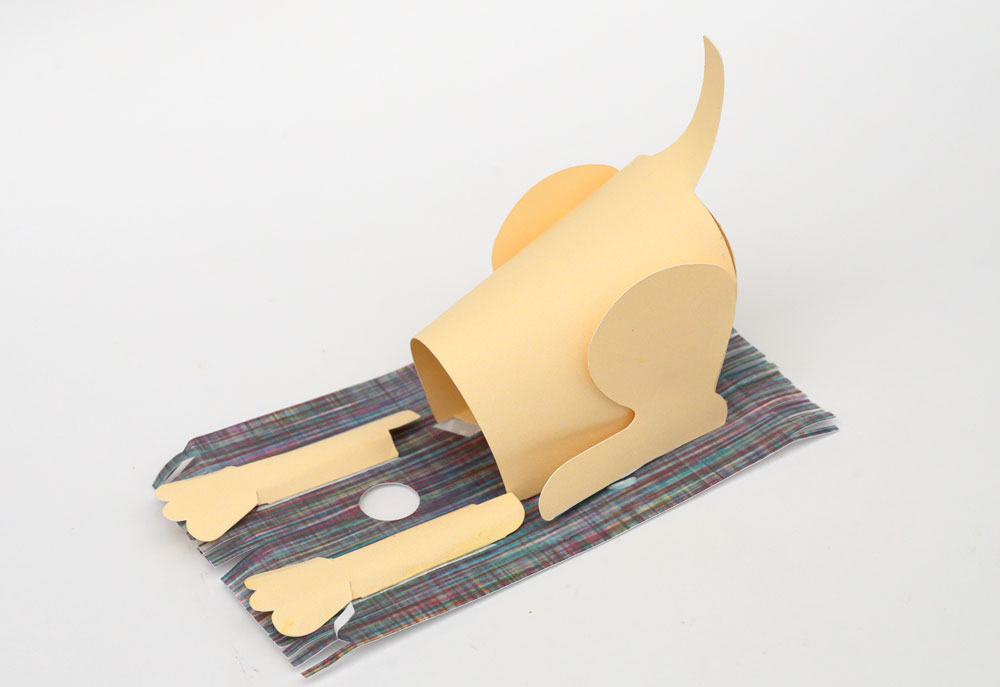
Glue on the front paws curving them as you do to give them a 3d look.
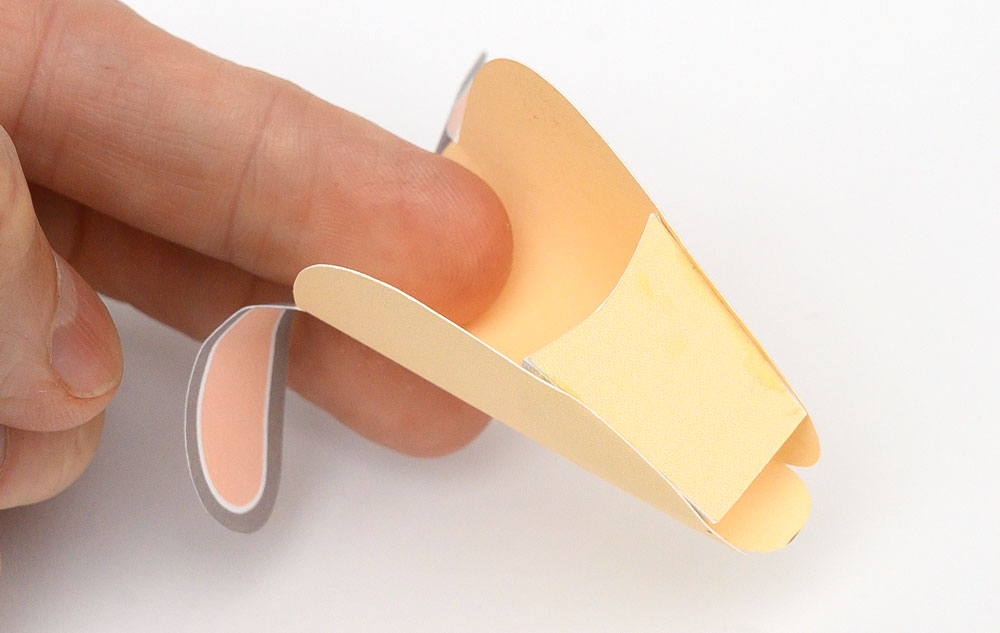
Glue the head into into place.
Glue on the eyes and nose.
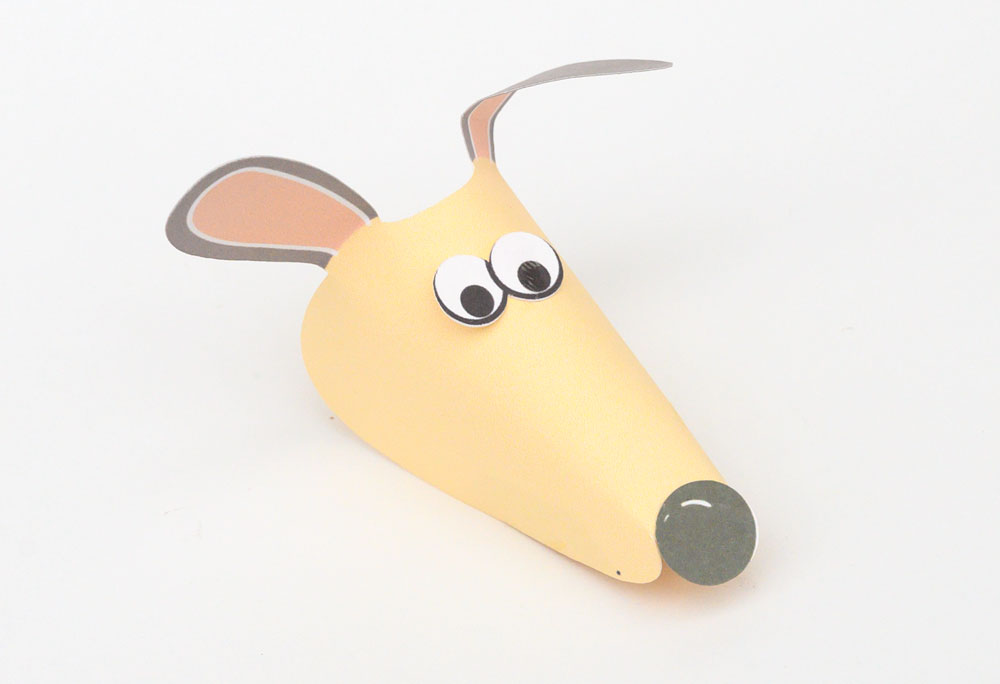
Glue the head inners into place. Try to keep them lines up with each other.
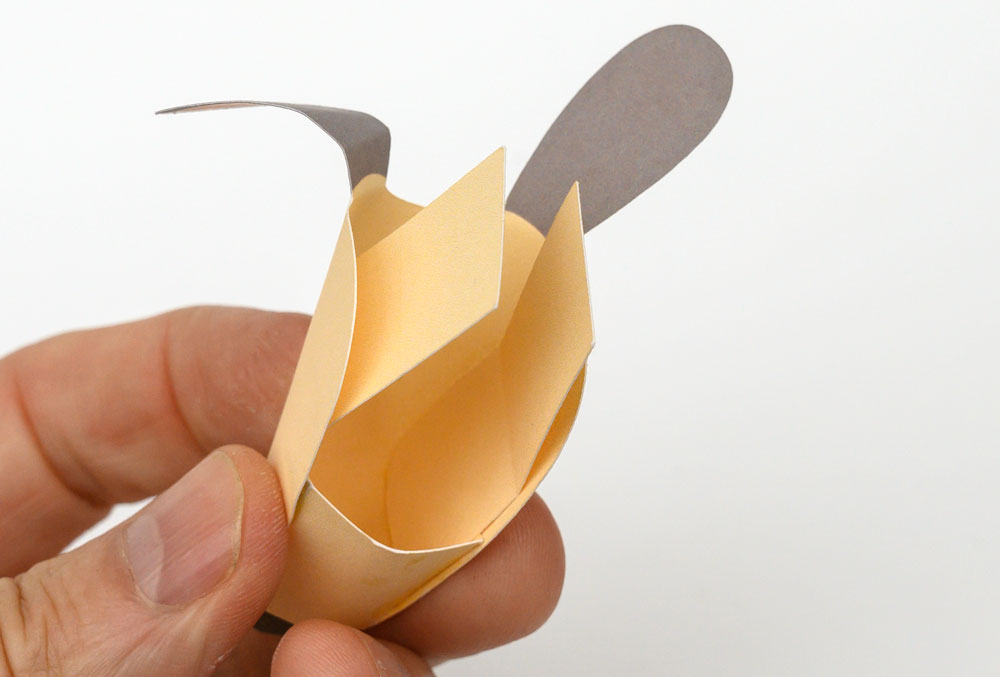
Glue in the head axle.
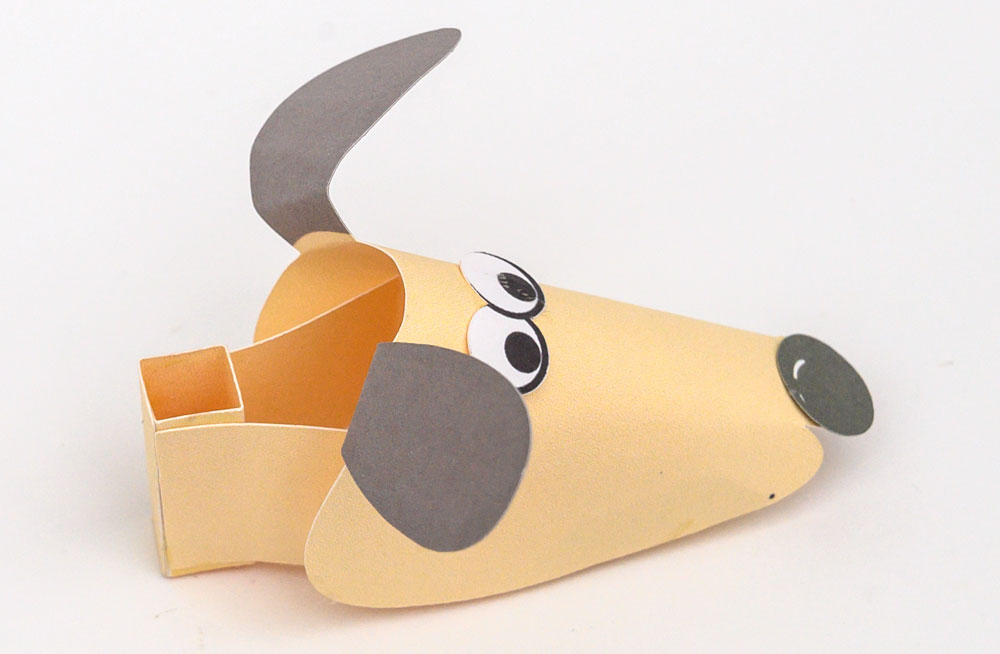
Curve up the pages of the book and glue it together along the spine.
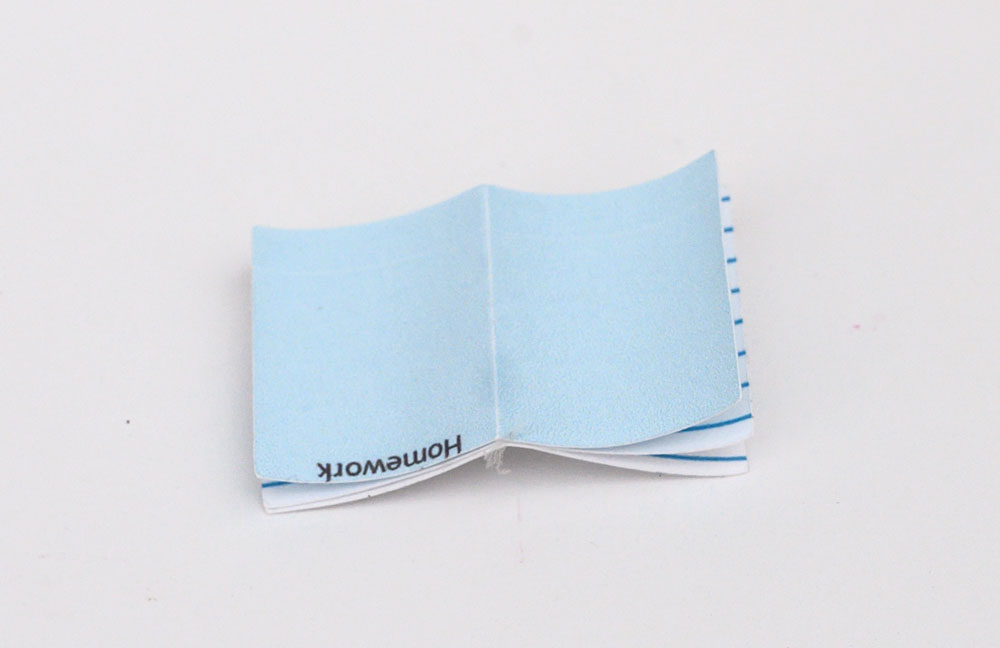
Glue the book under the head as shown.
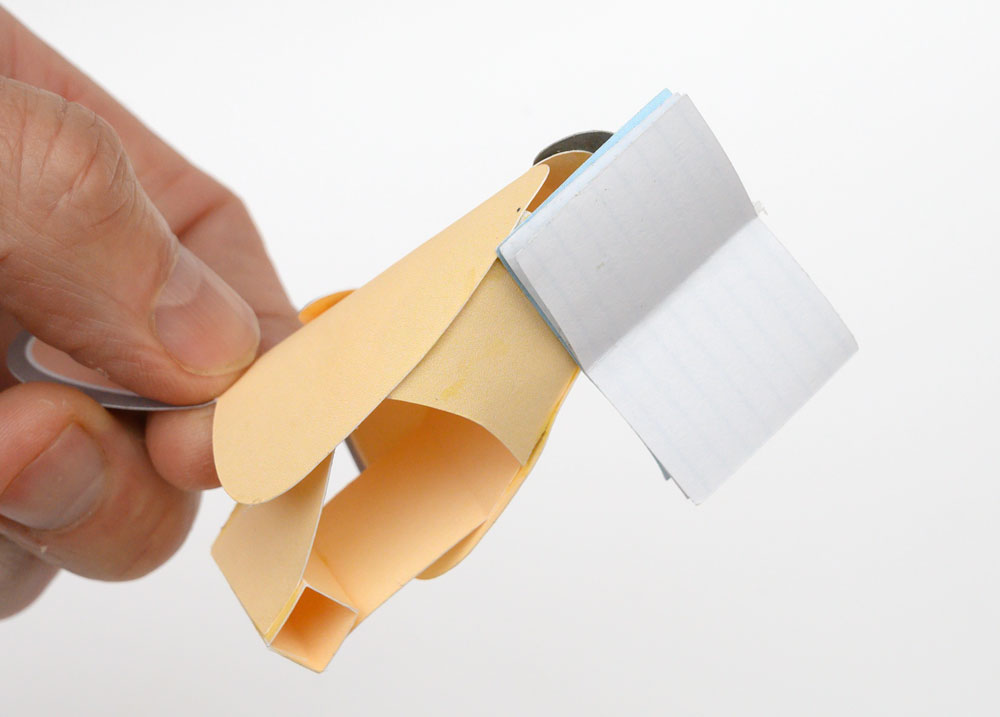
Thread the rug into place and secure with a small amount of glue.
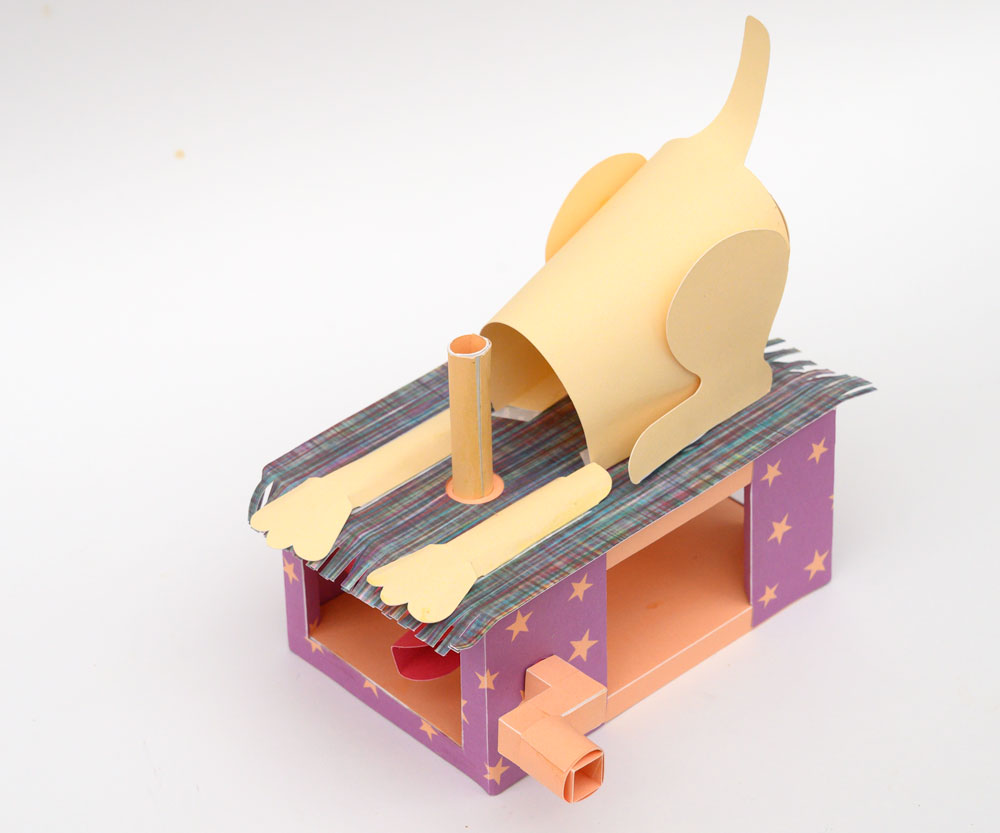
Thread the head down over the vertical shaft to complete the model. Turn the handle and the dog eats your homework!
