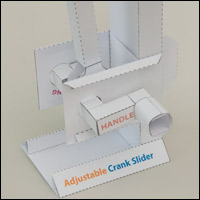
The bell crank is a simple mechanism used to change the direction of movement of a moving part. This quick an easy downloadable model is a hands-on demonstration of how the bell crank works.
Download the file at the end of this blog post print out the parts onto thin card. You can choose either the colour version show here or save ink with the mono version, both are in the same file. Score along the dotted lines then carefully cut out the parts.

Use white school glue (PVA) to glue together the main box.
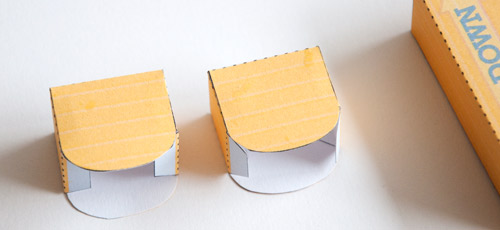
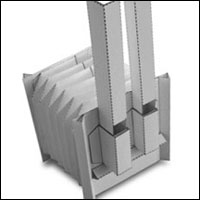
Glue together the two tube supports as shown above.

Glue the tube supports to the box using the grey areas for support.
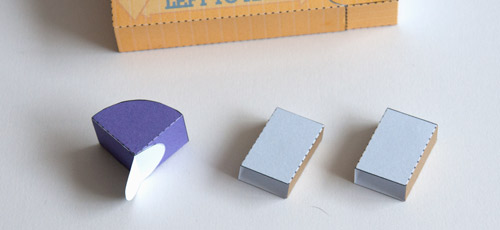
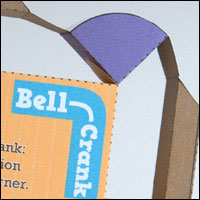
Glue together the slider tubes. Assemble the bell crank (ta da!) and glue on the hinge.
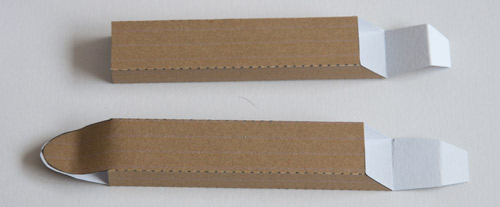
Assemble the two push rods as shown above.
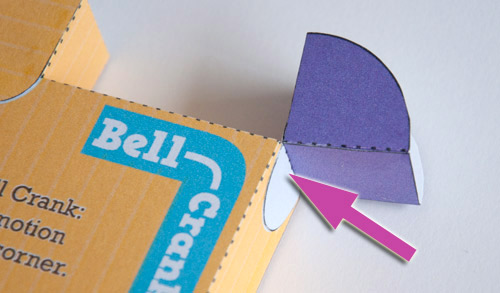
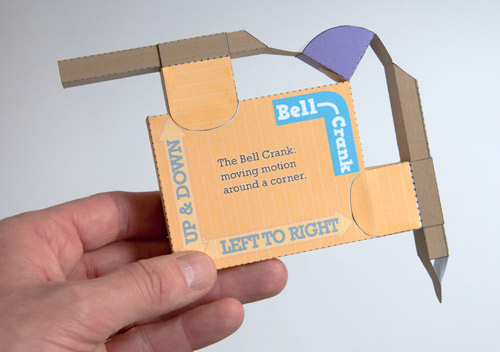
Final assembly. Glue the hinge to the corner of the box using the grey area as a guide. Make sure that it is lined up accurately.
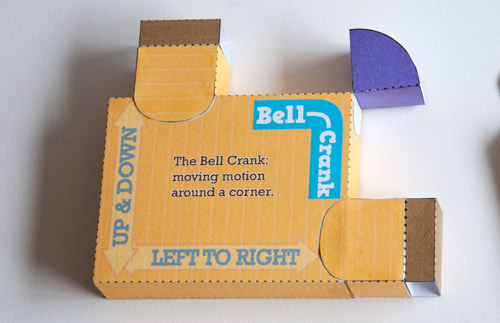
Glue the slider tube onto the tops of the tube supports. Make sure you line up the edges accurately.
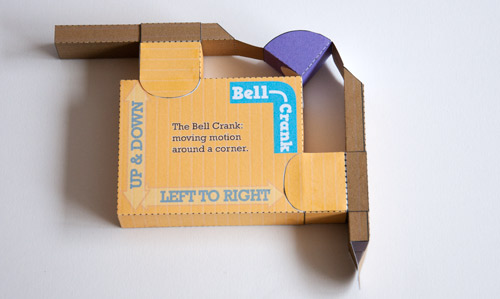
Finally, thread the push rods through slider tubes and glue the end tabs to the bell crank. Let the glue dry completely before using the model.
Check out bell crank page in the mechanism section for more details on how bell cranks work.