As part of my on-going project to create working paper versions of all the mechanisms in the world I present to you, the Quick Return Mechanism! Members can download the model for free at the end of this post, non-members can download the parts for a small fee.
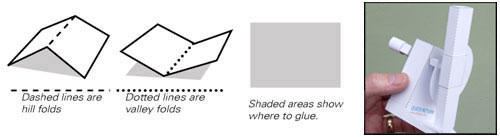
Print out the parts onto thin card (230 micron / 230 gsm) Dotted lines are valley folds, dashed lines are hill folds, solid lines show where to cut. Grey areas show where to glue.
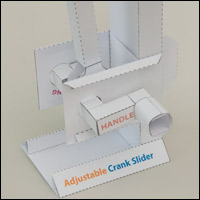
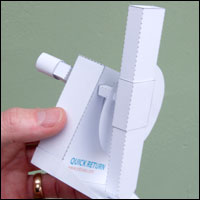
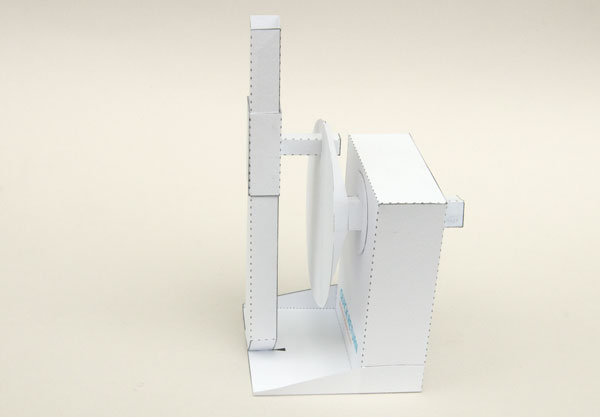
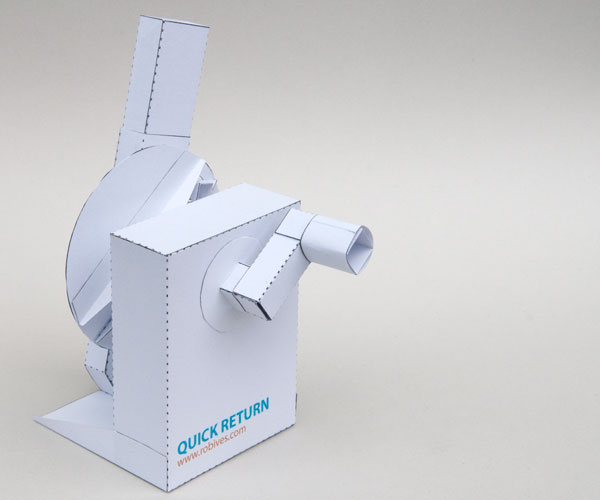
 The completed quick return mechanism.
Fold round and glue together the drive shaft.
Glue the drive shaft to the drive wheel using the grey areas and the black triangles for alignment.
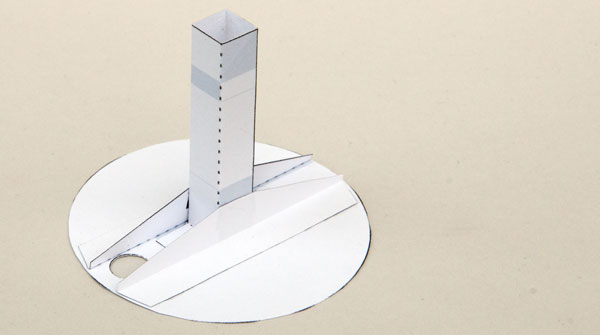
Glue the two stiffeners to the wheel and the drive shaft as shown.
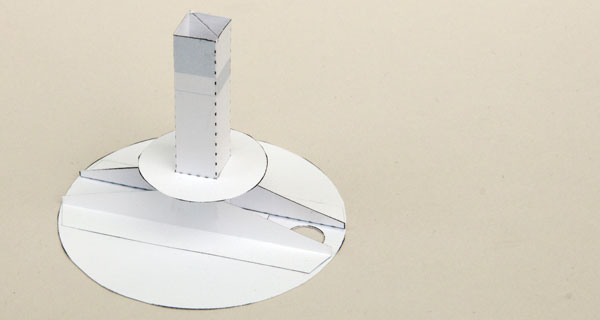
Glue one of the washers to the drive shaft using the grey areas and the grey line for alignment.
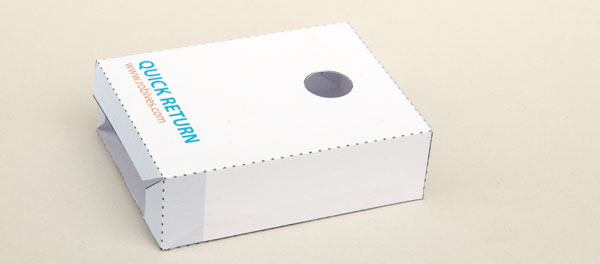
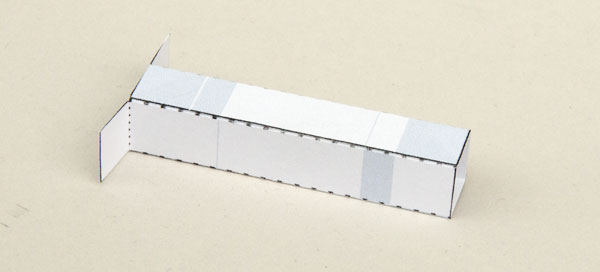
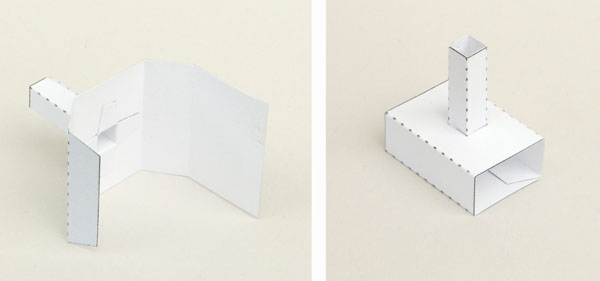
Assemble the box as shown. Make sure you are as accurate as possible.
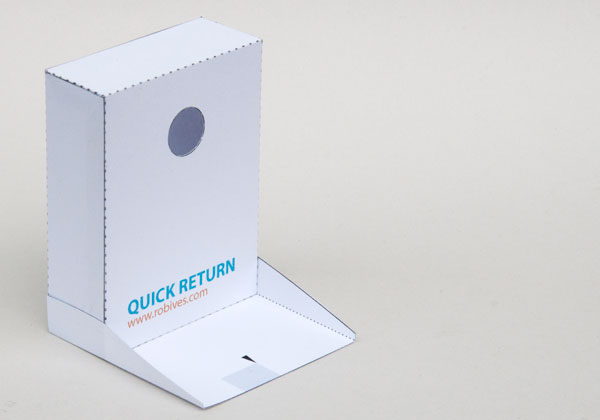
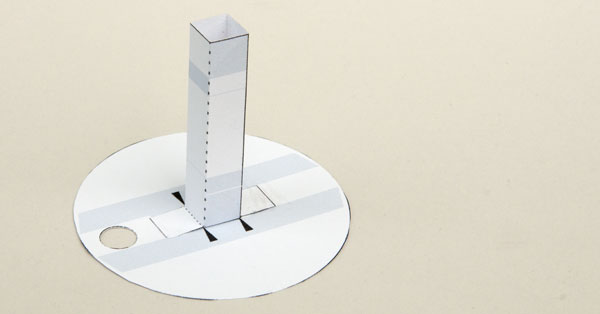
Glue the box to the base and glue up the sides. Notice that the folds on the base are valley folds.
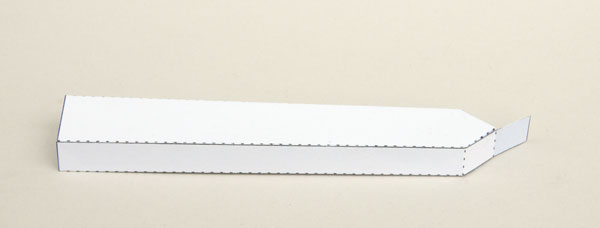
Fold round and glue together the bar. Notice that there is a tab free on the triangular end of the bar.
Assemble the pin and glue it into the slider. Fold the slider round and glue it together.
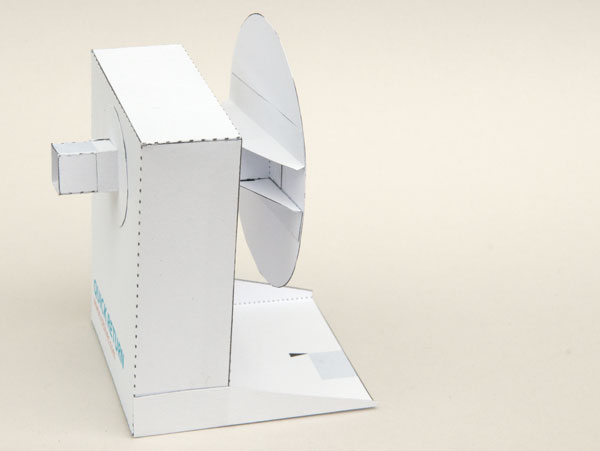
Thread the drive shaft through the holes in the box. Glue on the second washer to hold it into place. Make sure that the drive shaft is free to rotate.
Thread the slider onto the rod.
Fit the pin into the hole in the drive wheel. Glue the tab on the end of the rod to the grey area on the base.
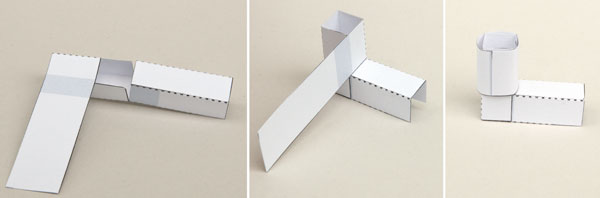
Make the handle in three steps. Fold the two parts into square section tubes. Fold the two parts one inside the other and glue. Roll round the long tab and glue it down.
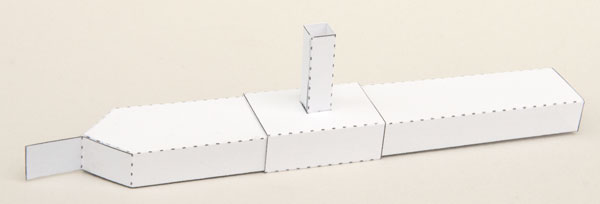
Glue the handle to the drive shaft to complete the model.
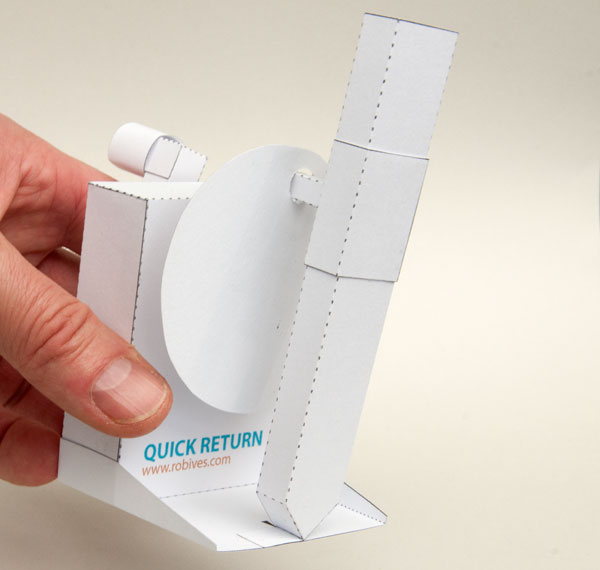
That’s it! Turn the handle and the main bar moves slowly to the right then whips back quickly to the left. Find out more about the quick return mechanism in the mechanisms section.