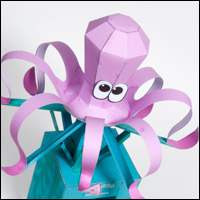
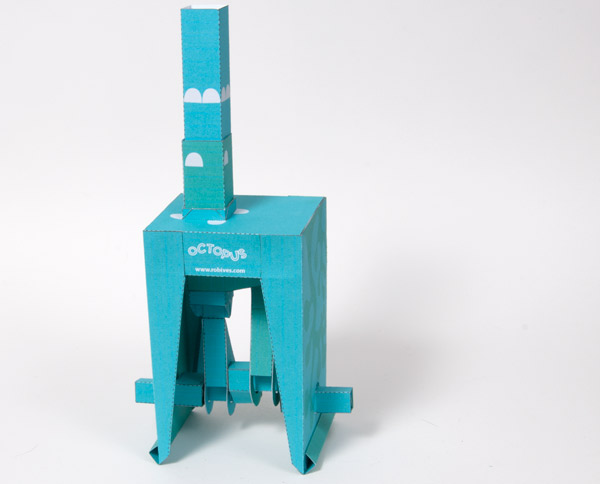
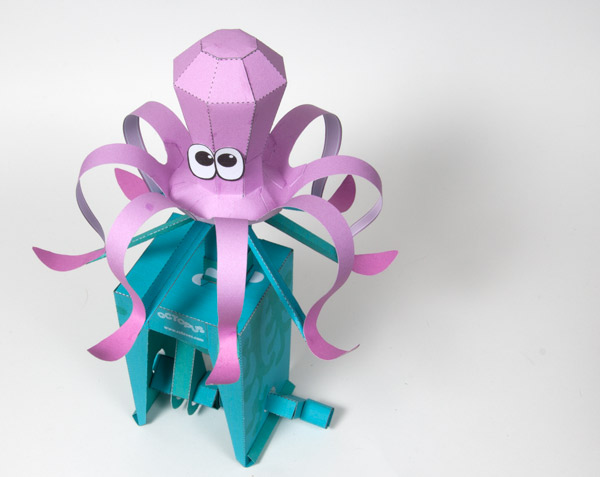
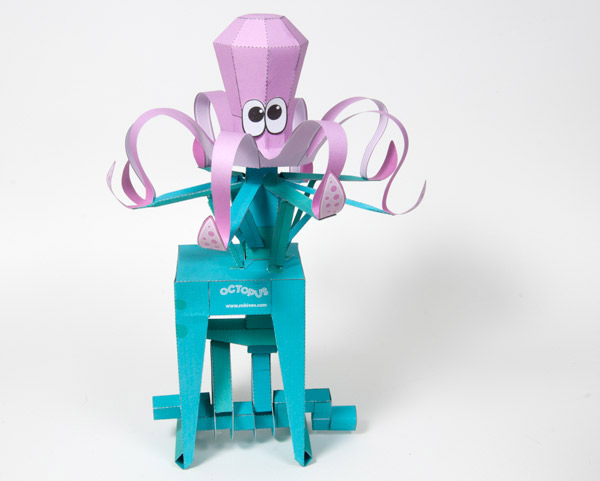
 An animated paper octopus to download and make. Turn the handle and the double crank mechanism moves one set of tentacles slightly later than the other set giving this interesting fluid motion. The parts are free for members to download at the end of this blog post. None members can get hold of the parts file for a small fee.
There are two version of the model in the file, colour and line only. Print out the version suitable for your needs. Note that the colour version has a front and a back for each sheet. Print out the front, flip the card round and return to to the printer then print out the back.
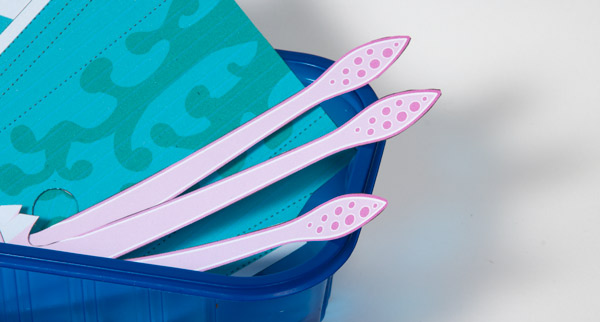
You’ll need to print out the last page, the tentacle page, four times so that you have enough tentacles!
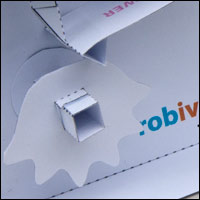
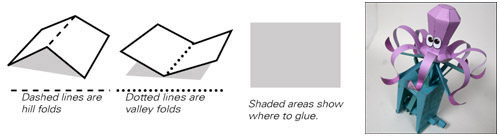
Print out the parts onto thin card (230 micron/230gsm is ideal) Score along the dotted lines and cut out the holes marked with ‘Cut Out’. Carefully cut out and collect together all the pieces.
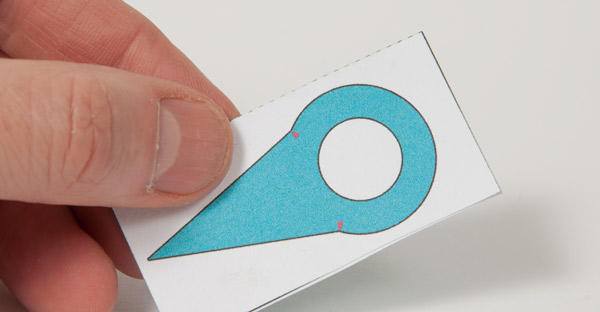
Fold in half and glue together the linkage sides so that they are double thickness card. Set them aside until the glue is completely dry.
Once the glue is dry, cut out the centre hole with a sharp knife.
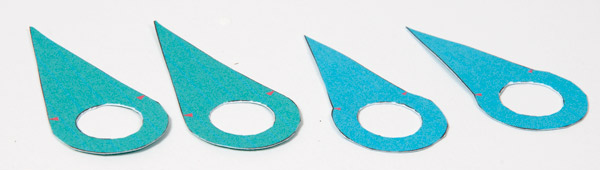
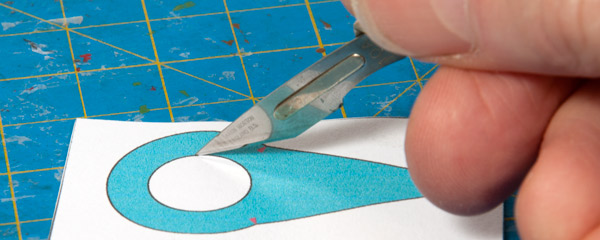
Complete the linkage sides by carefully cutting them out.
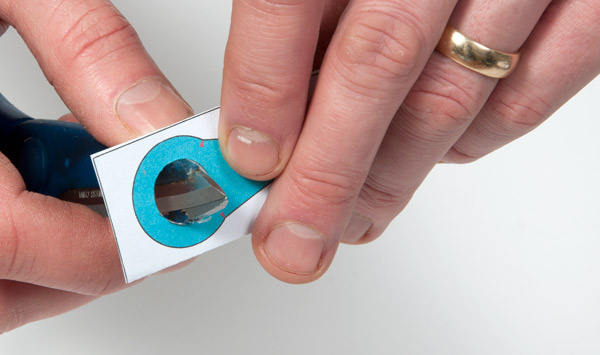
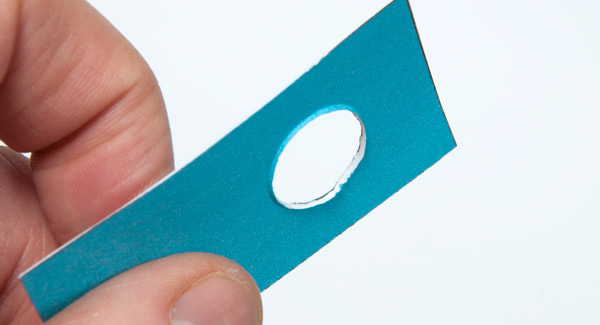
Use the end of a pair of scissors to smooth the inside of the hole. Notice that the card is now slightly mushroomed out. This helps the parts run smoothly on the completed model.
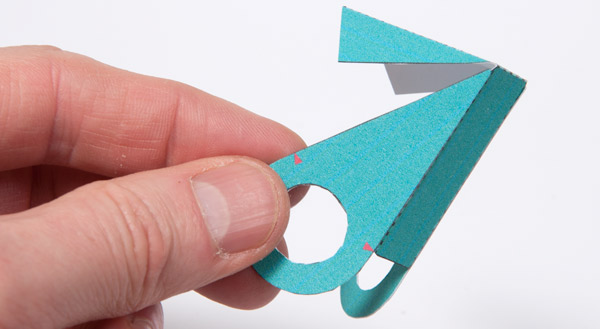
Glue the linkage sides to the appropriate inner linkage. (Match the correct colours together.) Note that the end of the inner linkage is lined up with the small red arrow on the linkage sides.
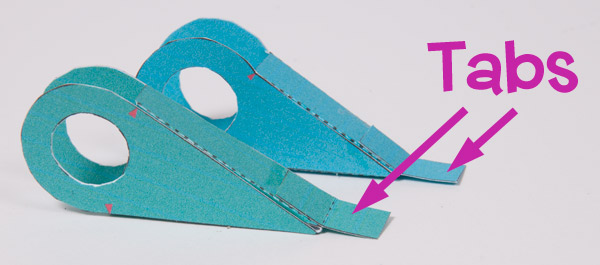
Glue the matching colour tabs to the end of the appropriate linkage.
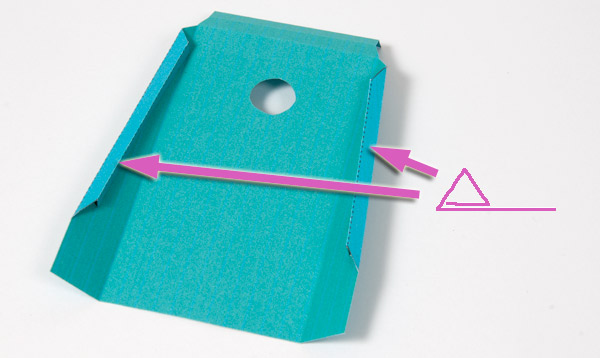
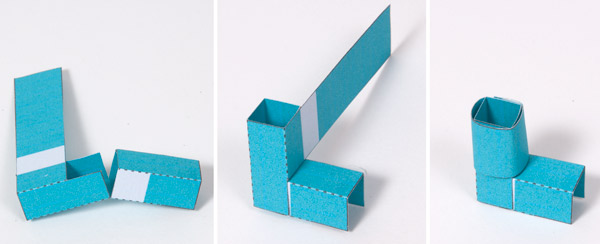
Fold round and glue down the edges of the side pieces to make triangular sections. These will help make the sides of the box rigid.
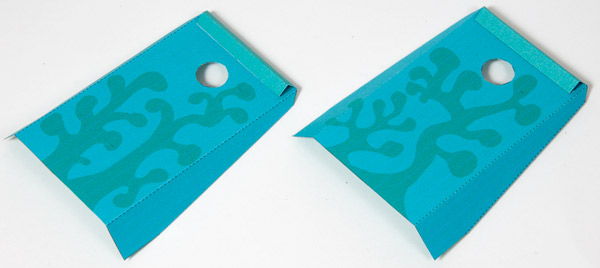
Repeat the process for the tabs on the base of the box.
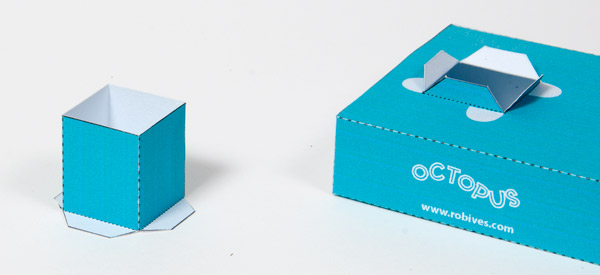
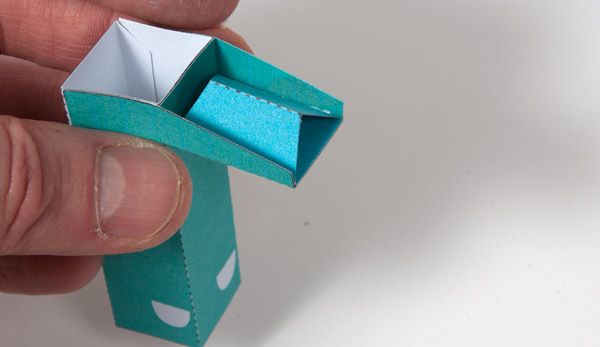
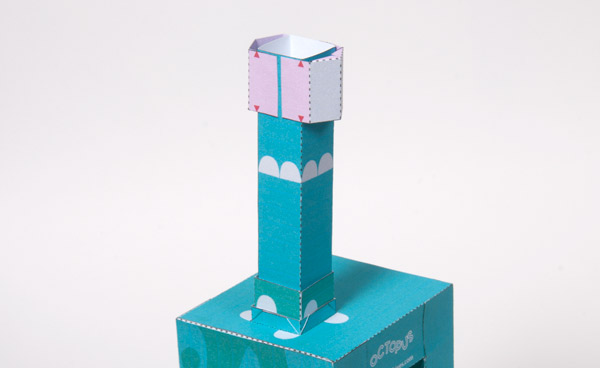
Glue together the box top and the slider tube as shown. Note that the tabs on the hole in the box top fold outwards.
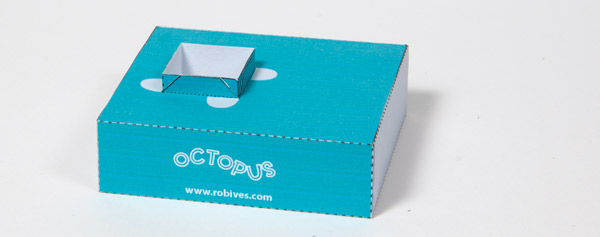
Thread the slider tube up through the holes in the box top and use the tabs to glue it into place.
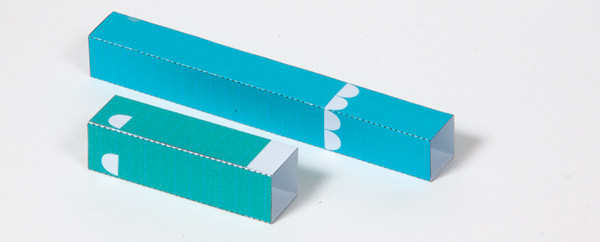
Glue together the inner push rod and outer push rod.
Glue the outer push rod side to the outer push rod. Note that the centre tab is folding upwards in the above picture.
Glue the outer push rod link point into place.
Fold up the inner push rod end as shown in the top picture.
Glue it into place inside the inner push rod lining up the parts as shown above.
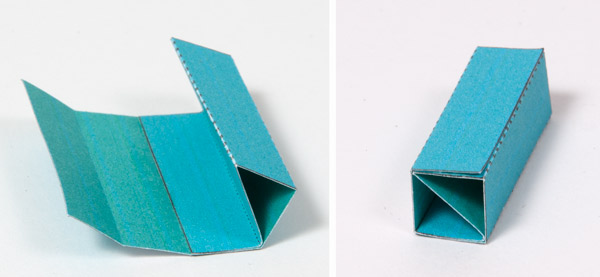
Assemble the four crank parts as shown above. First fold round and glue down to make a diagonal piece then fold over and glue down to make this rigid square section piece.
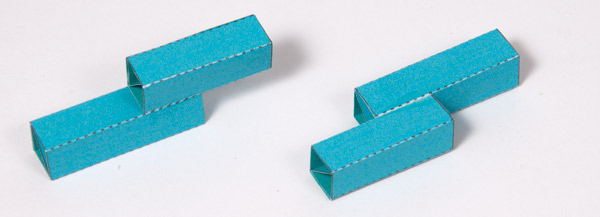
Glue the two pairs of crank parts together as shown. Each pair has one short piece and one long piece.
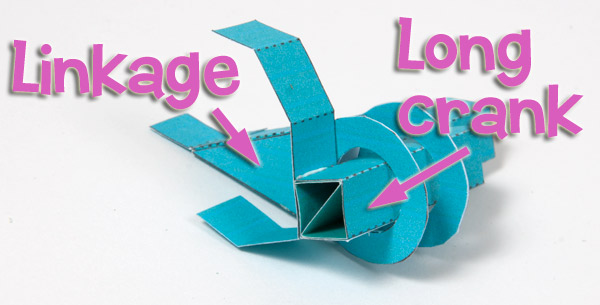
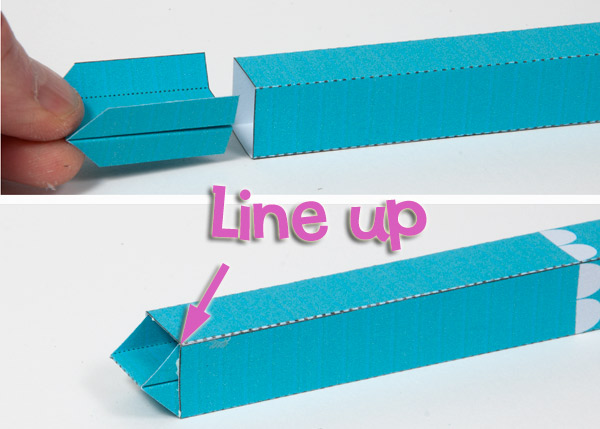
Take one of the crank parts and thread the shorter of the two linkages onto the longer crank half. With the parts aligned as shown, glue the crank joiner to the crank shaft. Use the diagram and picture to help with alignment.
Thread the other linkage onto the long part of the other crank half.
Glue the crank to the crank joiner. Make sure that everything is lined up and square before the glue dries!
Fold round the ends of the crank joiner so they join the the crank parts together.
Finish off the crank assembly by gluing the small joiner tabs to the arrowed places. These will strengthen the finished crank.
Assemble the handle using the three steps pictured above.
Fold round and glue together the two square sections.
Fold up and glue one section into the other.
Roll round and glue down the long tab to complete the handle.
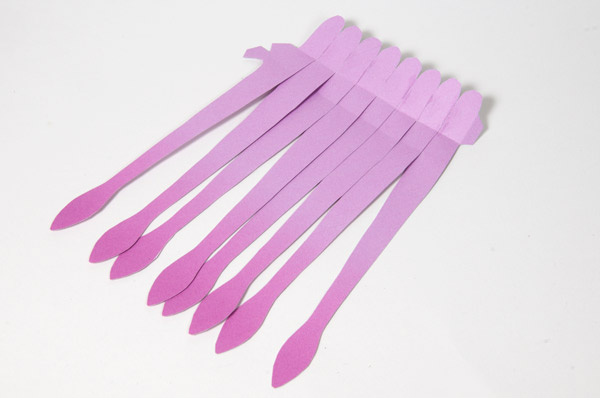
Glue together the eight tentacles using the top tab on each tentacle only.
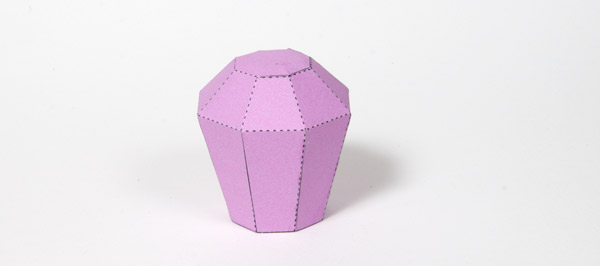
Glue together the body as shown.

Roll round and glue together the tentacles.
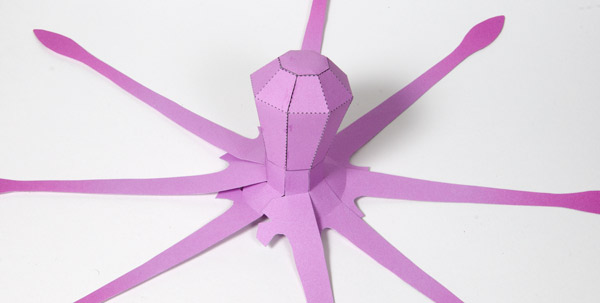
Glue the body to the tabs at the top of the tentacles

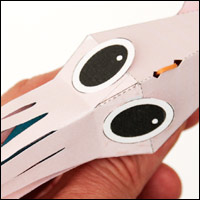
Glue on the eyes so that they are centred on the point where the body joins the tentacles.
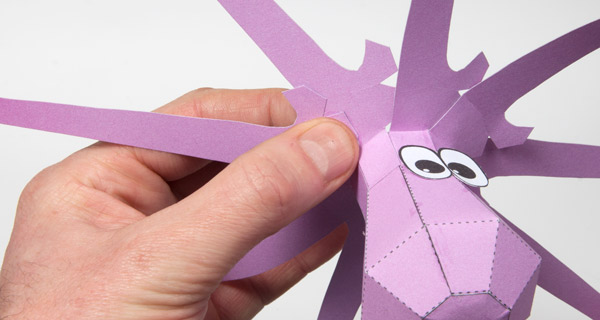
Work your way round the body gluing the middle tab to the adjacent tentacle.
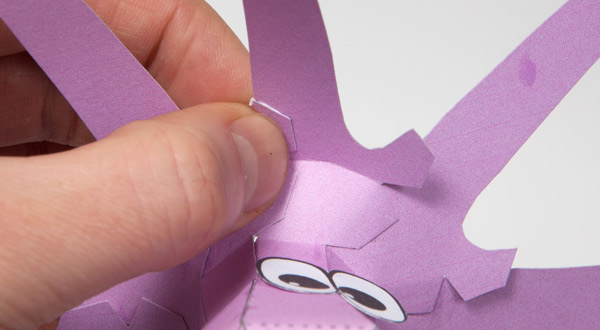
Complete the tentacles by gluing the bottom tab to the adjacent tentacle. Note that the tentacles will now be curved slightly upwards.

Gently pre-curve the tentacles starting with a downward curve at the top and finishing with an upward curve at the ends. Looking good!
Thread the outer push rod into place into the slider tube. Thread the inner push rod inside the outer push rod. Use the picture above to make sure that you have the correct orientation.
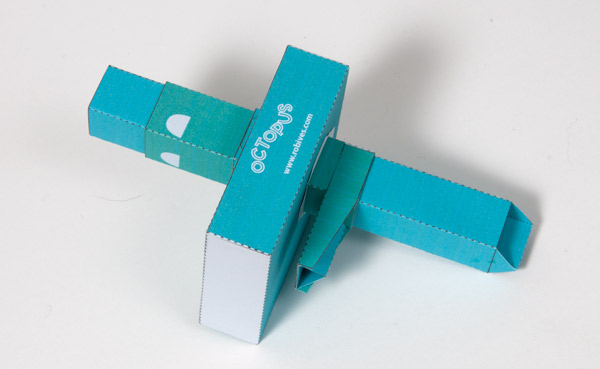
Glue one of the box sides into place. Make sure that it is lined up accurately with the top of the box and is square.
Fit the crank through the hole in the box side. Note that the shorter linkage should fall under the inner push rod and the longer linkage under the outer push rod.
Glue the tabs to join the linkages to the push rods. Set the model aside to allow the glue to dry completely.
Thread the second side over the end of the crank and glue it into place. Again make sure that everything is lined up accurately. Let the glue dry on the side piece before testing out the mechanism.
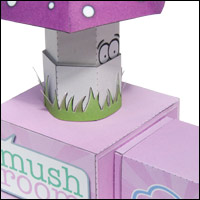
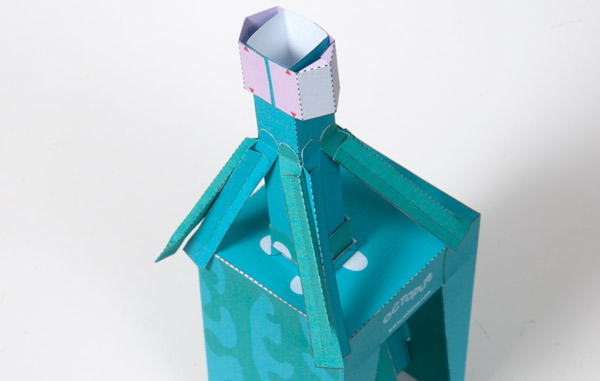
Glue the two stand pieces into place so that the red arrows are lined up with the edge of the inner push rod.
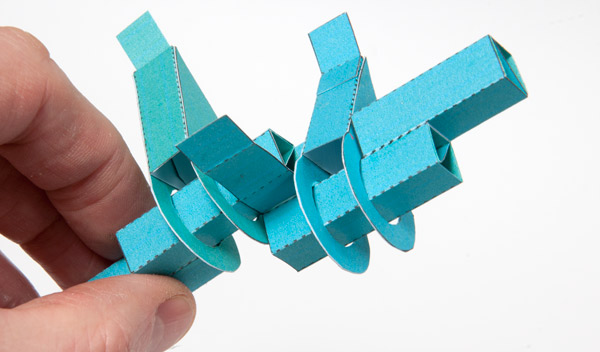
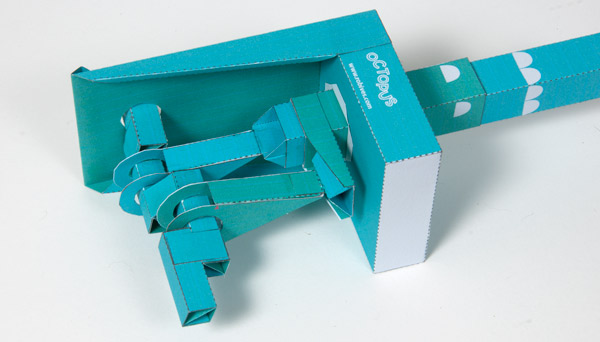
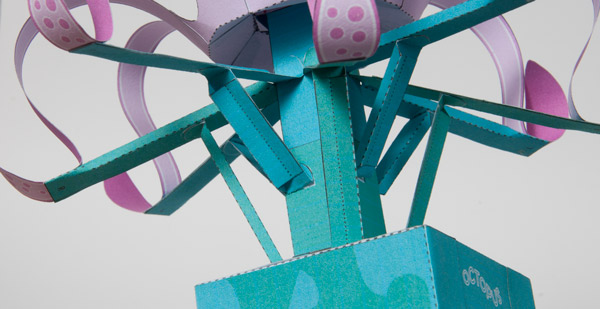
Assemble the sixteen linkage parts. Note that the ends of the long pieces are squashed down to make a small flat area.
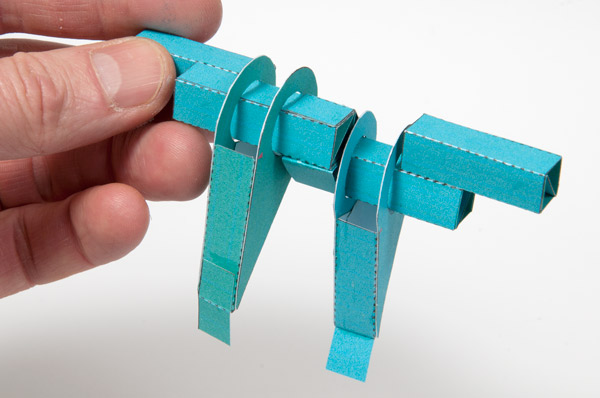
Glue the long pieces to the push rod. Note that they are marked ‘L’ and ‘R’. Glue them to the left and right respectively.
Glue the linkages al the way round as shown.

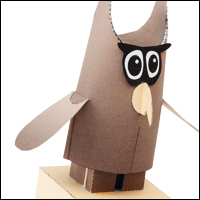
Fit the body to the top of the push rod lining up parts as shown. Make sure that the eyes are pointing forward!
Glue the tentacles to the linkages. Note that there is a small dot on the tentacle to help with alignment.
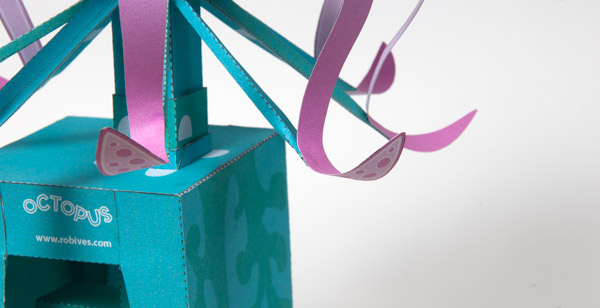
Curve the end of the tentacle upwards to give an octopus like feel!
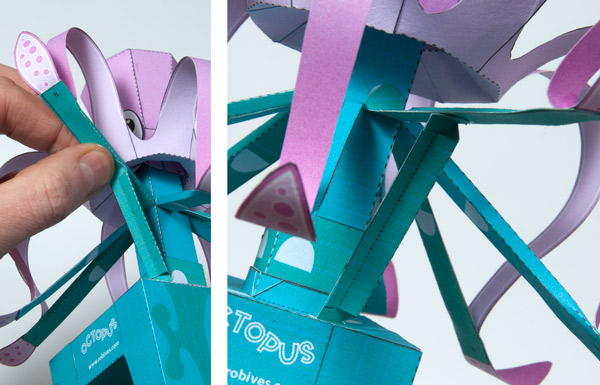
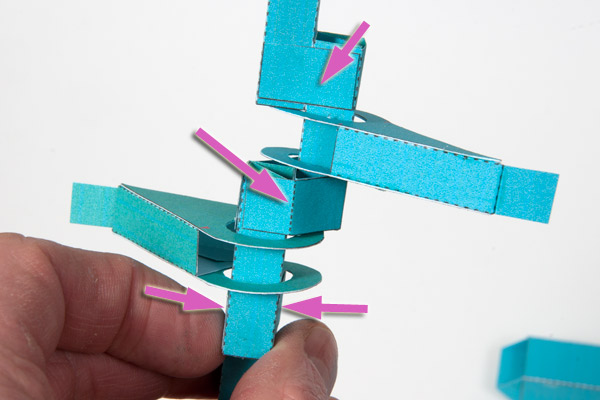
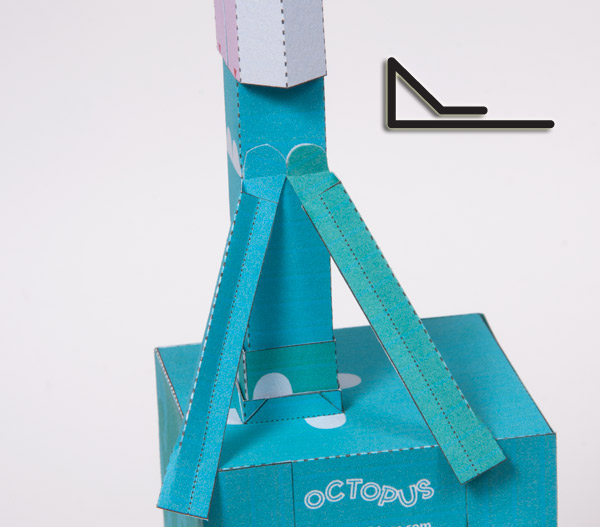
Glue the medium length linkages between the box top and the ‘R’ linkages using the grey areas for alignment.
Glue the shortest linkages between the L linkages and the grey areas on the outer push rod. Not that the tab connected to the push rod is folded upwards.
 Glue on the handle to complete the model. Let the glue dry completely before trying the model out.
Turn the handle and be amazed at how the octopus moves!