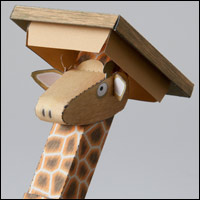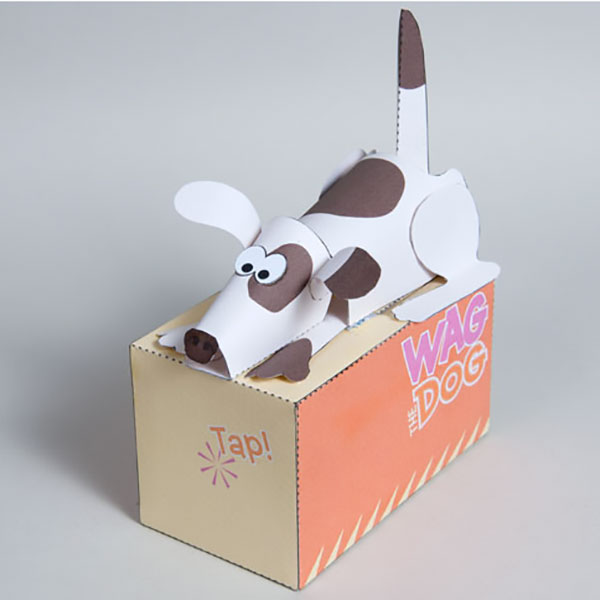
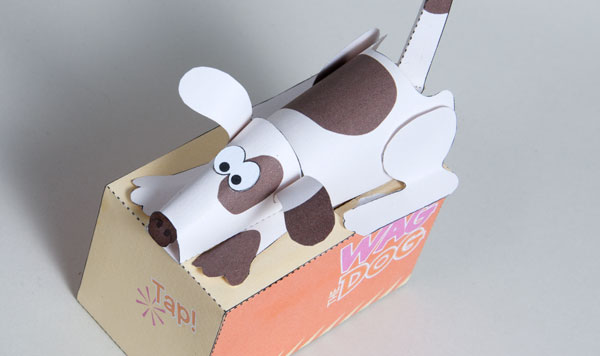
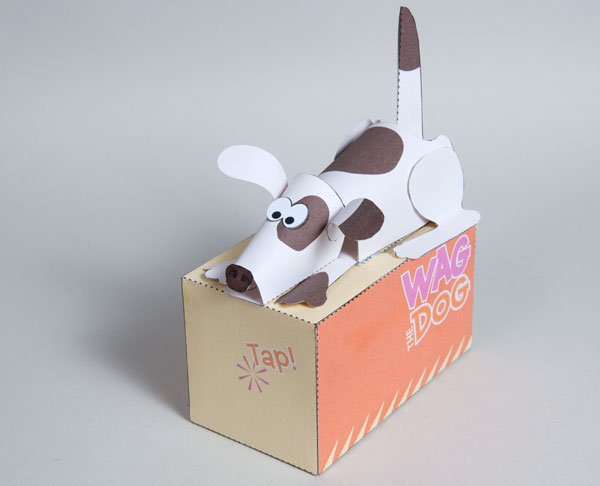
Wag the Dog. The slightest tap on the box and the cute dog wags her tail. If you are a member you can download and make this pendulum powered model for free. None members can download it for a small fee.
Check out the Instagram video then crack out the glue and start making your own model!
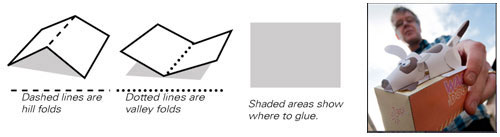
The file comes in both mono and colour versions. Print out the one of your choice. The first three sheet need to be printed onto thin card (230 micron / 230 gsm) the forth sheet should be printed onto paper. Note that the third colour sheet has a front and a back. Print out the front, flip the card and return it to the printer before printing out the back. Dashed lines are hill folds, dotted lines are valley folds, solid black lines show where to cut and grey areas where to glue.
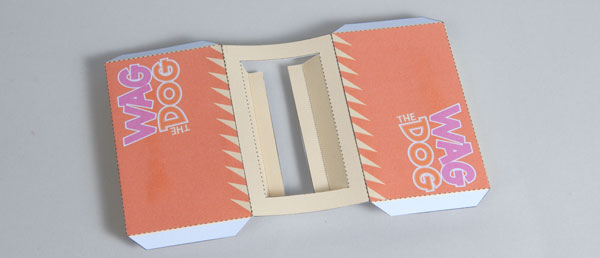
Score along the dotted and dashed lines and cut out the holes berfore cutting out the parts,
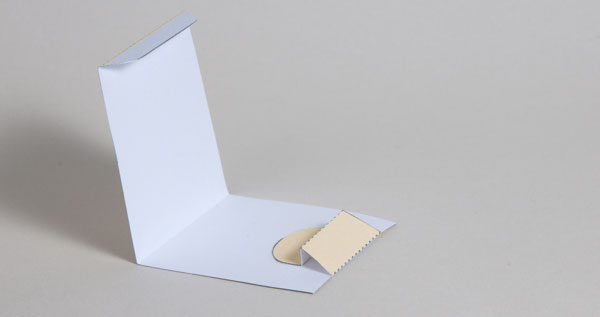
Fold up and glue down the tab on the box back to make this triangular tube. This helps make the box top rigid.

Fold the tab on the box front and glue it down lining up the edge with the crease.
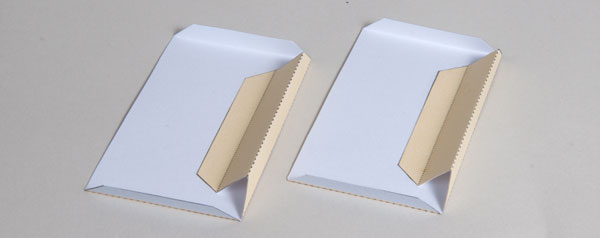
Fold over and glue down the tabs on the box sides making sure that the side is perpendicular to the main face.
Glue the two box sides to the box base carefully lining up the parts.
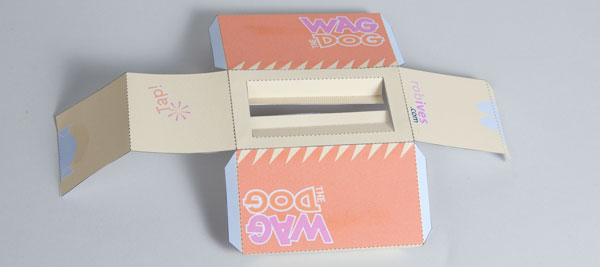
Glue on the box front and back again being careful with alignment.
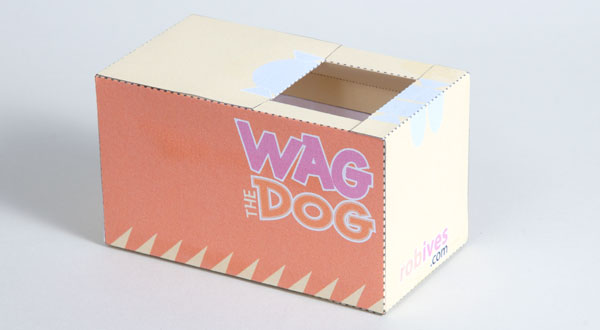
Fold up and glue the box together and shown. Flip the box over and glue the back of the base tabs to the inside of the box.
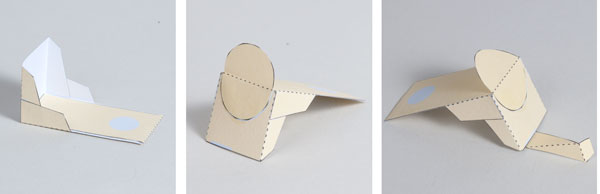
Fold up and glue together the tail stand as shown in the picture.

Glue the tail stand to the box on the grey areas as shown.
Glue on the paper hinge.
Glue the tail stand to the paper hinge lining up the red line with the top of the tail stand.
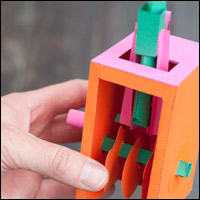
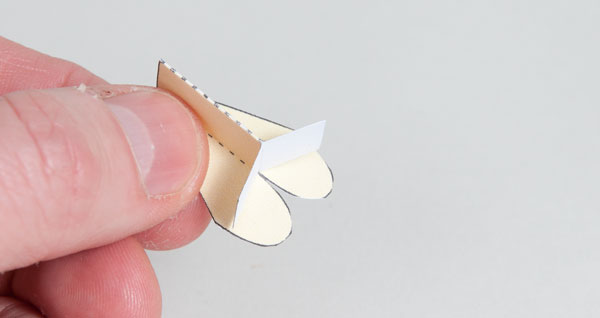
Fold up and glue together the pendulum.
Glue the hinge to the top of the pendulum. Try not to get glue on the fold line as this stops the hinge working as well.
Glue the linkage to the underside of the pendulum. Use the narrow grey area on the hinge as a guide for alignment and use the picture to help with orientation.
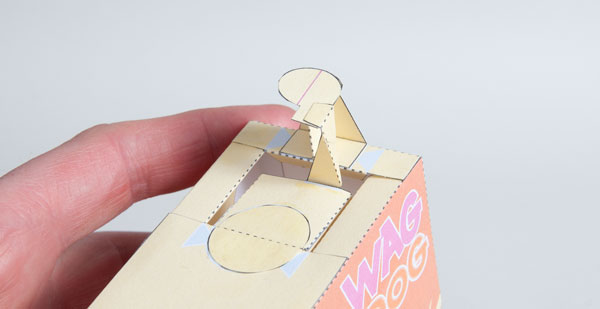
Thread the pendulum into the box and glue the hinge to the box top.
Glue the end of the linkage to the tail support.
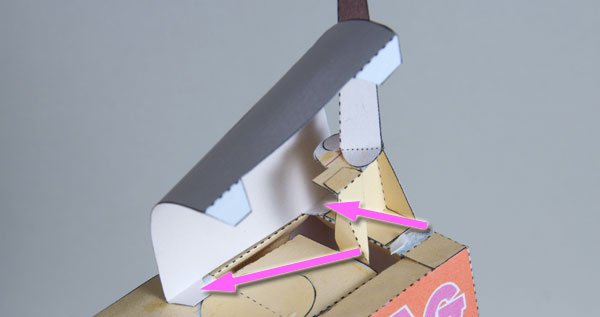
Glue the tail on to the tail support so that it has a ninety degree crease along its length.
Glue the body tabs down so that the body lines up against the edge of the hole in the box.
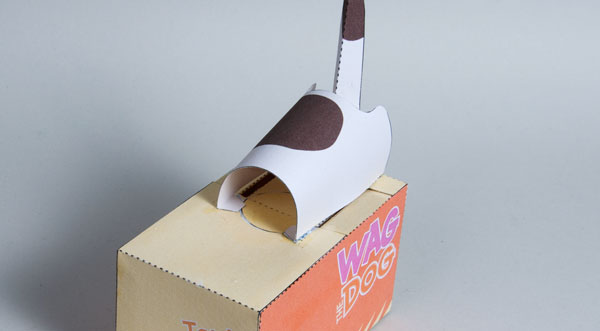
Curve the body over and glue it down.
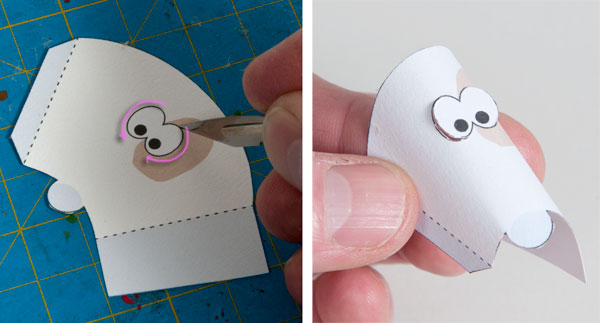
Cut round the sides of the eye in the two places shown, that way they’ll pop from the head a little when you roll the head round.
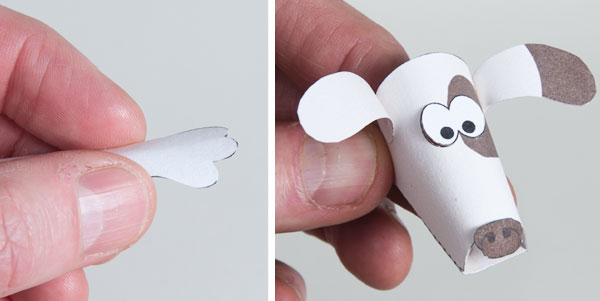
Curve the paws a little to give them a little depth.
Glue the ears and nose to the head.
Glue the paws and head to the box.
Glue on the back legs noticing that the back feet go flat on the box top.
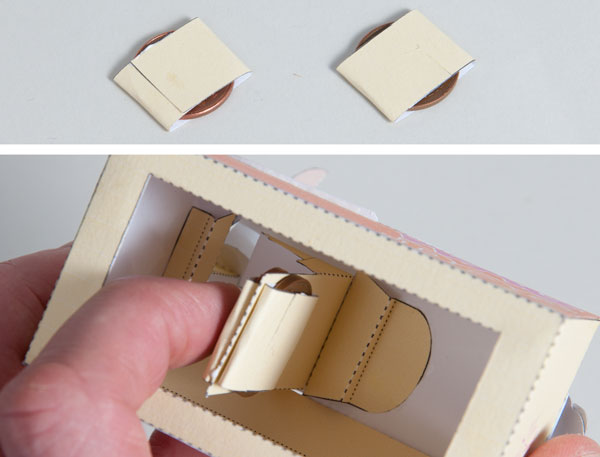
Take two coins (25mm diameter, 7 grams each- I used 2p coins) and fold round and glue down the coin holders. Flip the model over and glue the coins to the front and back of the pendulum.
 That’s it! If the tail isn’t quite vertical you can adjust it by bending the pendulum back and forth.
Tap the box and your dog will wag her tail!