Twitterer Type 1.
At the heart of any Bird Box is a twitterer, the mechanism that make the bird sound. I’m trying out different designs as I work on the bird box project. I hope that you will be interested to try them out for yourself. The first mechanism is the aptly named type 1. Members and Patrons can download the parts for free at the link. Non-members can join in the fun for £2.00.
Download the parts file. Print out the first page twice onto normal printer paper. This will be the bellows so needs to be flexible.
The remaining pages need to be printed onto thin card. 230gsm/67lb. I used coloured card for a colourful model. You can use white, coloured or patterned as your taste determines. Score along the dotted and dashed lines and cut out the holes before carefully cutting out the parts.
Fold up the bellows sides observing the hill and valley folds.
Glue the end into place on the tabs.
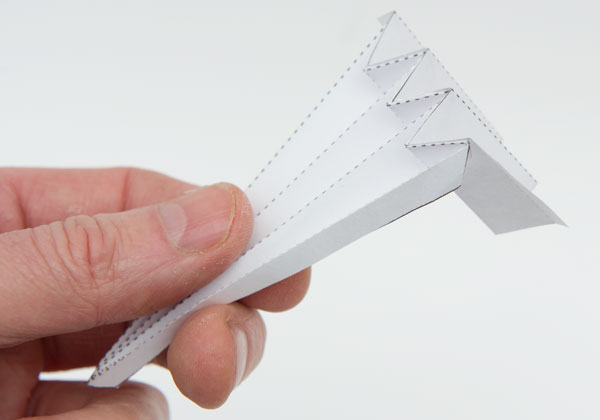
Glue on the second side being sure to keep the sides parallel. Repeat the process for the second bellows.
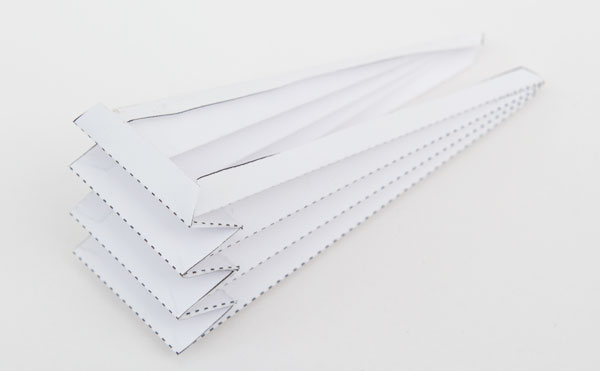
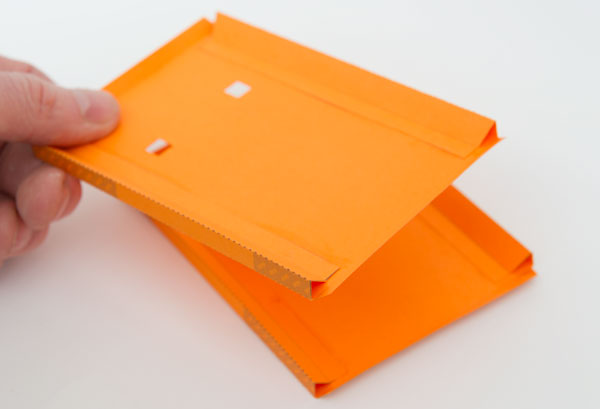
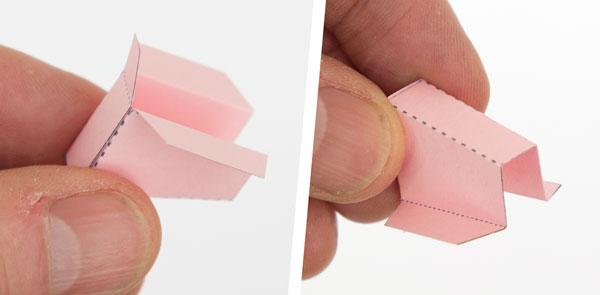
Glue the bellows to the bellows base.
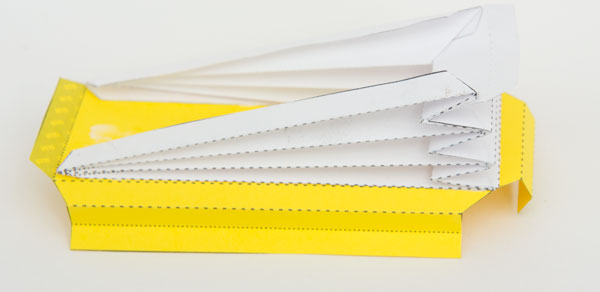
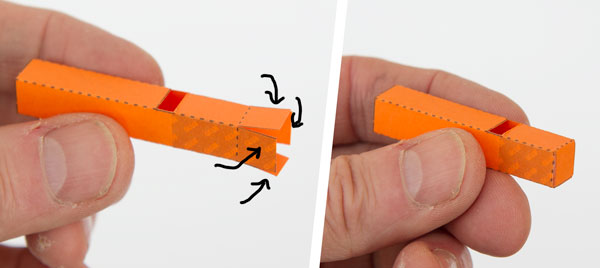
Fold in and glue the sides of the bellows base to make triangular tubes for rigidity.
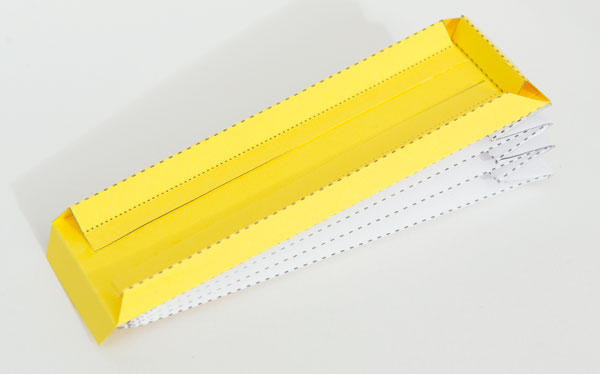
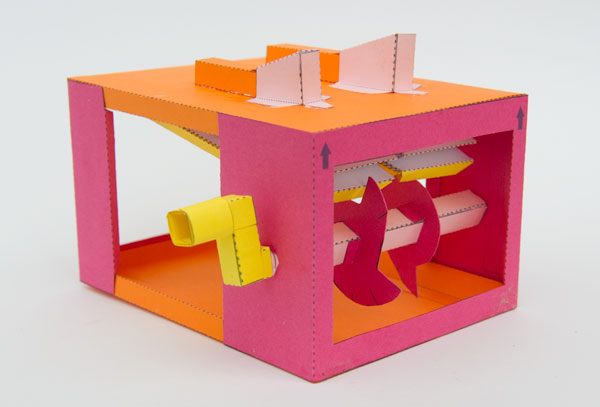
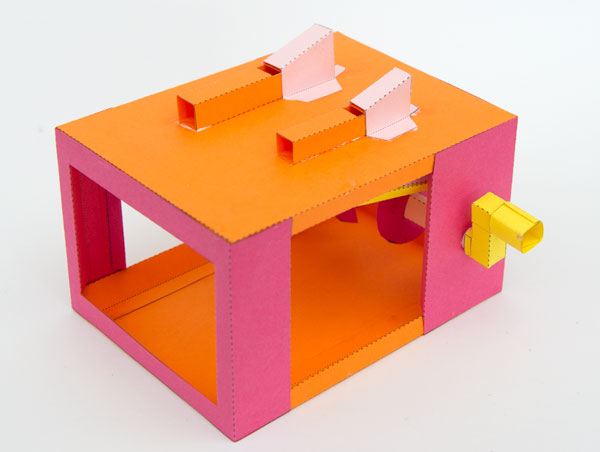
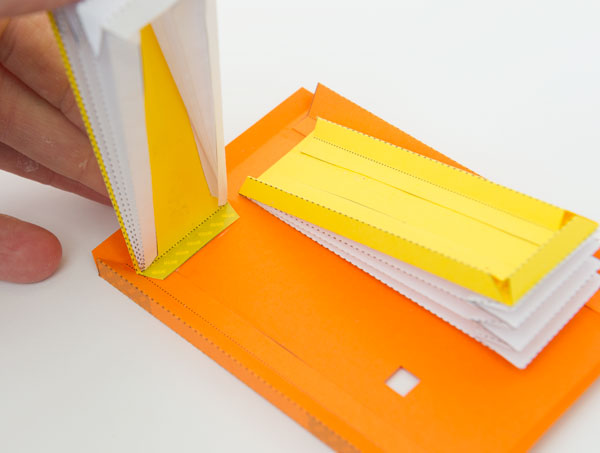
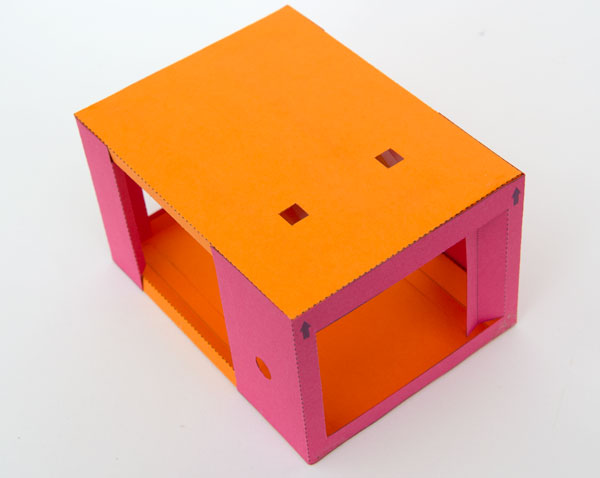
Assemble the box top and base making right angle triangle tubes.
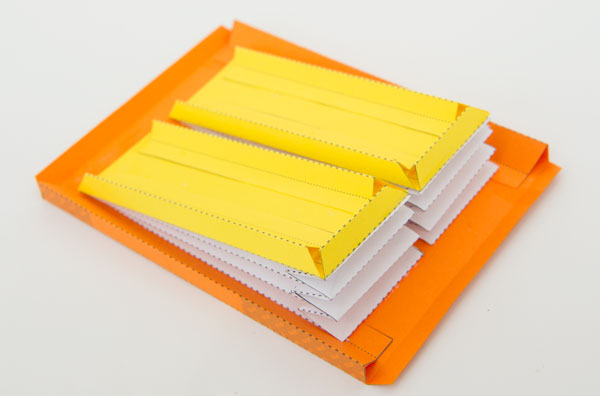
Glue the bellows to the underside of the box top.
Glue the box ends to the box top. Note that the arrows point towards the box top and are at the side with the two air holes.
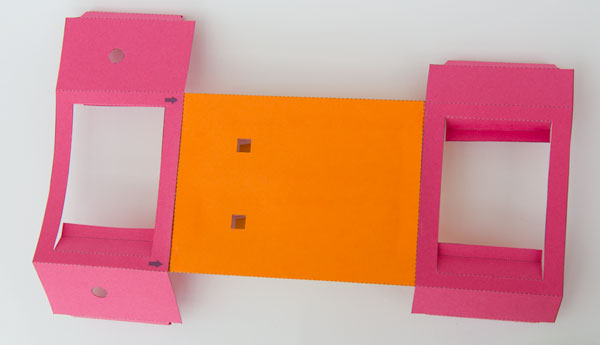
Fold round and glue the triangular sections on the box ends.
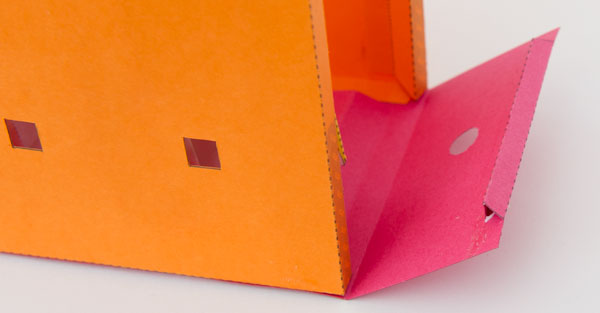
Glue the side tabs into place.
Fold in the tabs and glue them to the inside wall of the box.
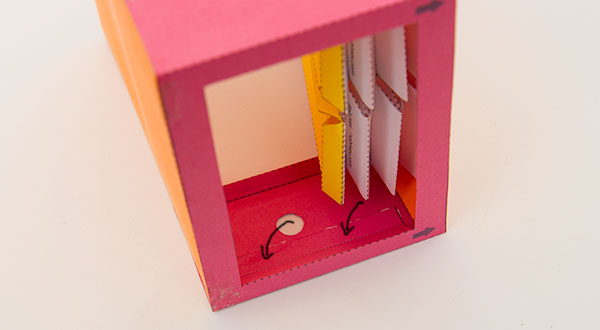
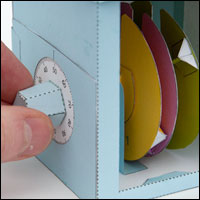
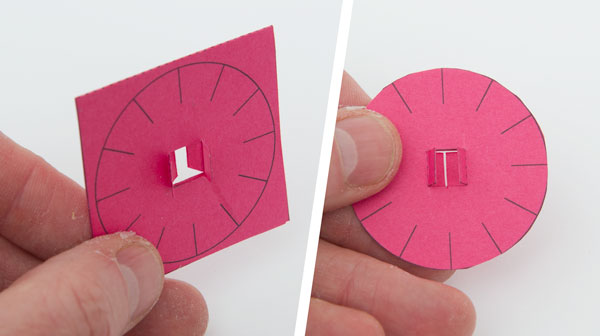
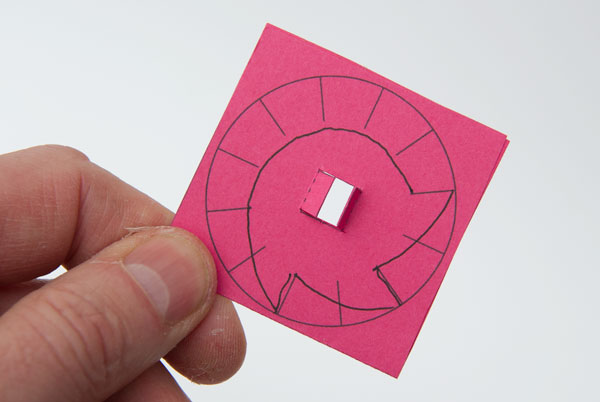
The cams are made from double thickness card. Glue them down them cut them out.
Assemble the axle outer and two axle tubes.

Glue the shorter axle tube into the axle outer.
Use the markings on the cam to help design your own cam profile. I had three bumps on one cam and two on the other.
Glue the cams to the grey lines on the cam shaft.
Fit the cam shaft into the box them push in the second axle tube with a dot of glue to hold it into place.
Make up the handle
Glue the handle to the axle tube.
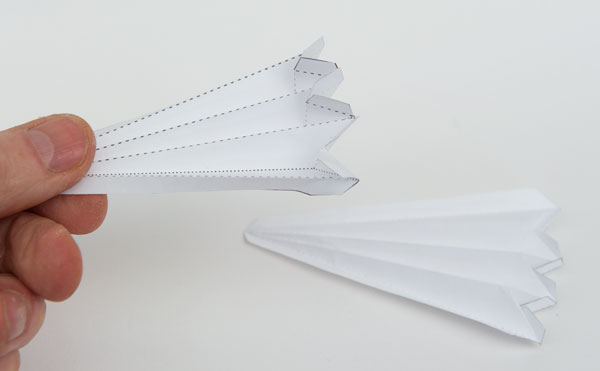
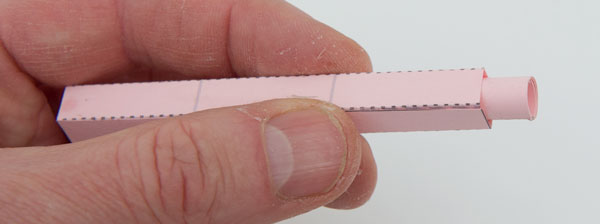
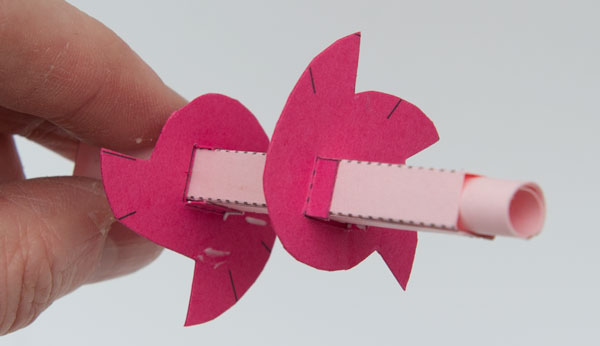
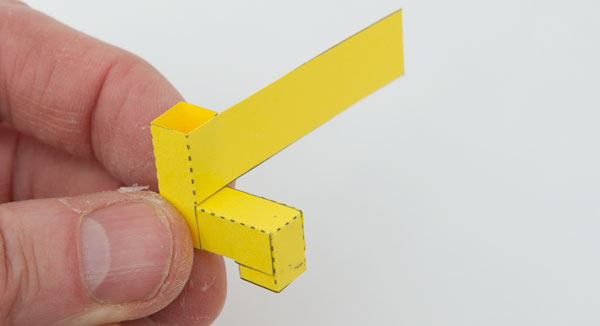
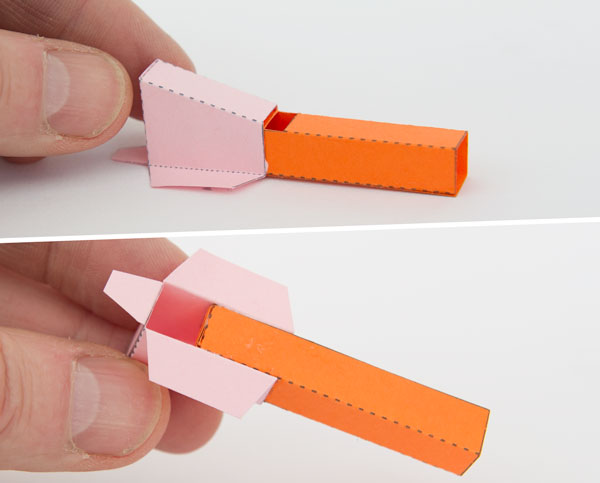
Make up the pipe tubes, folding in and gluing down the ends as shown.
Make up the pipe covers.
Stand the pipe on a flat surface with the slot uppermost. Fit the cover over the pipe so that it is lined up with the edges of the glue areas. You can test the pipes at this point by blowing through the hole in the base.
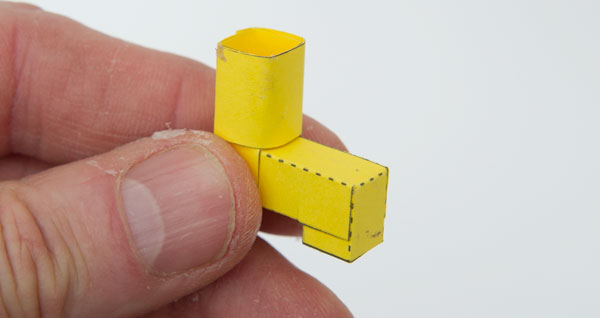
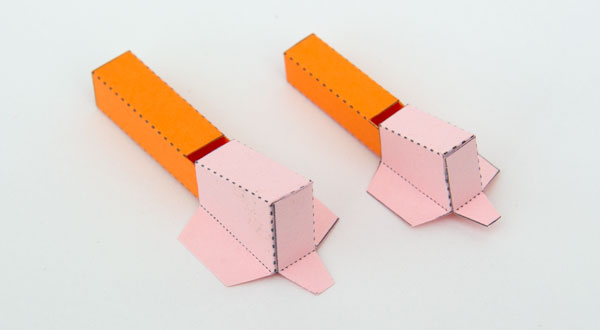
The two assembled pipes.
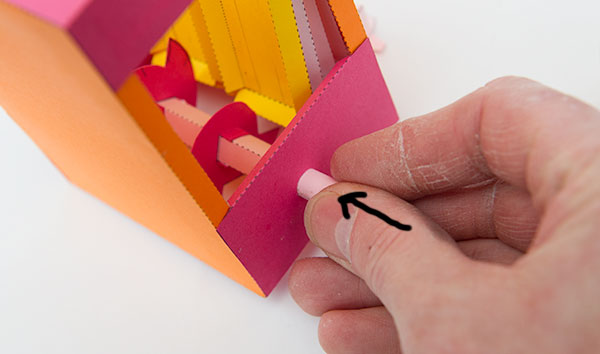
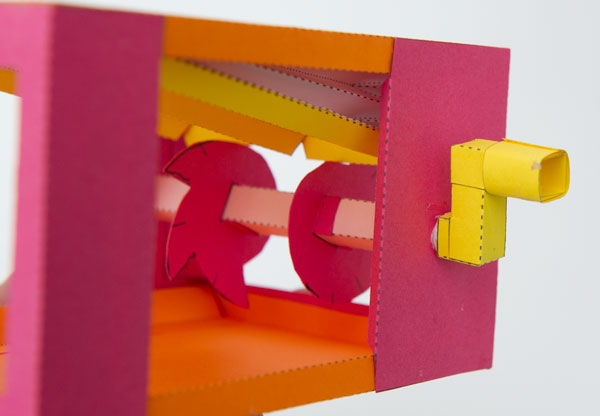
Glue the pipes over the holes in the box top to complete the project. Turn the handle and listen to the bird song!