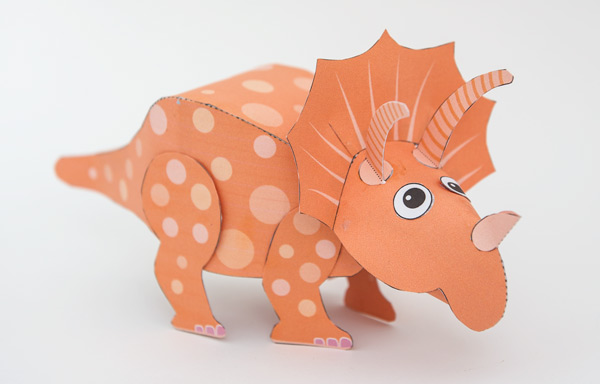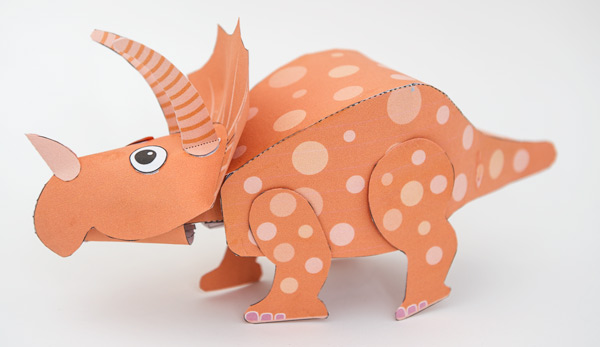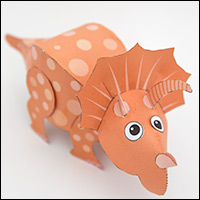
A cute poseable Triceratops to download and make. This papercraft project has movable legs and a poseable head. The neck joint is particularly interesting, featuring, as it does, a two axis two link joint for maximum head flexibility!
Members and patrons can download this paper dinosaur for free from the appropriate place – thanks for your support! Non-members can join in the fun for £2.50.
Download the parts file and print out the pages onto thin card (230gsm / 67lb) Note that there are three different colour variants and an uncoloured version for you to choose from. The model uses four sheets of card, the fifth page needs to be printed onto the back of the forth sheet. Flip sheet four over and return it to the printer then print the back of sheet four.
Score along the dotted & dashed lines and cut the solid black lines before carefully cutting out the pieces.
Some of the parts in the model are made from double thickness card. This gives them extra stiffness and makes it easy to add colour to both sides of a piece.
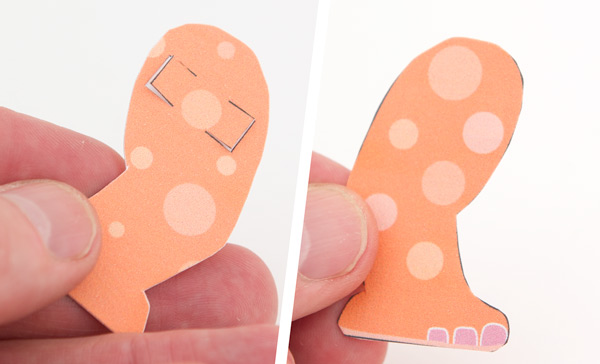
Start by making the legs from double thickness card. Lift out the two small tabs so that they don’t get glued down then fold over the card and glue it down to make double thickness.
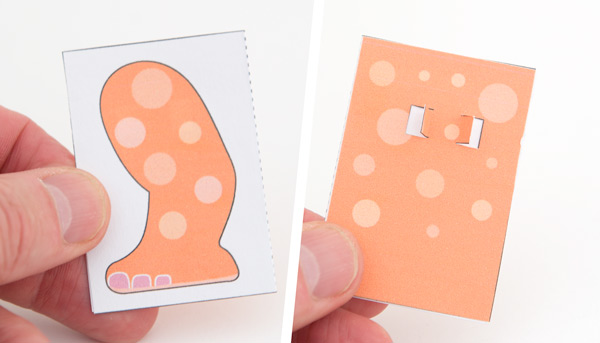
Once the glue is dry carefully cut out the legs.
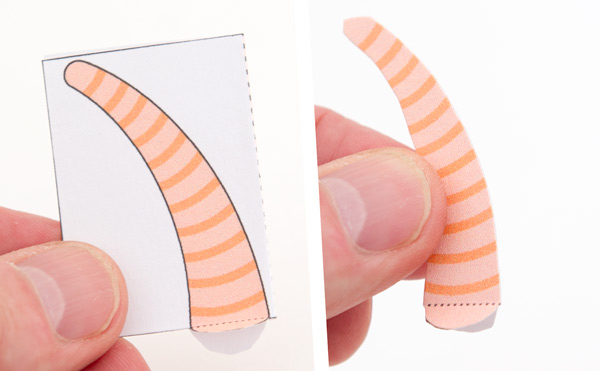
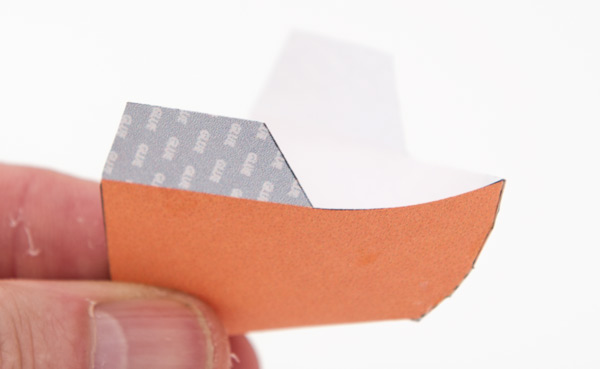
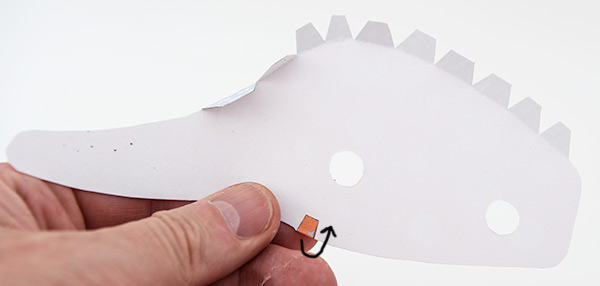
Make the horns from double thickness card, make sure that you don’t glue the tabs at the base of the horns together.
Fold over the four large rectangular flaps on neck piece and glue them down to make double thickness card.
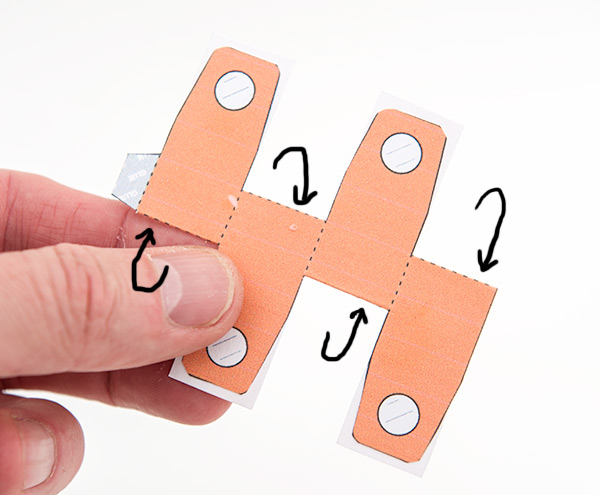
Once the glue is dry, cut out the holes and trim the long tabs to the profile of the neck pieces.
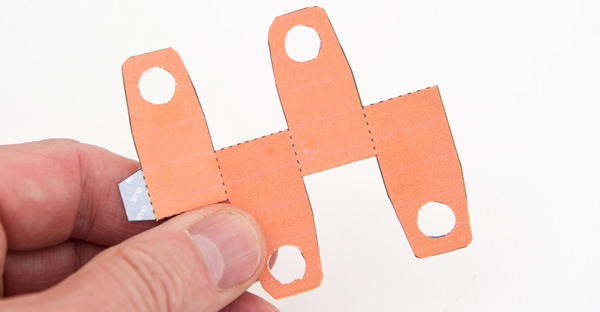
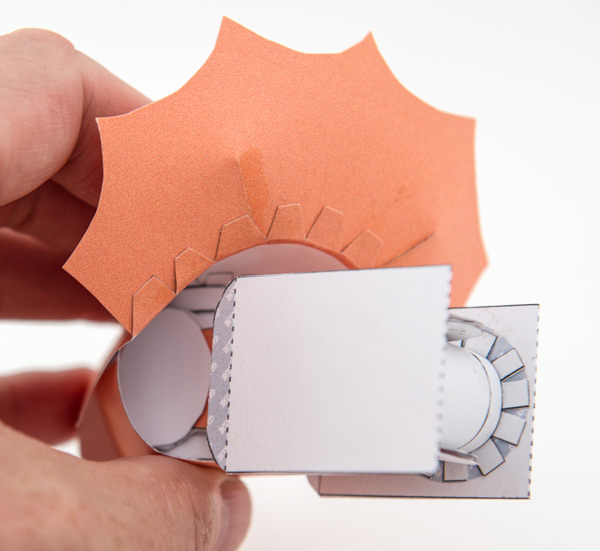
Roll the neck round and glue it as shown.
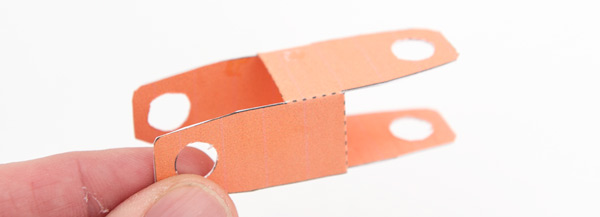
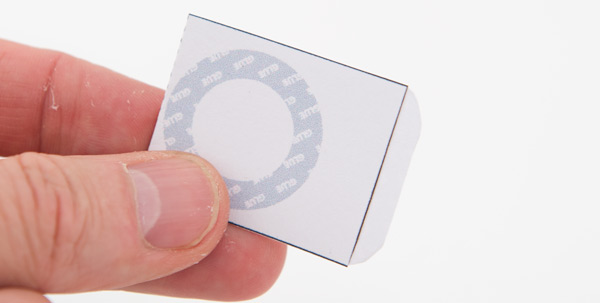
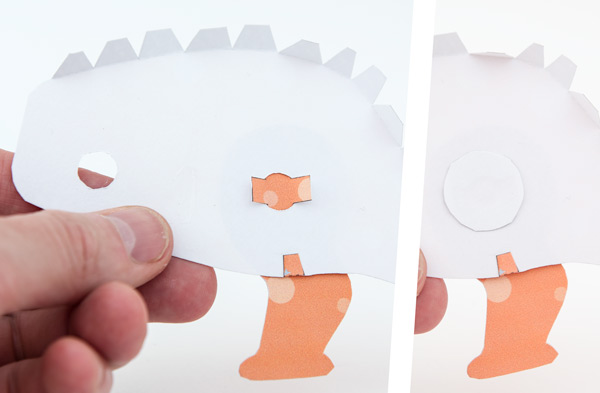
Each corner of the neck is assembled in the same way. Thread the slotted washer up through the hole and flatten the tabs out.
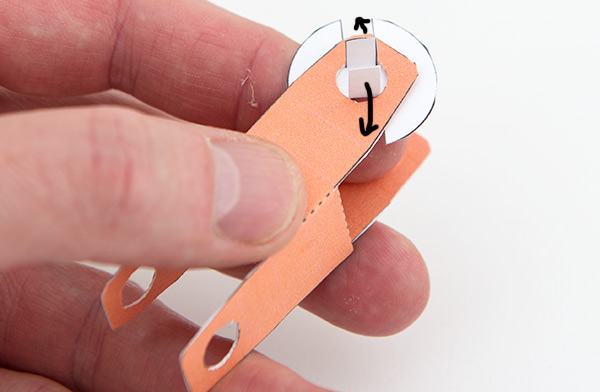
Glue a washer onto the two tabs. Don’t get glue on the neck itself, the washer must be free to turn.
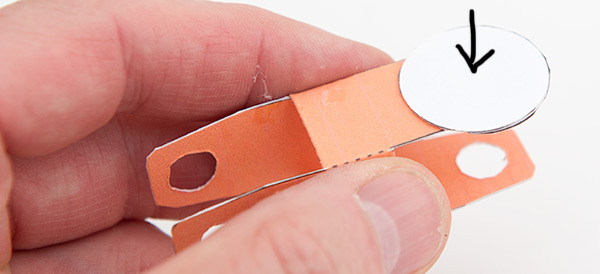
Glue a second washer onto the other side of the slotted washer. Again, making sure that the circle is free to turn.
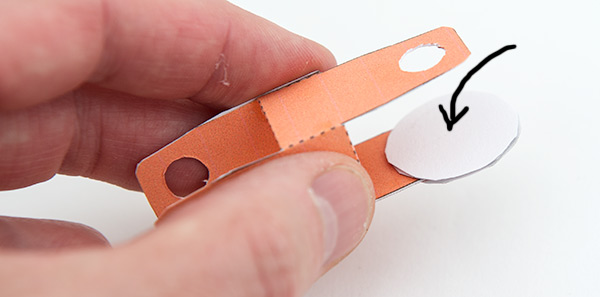
Repeat this process on all four ends.
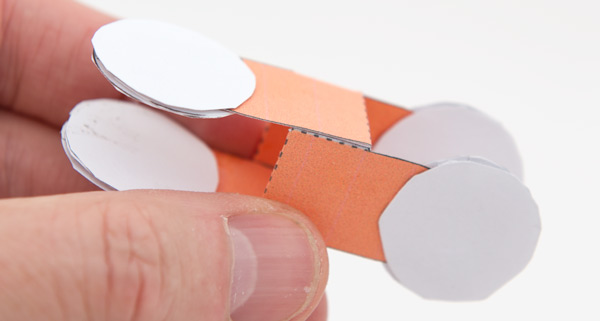
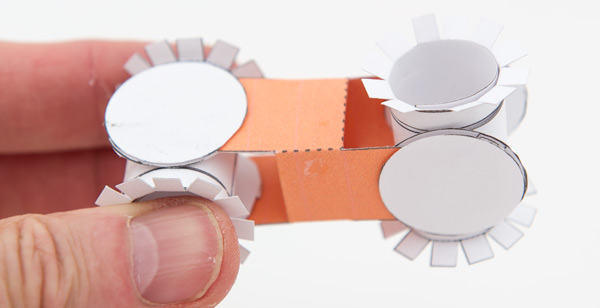
The two axles are assembled the same way as each other.
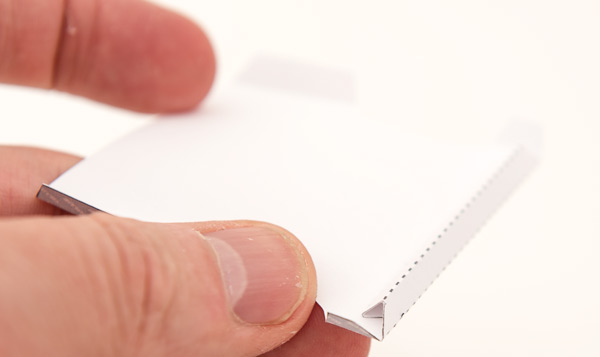
Roll up and glue down the axle tube lining up the end of the tube with the points of the arrows as accurately as possible
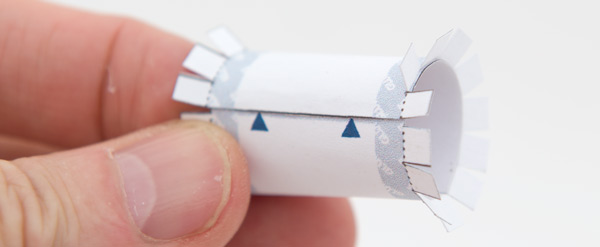
Start by lining up the edge of the outer tube with the arrow points as show. Roll it round the axle and glue it down on itself. Make sure no glue gets on the axle, The axle outer is a tight fit round the axle but should be free to move. Friction holds the outer axle tube into position.
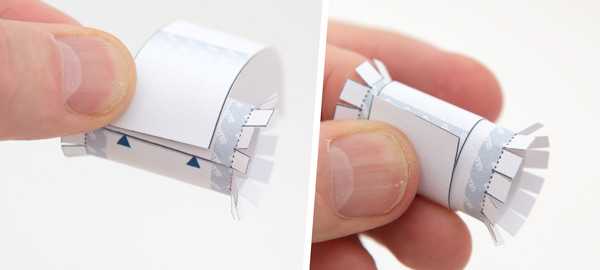
Glue the the two end stops into position. These parts are glued to the axle – they don’t move, they are there to keep the axle outer in place.
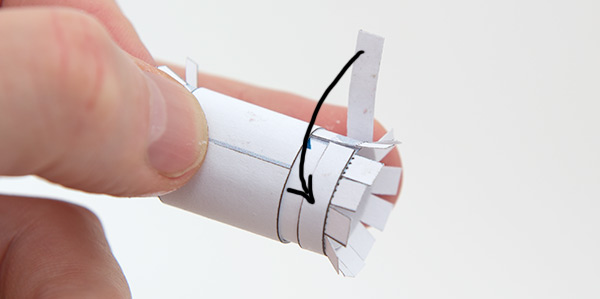
Dot a blob of glue into the centre of the two inner washers at one end of the neck and glue the neck to the outer axle.
Repeat the same at the other end. Once the glue is dry the the axles should be free to rotate in two axis.
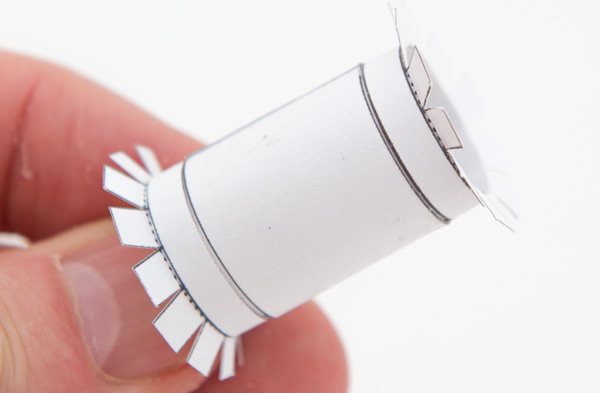
Fold over and glue down the neck link pieces making double thickness card with a single thickness tab.
Glue the two neck links to one end of the neck as shown. Make sure that they are square with each other by placing them on a flat surface as in the picture.
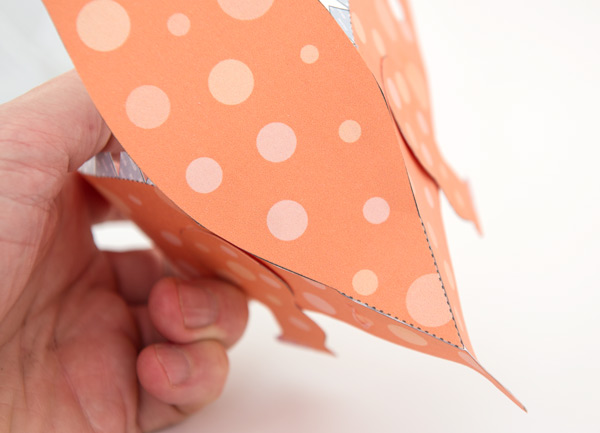
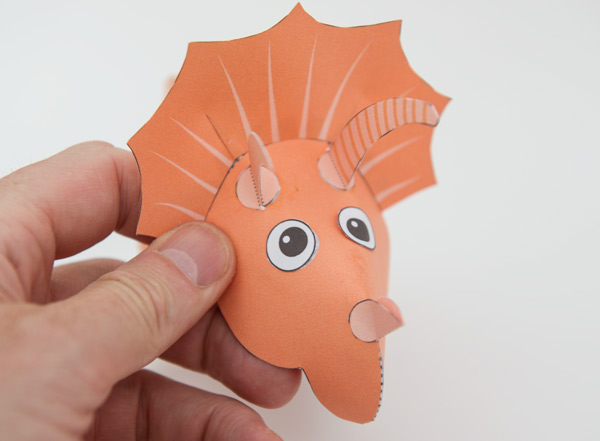
Curve round and make the head top.
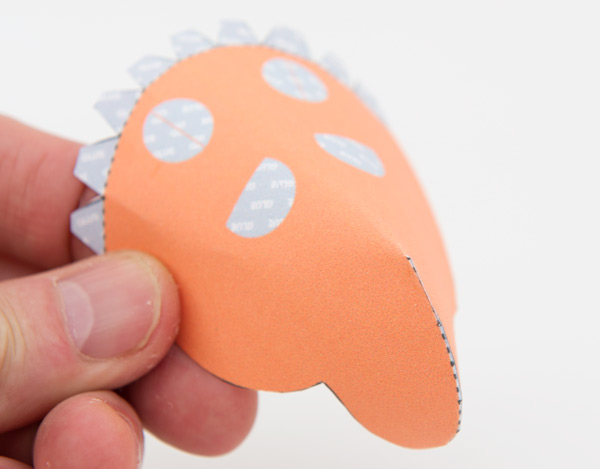
Glue in the two darts on the frill then glue the frill to the head.
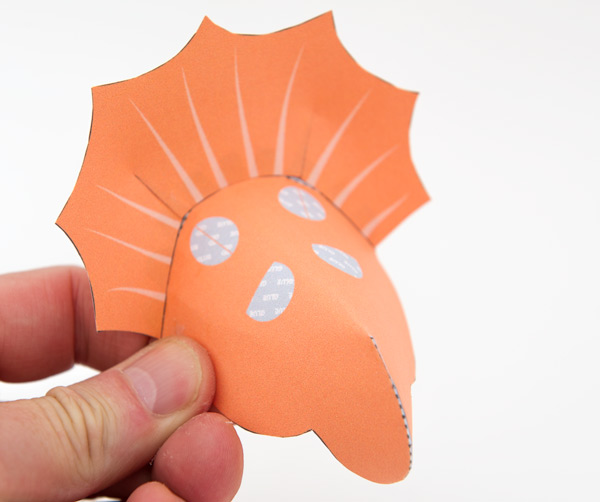
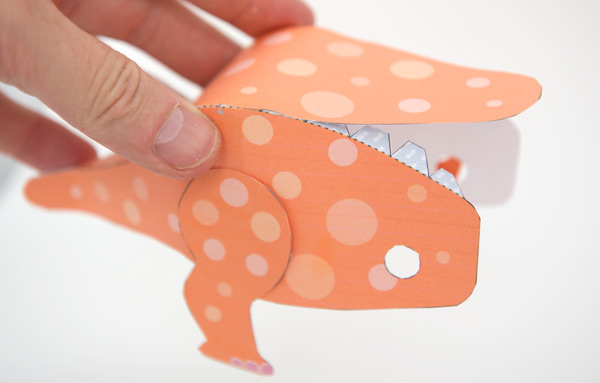
Make the lower jaw.
Glue the lower jaw into the head.
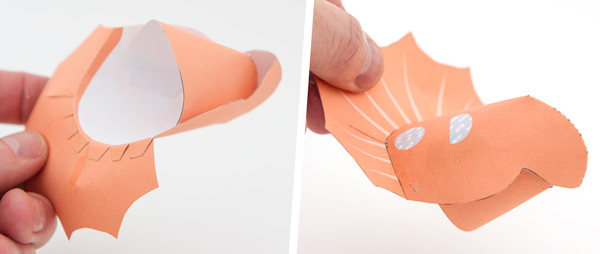
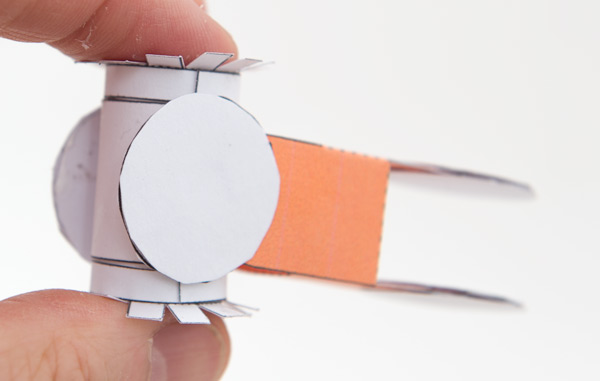
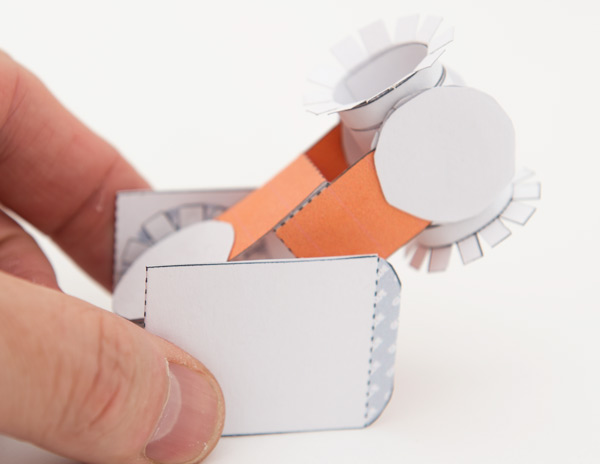
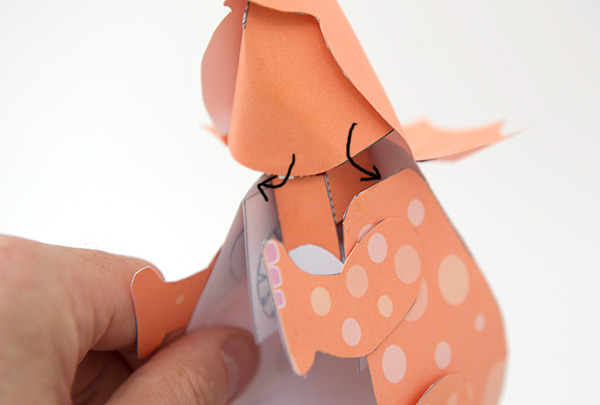
The free end of the neck fits into the head with the axle axis running top of bottom.
Apply glue to the neck axle tabs tabs and thread the piece into the head. Hold the head into position as the glue dries.
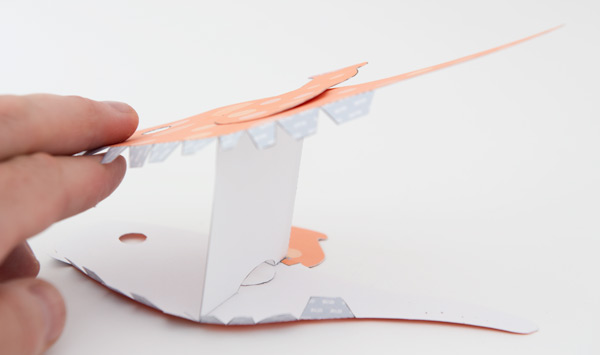
There are two small alignment tabs on the body sides. Fold them over and glue them down.
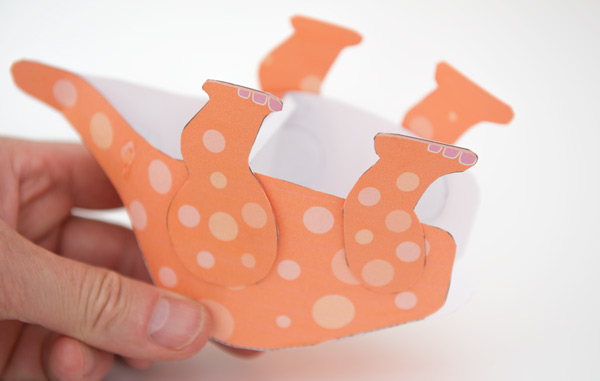
Thread the two rear legs into position and lock them into place with a cover piece. The leg should be free to swing back and forth.
Fold round and glue down the tab on the body inner to make a triangular tube. This gives rigidity to the body inner.
Glue the body inner into place between the small arrow on the alignment tab and the small arrow at the top of the body. The cut-out in the body inner will allow the legs to move freely.

Fit the other body side to the body inner.
Fit the body top into position starting at the tail end.
Start by lining up the tabs on the body top with the tabs on the body sides so that they touch each other. Glue the body top tabs into place and glue the tail ends together.
Work your way along the body gluing down a few tabs at a time.
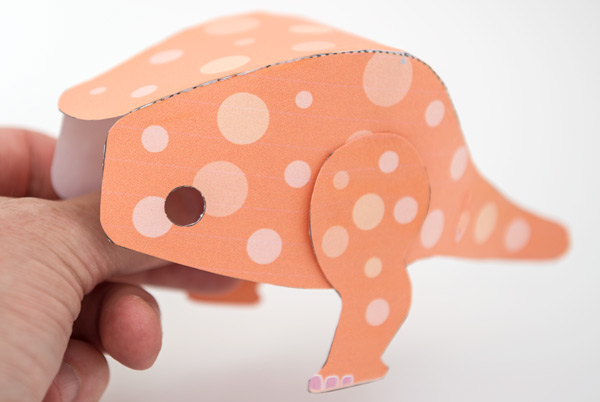
Fit the front legs into place with the tabs and cover pieces so that the are free to move.
Glue the tabs on the neck links to the front edge of the body
Glue on the three horns and the eyes to complete the model!
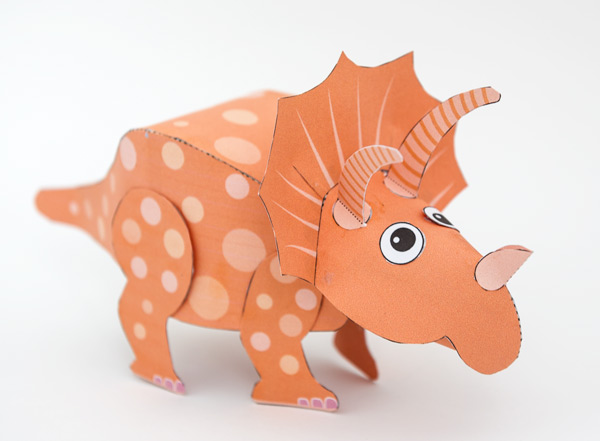
The finished triceratops ready to grace any desktop or mantelpiece!