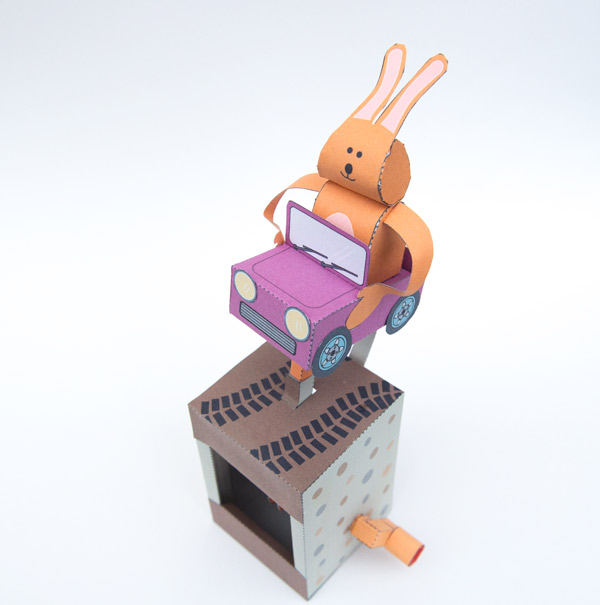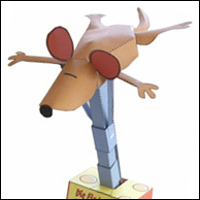
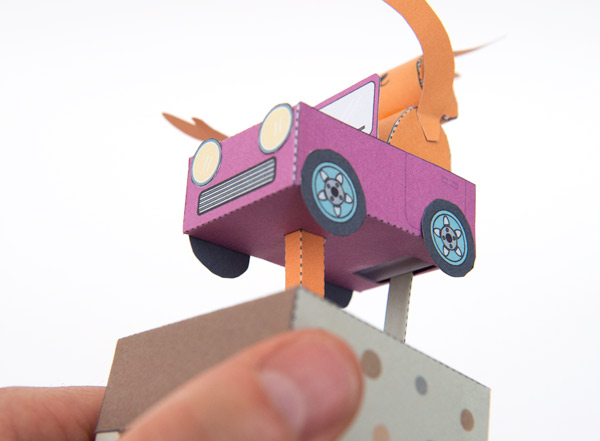
Turn the handle and the car veers wildly up and down as the rabbit grabs hold of the doors making no effort to slow down. This is why you shouldn’t let your rabbit drive your car.
The Runaway Rabbit is a paper animation kit that you can download, print out and make. You’ll just need some card, scissors and glue to bring this fun model to life. As always, Members and Patrons can download the parts for free, non-members can join in the fun for £2.50.
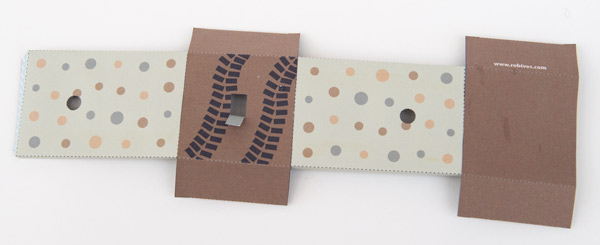
Print out the parts onto thin card. There are two versions of the model, a colour one and an uncoloured one. Notice that the coloured version has two side, print out the front, flip the card and return it to the printer then print the back.
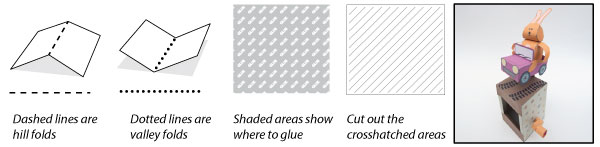
Score along all the dotted and dashed lines and cut out the holes before carefully cutting out the parts.
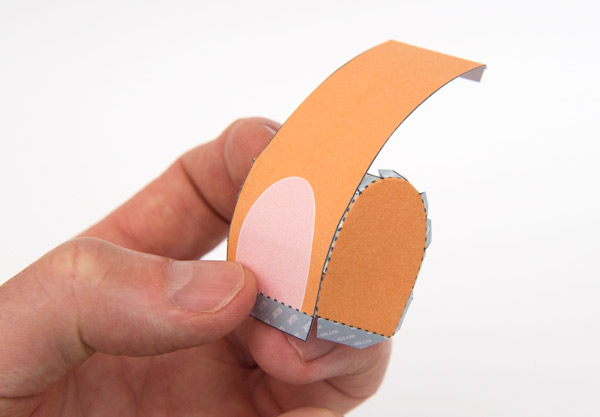
Glue the body front to the body sides.
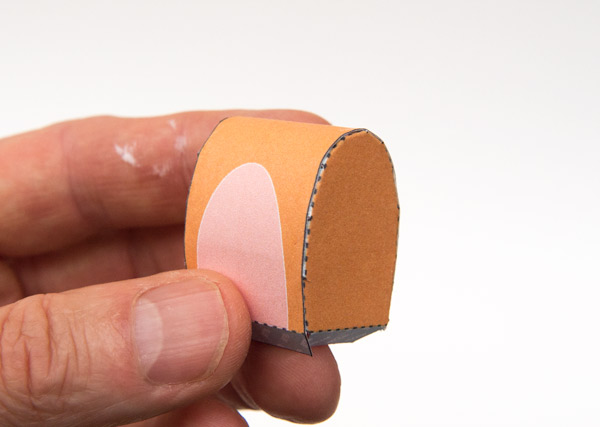
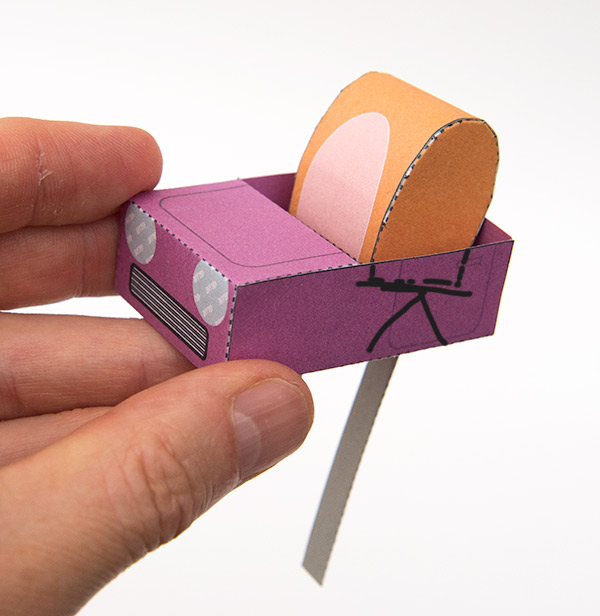
Glue the body to the tilting base.
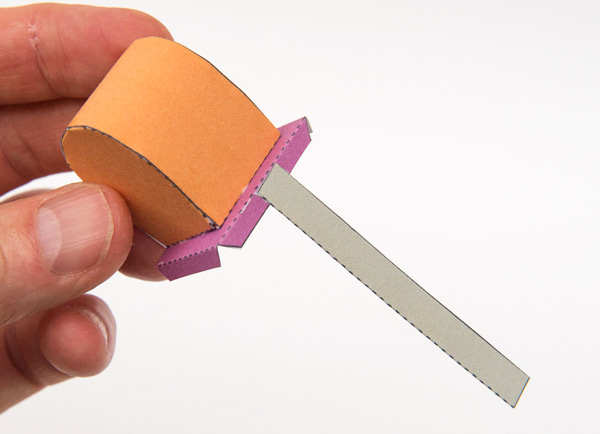
Fold over and glue down the push rod to make double thickness card the glue it to the centre back of the tilting base.
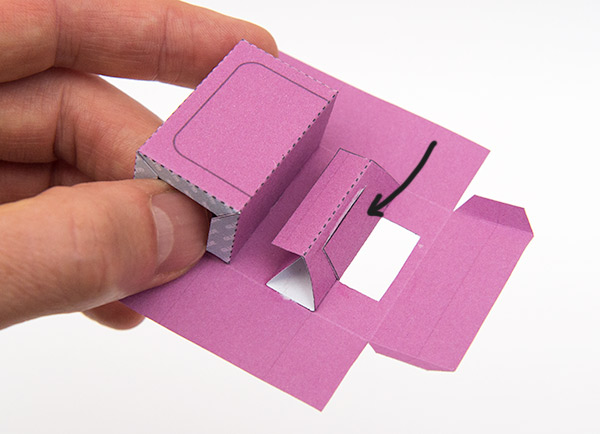
Fold up and glue together the pivot.
Fold round and glue down the front of the car.
Glue the pivot into the base of the car as shown.
Glue the tilting base to the pivot then fold up and glue the sides of the car.
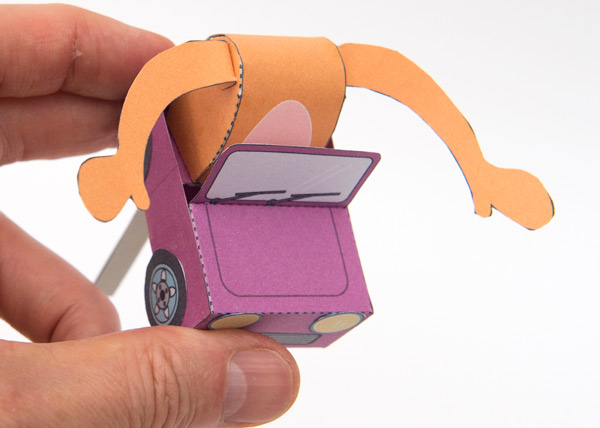
Fit the windscreen, wheels and headlights.

Glue the arms to the body.
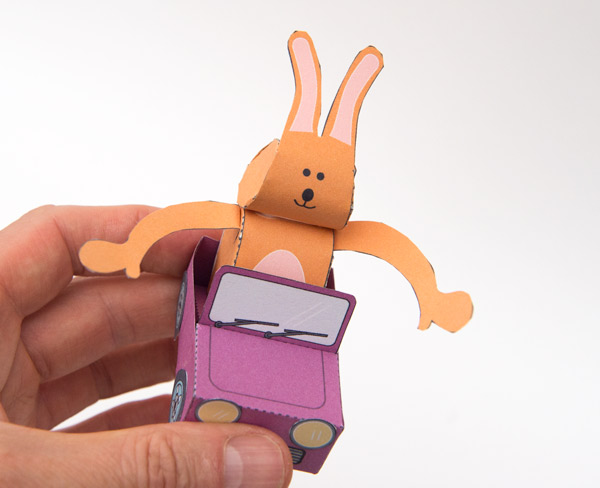
Roll round and glue together the head then glue in the head sides. Glue the head to the top of the body
Making the box
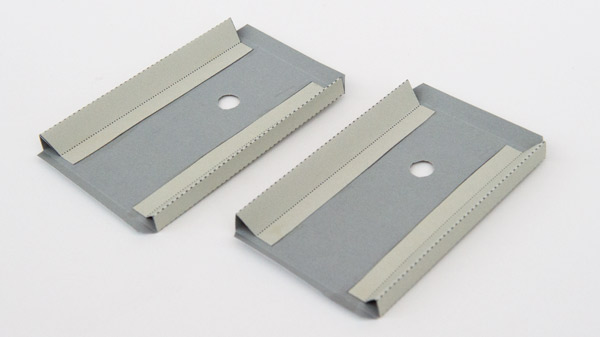
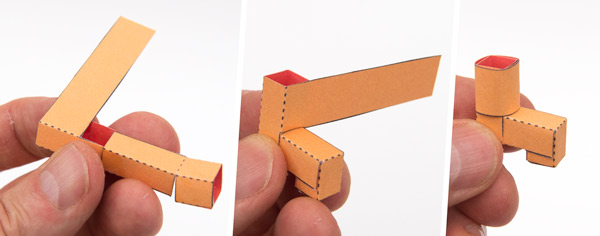
Fold in glue down the tabs on the box top and base to make triangle section tubes.
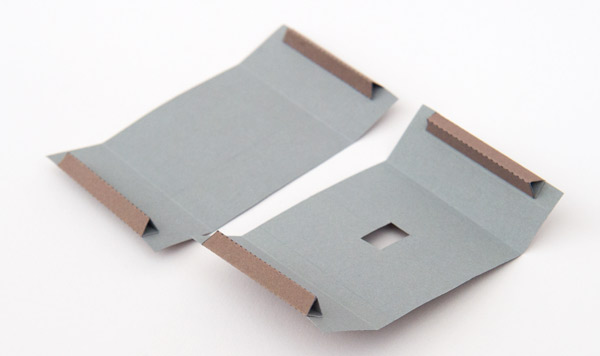
Fold in and glue down the tabs on the box sides to make right angled triangle tubes.
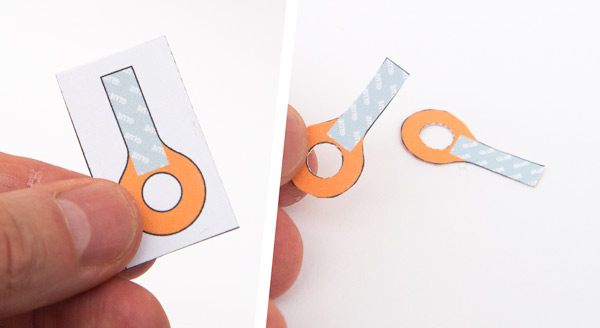
Fold over the crank ends and glue them down to make double thickness card. Once the glue is dry carefully cut them out.
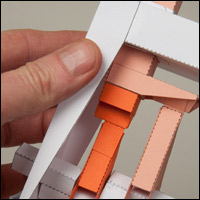
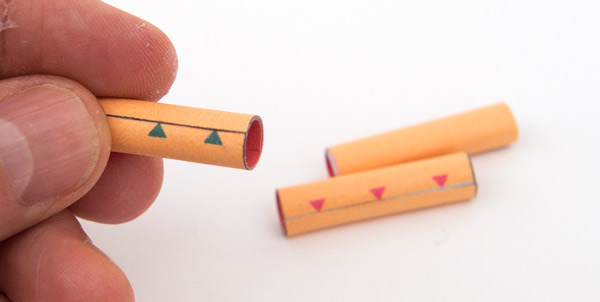
Roll up and glue down the three axle tubes. Line up the edges of the paper tube with the points of the triangle arrows.
Assemble the two crank pieces as shown.
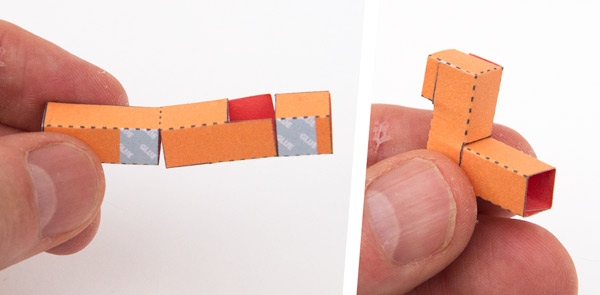
Assemble the handle in three steps.
Thread the shortest axle tube through the two crank end piece. Glue them to the main push rod.
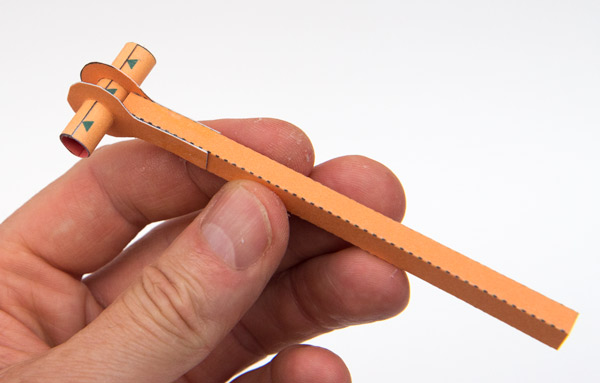
Glue the two crank pieces to the short axle. Glue the other two axle pieces into place.
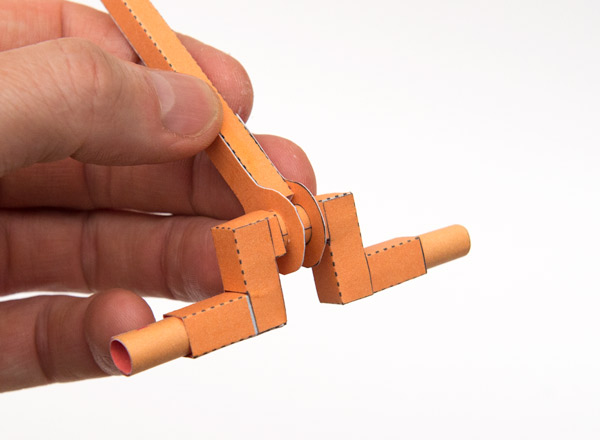
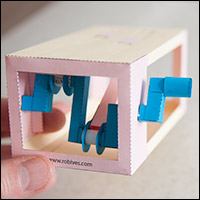
Glue the four sections of the box together.
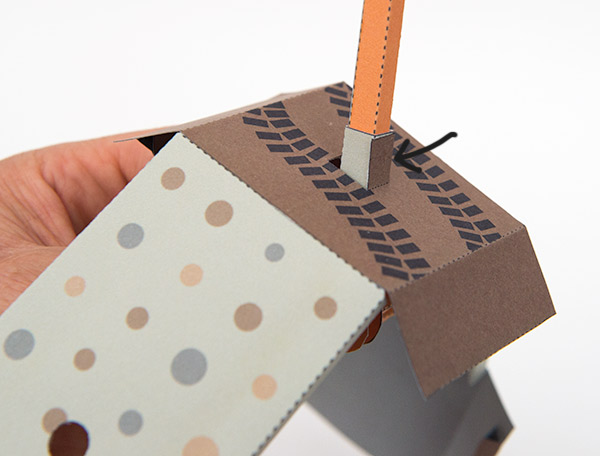
Slide the slider tube onto the main push rod. Thread the push rod up through the hole in the box top. Glue the slider tube to the box top tab.
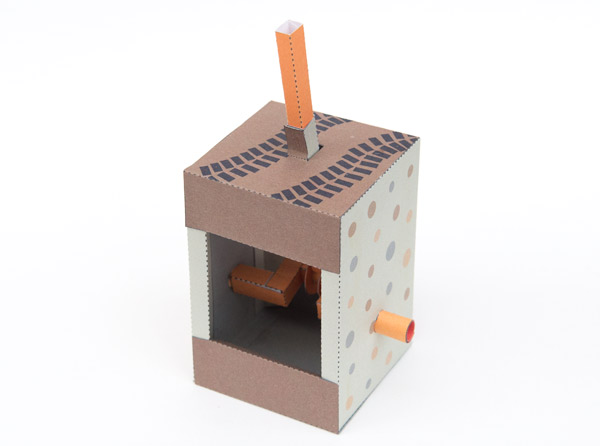
Fit the two axle tubes through the holes in the box sides.
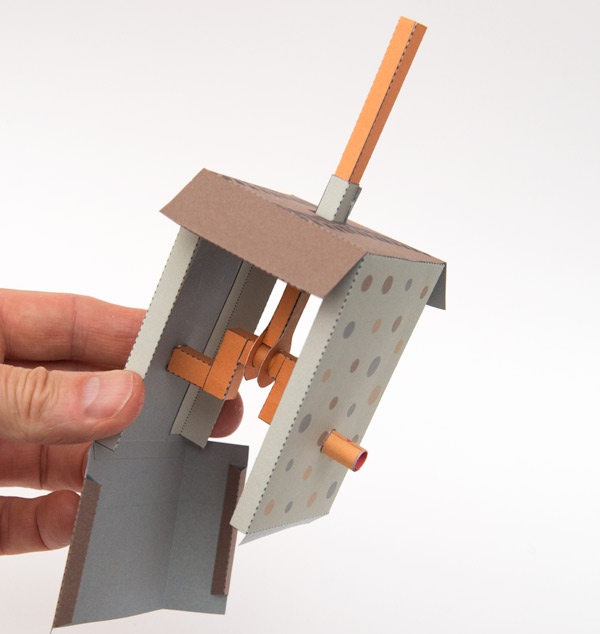
Fold up and glue the base. Glue the flaps front and back making sure that the box is straight and square.
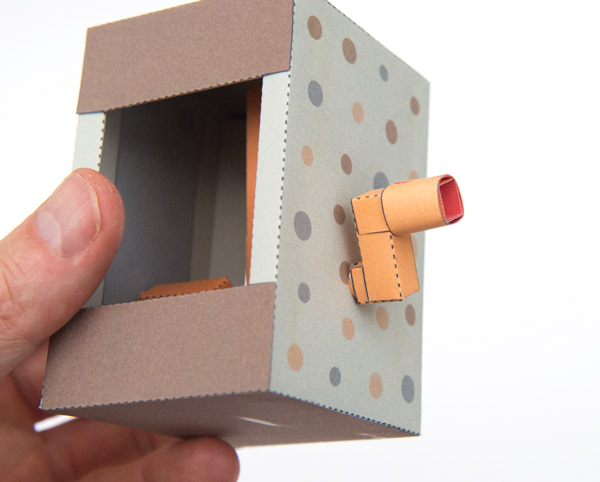
Fit the handle to the axle.
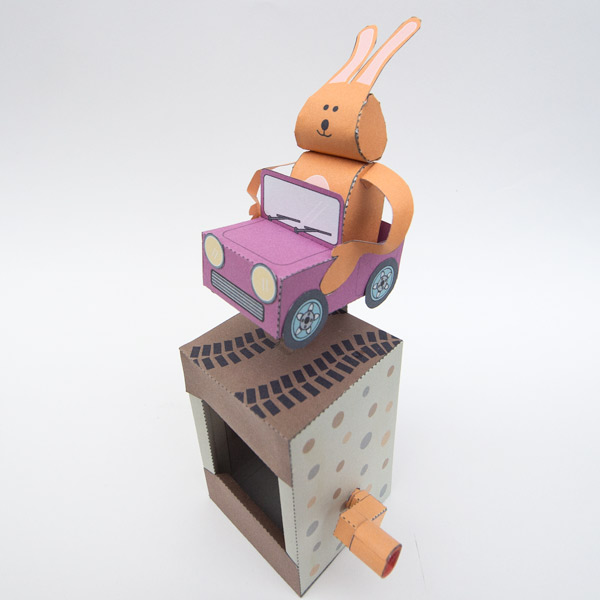
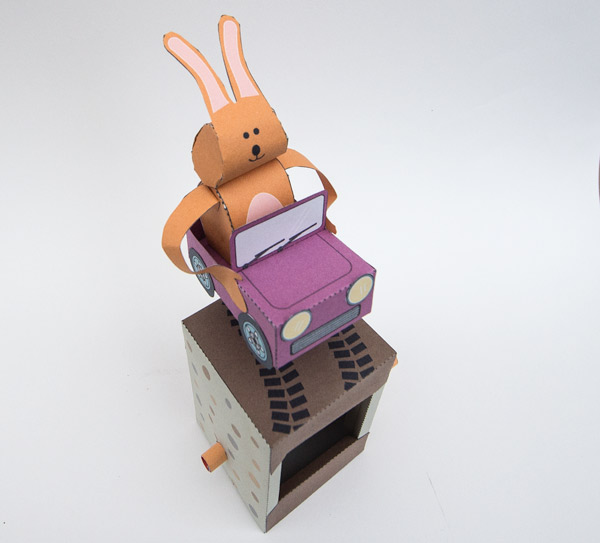
Final Assembly
Thread the car down into the push rod, no need to glue it as it works better if the car can rock back and forth a little.
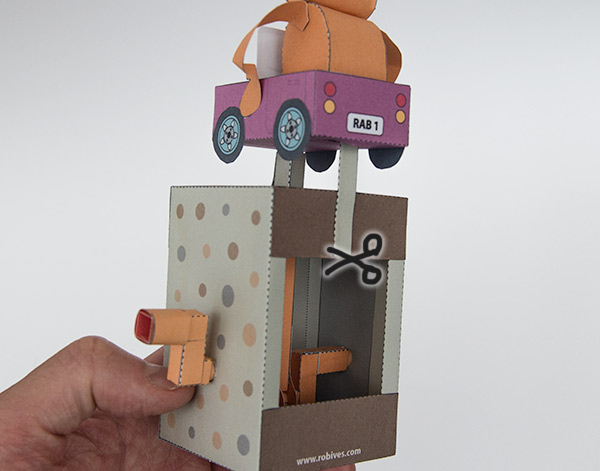
Turn the crank to its lowest point. Push the rabbit forward in the car then glue the thin push rod to the back of the box. Turn the handle to make sure that the crank turns fully and adjust the push rod if necessary. Cut off any excess once complete.
That’s it! Turn the handle and marvel at the Rabbit’s Reckless Driving!