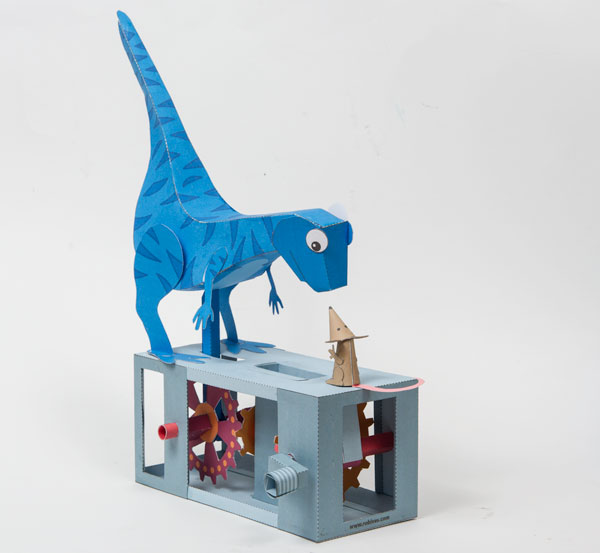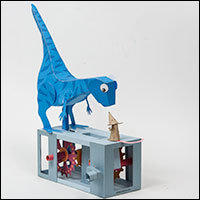
Rise of the Mammals.
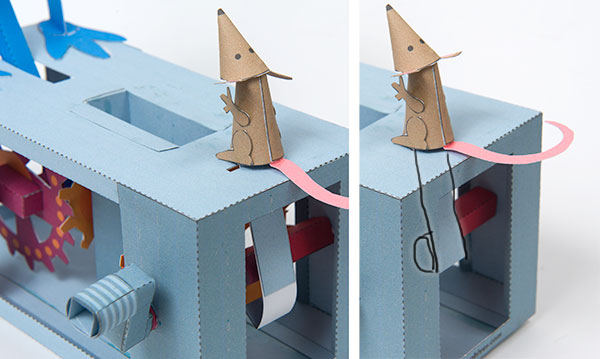
Turn the handle and the slightly scared mouse holds her ground in the face of the blue dinosaur! The mechanism is powered by a combination of two stage gear box for the dinosaur and cam to drive the mouse.
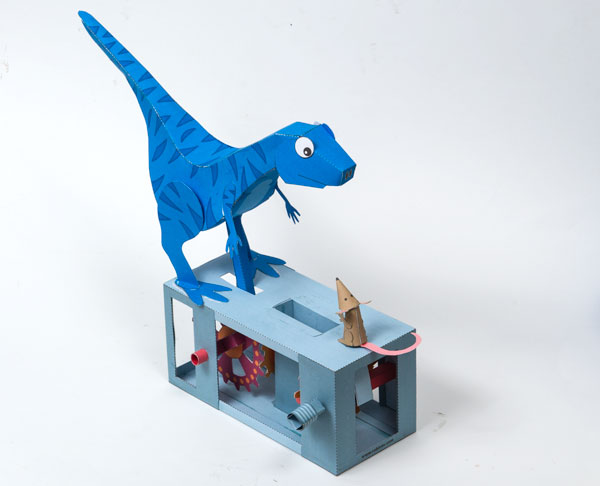
You can see the completed model in animated action of this YouTube video.
Members can download the pdf of the parts for free at the link. Thanks for signing up! Non-members can join in the fun for £6 or equivalent
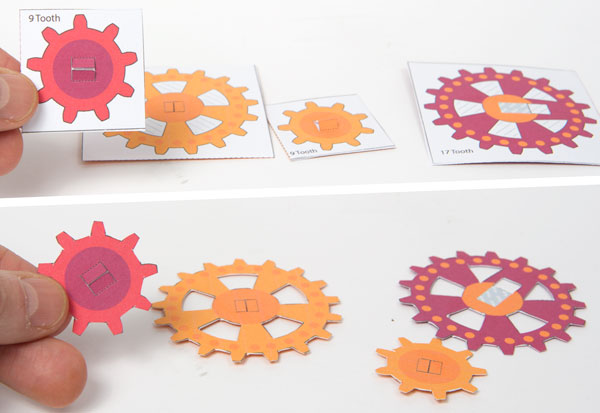
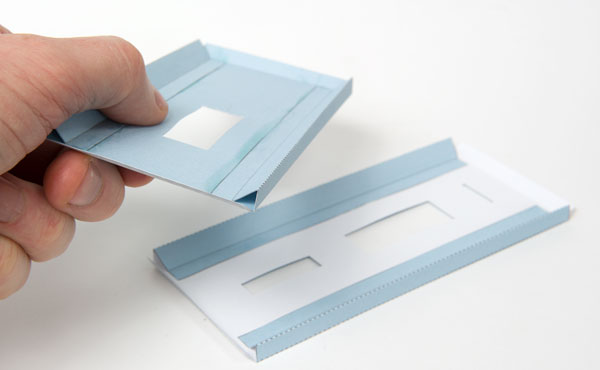
Print out the parts onto thin card (230gsm /67lb)
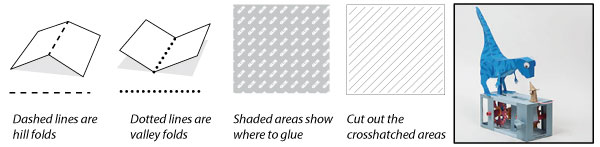
Score along the dotted and dashed lines and cut out the various holes before carefully cutting out the parts.
The gears are made up from double thickness card. Fold them over and glue them down. Once the glue is dry carefully cut them out.
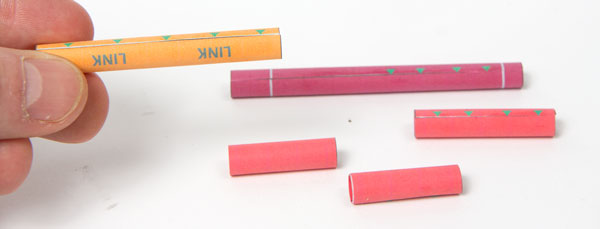
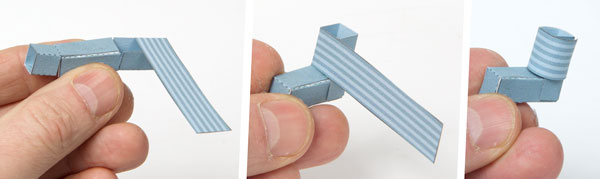
Roll up the various tubes carefully lining up their ends with the arrow points and gluing them into place.
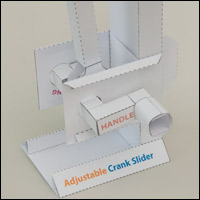
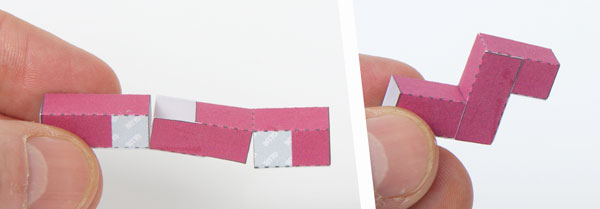
Make up the two crank pieces.
Fit one of the crank pieces into the large gear with the off-centre square hole. The short end of the crank goes through the hole.
Make up the push rod ends from double thickness card. Once the glue is dry carefully cut them out.
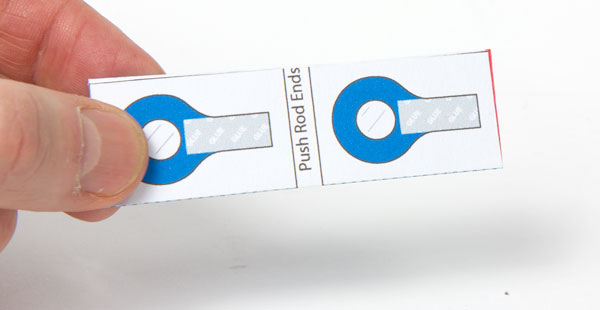
Thread the longer of the three crank tubes through the two push rod ends. Glue the push rod ends to the push rod.

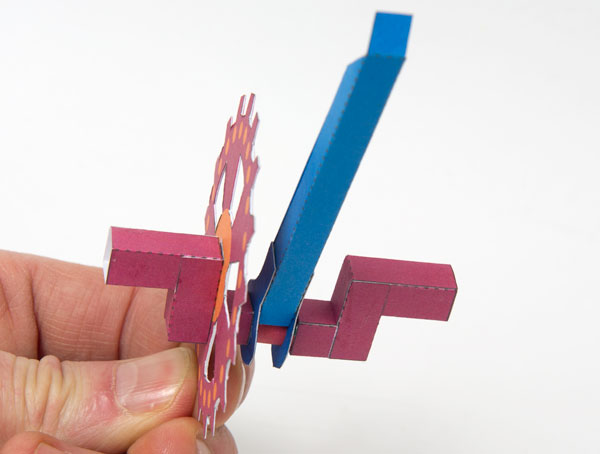
Assemble the crank unit as shown.
Fit the two shorter crank tubes into the ends of the crank pieces. (Not shown on this picture)
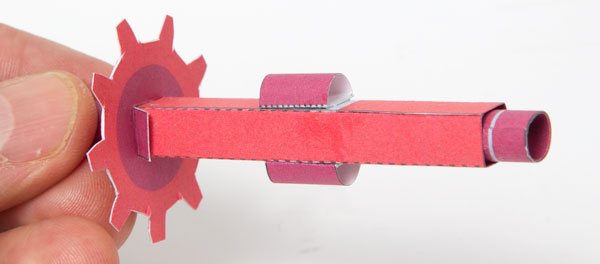
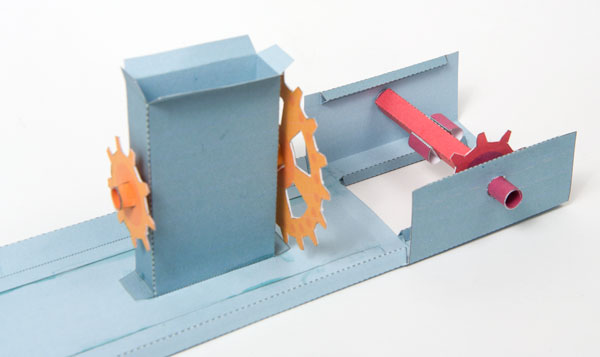
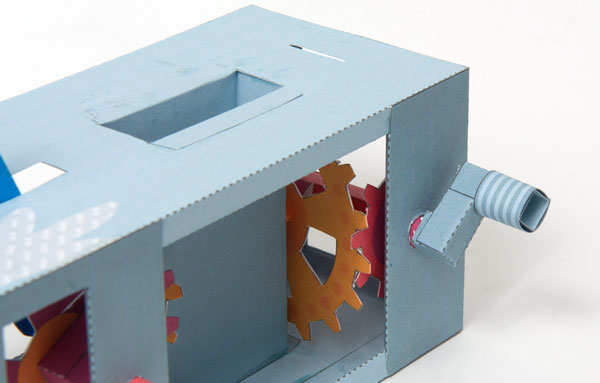
Fit the small gear to the grey line on the long square tube and thread the long axle into place as shown. Use a dab of glue to stop the tube rotating.
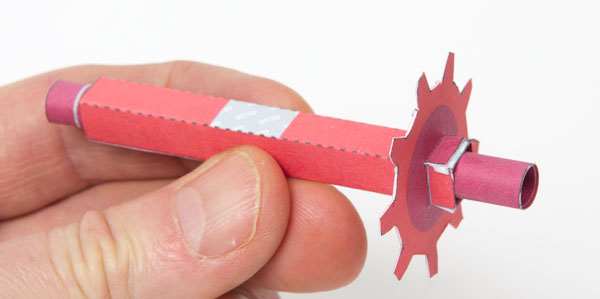
Glue the two cam pieces to the axle.
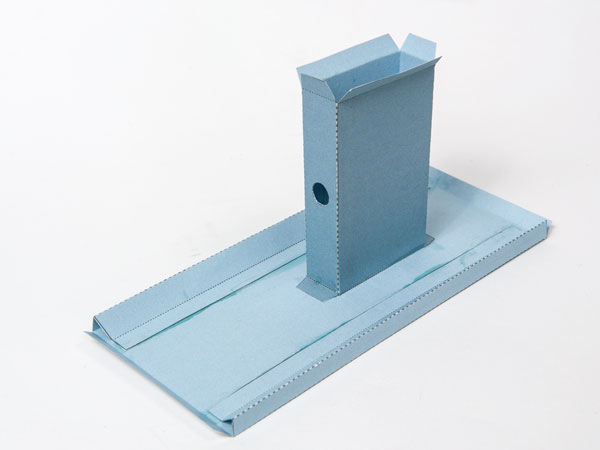
Assemble the box top and bottom as shown – the side pieces are right angled triangles.
Fit the centre piece into the hole in the box base.
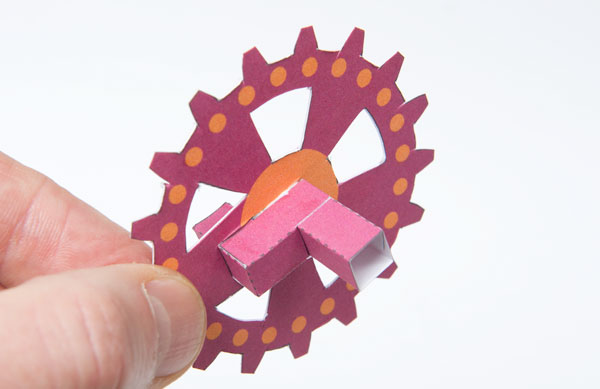
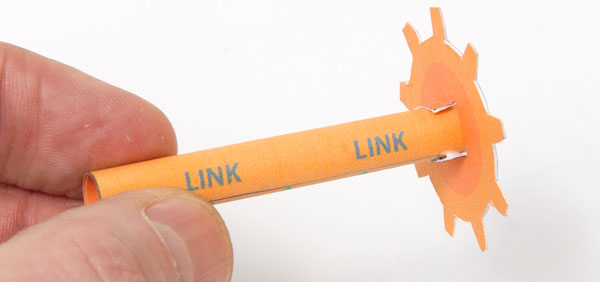
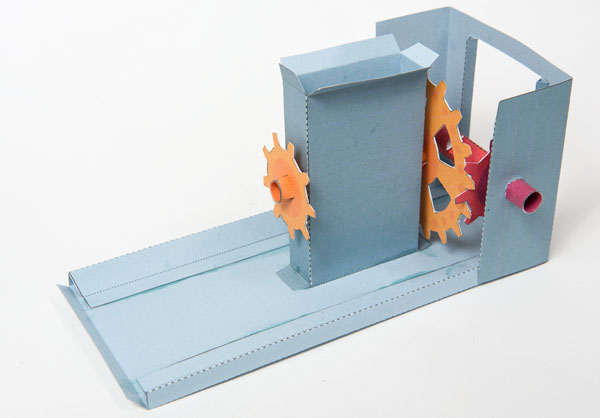
Glue the tabbed small gear to the end of the link tube.
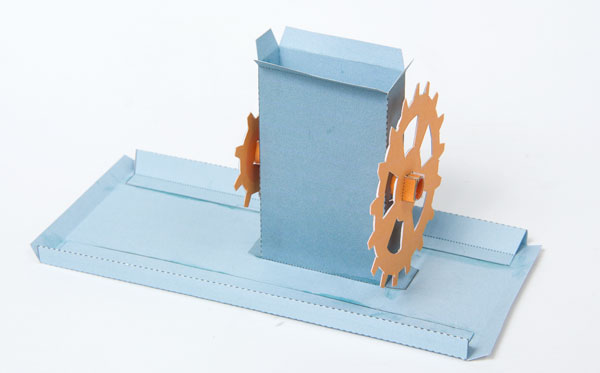
Thread the axle through the centre piece and glue the large gear to the link tube.
Take the two box end pieces. Fold the tabs round and glue them down to make triangular tubes.
Fit the box end to the base. Fit the axle into place as shown.
Fold up and glue the box end into place as shown.
Repeat the process at the other end with the other box end and the crank assembly.
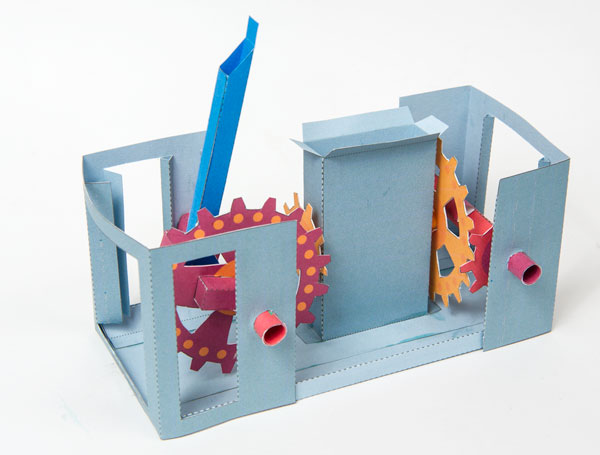
Fit the box top into place threading the push rod up through the hole.
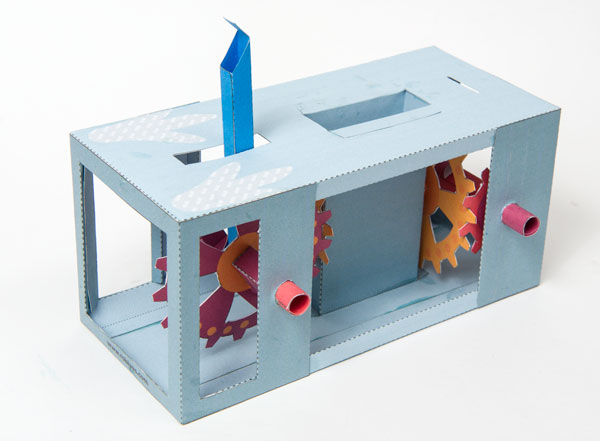
Assemble the handle in three steps.
Fit the handle to the box. Once the glue is dry you can test the mechanism to make sure it it s working properly.
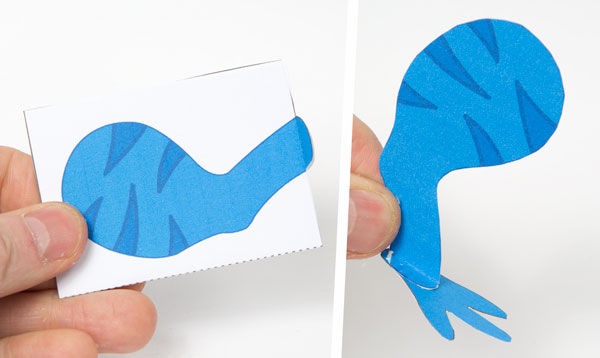
Make up the rear legs and feet as shown.
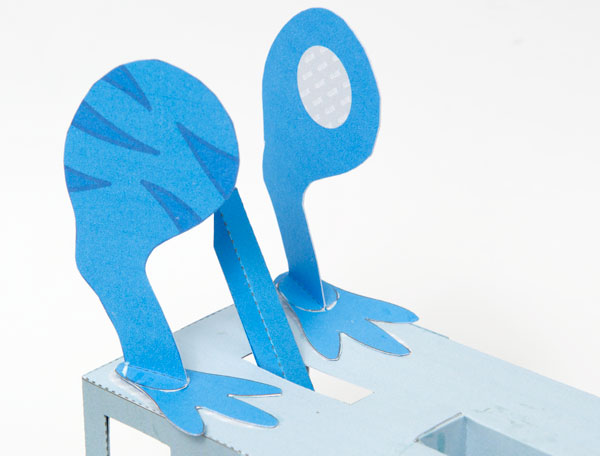
Glue the feet to the grey areas on the box top.
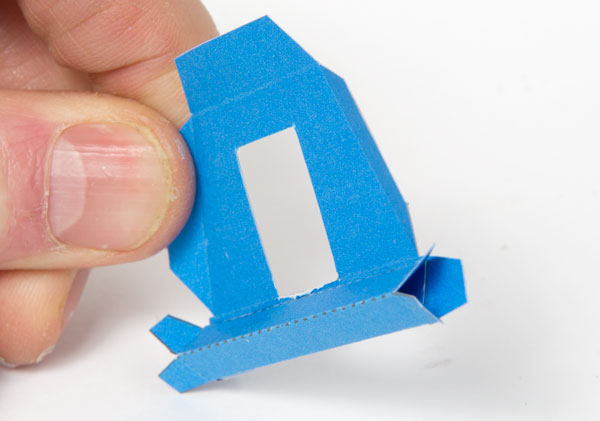
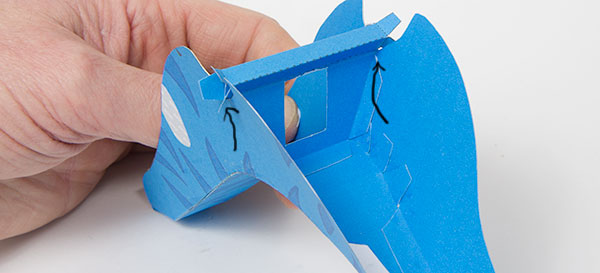
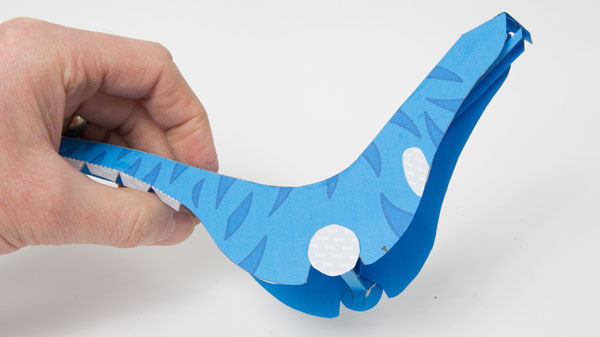
Assemble the body inner as shown.
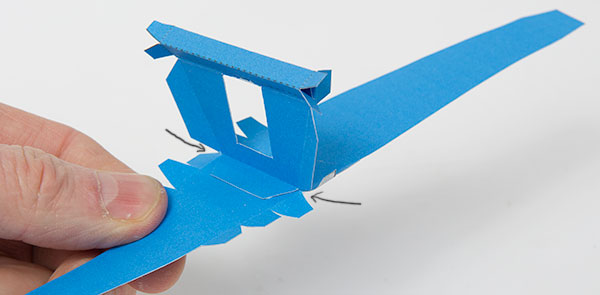
Glue the body inner to the body top between the two small arrows on the body top.
Glue the side pieces to the top.
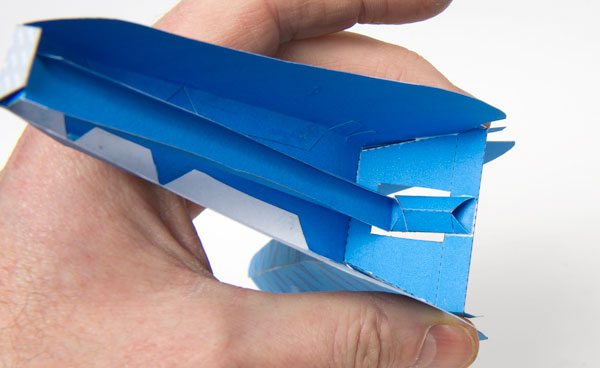
Line the tabs up next to each other.
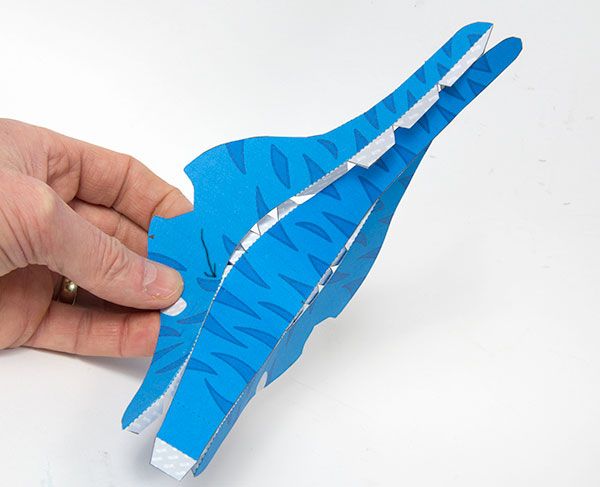
Finish gluing the tabs together along the length of the body.
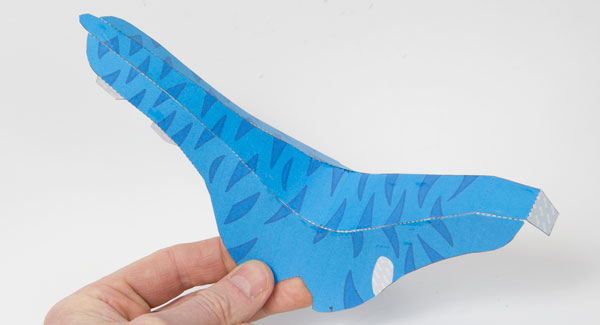
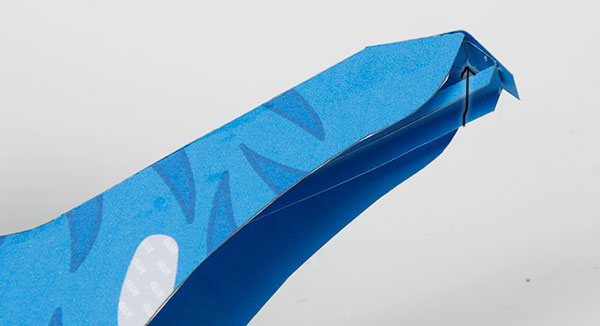
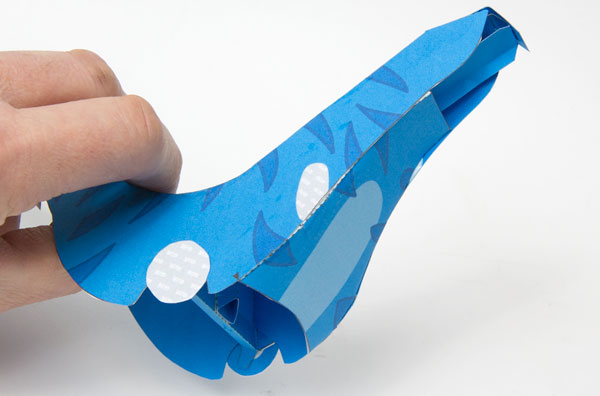
Glue the body inner to the inside of the body lining it up with the top of the cut outs in the body sides.
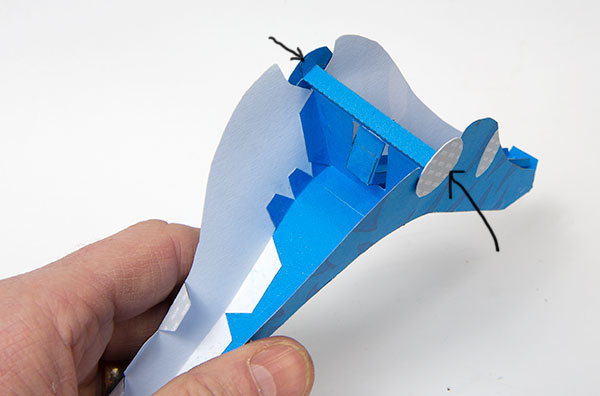
Glue the neck push rod to the link piece.
Glue the link piece to the moving part of the body inner as shown.
Glue the other end of the push rod to the head tab.
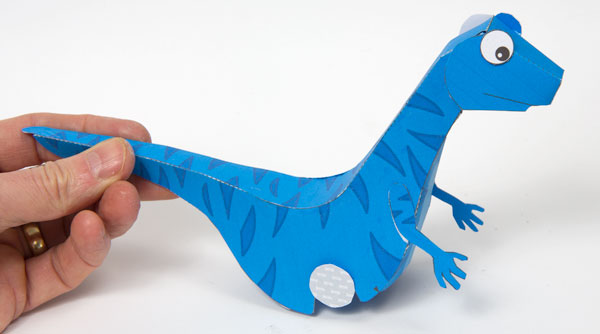
Glue the two leg pads into place.
Glue the body front onto place.
Glue the head to the head tab.
Glue the arms into place.
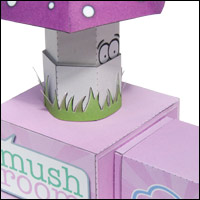
Assemble the mouse as shown.
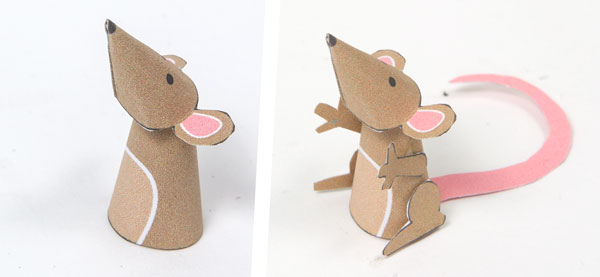
Fold over the body stand and glue it down.
Glue the tabs to the inside of the mouse body.
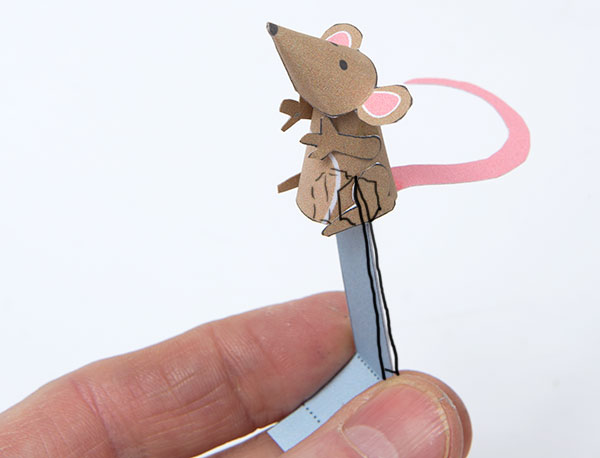
Thread the mouse stand down through the hole in the box then roll round and glue down the piece to make the cam follower end.
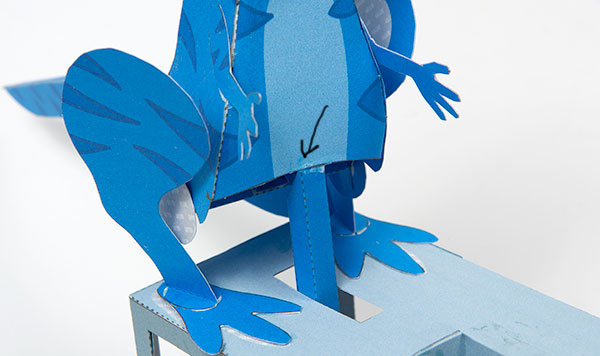
Glue the dinosaur front to the push rod end.
Glue the leg pads to the inside of the legs.
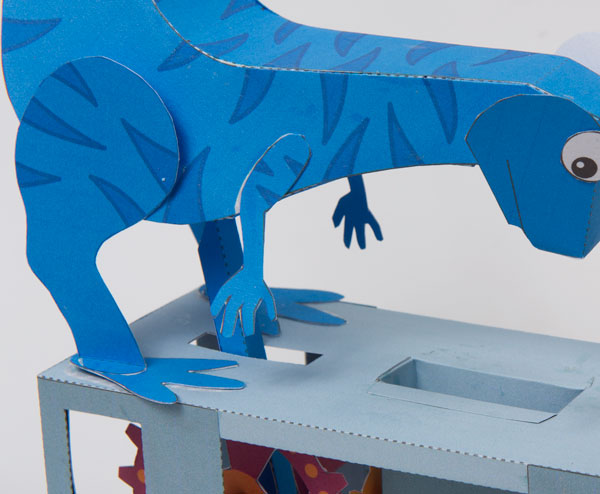
Turn the handle to bring the past to life!