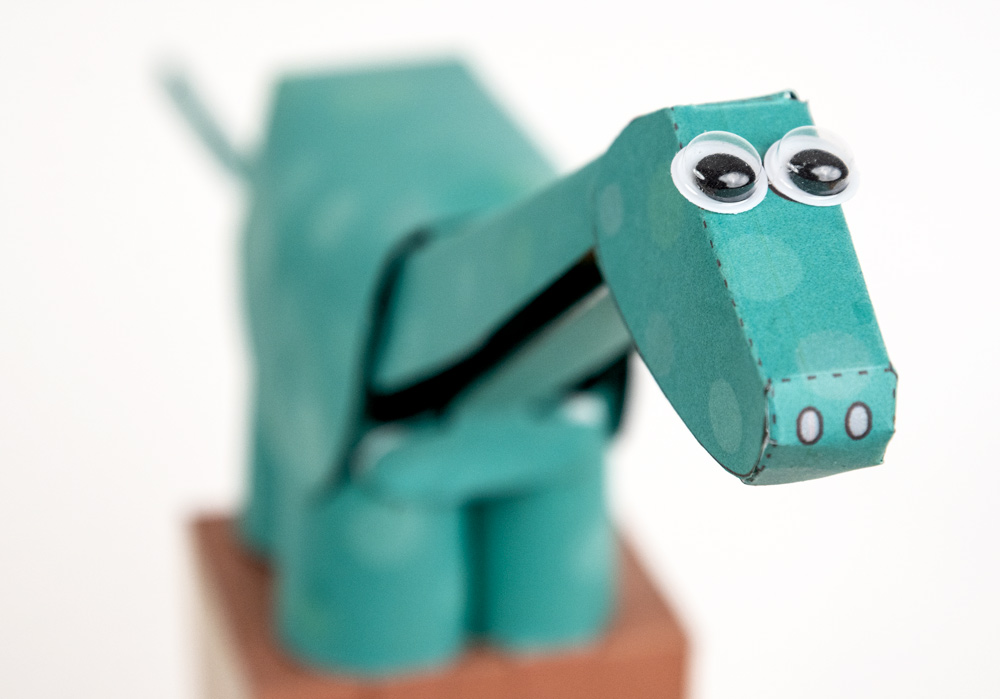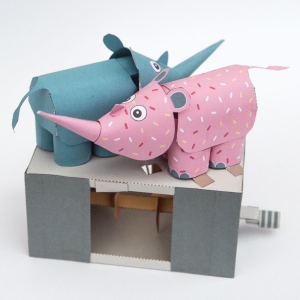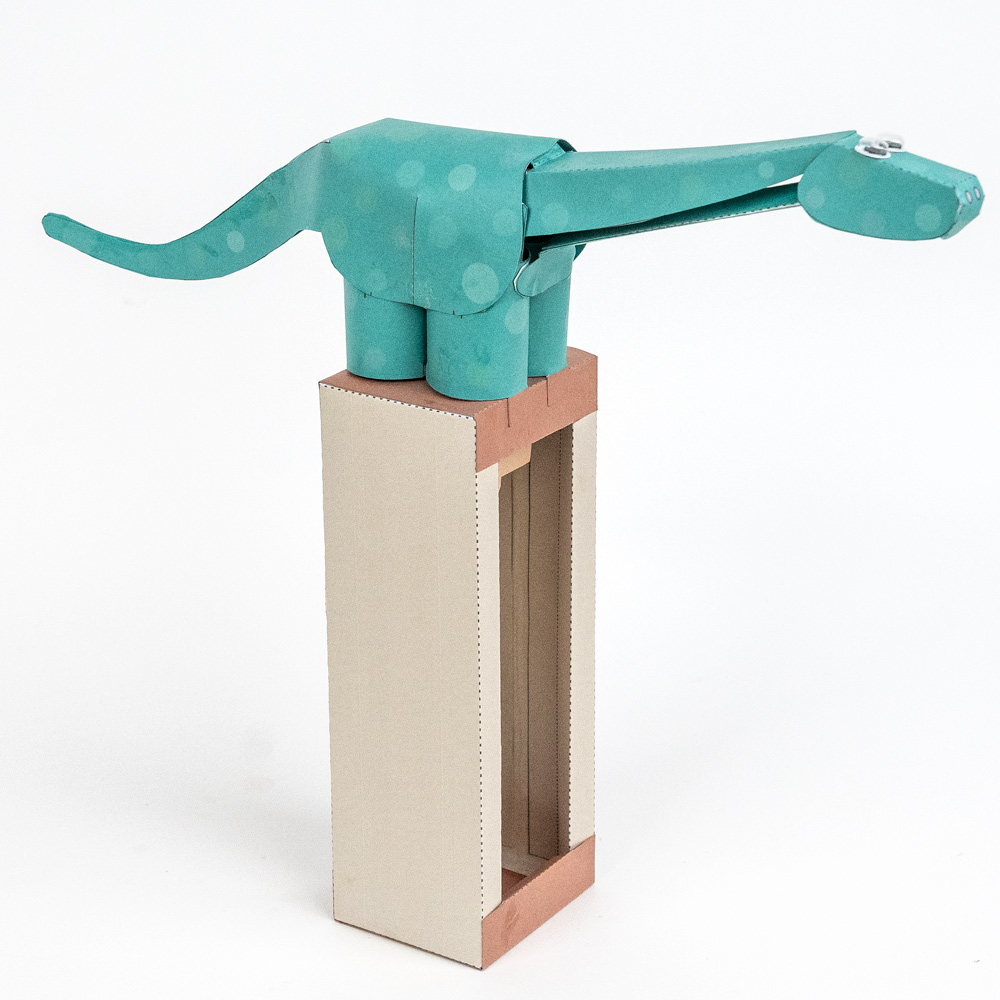
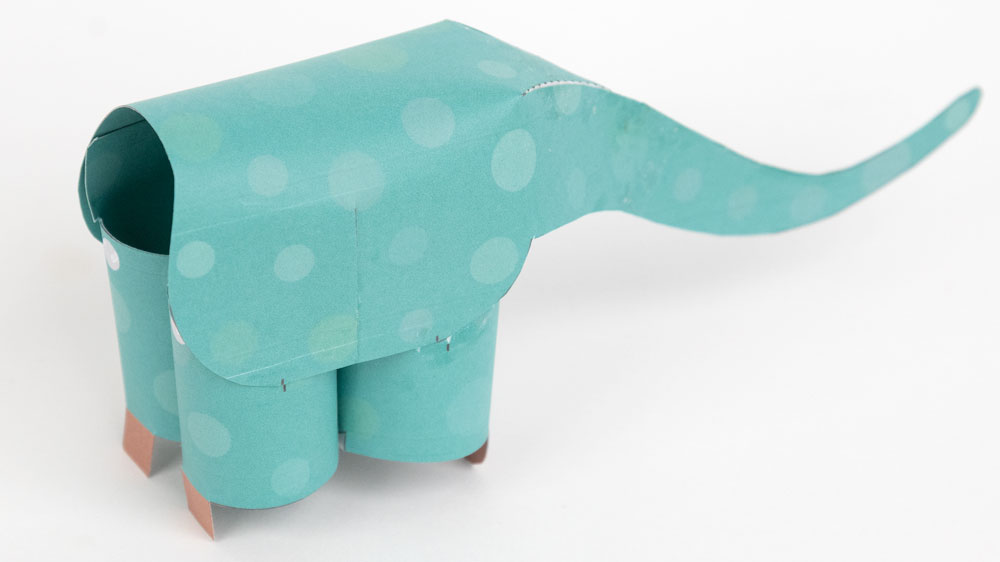
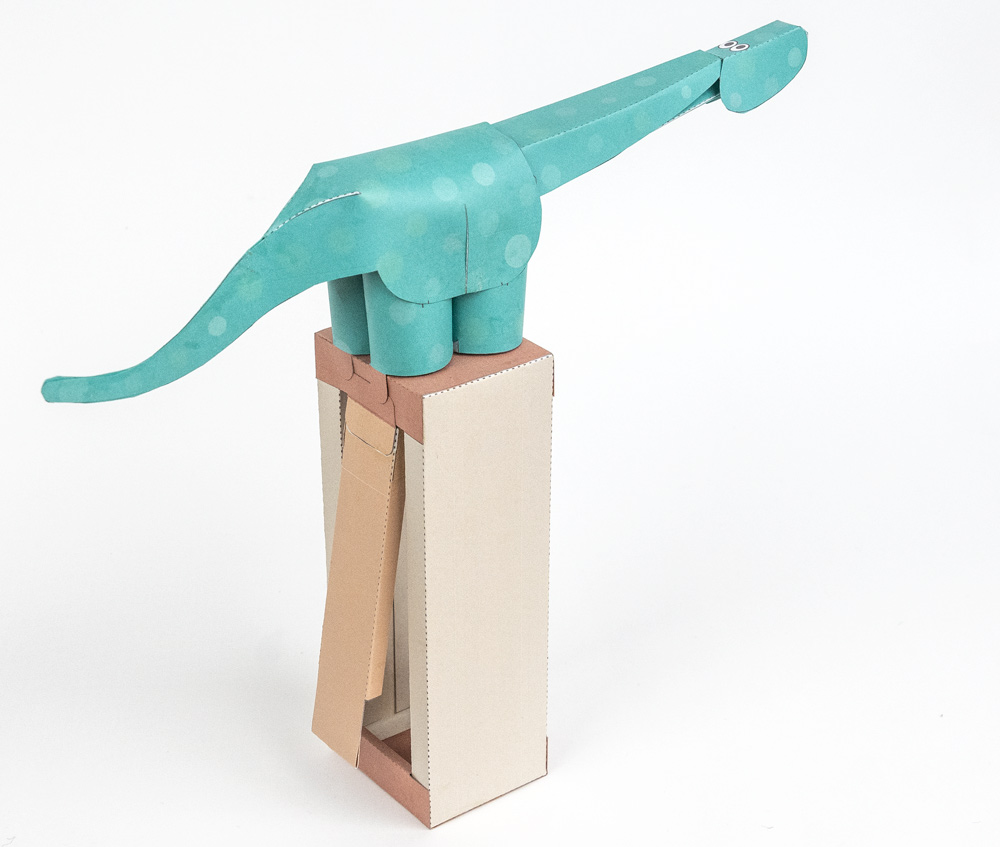
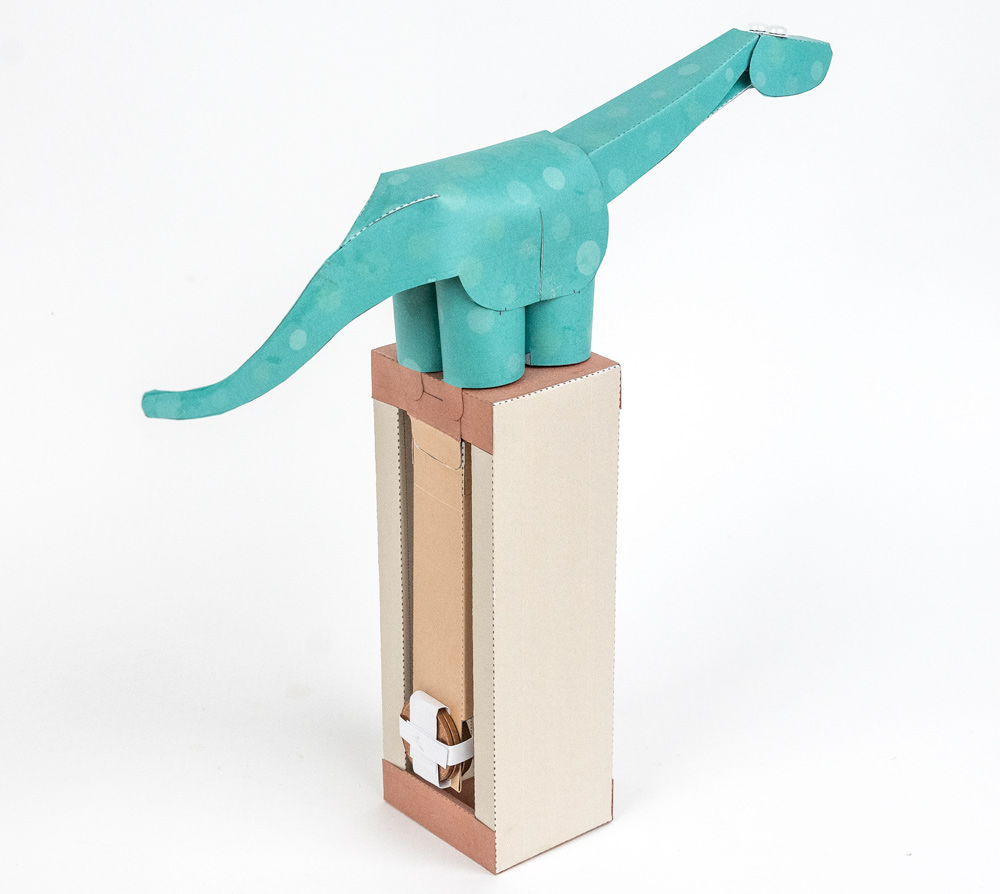
 Pendulum powered dinosaur! Move the box and the coin-weighted pendulum makes the sauropod’s neck stretch and lift! Members can download and print out the parts for free by adding it to the cart. Thanks for your support! Non-members can join in the fun for £2.50 or equivalent or better still, become a member here and download this and all the other projects on the site for free!
Print out the four pages of the parts file onto thin card, note that the file has front and back for each sheet. Print out the front, flip over the card then print out the back on the same sheet.
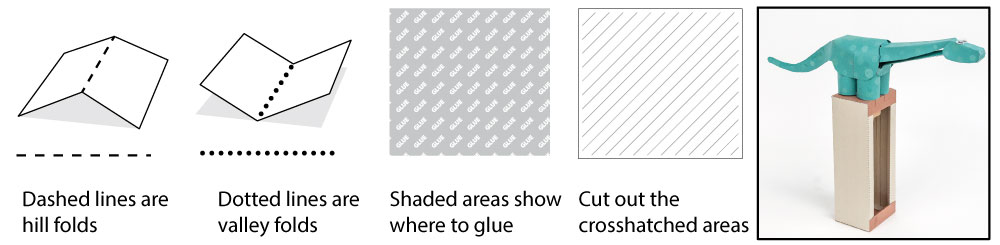
Score along all the dotted and dashed lines and cut out the holes before carefully cutting out the parts.
Roll round and glue the front legs. Use the ‘V’ shaped notches for alignment.
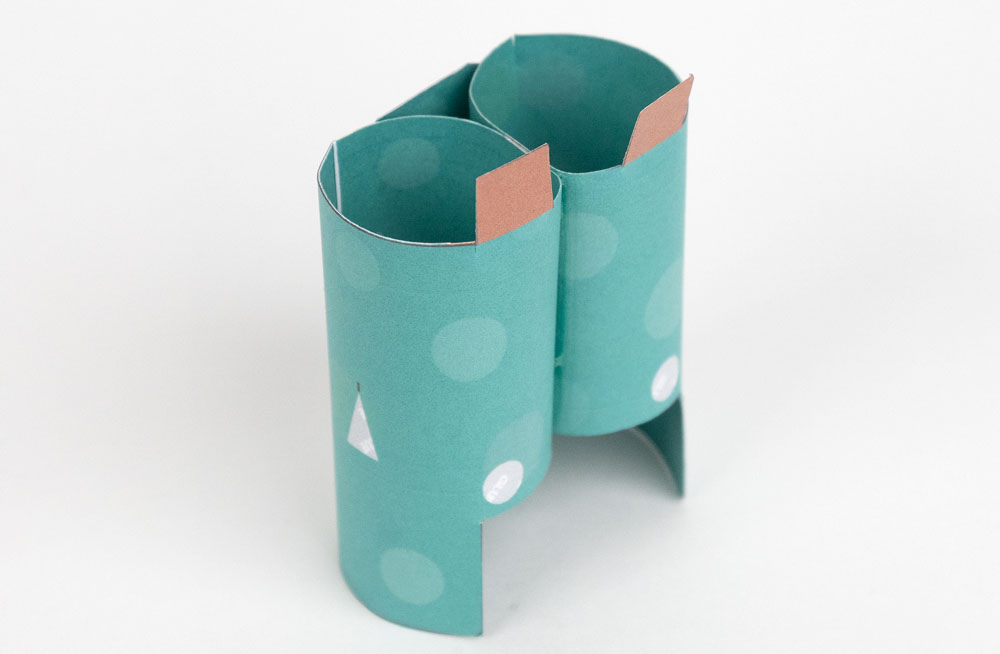
Repeat the process for the rear legs.
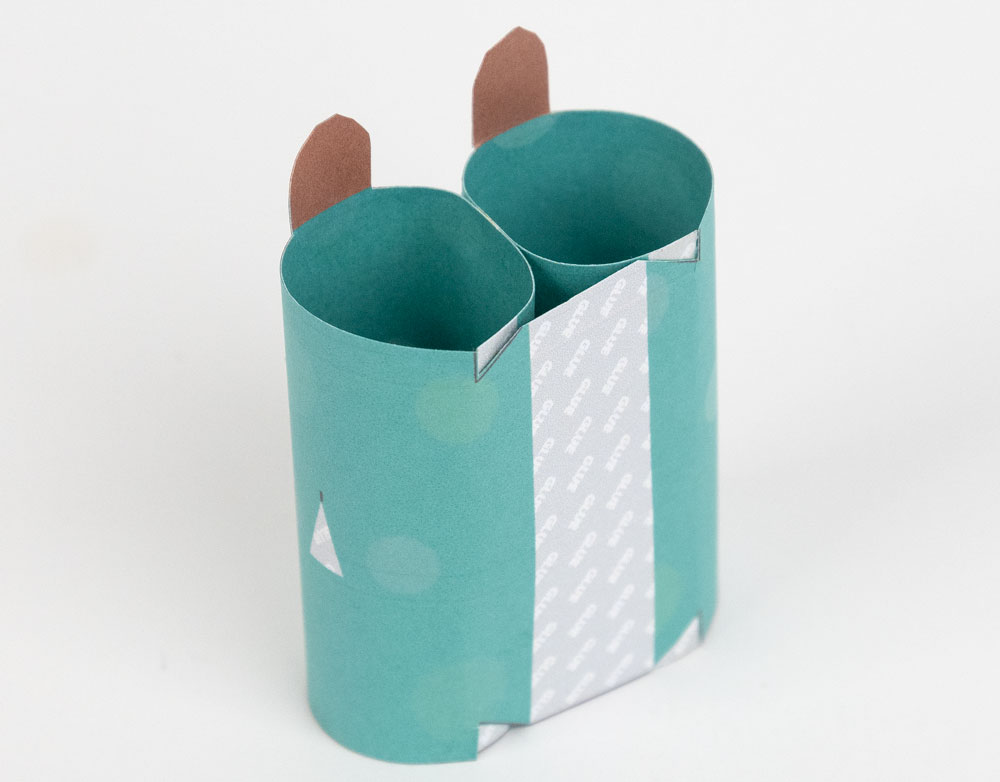
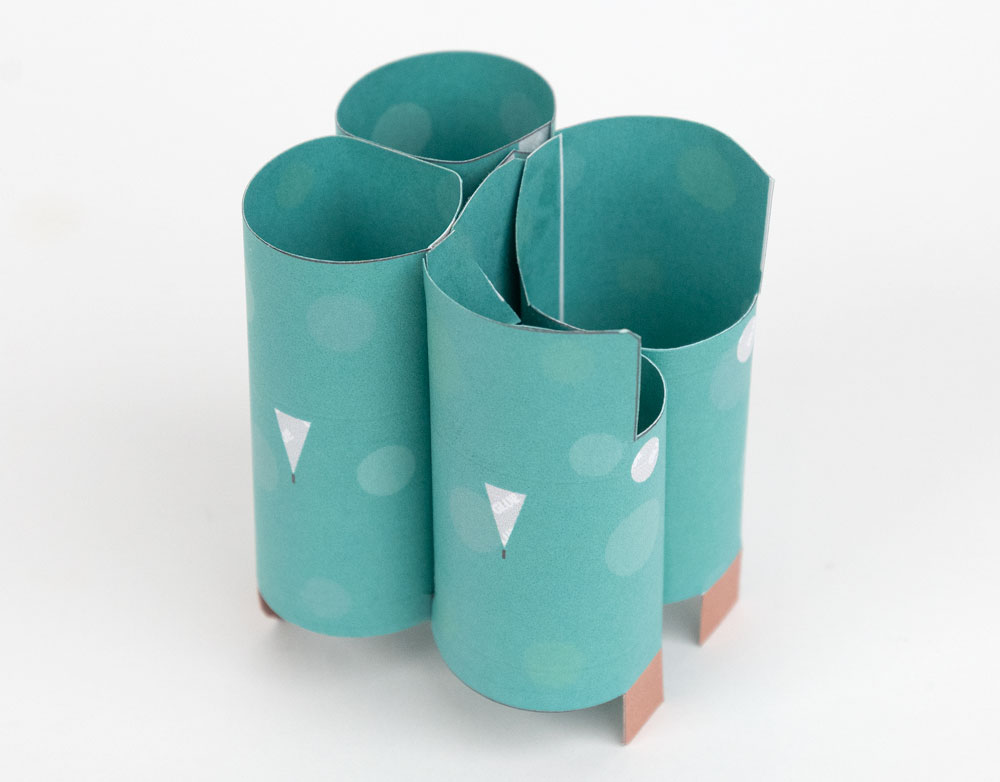
Glue the legs together.
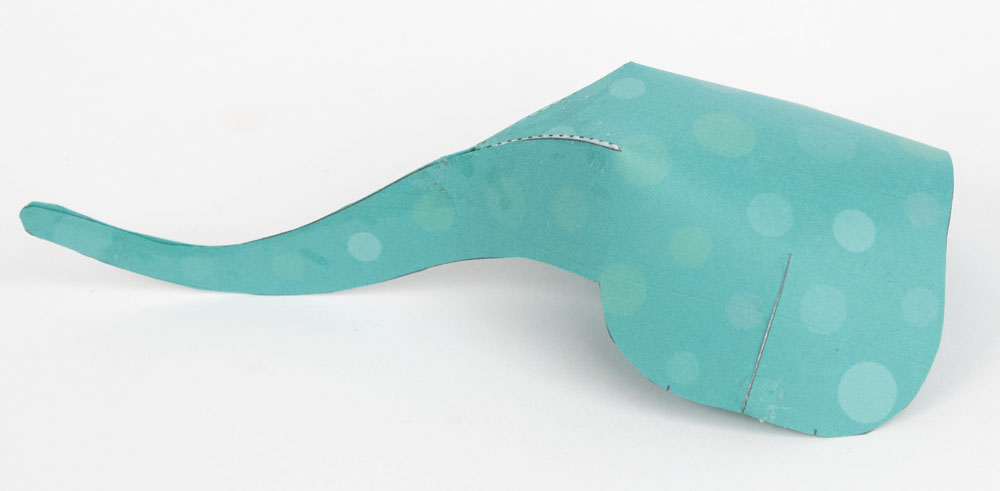
Curve around and assemble the body
Glue the legs into place. There are small black marks to help with alignment.
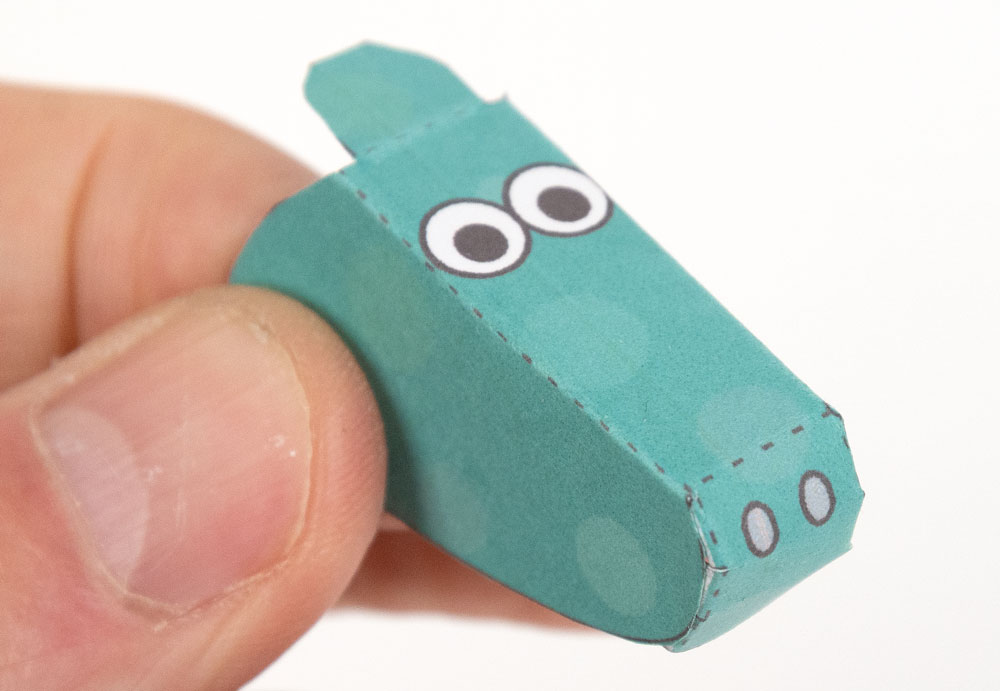
Assemble the head.
Glue the head to the neck. With all the paper joints in this model make sure you get no glue on the hinges. This will ensure the model moves freely.
Glue the pivot inside the head close to, but not touching the hinge.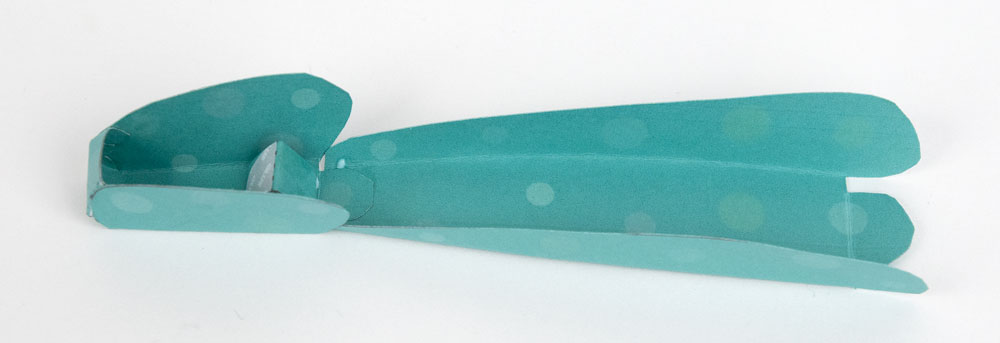
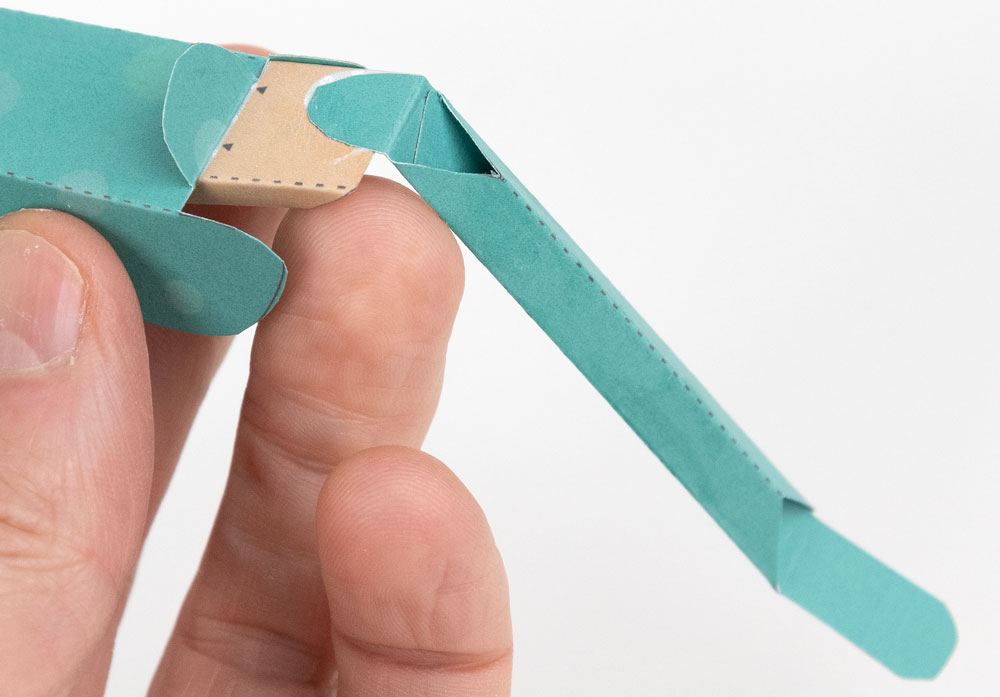
Assemble the push rod and neck front.
Glue the neck front to the pivot – no glue on the hinge!
Assemble the inner linkage.
Glue the inner linkage to the underside of the neck as shown.
Glue the pushrod into place as shown. Glue. Hinge. No!
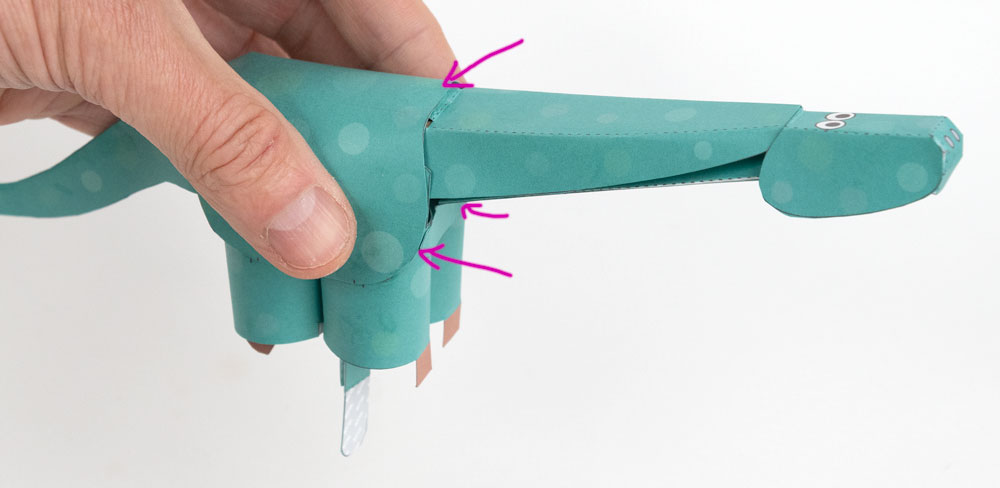
Thread the pushrod down through the front right leg hole. Glue the neck to the underside of the body. Glue the neck front to the marked areas on legs.
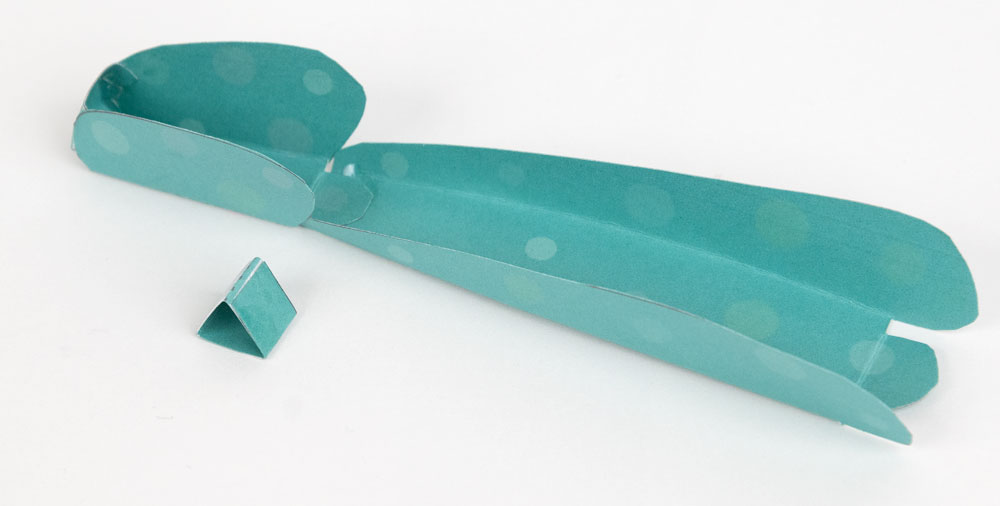
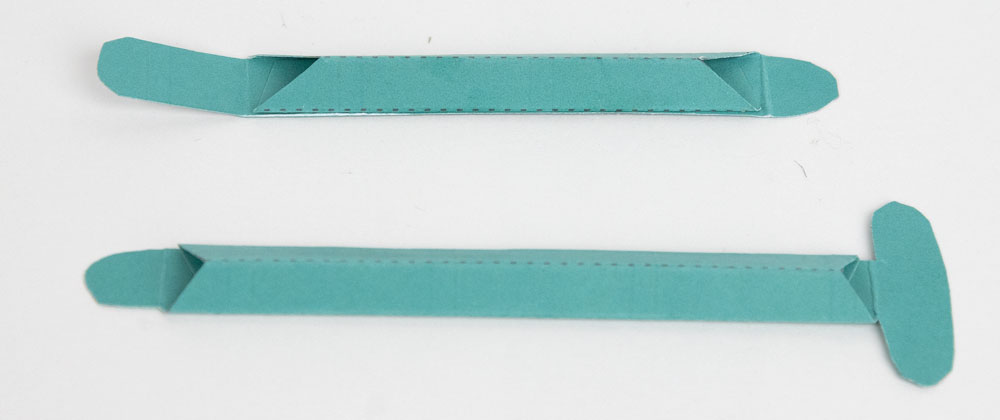
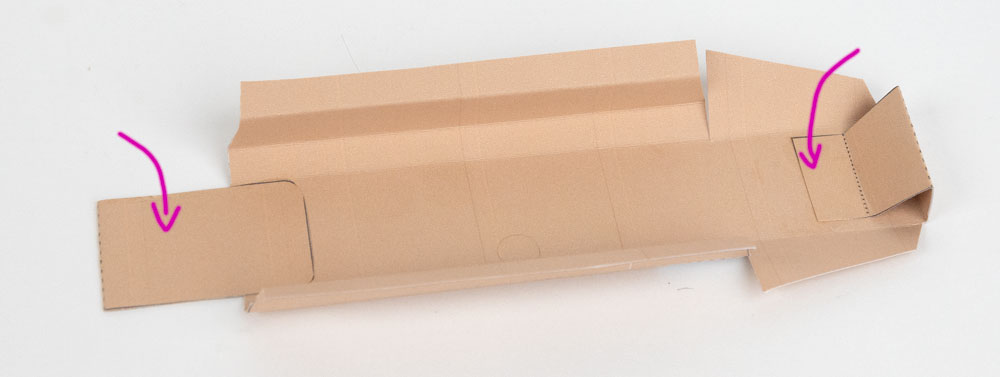
Fold over the end of the pendulum to make double thickness card. Fold over the other end and glue to make a right-angled triangle.
Fold in and glue the sides to make right-angled triangles.
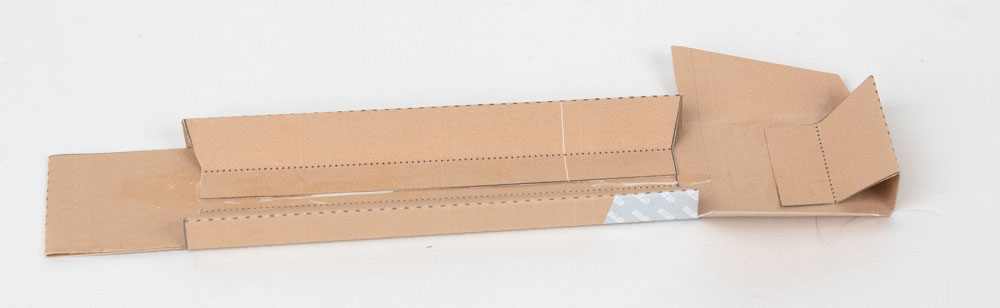
Fold and glue.
Glue the hinge into place. You know where to not get the glue, right?

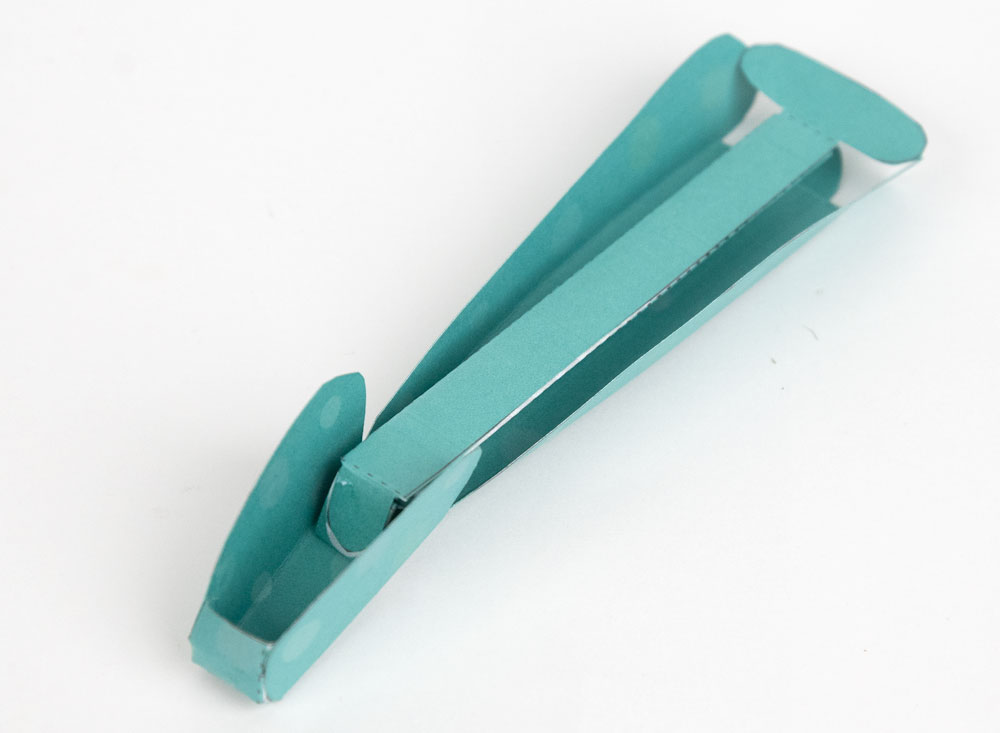
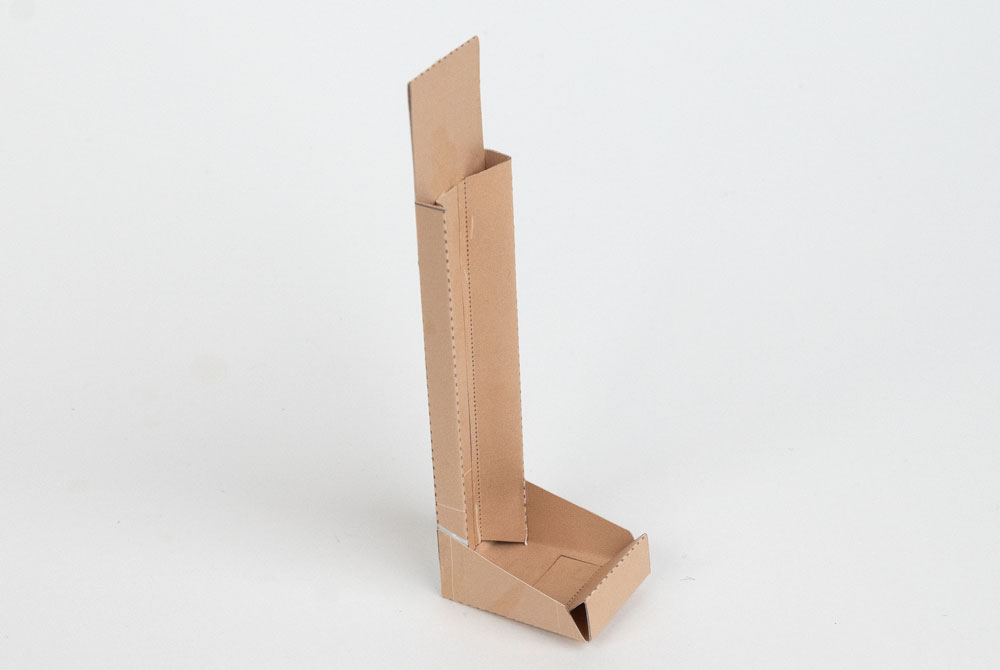
Fold round and glue the triangle sections on the top and base.

Make right-angled triangles with the box sides.

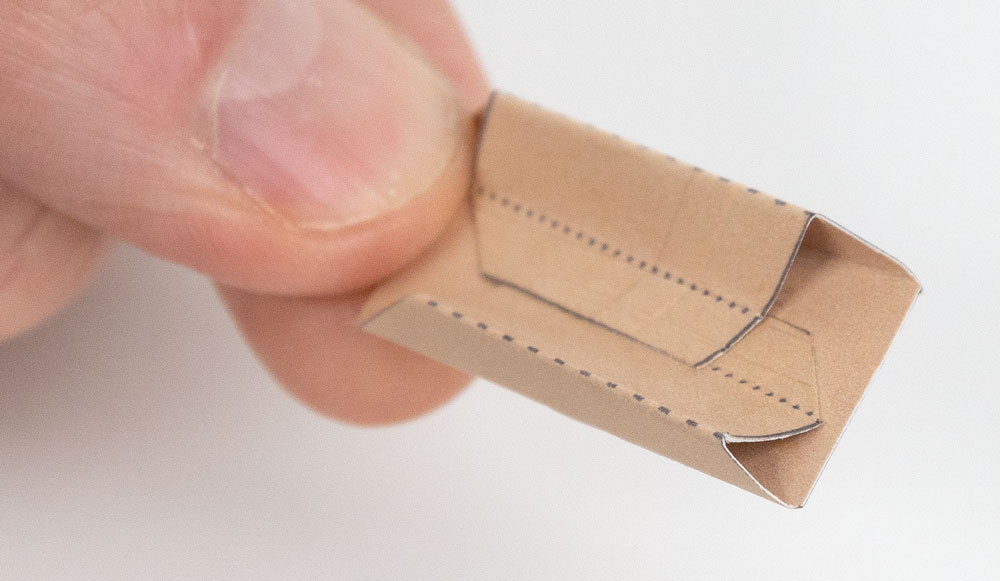
Glue the four sections together.
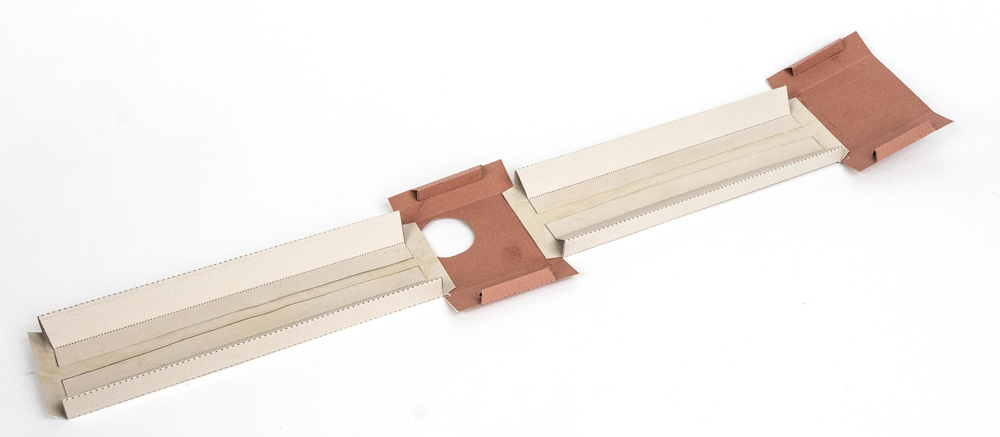
Trim off the sight overlap.
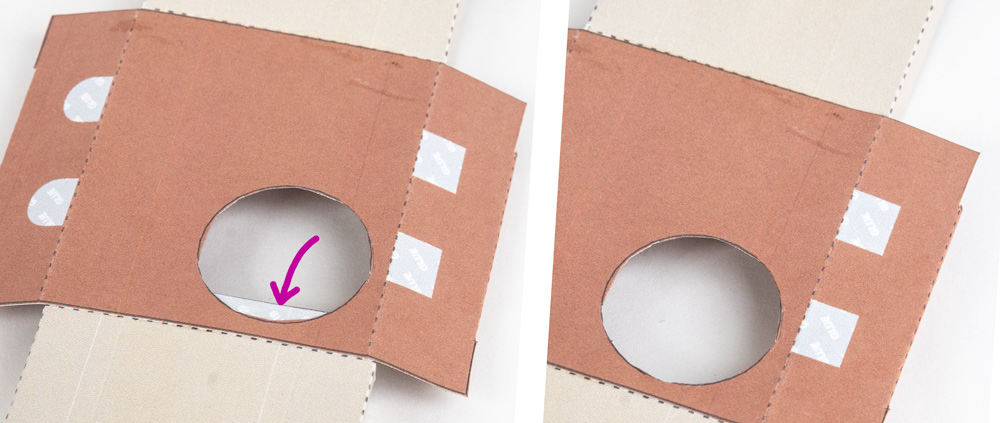
Assemble the box keeping it as square as possible.
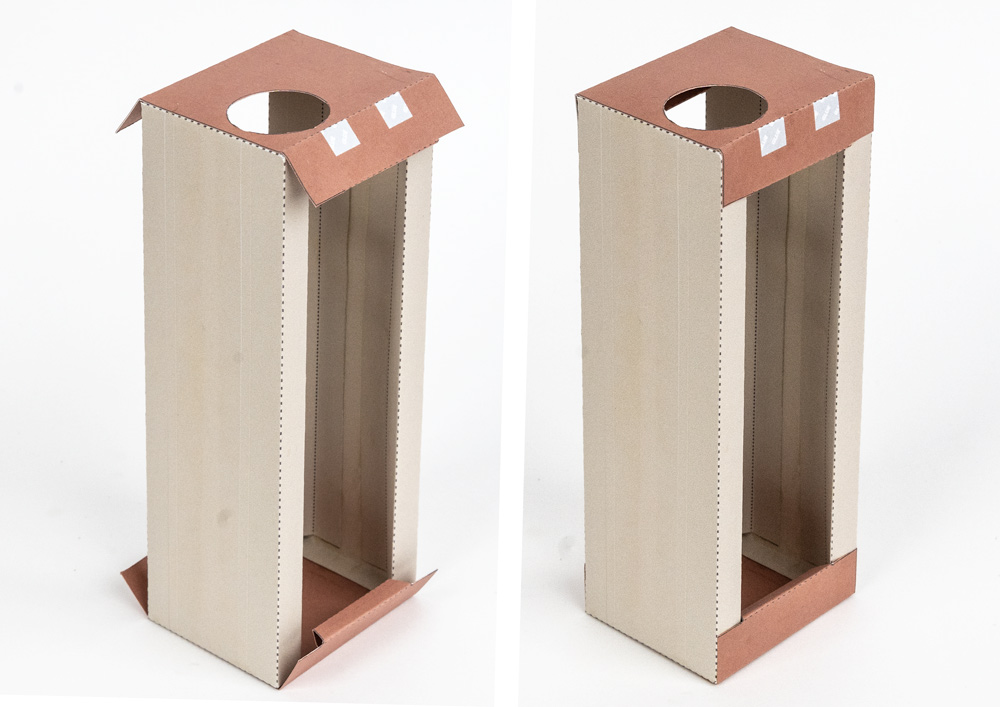
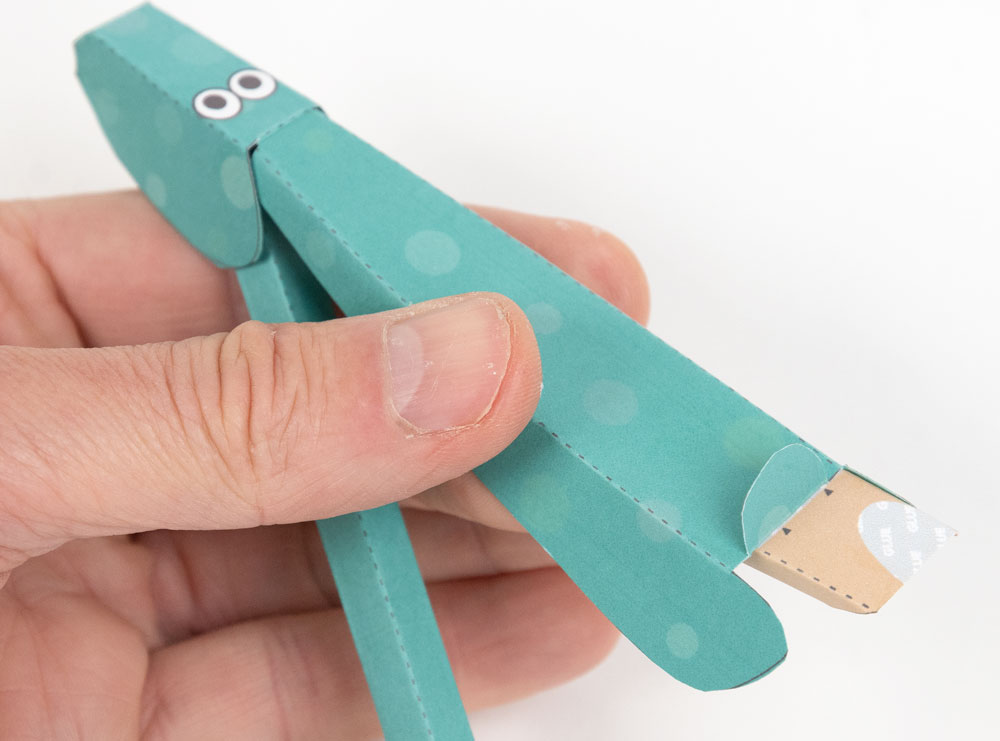
Glue the pendulum to the top back of the box.

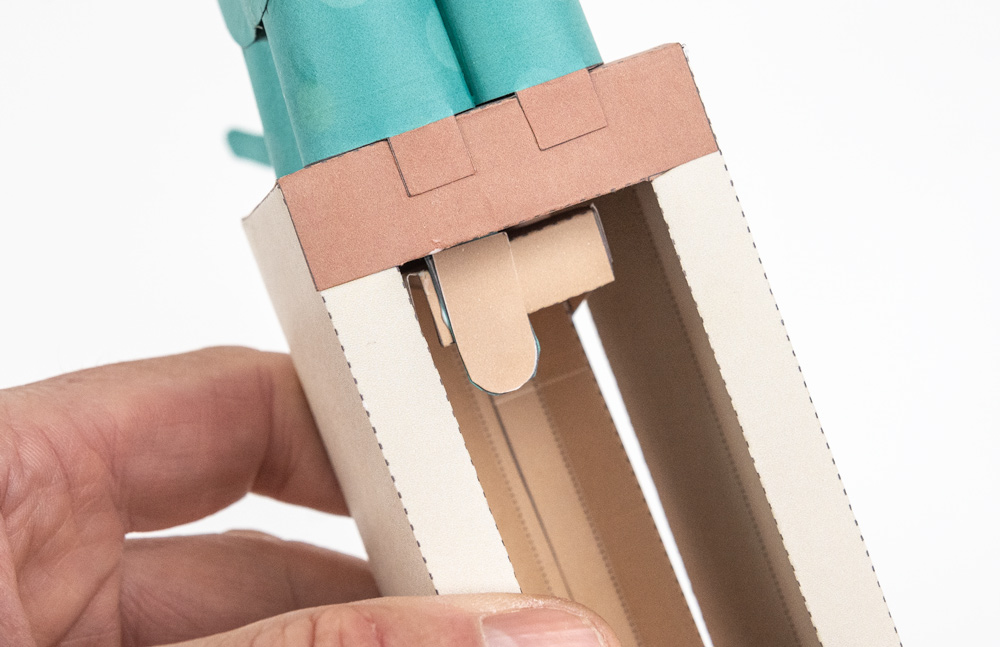
Thread the pushrod down through the hole in the top of the box. Glue the legs into place.
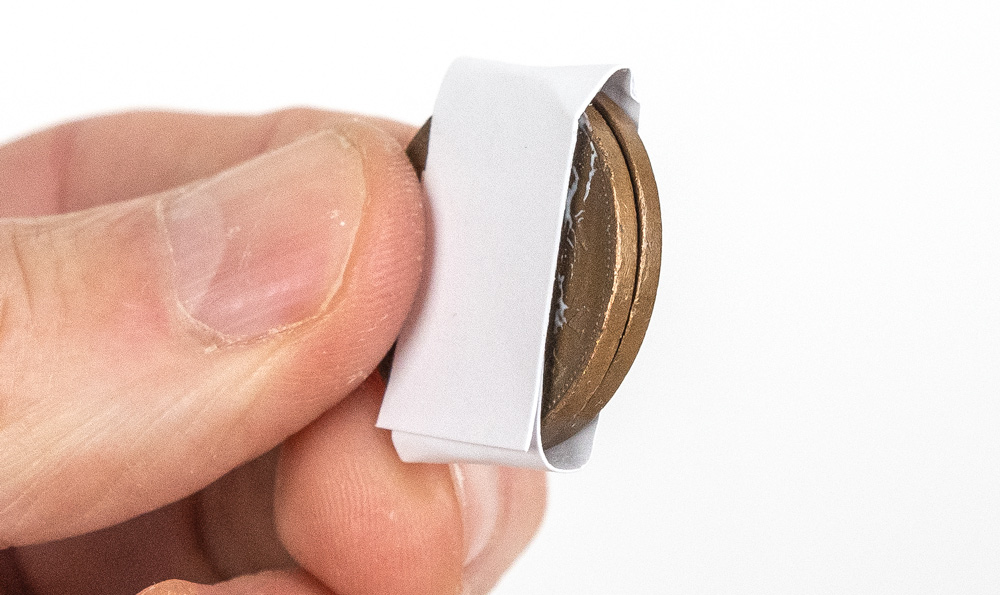
Use a scrap of card to wrap around a couple of large coins. I used UKP 2p pieces (25mm diameter roughly 7 grams). Make two coin packs.
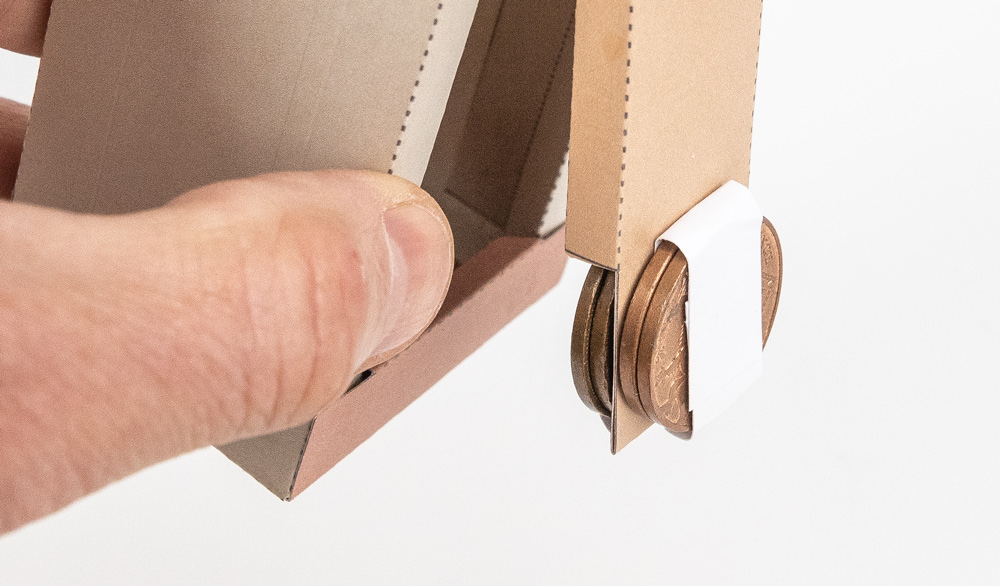
Glue the coin packs into place front and back.
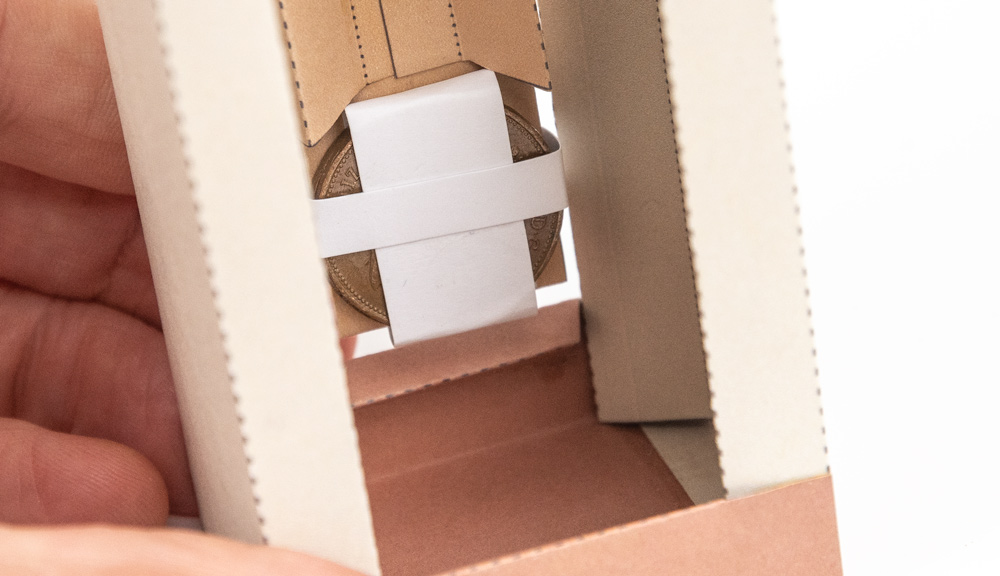
An extra strip of card can stop the coins slipping out sideways
With the pendulum held vertically in line with the box and the neck roughly halfway through its up-down range, glue the pushrod to the front of the pendulum.
Let the glue dry then try out your dinosaur!
Googly eyes make everything better! These ones are 6mm diameter