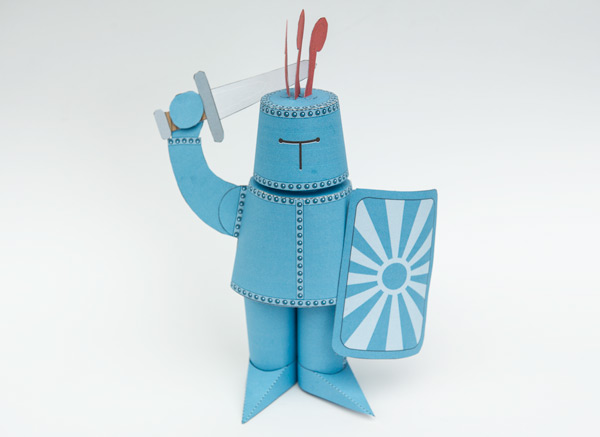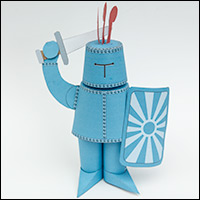
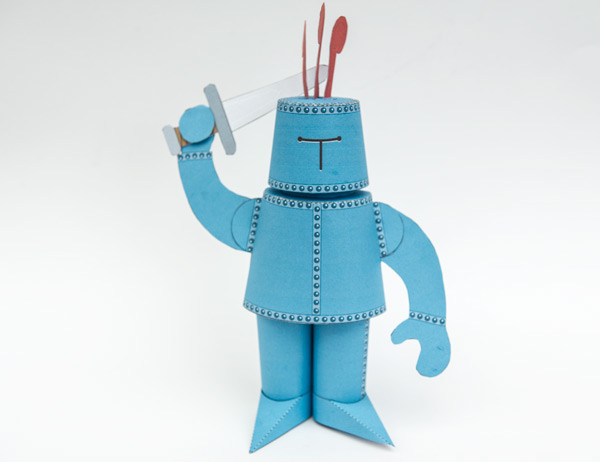
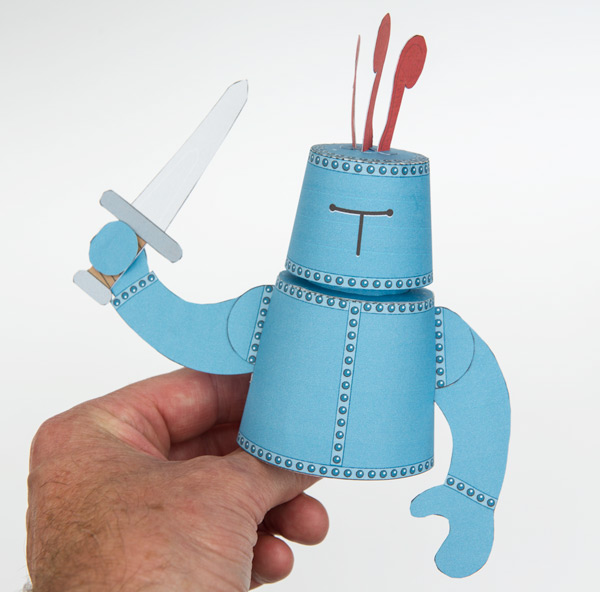
Poseable Paper Knight to download and make. This paper project has movable arms and head as well as a removable shield. Make the model and set him up to guard your valuable possession!
Members and Patrons can of course download the model for free, thanks for your support! Non members can join in the fun for £2.50
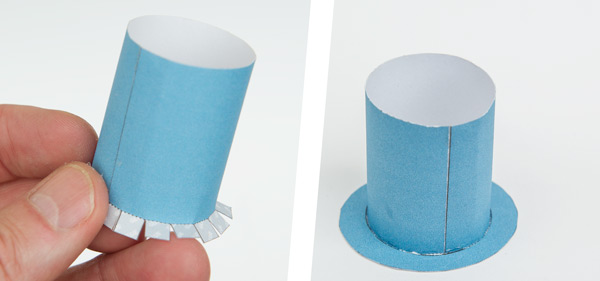
The parts file come in both colour and uncoloured version. Print out the version of your choice onto thin card (230gsm / 67lb)
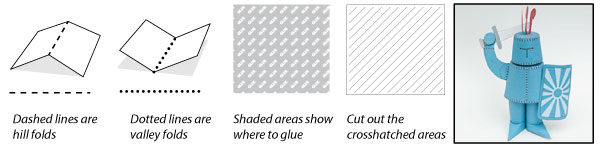
Score along the dotted and dashed lines and cut out the holes before carefully cutting out the parts.
Check out the YouTube clip!
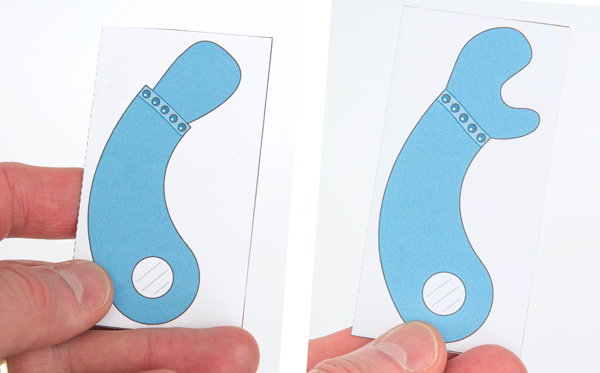
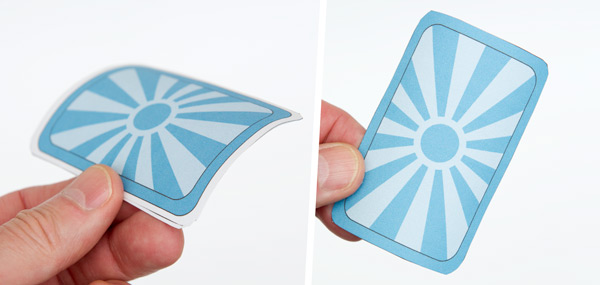
Some of the parts are made from double thickness card. Fold them over and glue them down. Once the glue is dry, carefully cut them out.
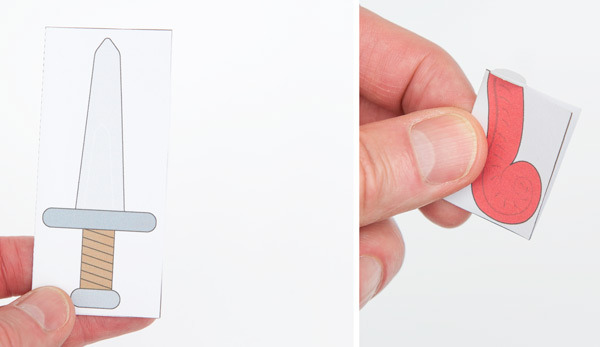
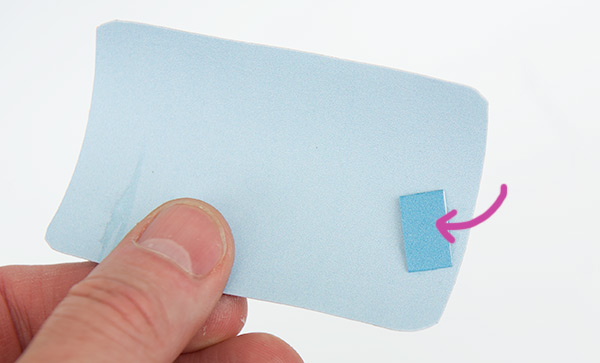
The shield is slightly different. Glue the two parts together but before the glue is dry curve the shield across its width. Once the glue is dry, cut out the shield.
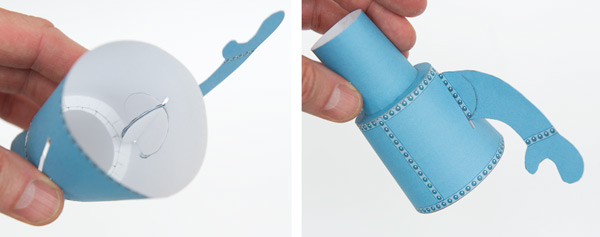
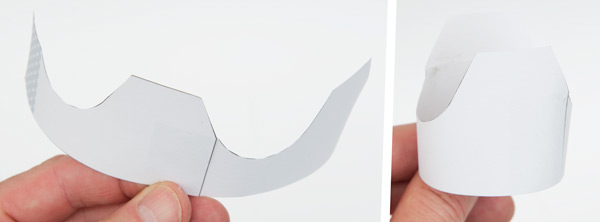
Glue together the two parts of the head. There is a very short black line on the top of the head which should line up roughly with the seam at the back of the head.
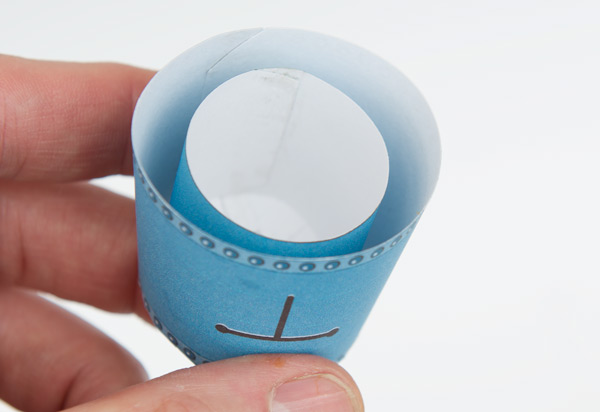
Roll the neck inner into a circular tube and glue the tabs to the inside top of the head.
Glue the three plumes to the top of the head.
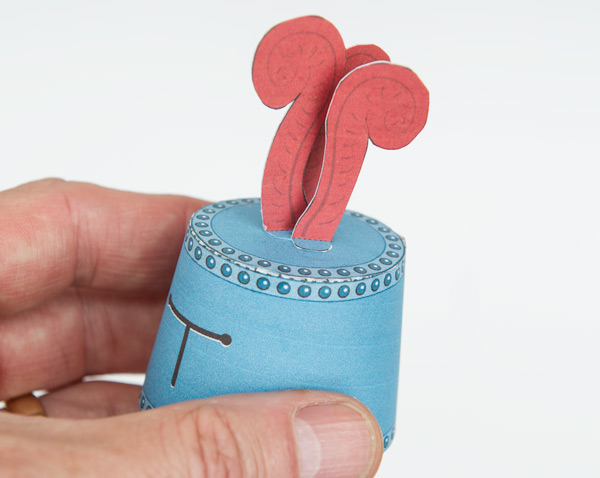
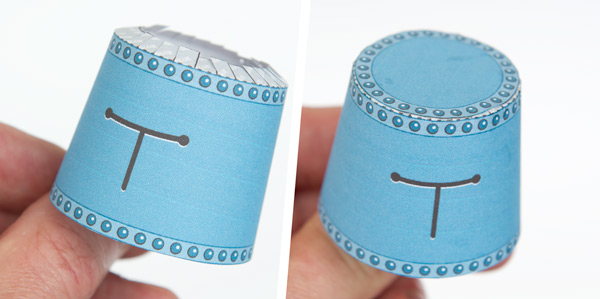
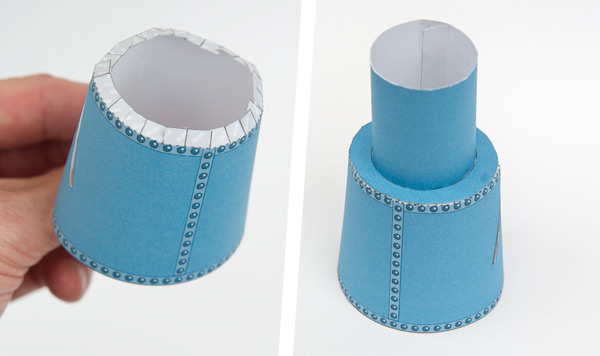
Assemble the neck outer and glue on the body top. Again, a small black line lines up with the seam on the neck.
Glue the body top to the body lining up the two seams.
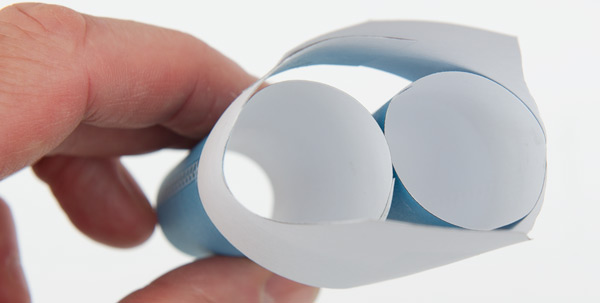
Both arms work in the same way.
Thread the tabbed washer through the arm. Glue one of the circles to the tabs. Make sure that the glue is only on the tabs so that the circle is free to turn.

Flip the arm over and glue on the second circle lining it up as accurately as possible with the first one.
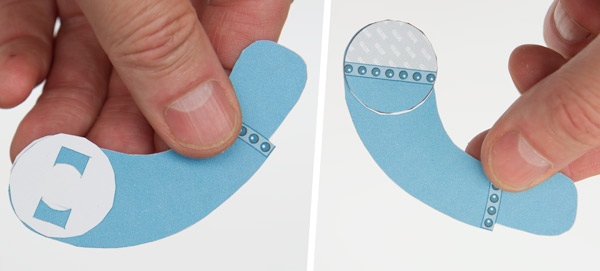
Glue the two hinged pieces to the circles on the grey areas.
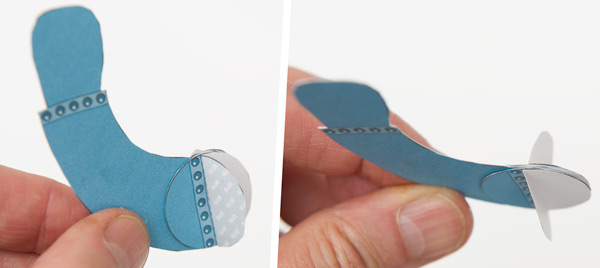
Repeat the process with the other arm. Make sure that the tabs/circles assembly is able to turn.

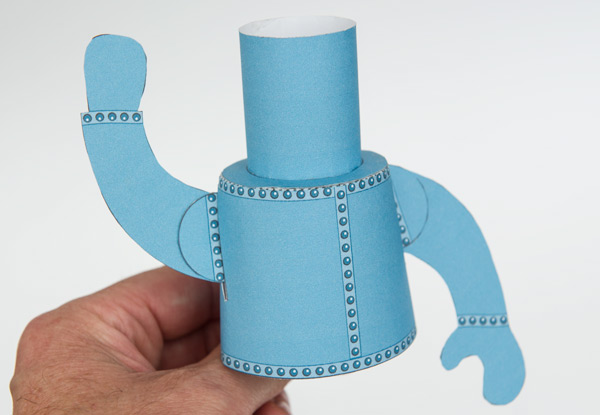
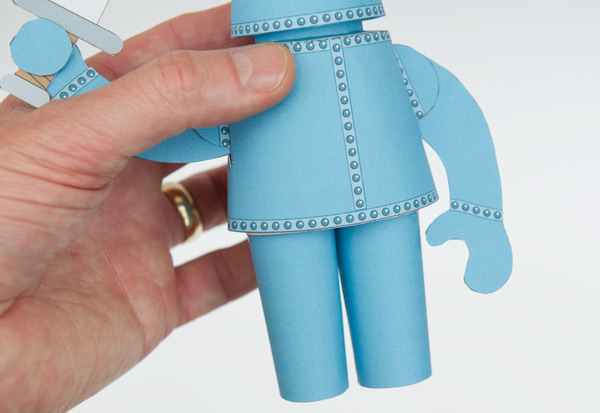
Thread the arms through the slots in the body and glue the tabs to the inside of the body. The arm should now be free to move up and down.
Repeat with the other arm.
Glue the sword to the hand. Glue the hand front into place.
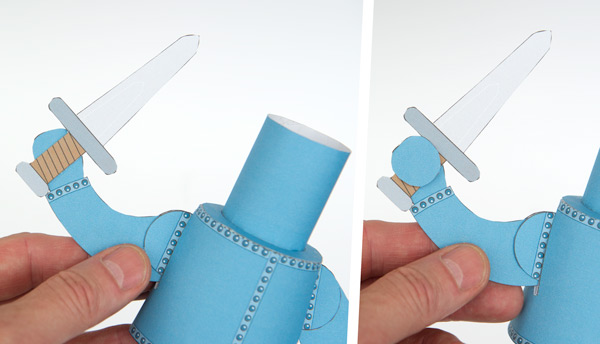
Slot the head into position.
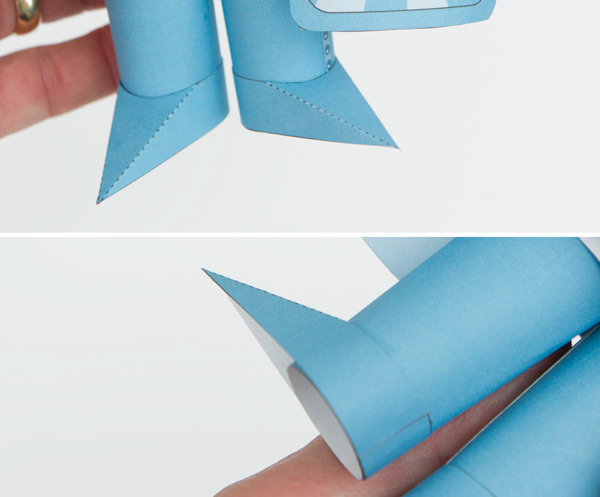
Roll up and glue down the legs.

Join together the two leg supporter parts.
Glue the two legs into the leg support. Widest part of the leg is at the top.

Glue the front tab of the leg support to the inside front of the body.
Glue the shield holder to the shield positioning it by holding the shield in position over the hand.
Glue the two feet to the legs.
Ta daa!