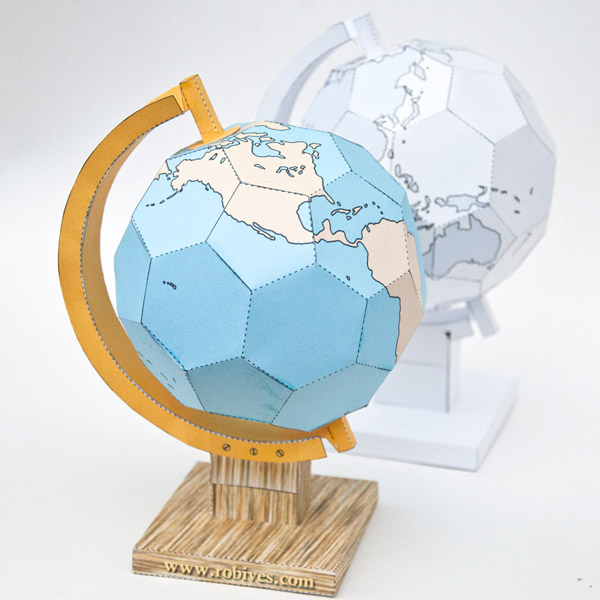
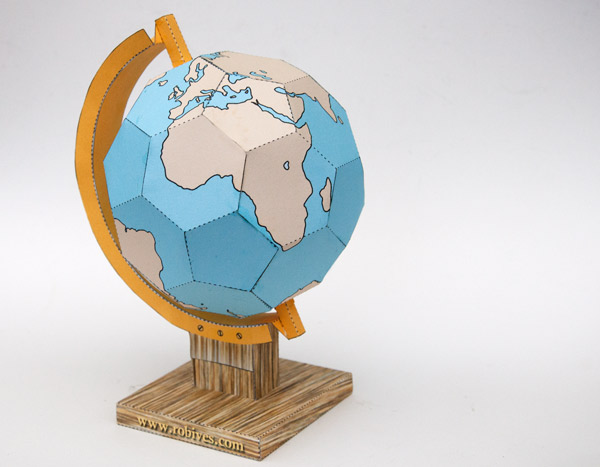
A paper globe to download and make.
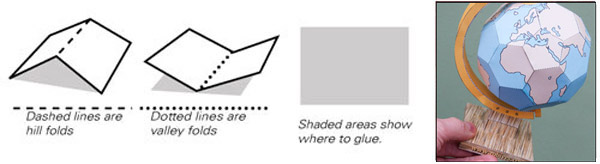
Members can download the parts for free at the end of this post. Non-members can download the parts for a small fee. Print out the parts onto thin card (230 gsm / 230 micron) Notice that there is a mono and colour verion. With the colour version, parts sheet four is marked front and back. Print out the parts 4 front onto one side of the card, flip the sheet over, return it to the printer and print out parts 4 back onto the other side. Score along the dotted lines and cut out the holes before cutting out the parts.
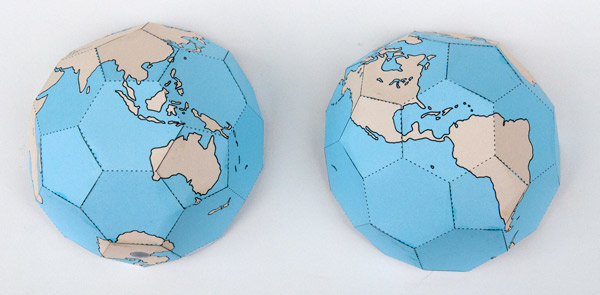
Start by assembling the two halves of the globe.
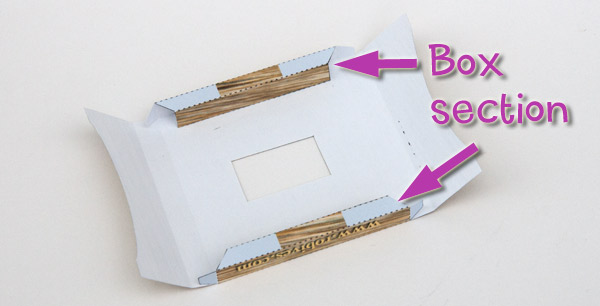
Fold the base round and glue down to make two rectangular box sections.
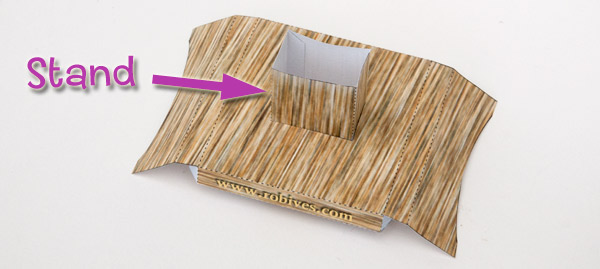
Glue together the stand and thread it up through the hole in the base.

Assemble the base stiffeners as shown.
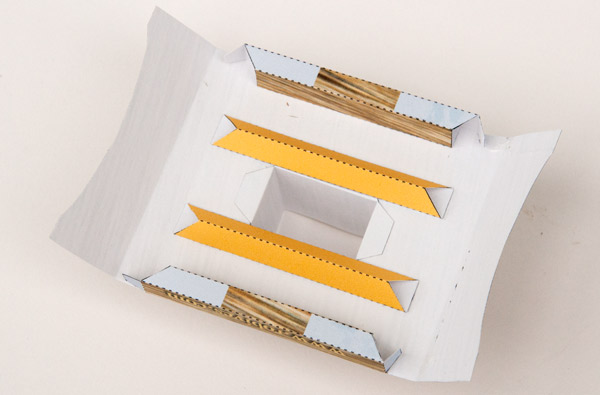
Flip the base over and glue on the base stiffeners.
Fold round and glue down the remaining flaps to complete the base.
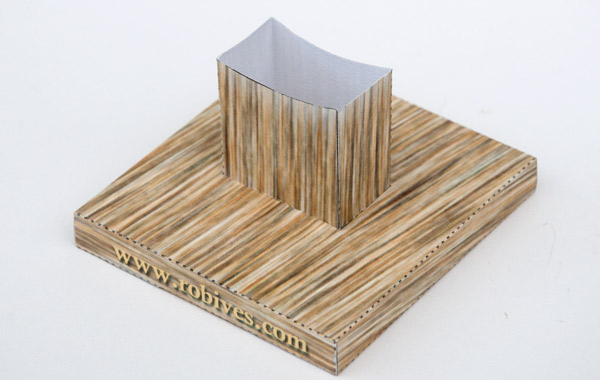
Glue on of the support sides to the support back
Glue the other support side into place.
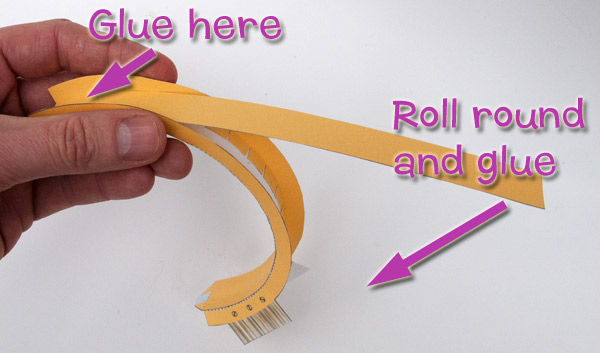
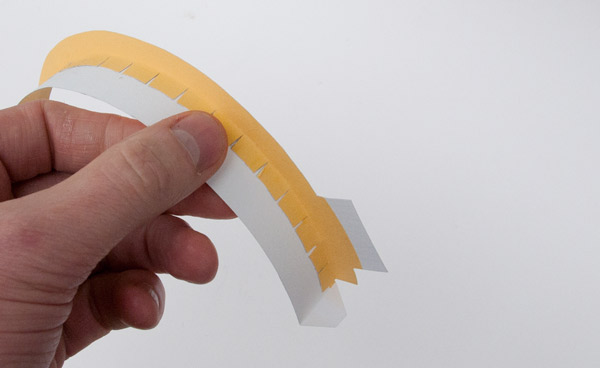
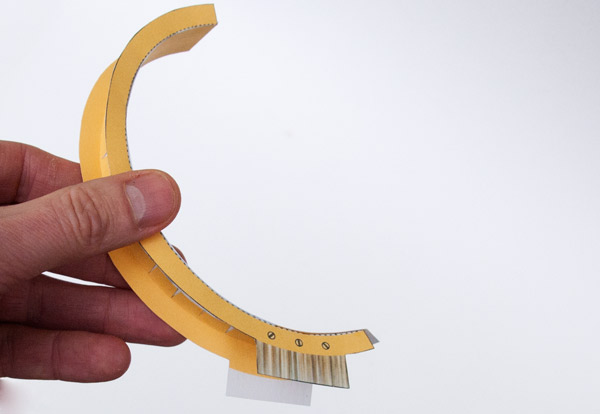
The fillet glues into place to cover up the tabs. Glue one end of the fillet to the support back, roll it round and glue the other end down to the bottom of the support back.
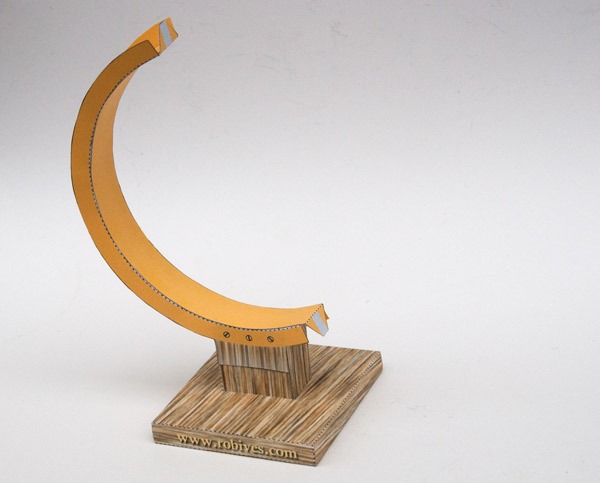
Glue the support to the base.
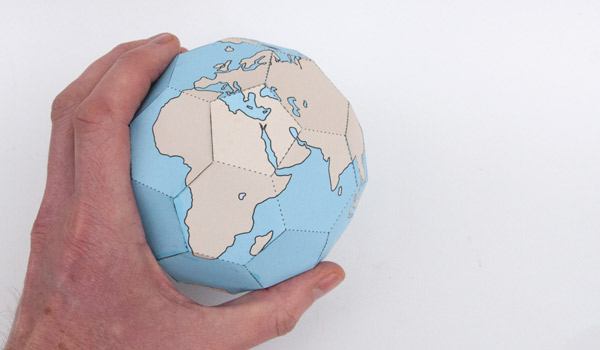
Glue the two parts of the globe together.
When I used to fix my own car the Haynes manual would always say something like that. “Glue the two parts together” “Simply remove the gear box” “Refit the crank shaft” It is easy to say but tricky to do. Start by gluing one flap. then glue the remaining tabs and fit the globe together. You can press parts into place by threading a chop stick through the holes in the top and bottom. Good luck with this stage!
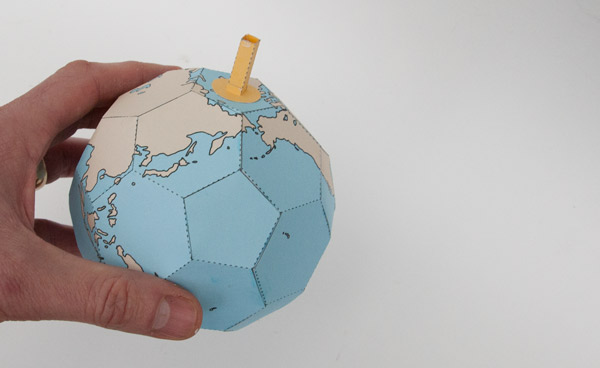
Thread the axle through the globe. Fit the two washers so that the axle is centred vertically and free to rotate.
Complete the model by gluing the axle to the support.
Done!