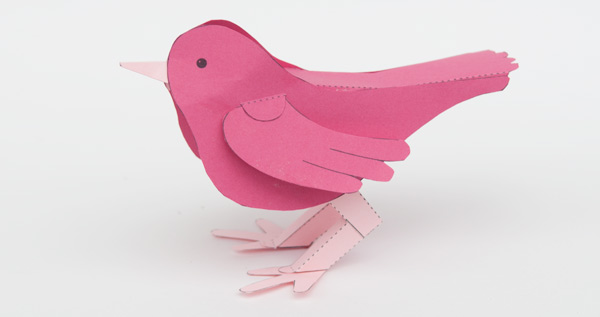
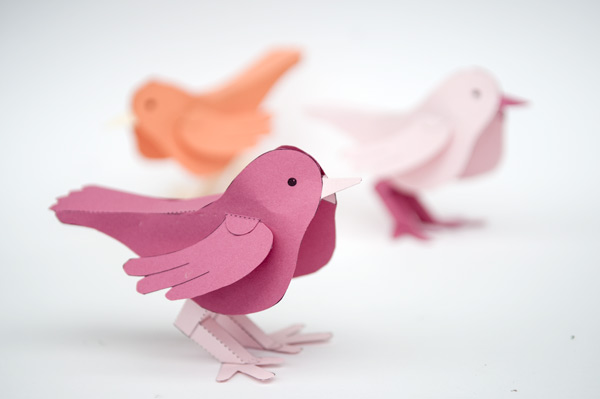
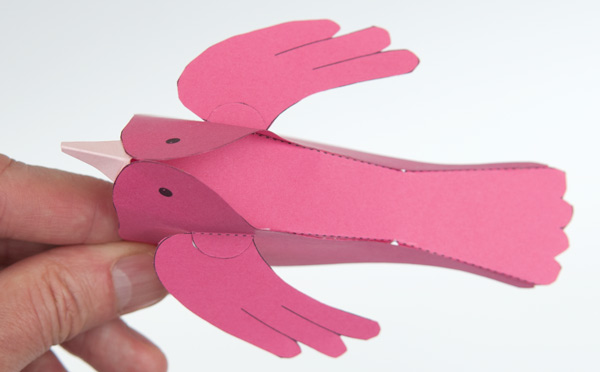
These simple-to-make paper birds are a delightful decoration to brighten up any house!
The parts are available at the link for everybody to download for free. Included in the parts file is a special discount code that gives you 10% discount on standard membership and 20% discount on membership plus! The special offer is valid for use until the end of August 2014. I hope you enjoy making these paper birds!
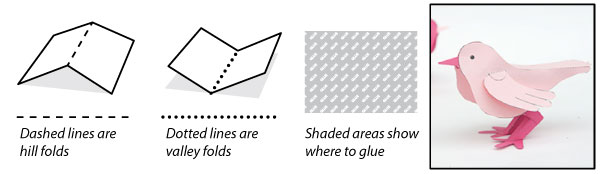
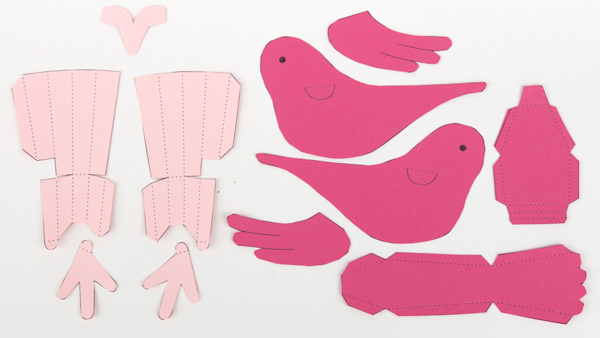
Print out the parts onto thin card. 230 micron / 67lb is ideal. Score the dotted and dashed lines and cut along the solid lines before carefully cutting out the parts.
To make the bird extra colourful, print it out twice onto complementary coloured card. Cut out both sets of parts then use the legs, feet and beak from one colour and the remaining parts from the other colour. Once you are done you can make a matching, complementary bird with the remaining set of parts.
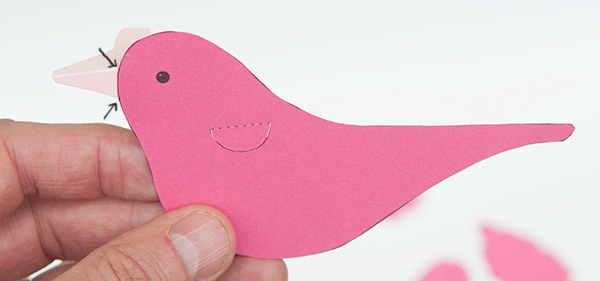
Glue one side of the beak to the head lining it up between the two dots. (Arrowed)
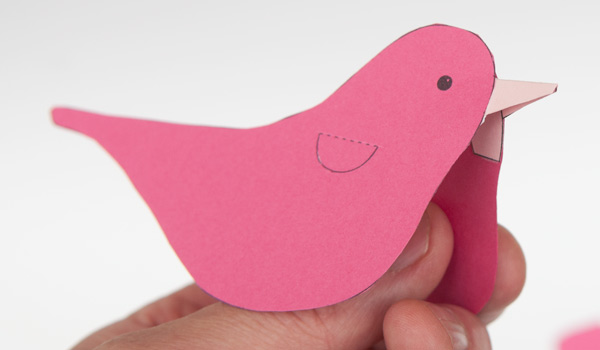
Glue the other half of the body to the other side of the beak. Don’t glue anything else, just the beak. Make sure that the body halves are lined up.
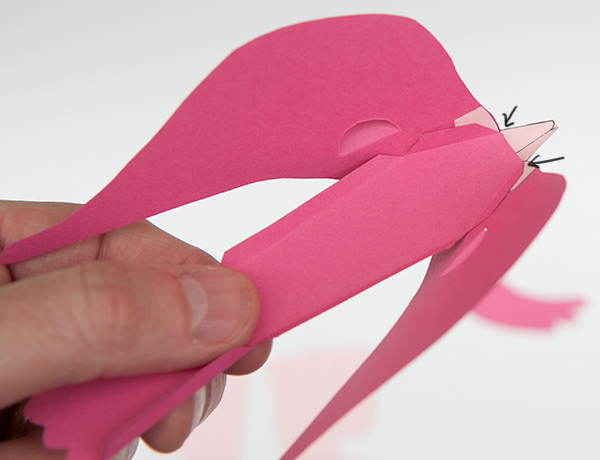
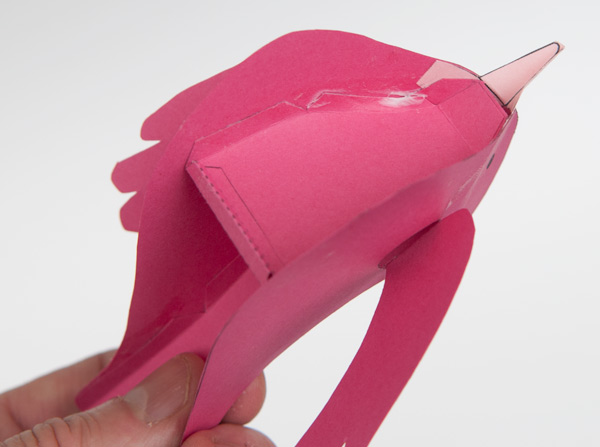
Glue the body top into place. Start with the first set of tabs lined up with the bottom of the beak. (Arrowed)
Finish gluing the body top into place lining it up with the top of the body sides.
Glue the two wings to the tabs on the side of the body.
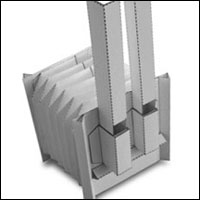
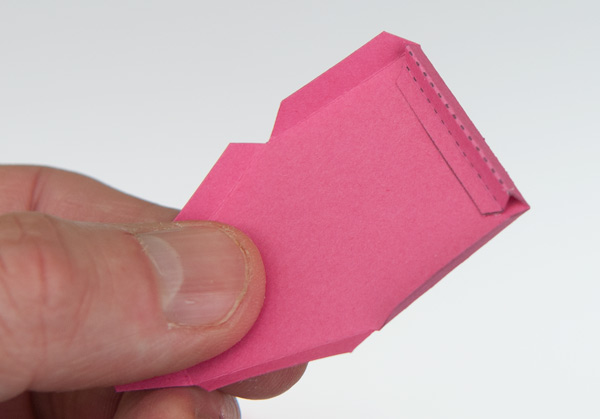
Fold round and glue down the end of the body inner to make a triangular tube.
Glue the end tab of the body inner to the front underside of the body top. Glue the sides of the body inner into place so that it slopes down at forty five degrees.
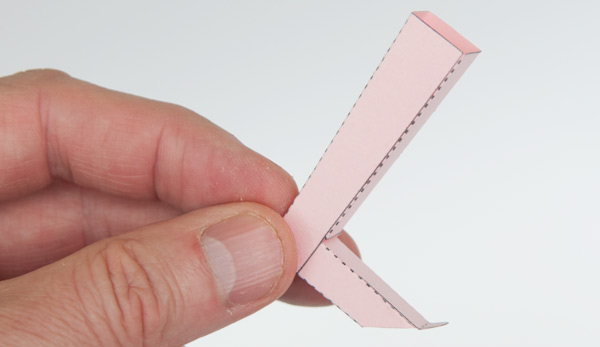
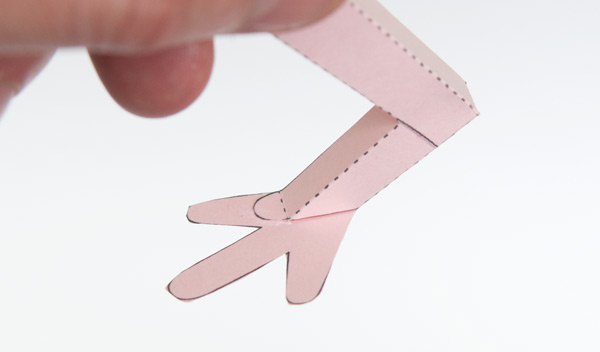
Assemble the legs as shown. The knee should be at ninety degrees.
Glue the feet to the legs.
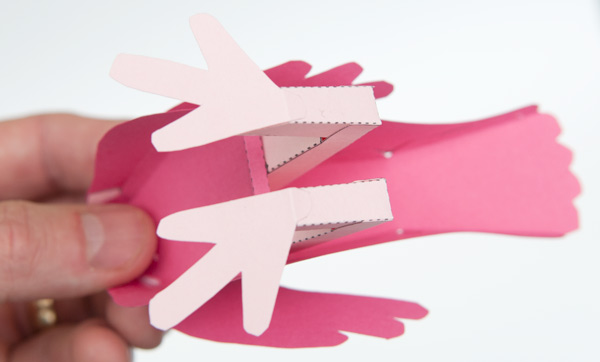
Glue the legs to the body inner. Use the grey glue areas for alignment.
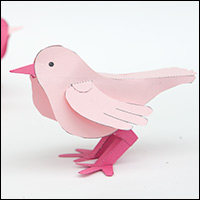
The completed paper bird! Try making a flock of different colour birds or try making birds from pattern printed papers.