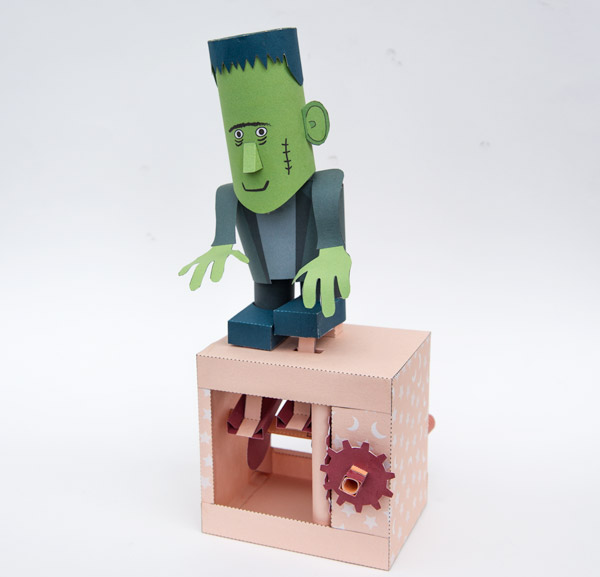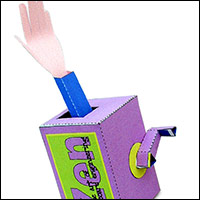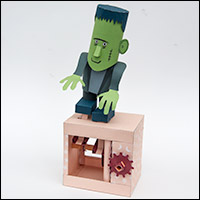
Frankie: A terrifyingly friendly monster to download and make. Turn the handle and the reduction gear give Frankie a particularly shambling gait.
Members and Patrons can download and make Frankie free. Thanks for your support! Non-members can join in the fun for £2.50.
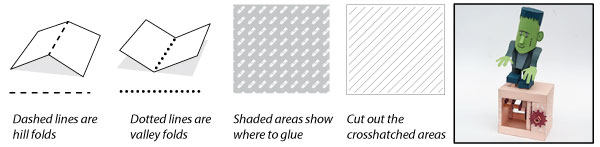
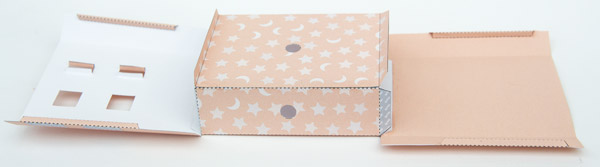
Print out the parts onto thin card. (230gsm / 67lb) Notice that the all coloured pages apart from sheet seven are printed on both the front and the back. Print one side, flip the sheet over and return it to the printer before printing the back. Score along all the dotted and dashed lines and cut out the holes before carefully cutting out the pieces.
Some of the parts are made from double thickness card. Fold them over and glue them down. Once the glue is dry carefully cut them out.
The pinion.
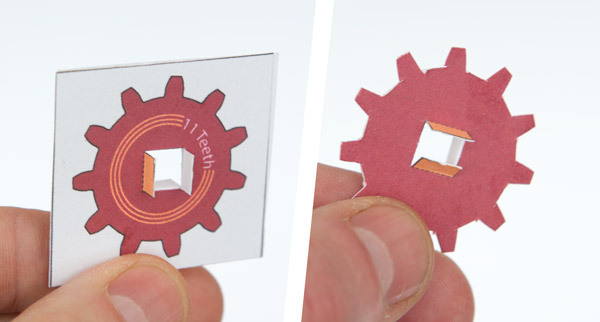
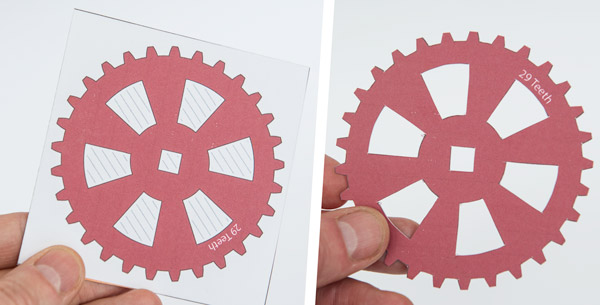
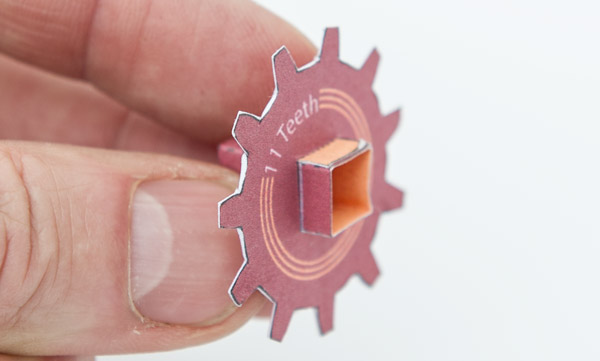
The main gear.
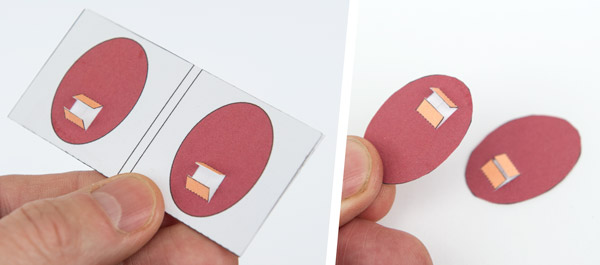
The cams
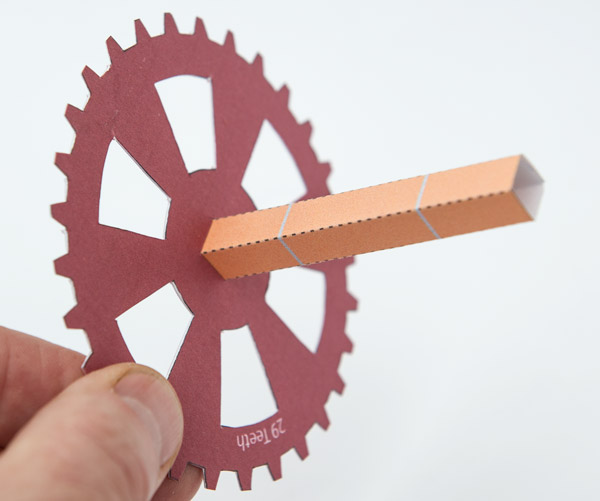
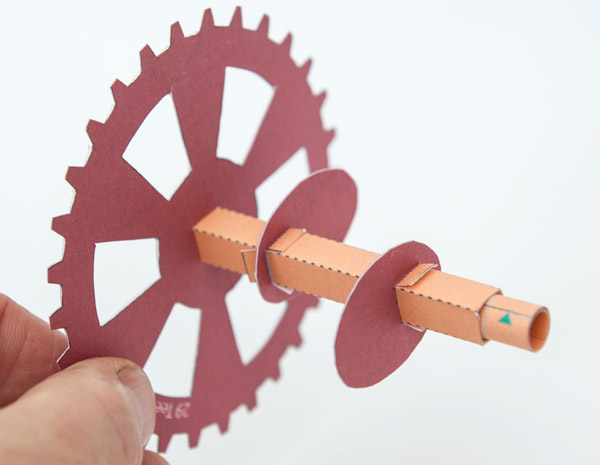
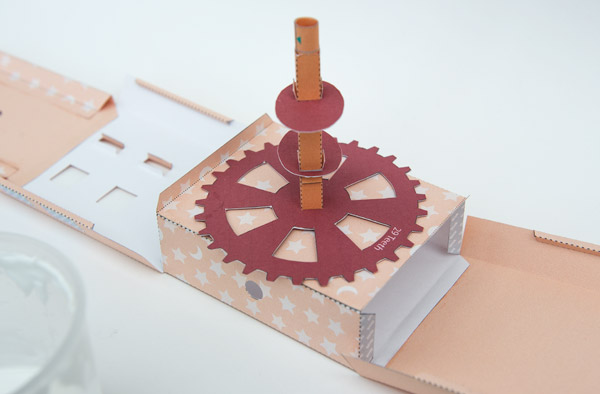
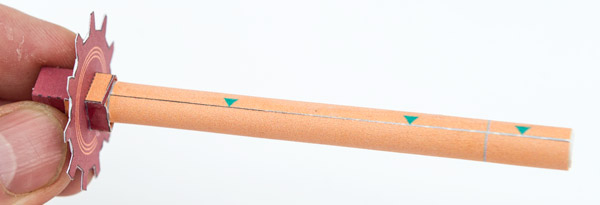
Fit the gear to the square cam shaft.
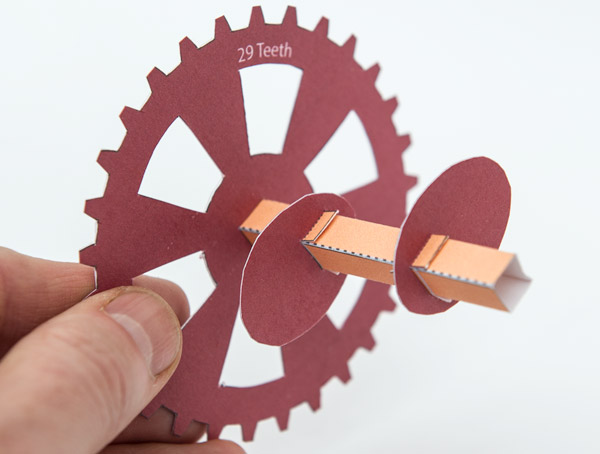
Fit the cams to the cam shaft lining them up with grey lines. Note that one faces one way and the other the other way.
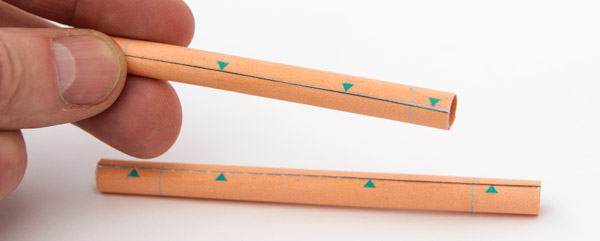
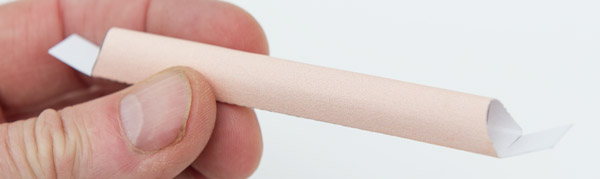
Roll up and glue down the two axle tubes lining up the ends as accurately as possible.
Fit the gear axle into the cam shaft.
Fit the pinion to the short axle stub lining it up with the grey line.
Fold round and glue the box side as shown.
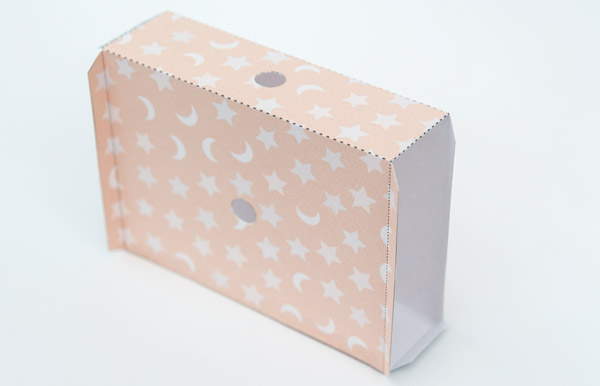
Roll round and glue the tabs on the box top and box base to make triangular tabs. Glue thetop and base to the box side as shown. Notice that the triangular tubes on the top and base are furthest away from the box end.
Assemble the box side with right angled triangle tubes and glue it to the box top.
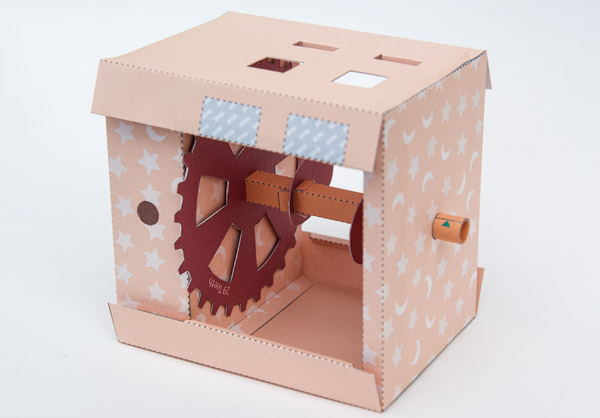
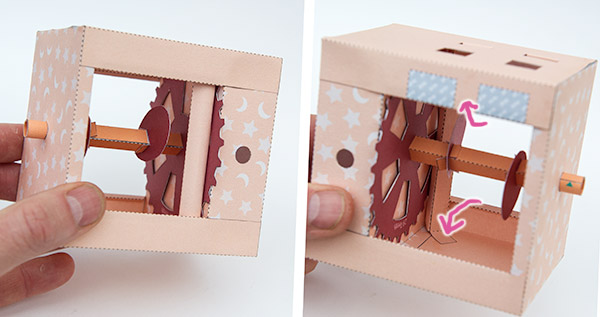
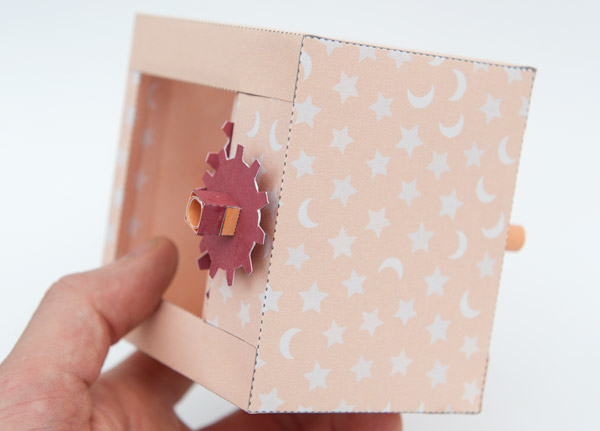
Fit the gear into the hole in the box end.
Fold the box round threading the other end of the axle into position then glue the box closed.
Glue down the flaps from the box top and base.
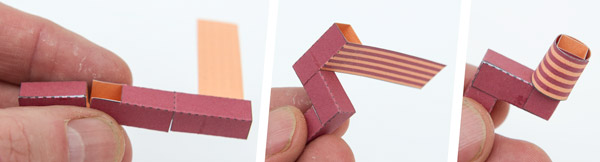
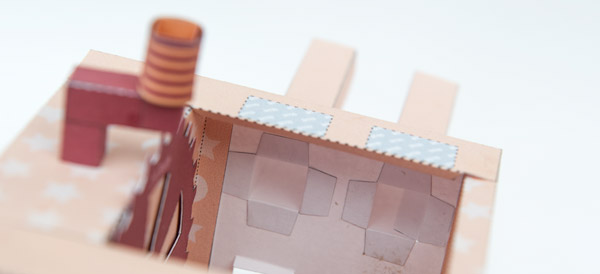
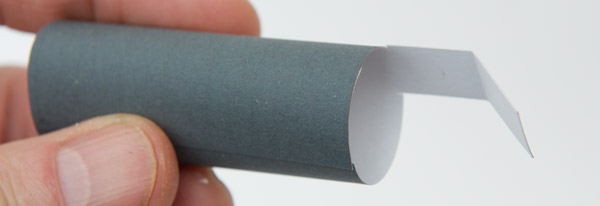
Assemble the gear locator tube by curving it round and gluing it down
The gear locator rests gently against the gear holding it flat against the box. Thread it into place inside the box and glue it into position.
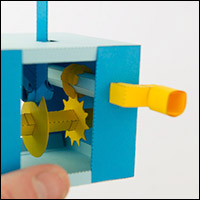
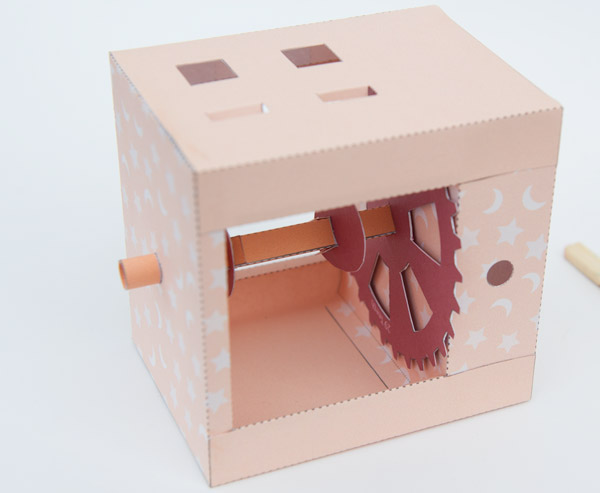
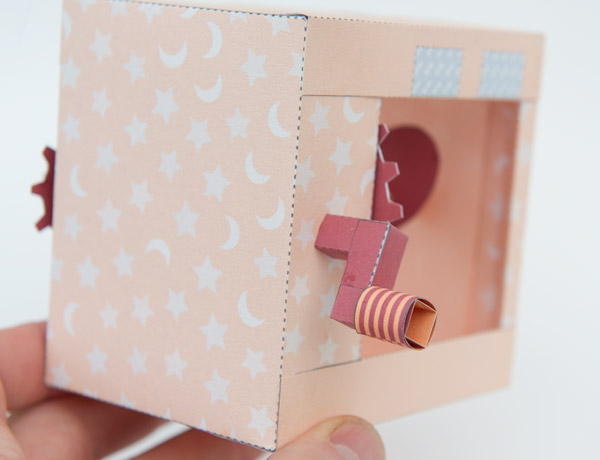
Assemble the handle in three steps.
Glue the pinion to the pinion axle.
Thread the pinion axle into place so that it meshes with the gear.
Glue the handle to the other end of the axle.
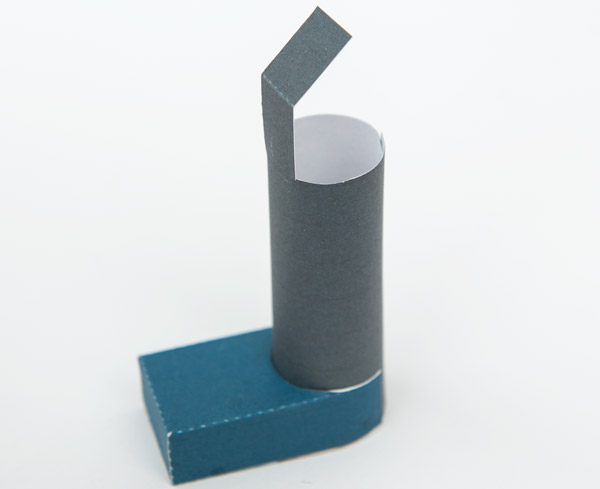
Assemble the two leg stands.
Fit the two leg stands into the box.
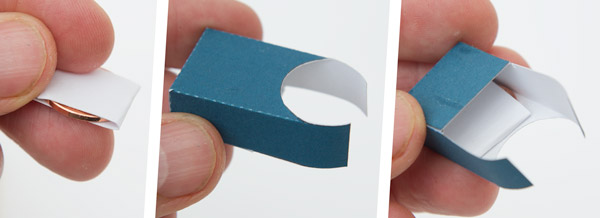
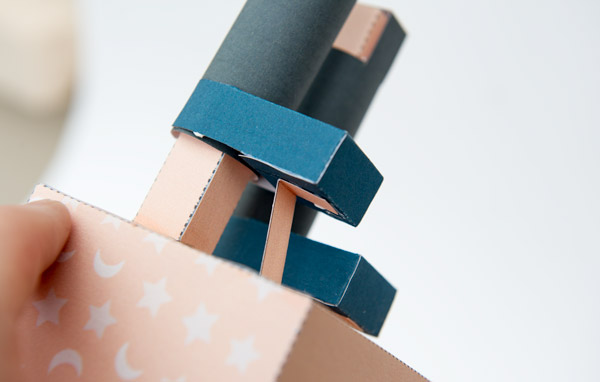
Assemble the two cam followers.
Fit the cam followers into the box.

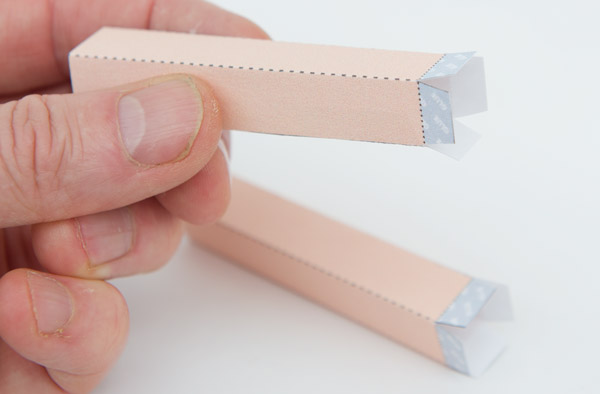
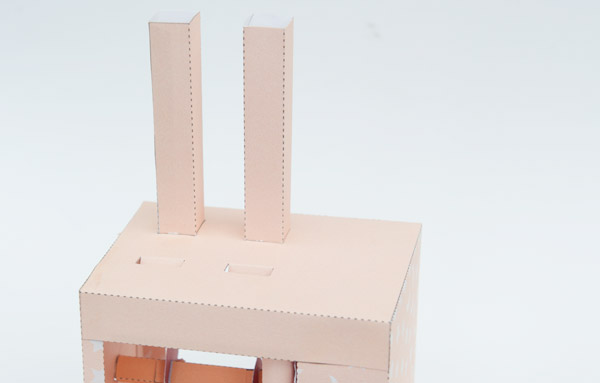
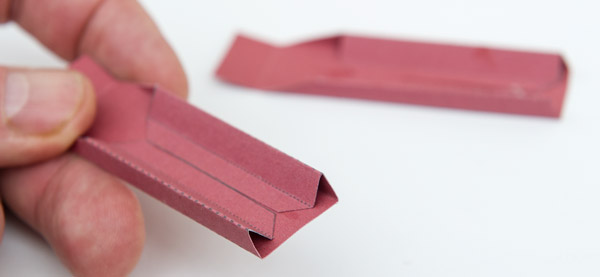
Fold over and glue the two push rods so that the centre section is double thickness.

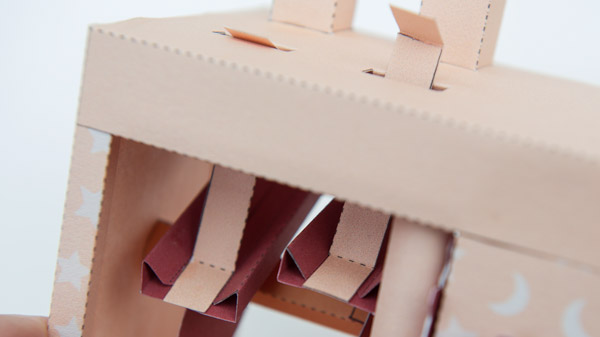
Glue the push rods to the cam followers so that they thread up through the holes in the box top.
Wrap two pennies (20mm diameter 4 gram weight coin) tightly in scraps of card. Assemble the feet and glue a penny into each one.
Roll round and glue up the legs.
Glue the feet to the legs.
Thread the legs down over the leg stands and glue the ends of the push rods to the soles of the feet.
Assemble the hair.

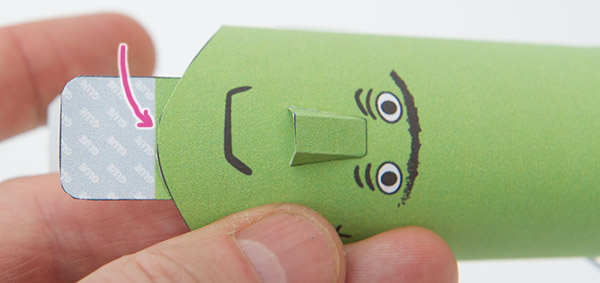
Glue the nose to the head then roll round the head and glue it down.
Glue the neck front to the inside of the head lining it up as shown. Glue only on the grey area.
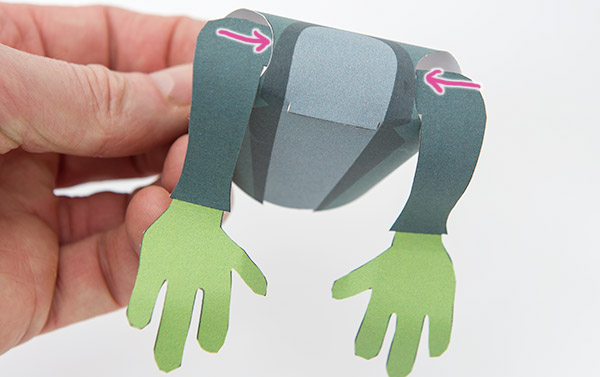
Assemble the body

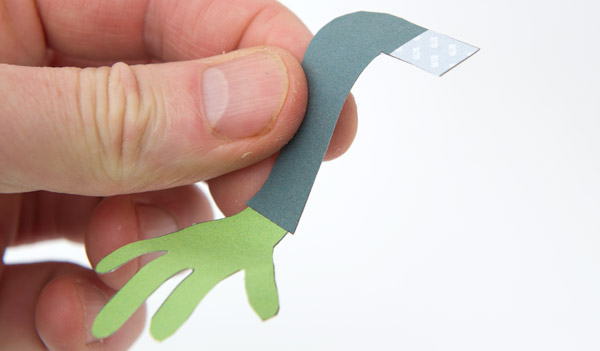
Shape the arms
Fit the arms in the body.
Fit the head to the body and glue on the ears.

Fit the hair into place.
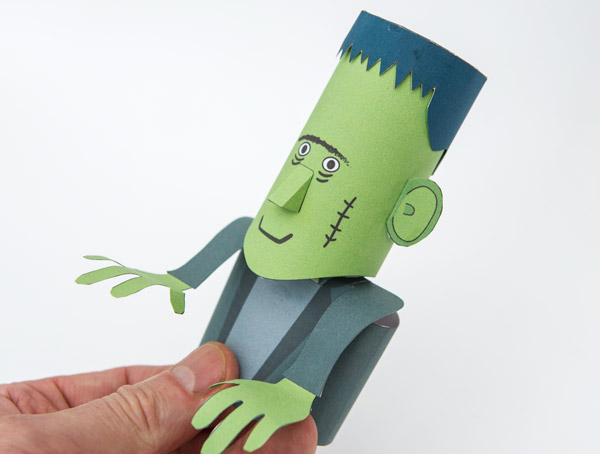
Finish the model by dropping the body onto the legs. Gravity holds it into position.
Turn the handle to see Frankie shamble!