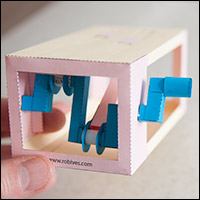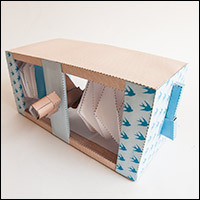
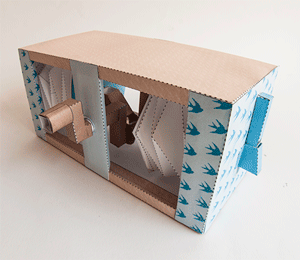
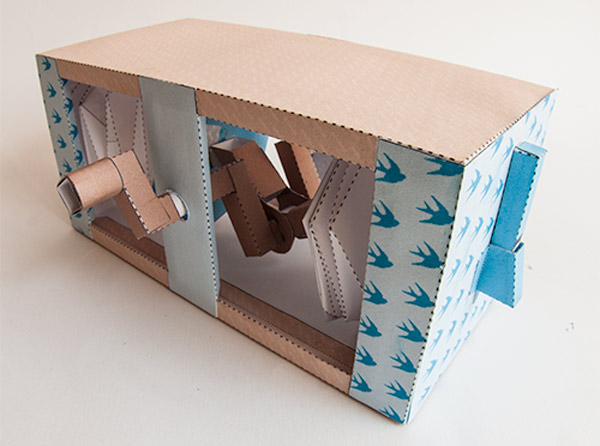
 Turn the handle on the Bellows Pipe Box to hear the two tone alternate tweeting of the twin bellows powered by the central crank.
The project is free for paid members to download and print out at the link. Non-members can download the parts for £2.50
See the end of the post to see hear the model working.
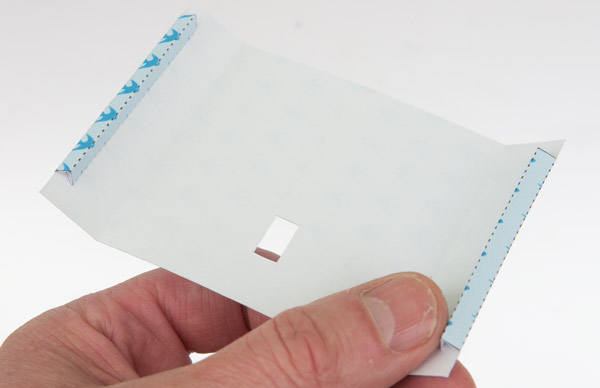
Print out the parts onto thin card, 230 micron or 67lb
The two bellows need to be printed onto ordinary printer paper.
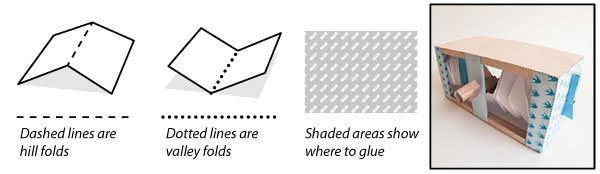
Score all the dotted and dashed lines and cut out the holes before carefully cutting out the parts.
Fold up the box top and bottom so that the sides are right angled triangles.
Fold up and glue the ends to make equilateral triangles.
Glue the box top and bottom and ends together.
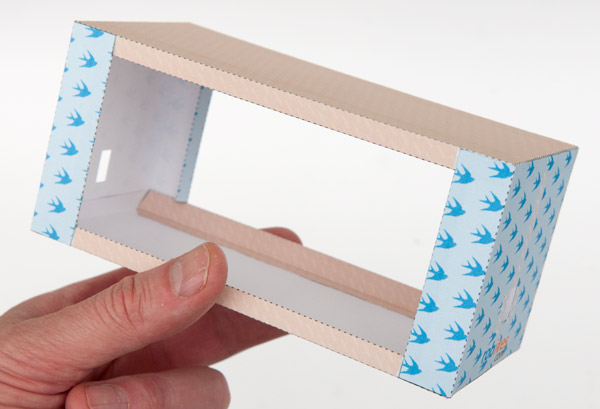
Assemble the two side pieces.
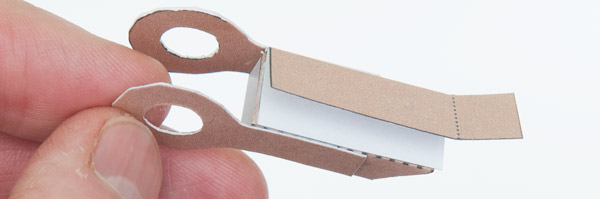
Fold up and make the two crank pieces.

Assemble the crank ends from double thickness card. Carefully cut them out once the glue is dry.
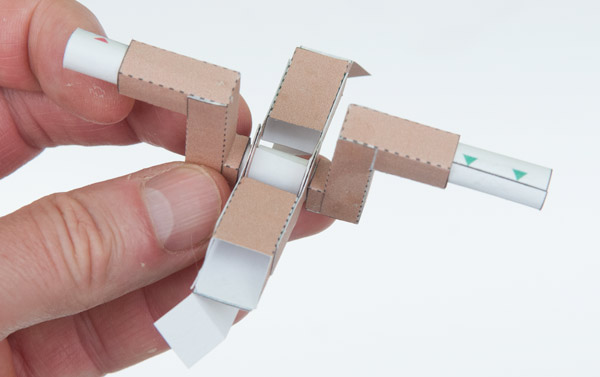
Fit two crank ends to each push rod.

Glue the linkage to the top of the push rod as shown.
Assemble the three pins and the spacer as shown.

Fit the centre pin through the two push rods with the spacer in the middle.
Glue one crank into place on the centre pin

Glue the other crank into place on the centre pin. Make sure that the push rods are free to move.
Fit the two remaining pins into place.
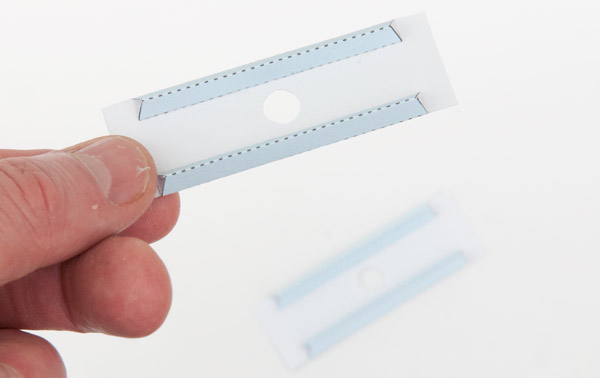
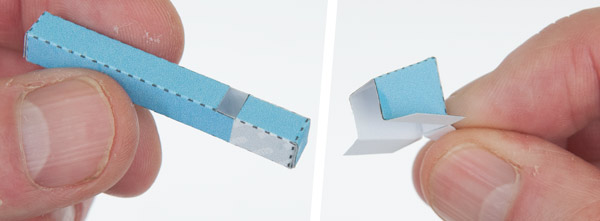
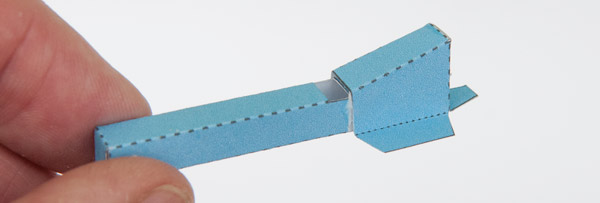
Make up the pipe tubes.
Make up the pipe covers.
Fit the pipe cover into place lining it up with the bottom edge of the pipe and the grey area. You can test the pipes by blowing through the hole in the bottom. Make adjustments as necessary before the glue is fully dry.
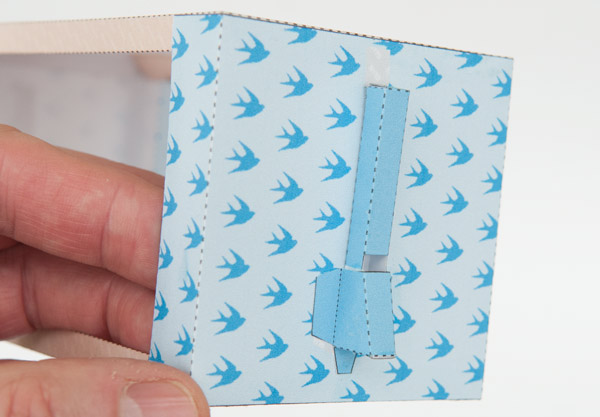
Glue the pips into place on the ends of the box lining them up over the holes.
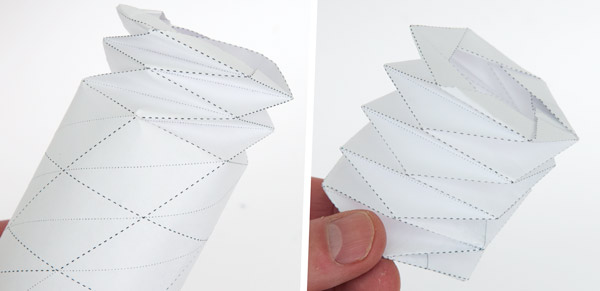
Before making the bellows pre-crease all the score lines to make folding easier.
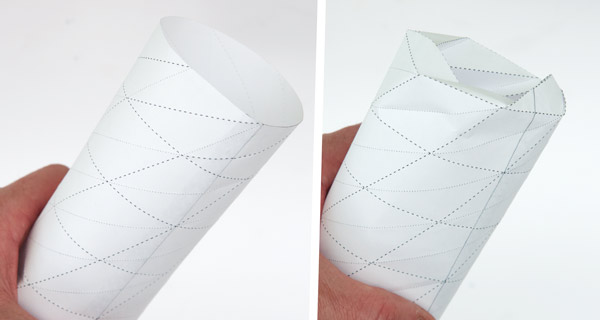
Roll round the tube and glue it down on the grey areas lining it up carefully.
Fold down the first row of creases.
Work your way down the bellows folding up one row at a time.
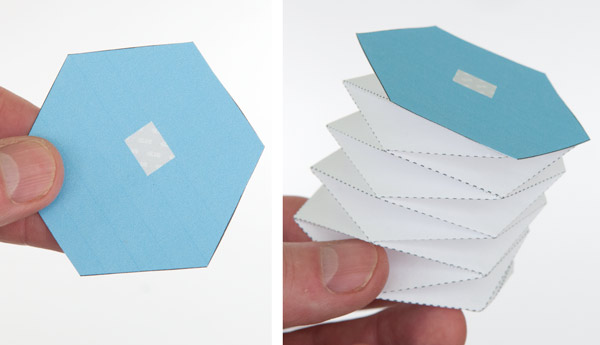
Make up the end the bellows end by making it double thickness then carefully cut it out.
Glue the bellows end into place.
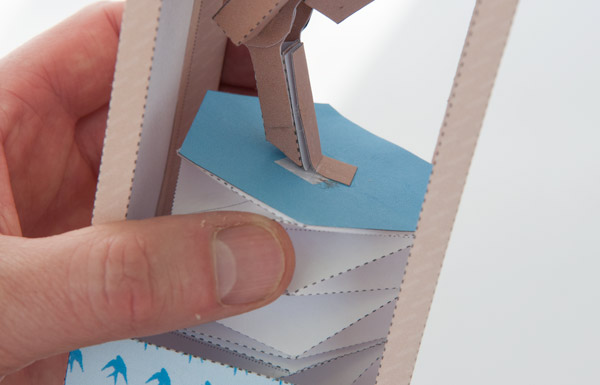
Squash the bellows down and glue them to the inside end of the box
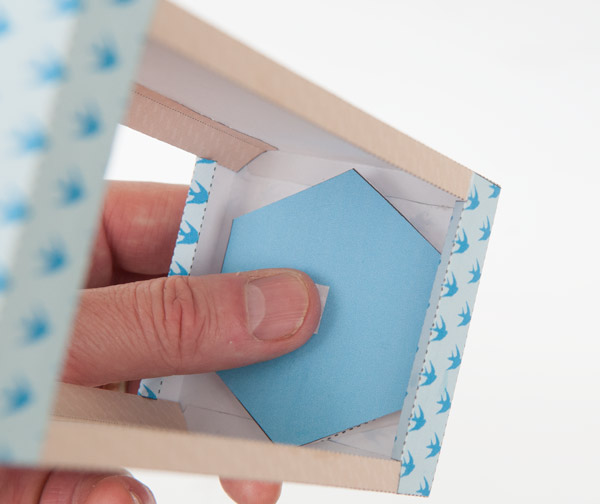
Once they are glued in pull the bellows out a bit to inflate them. With the bellows end pulled out glue the tab on the end of the push rod into the centre of the hexagon. Repeat the process at the other end of the box.
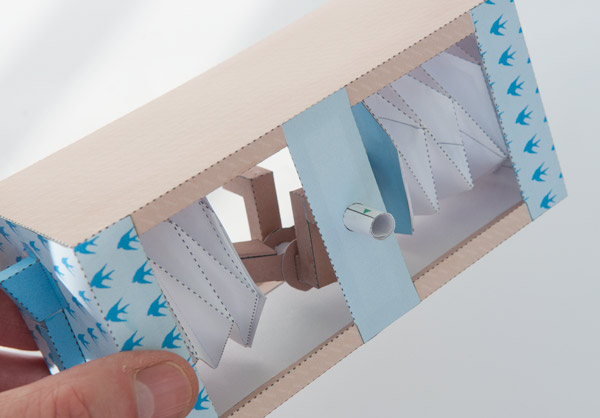
Fit the side over the two crank pins and glue them to the grey areas. on the box top and bottom.
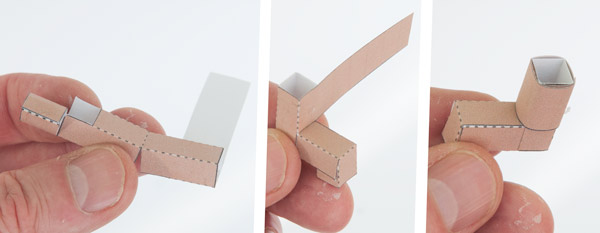
Assemble the handle in three steps.
Glue the handle to the side to finish off the model. Wait for the glue to dry completely before trying it out.

Turn the handle and hear the pipes tweeting!
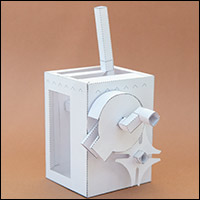
See the project in animated action here.