
The crank slider mechanism is the starting point for many of my paper animation kits. This download, which is free for you to download at the end of this post, is a simple crank slider in a box. Use this mechanism as a starting point for your own paper animations!
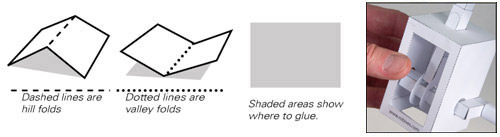
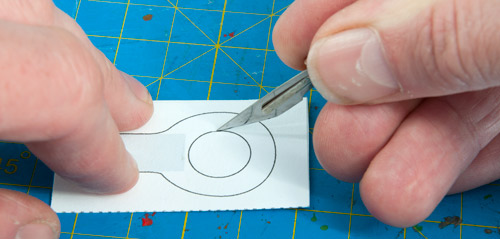
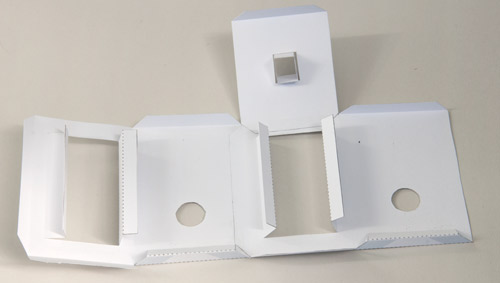
Print out the two pages of parts onto thin card. I use 230micron, 230gsm board. The black lines show where to cut out, dotted lines are valley folds, dashed lines are hill folds. Score the parts and cut out the holes except for those in the push rod ends before you cut anything out.
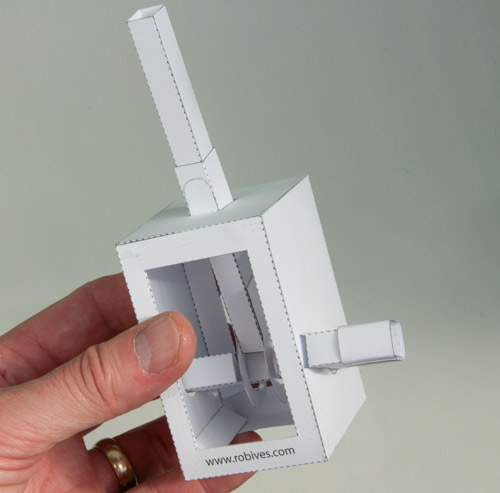
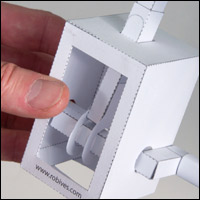
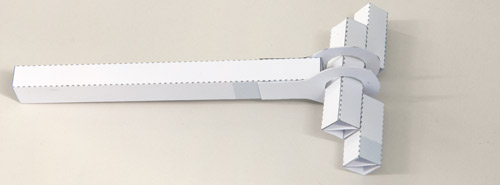
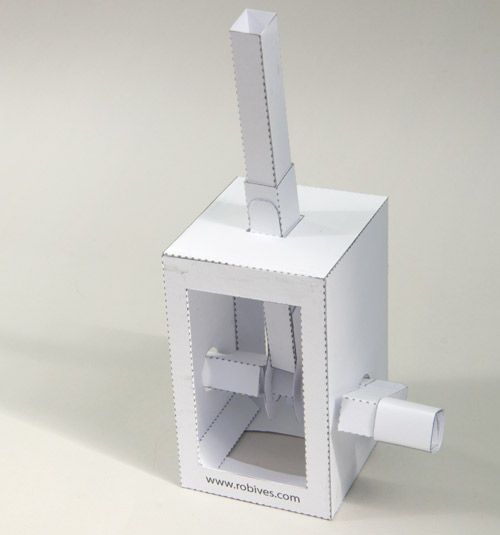
This is the complete model. Turn the handle on the side of the box and the push rod sticking out of the top of the box moves in an oval shaped path.

Cut out the two push rod ends first…
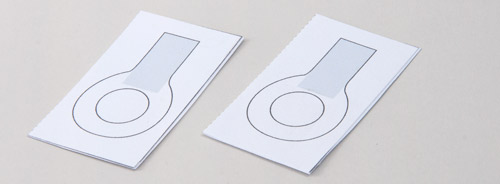
Fold them in half and glue them together to make a double thickness of card. Set them aside while the glue dries completely and finish cutting out the other parts.
Once the glue has dried completely cut out the hole in the centre of the push rod ends.
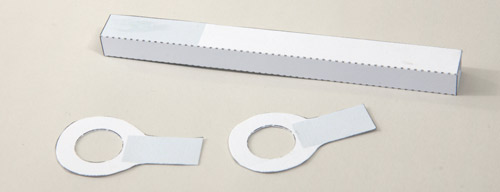
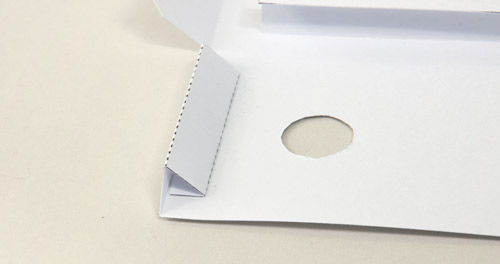
Fold round and glue together the push rod. Cut out the two push rod ends.
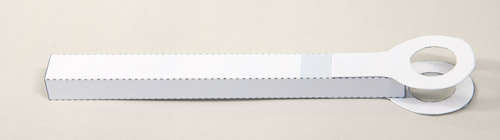
Glue the push rod ends into place on the end of the push rod.
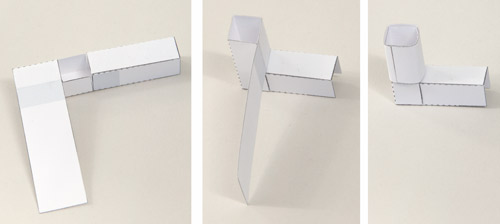
Assemble the three crank parts in two stages as shown above. The diagonal piece adds strength and rigidity to the crank.
Thread the crank centre through the push rod ends then glue the crank left and crank right into place. Don't get any glue on the push rod ends, the crank needs to ne free to rotate.
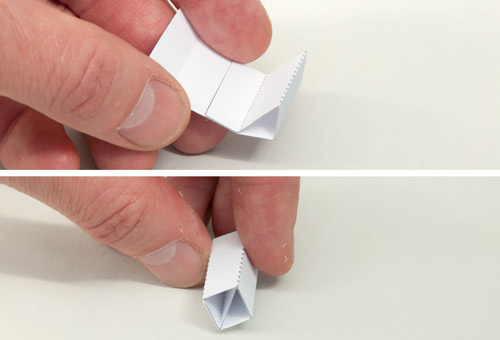
Assemble the handle in three stages. Fold the tubes up into a square section tube. Fold the two halves, one into the other. Roll round the long tab and glue the end down.
Fold the box side tab round to make a triangular tube section. Repeat on the other side of the box.
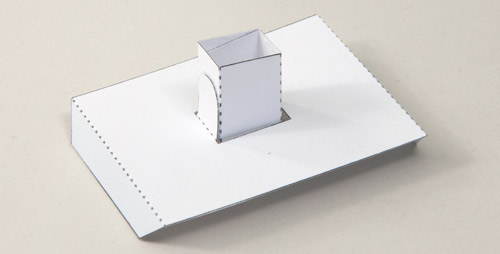
Glue together the slider tube and glue it into place in the box top.
Glue the two box side together then glue one side of the box lid into place as shown above.
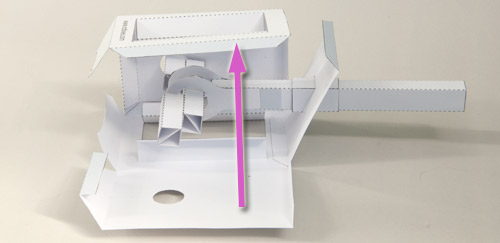
Thread the push rod up through the slider tube. Roll the box round the crank whilst threading the crank ends through the holes in the side of the box.
Close the box up and glue don the lid.
Glue the base flaps into place.
Glue the stiffeners down.
Glue on the handle to complete the model. This is your starting point for your own designs. Check out the crank slider mechanisms page for more ideas and information.
