
robives.com is made possible entirely by the members and shopper on the site. Thank you to everyone who has signed up, bought downloads or made a donation, I couldn't do this without you!
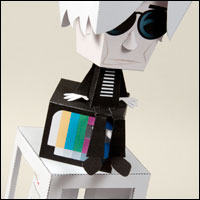
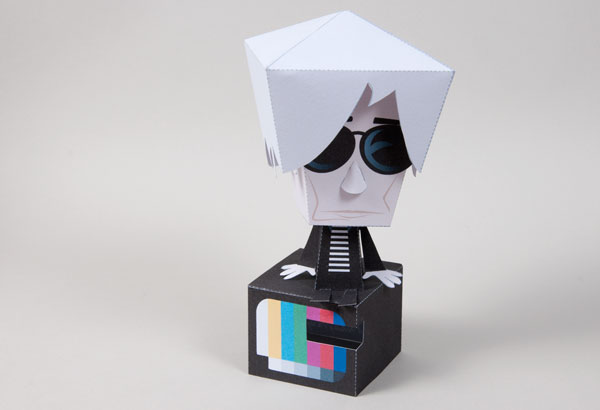
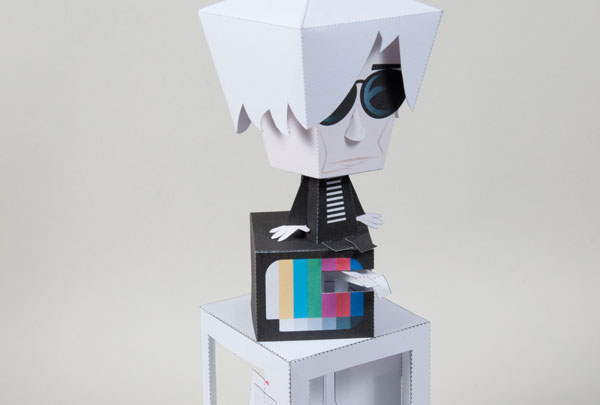
Paper Pop, an animated version of Matt Hawkin's paper toy is now available for everyone to download for free. The model is driven by a coin weighted pendulum. Touch the box and Andy's head sways side to side and his legs swing back and forth. You can see Matt's original model and posts about the model's development at these links.
The model comes on six pages. Print the first page onto standard printer paper (80 gsm) The remaining pages should be printed onto thin card. (230 gsm / 230 micron)
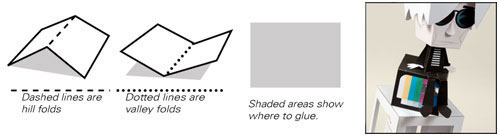
Score along the dotted lines and cut out the holes before cutting out the parts. Both these jobs are easier on whole sheets of card. Dotted lines are valley folds, dashed lines are hill folds. Solid lines show where to cut.

Notice that I've cut round the edges of the glasses with a sharp knife so that they pop out from the side of the head. Fold round and glue together the head.
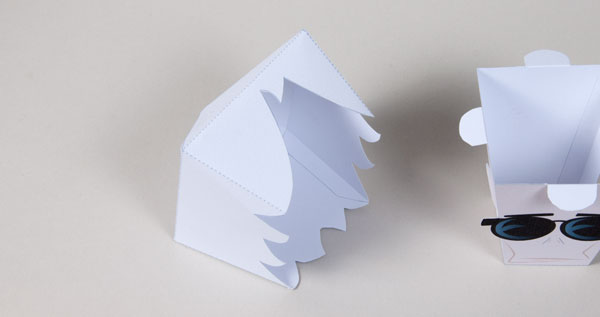
Glue together the two parts that make up the hair.
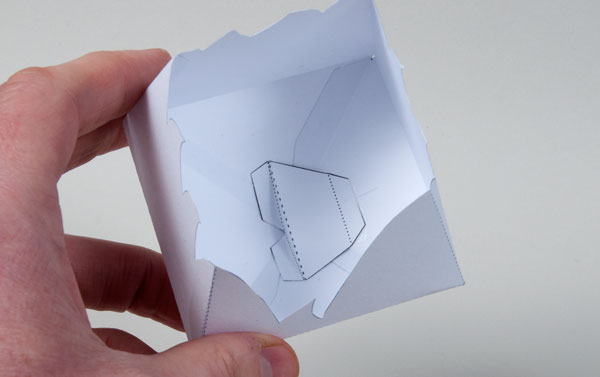
Glue the head fixing point into the head so that the triangular face is vertical and running front to back across the centre of the hair piece.
Glue the paper hinge to the top of the neck, make sure that you don't get glue on the crease as this will stiffen it up once the glue has dried.
Glue the hinge to the head fixing point. Let the glue dry completely before the next step.
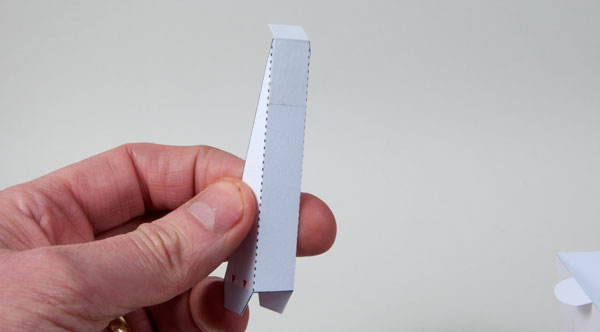
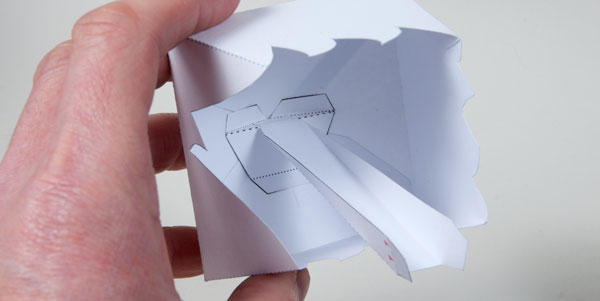
Assemble the body as shown.

Glue the neck to the body. Use the grey areas and the small red triangles to make sure that the neck is lined up accurately with the body.
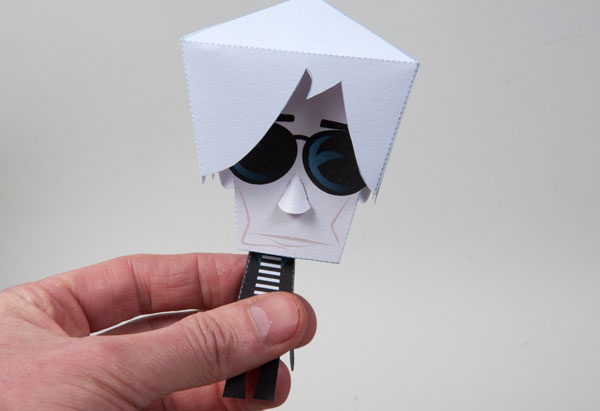
Fit the head to the hair with the four tabs. Clip the nose into place.
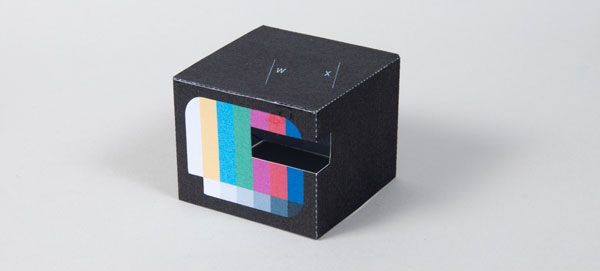
Fold round and glue together the box.
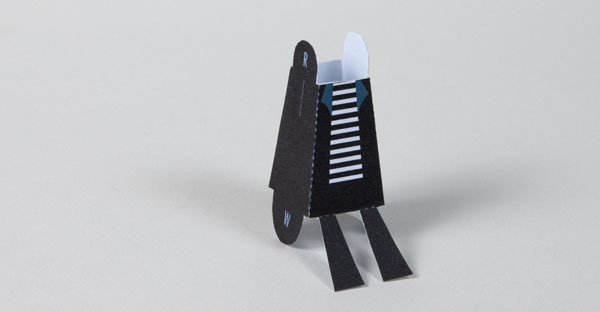
Slot the body onto the top of the box. Glue the two leg stumps down onto the box.
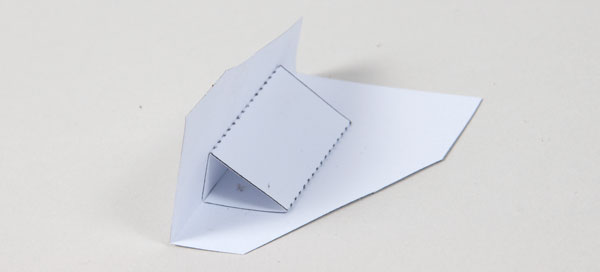
Fold round and glue down the tabs on the bottom of the box front and box back to make a triangular section tube.
Glue together the box front and box back. Take care to ensure that the parts are accurately lined up.
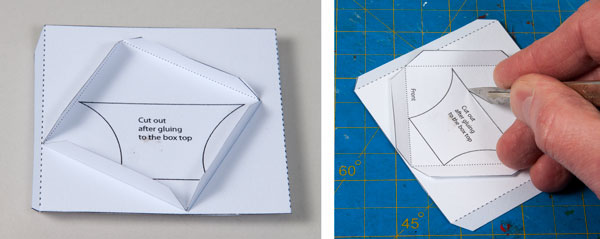
Glue the box tabs within the square on the box top. Make sure that you line up the two 'fronts'.
Once the glue is dry, cut out the odd shaped in the box top with a sharp knife.
Glue the box top into place, again making sure that the 'fronts' are lined up. Fold the two base flaps round and glue them into place.
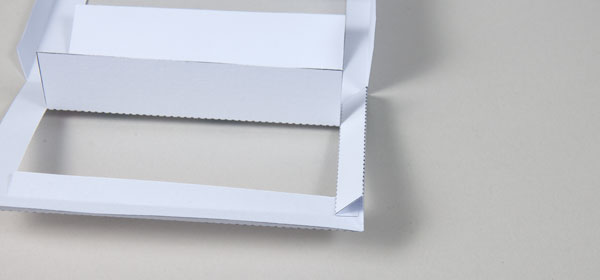
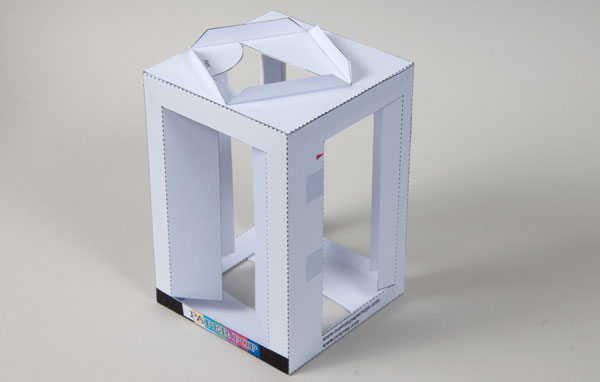
Fold the four pairs for vertical flaps on the box sides inward and glue them down to make four triangular tubes. (Not yet done in the picture above.)
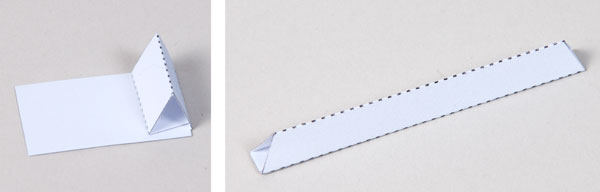
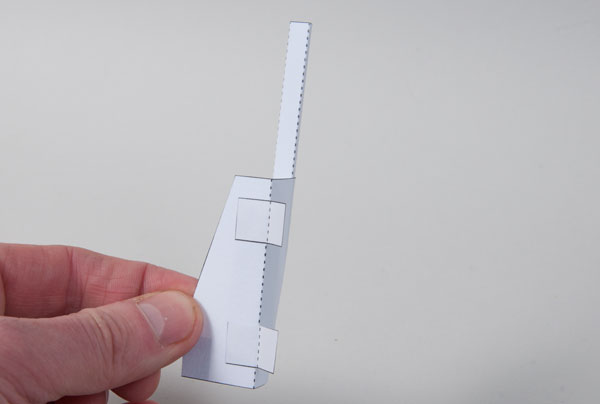
Fold round and glue together the box top stiffener and pendulum hanger.
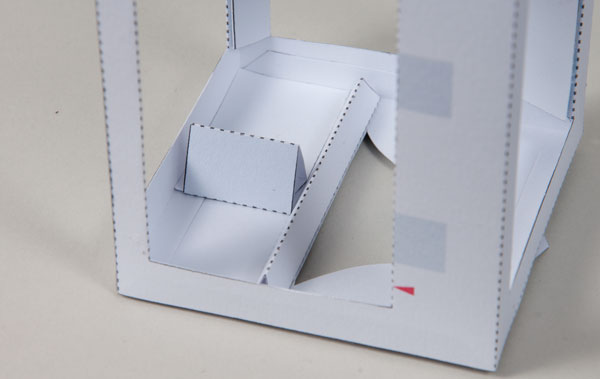
Fit the pendulum hanger first. Note that the large rectangular base is used for alignment by fitting it right into the back corner of the box. Notice that there is a small gap between the triangular piece and the box back.
Glue the box top stiffener across the underside of the box. This will keep the box top level when the weight to the coins is added to the pendulum.
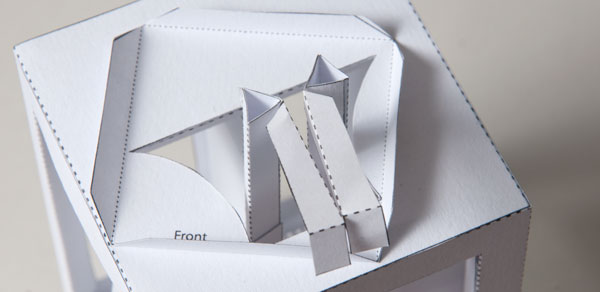
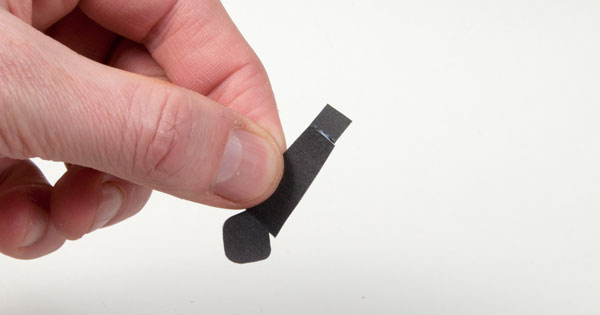
Assemble the two bell cranks as shown above. Don't worry, they are not supposed to be at right angles.
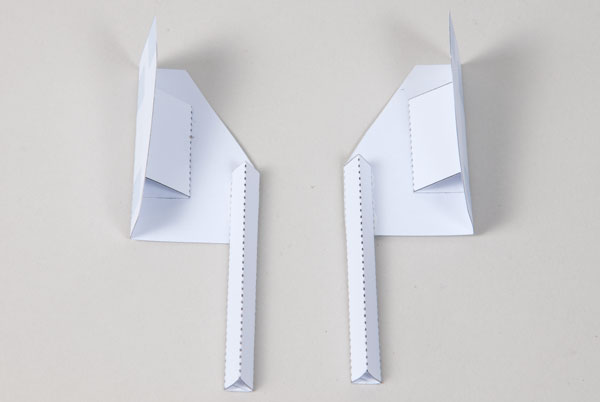
Fit the drive pins to the long sides of the bell cranks as shown.
Glue on the paper hinges. Again, make sure that you don't get glue on the crease line. Notice that there is a half millimetre gap between the crease line and the edge of the bell crank.
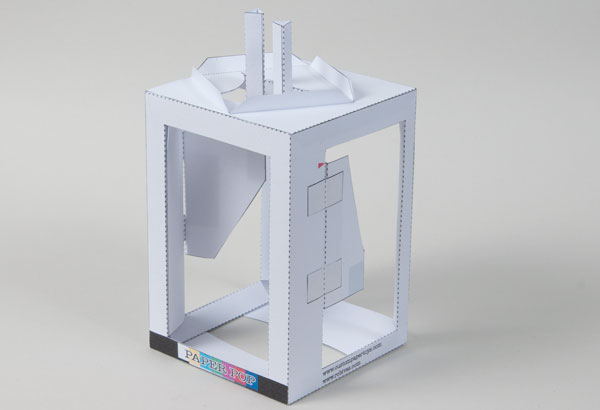
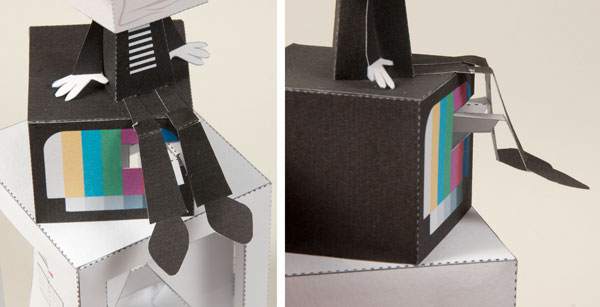
Fit the two bell cranks into place in the box. Use the grey areas and small red arrow to make sure that alignment is accurate.
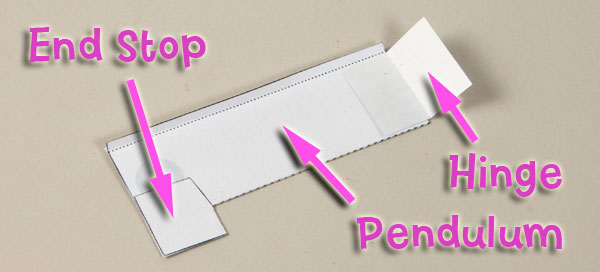
Assemble the pendulum as shown above. I don't need to mention about not getting glue on the hinge crease right?

Glue the pendulum to the pendulum hanger.

Fold the linkage in half and glue it together.
Glue the paper hinges into place. Glue on the crease? No.
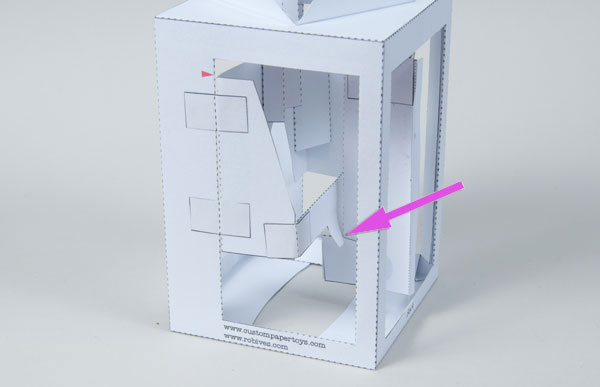
Fit the linkage between to two bell cranks. The notch in the linkage should just rest on the pendulum end stop (arrowed). As you move the linkage back and forth the drive pins should move alternately back and forth.
Glue the paper linkages to the drive pins.
Fit Andy to the top of the box with the drive linkages threaded through the hole in his tv box.
Glue paper knee hinges to the top of the legs. (Glue. Creases. Don't)
Fit the lower legs to Andy's leg stumps. That's better!
Glue the linkages to the back of the legs. As you do so make sure that the linkages are not going to catch on the top or bottom of the tv box hole and that the legs aren't going to snag each other.
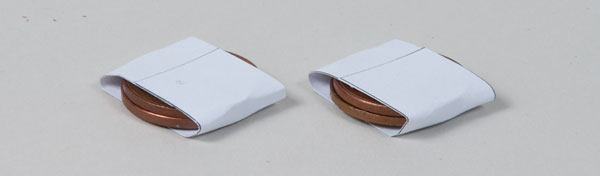
Take four coins. (I use UK 2p pieces, 25mm diameter 7grams each) Wrap them tightly in pairs with the coin holders.
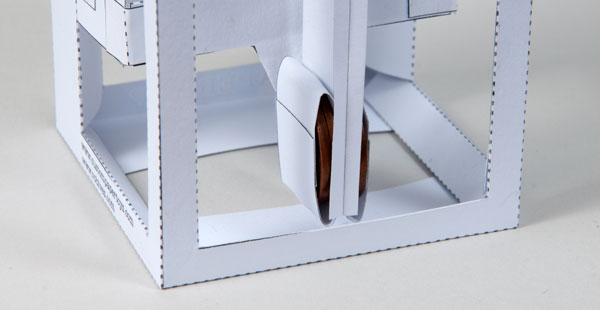
Glue the coins to the pendulum. Make sure that the coins aren't going to catch anywhere on the box or the mechanism.
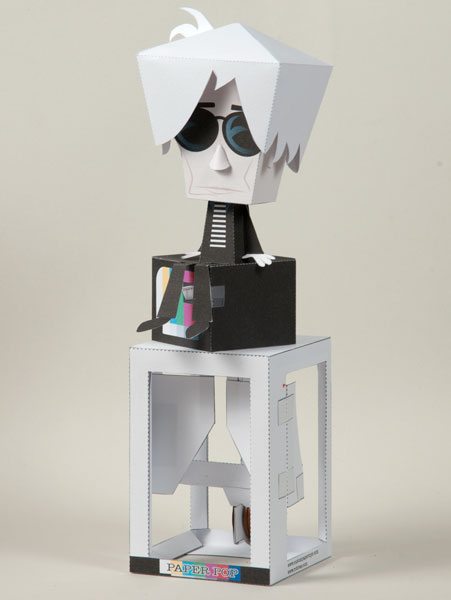 That's it. Once the glue is dry whenever you touch the box Andy's head will sway and his legs will swing.
Make your Paper Pop model now. What are you waiting for!? Your fifteen minutes of fame awaits!
Thanks to Matt Hawkins for allowing me to modify his splendid model.
