
Final stages of the Paper Iris design process…
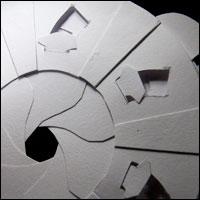
There are seven vanes which make up the iris. That is a fair amount of card all of which needs to be free to move easily.
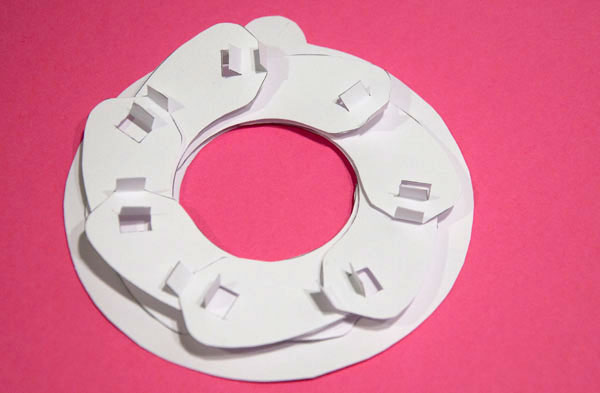
Here the vanes are fitted into place between a front and back cover. Added to this will be a further front cover and back cover used to hide the joints.
With everything in place and the edges of the whole unit joined together with small strip there is a tendency for the edges to pinch down and the centre to bow out. This causes the vanes to stick when the iris is fully open.
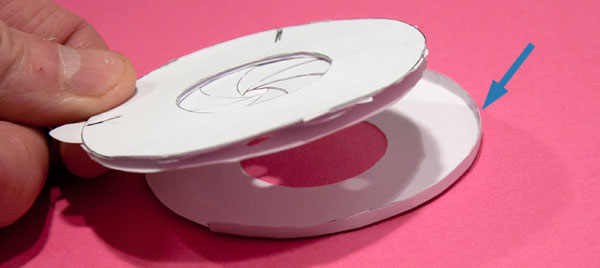
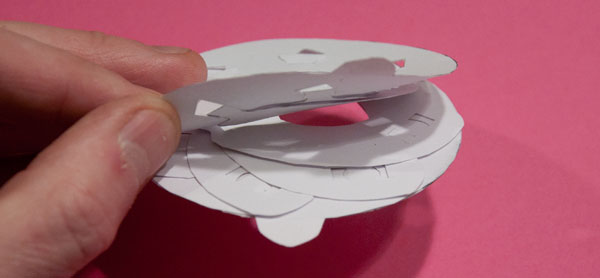
My first solution was to give the edge depth by adding a small 'wall' round the edge of one of the covers. This worked but in the end I decided against it. I'm never really happy with curved surfaces that need lots of fiddly tabs to join them together.
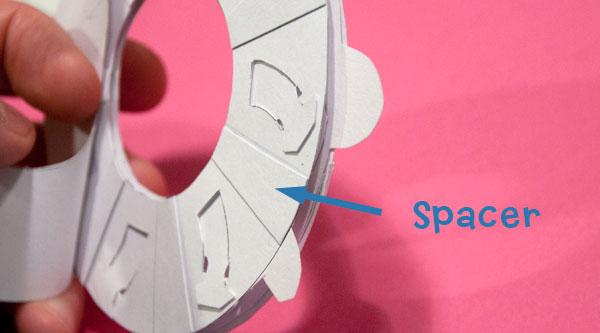
In the end I settled on adding double thickness spacers front and back placed between the moving parts. This ensures that there is clearance for the parts to move and keeps everything nice and flat.
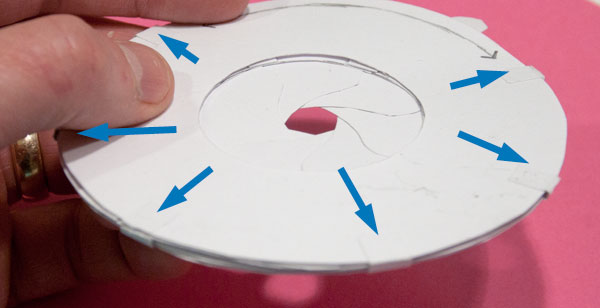
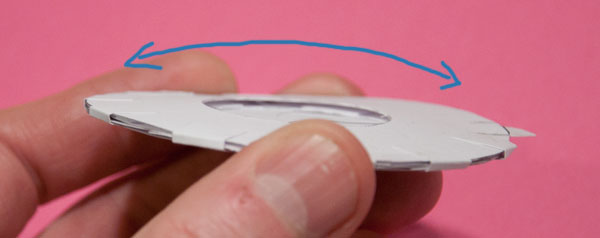
I've then added the front and back covers and joined them together with paper strips, attached so that they line up with the spacers. The result, a lovely fluid motion as the iris opens and closes.
