Monthly Memberships
Monthly Membership Following chats with several prospective members I’ve decided
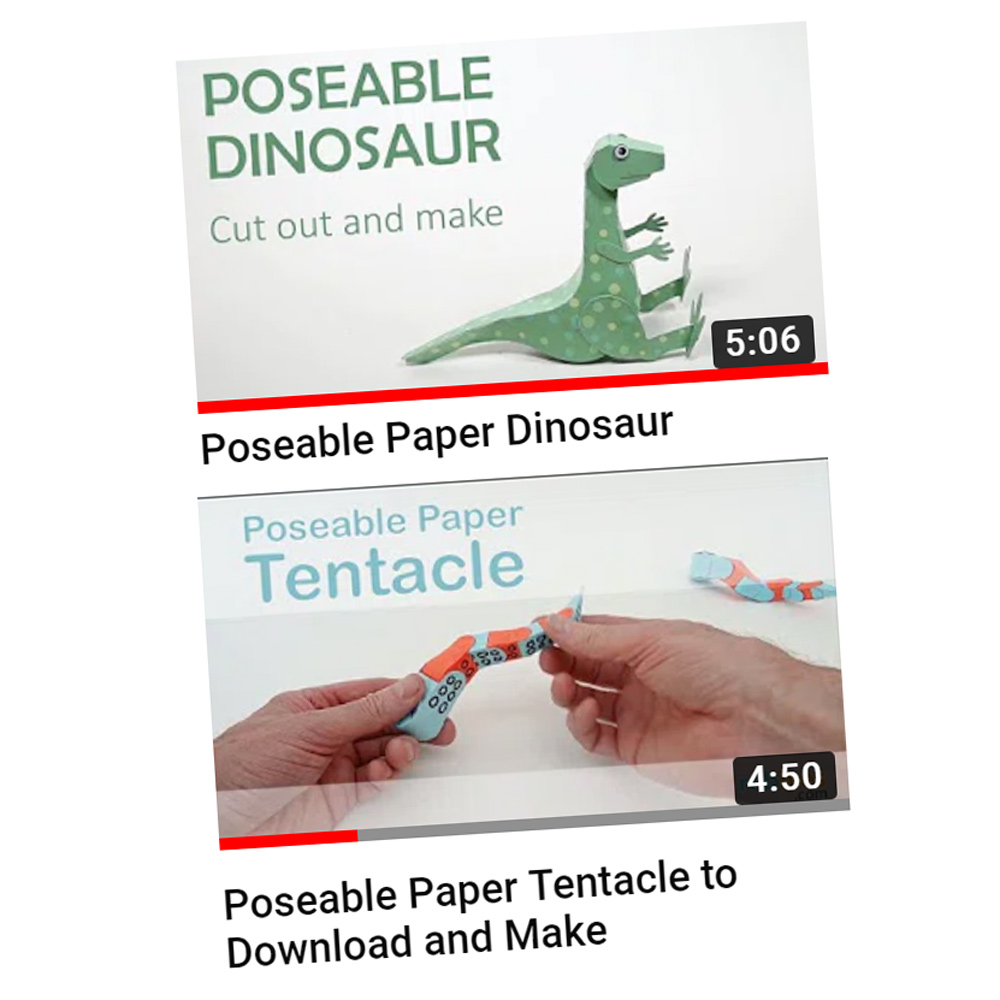

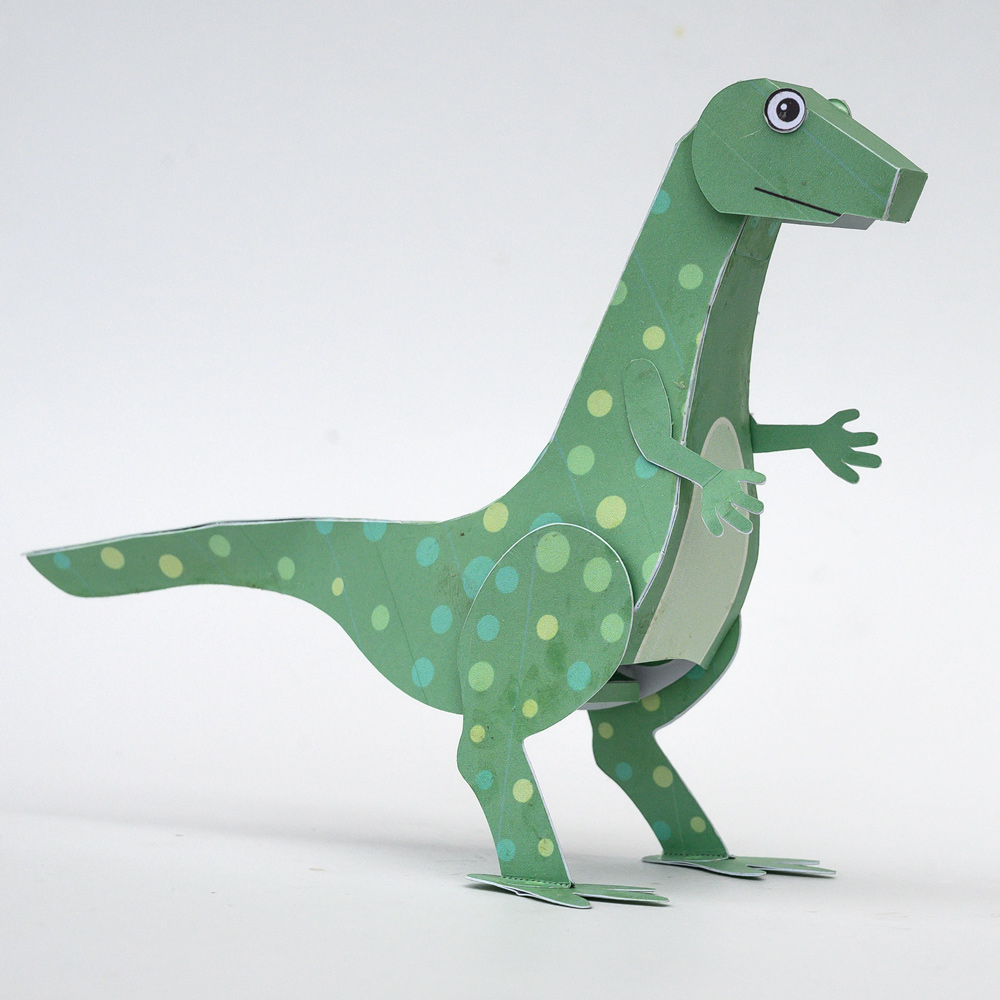
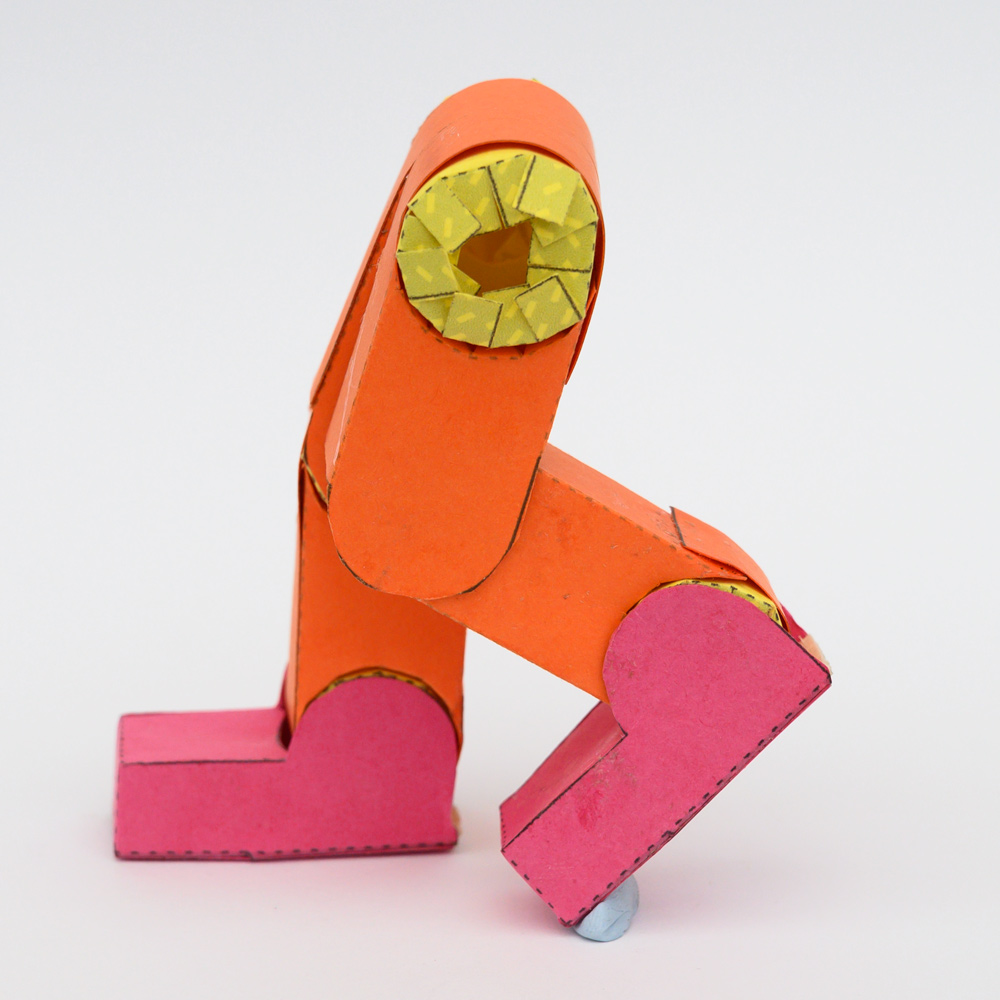
Paper Cutters and a Poseable Dinosaur
I’ve been experimenting with the Silhouette Cameo 3 as a

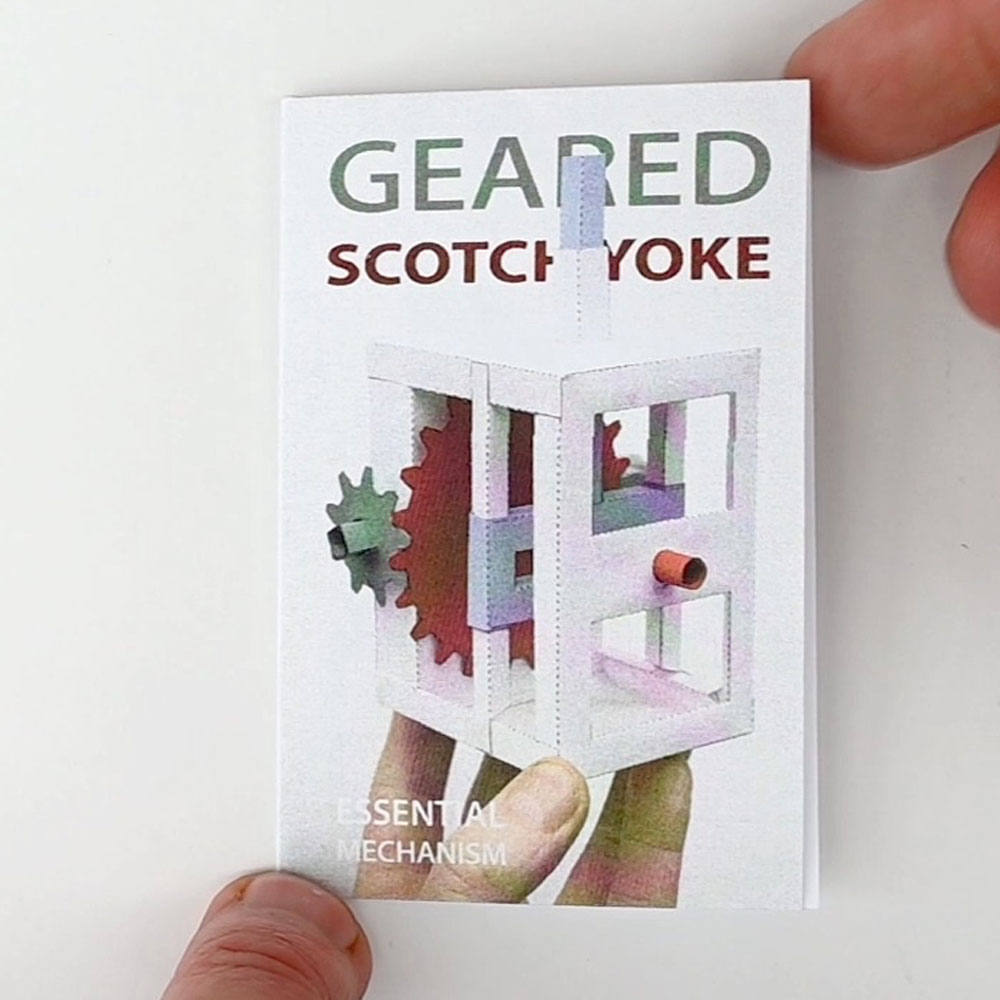
Paper Animals in Action! Book for Pre-Order
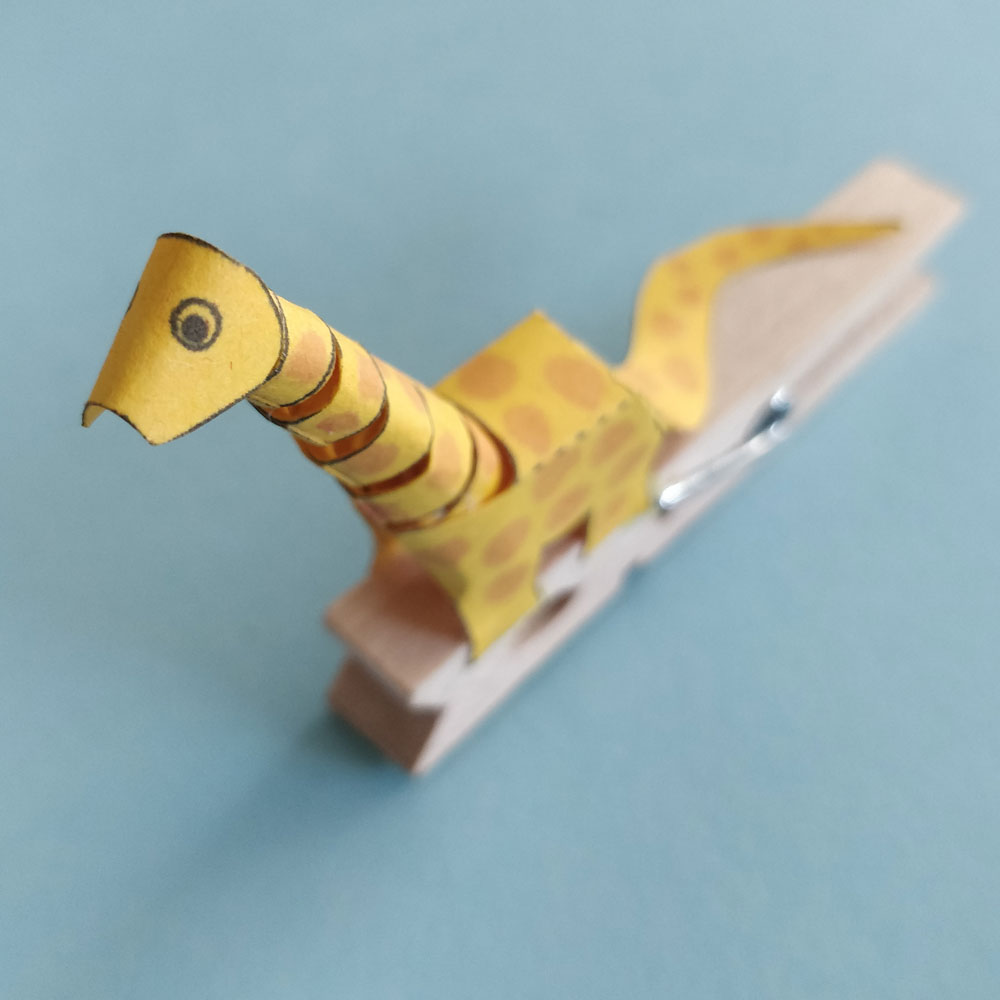
My forthcoming book “Paper Animals in Action!: Clothespins Make the