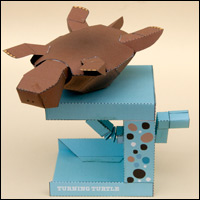
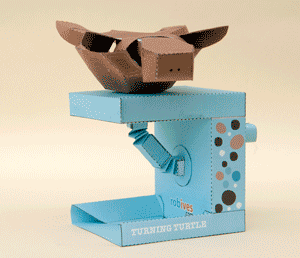
 Turn the handle and, through the magic of the flexible drive shaft, the hapless tortoise spins on her shell. Think of her as a break dancing turtle if you prefer to think happy thoughts.
Members can download the parts for free at the link. Non members can buy the parts for for £2.50. Have fun!
There are three parts sheets for this project. Print out either the colour or mono sheets as you choose. Note that the last colour sheet has colour printed on both sides. Print out one side, flip the paper over and return it to the printer to print out the other side on the back.
Print the parts onto thin card. (230 micron / 67 lb) Score the dotted lines and cut out the holes before carefully cutting out the pieces.
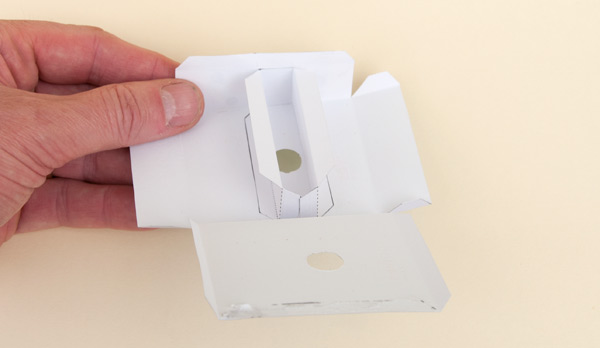
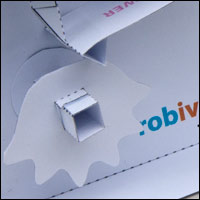
Fit the box strengtheners inside the box, use the picture in the next frame to help show where the box stiffener goes. It should be near the hole but not touching it.
Complete the box as shown
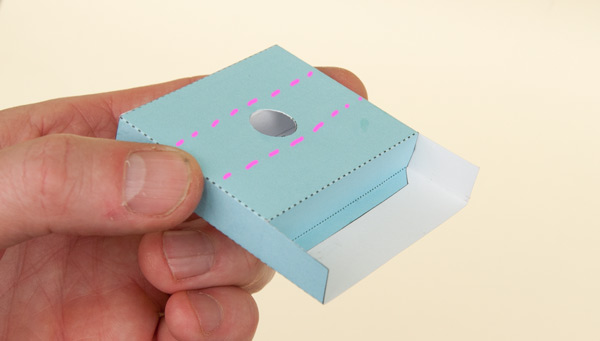
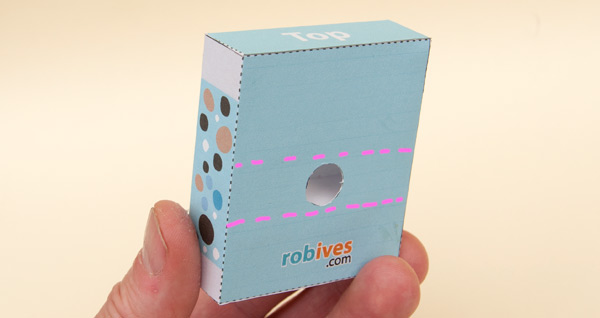
Repeat the process with the box top. The dotted line on the picture shows where the box stiffener sits. Notice that this part has a recessed area.
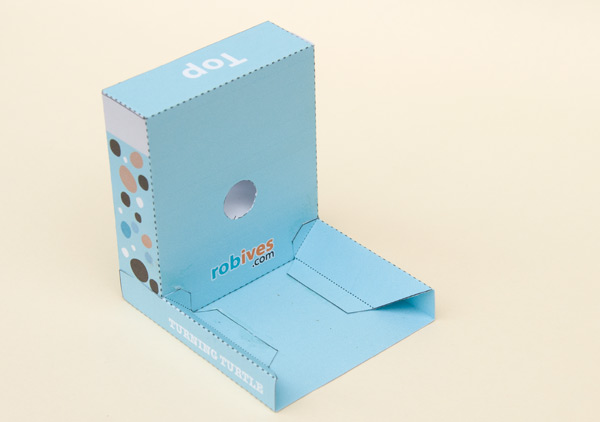
Fit the base to the box. Stand the box on a flat surface and make sure that the parts are at right angles to each other before the glue dries.
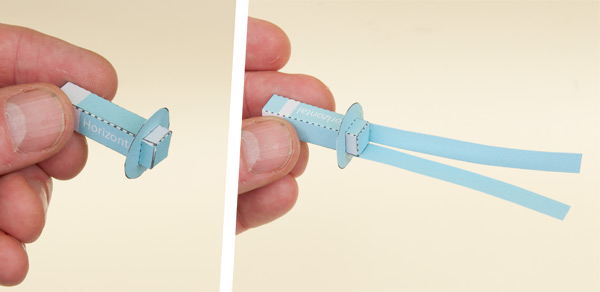
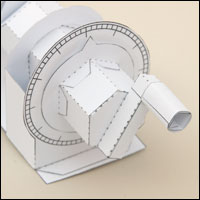
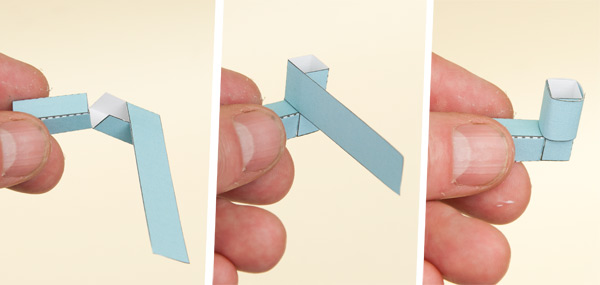
Assemble the two drive shaft ends in the same way. Glue a washer into place as shown. Glue two of the zig zag pieces to adjacent faces on the drive shaft as shown.
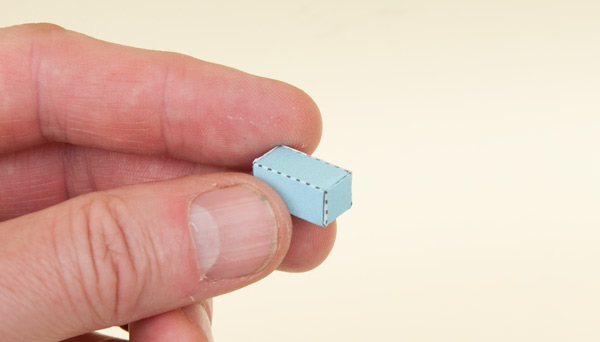
Assemble the cuboid that is the drive shaft joiner.
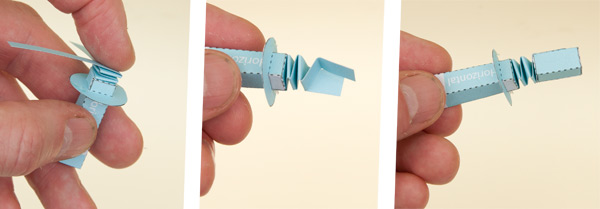
Fold the zig zag pieces over each other alternately so that each piece is folded four times.
Fold up the ends of the zig zag pieces at ninety degrees and trim them off to approx. one centimeter long.
Glue the ends to the drive shaft centre piece.
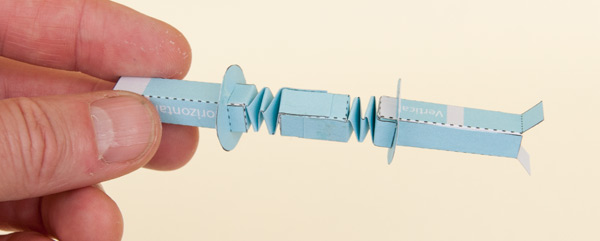
Repeat the process with the other drive shaft to make this three section flexible drive.

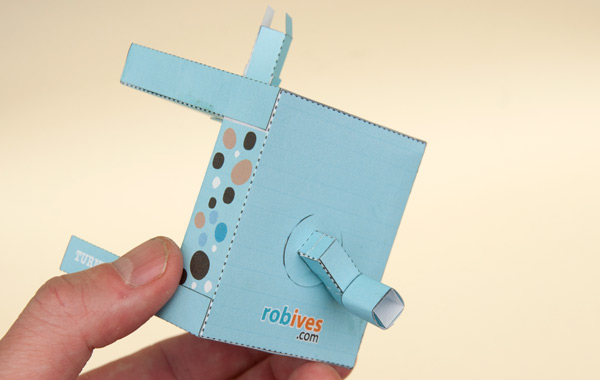
Fit the shaft marked ‘Horizontal’ into the main body of the box as shown. Fit a second washer to hold it into place.
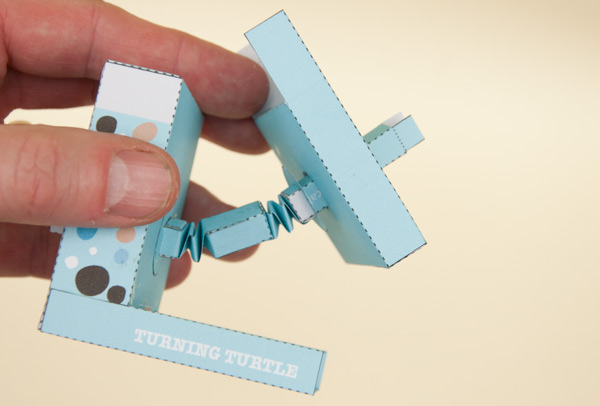
Repeat the process with the other end of the shaft.
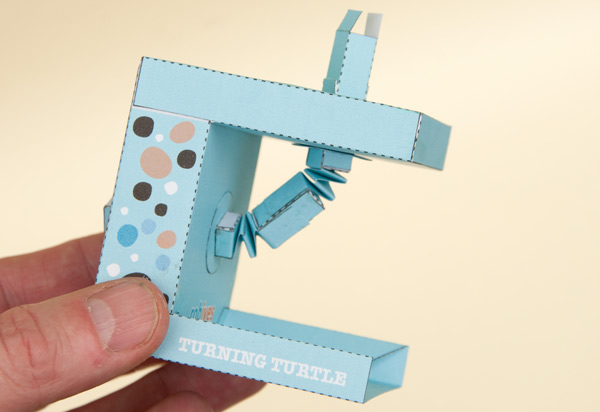
Glue the top of the box into place, make sure that it is square before the glue dries.
Assemble the handle in three steps.
Fold up and glue together the two box sections.
Glue one box section into the other at ninety degrees.
Roll round the long tab and glue it down.
Glue the handle into place on the box. You now have a completed mechanism which you could use as the starting point for your own projects. A spinning helicopter, a dancing couple a break dancing dude…
Carry on from here to add the spinning tortoise.
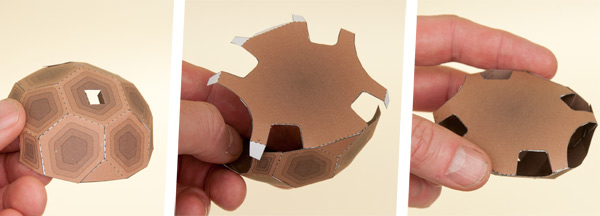
Assemble the two parts of the shell.
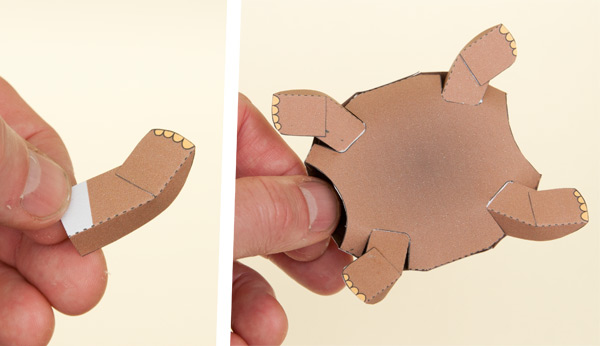
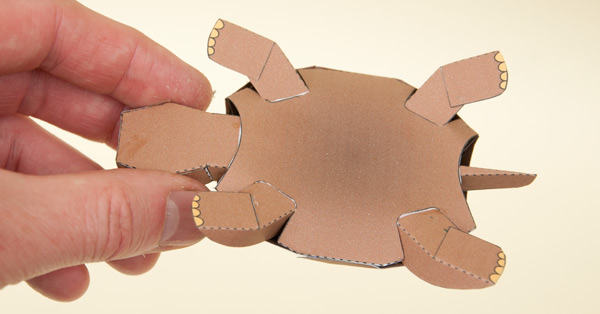
Fold up the legs and glue them at an angle using the grey area as a guide.
Glue the four legs into the body.
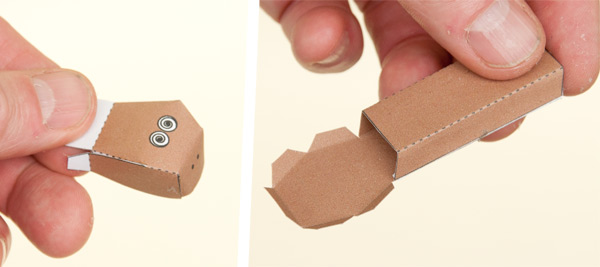
Assemble the head and the neck parts.
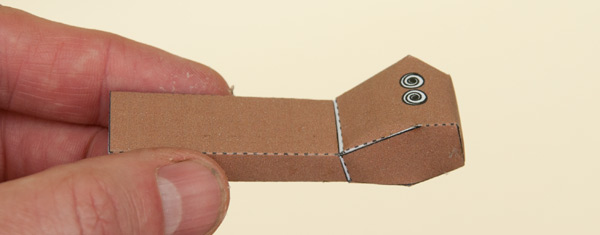
Glue the head to the neck.
Fit the head and tail into the body and glue them down. A chop stick is a useful aid in this job.
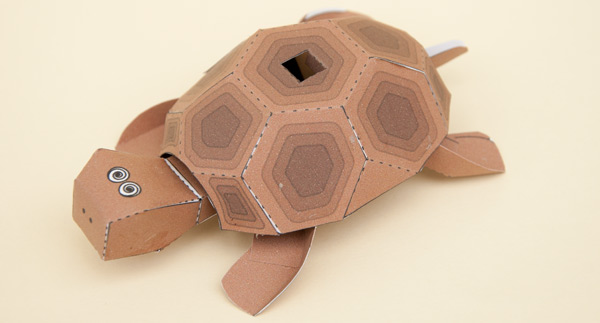
The completed tortoise. Wrong way up.
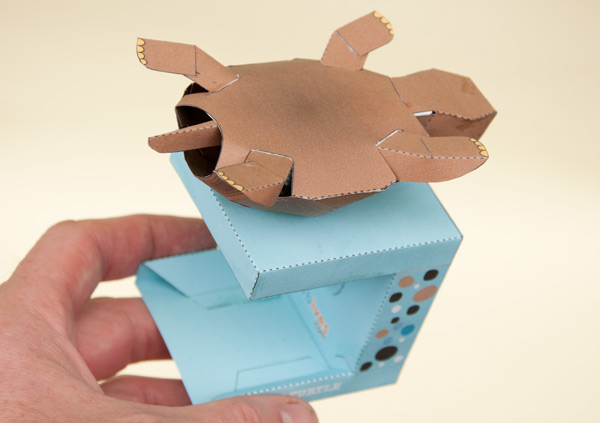
Complete the model by fitting the tortoise to the box. Turn the handle and watch her spin!