“Bell Crank” has been added to your cart. View cart
£5.00
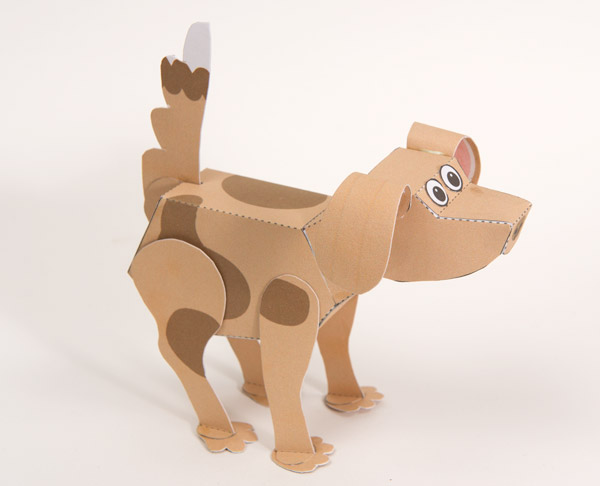
Poseable Dog
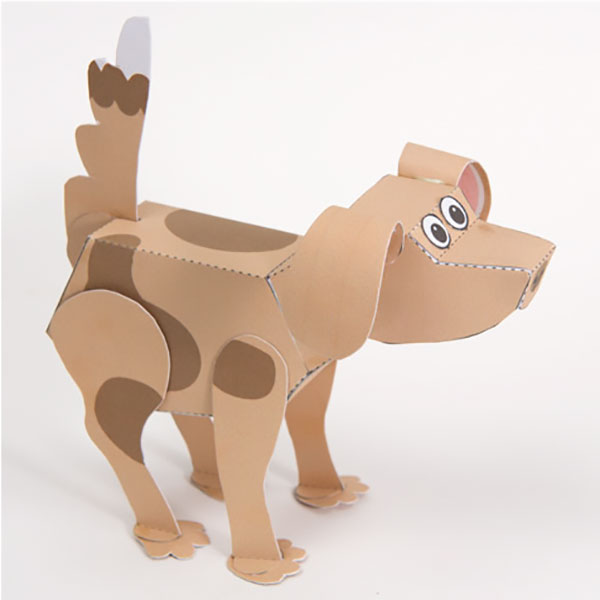
A Poseable Dog to download, print-out ad make. This delightful canine has movable legs, head and tail, the perfect desktop companion who never needs you to take him for a walk!
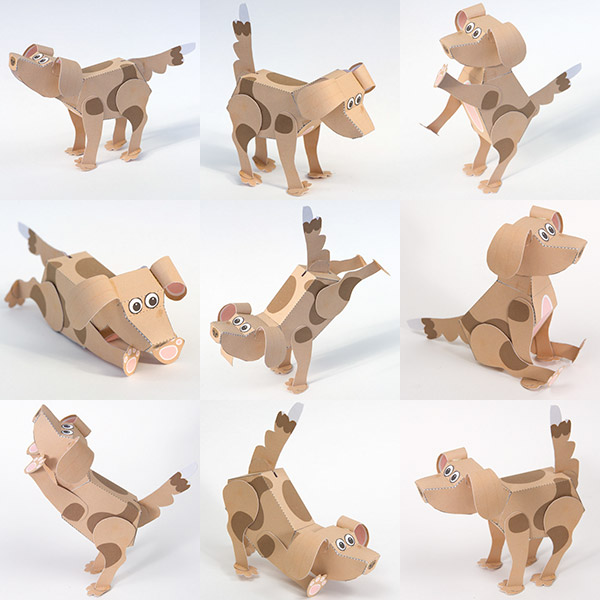
The parts file is available for members to download for free at the link. Non-members can join in the fun for £2.50.
Print out the parts sheet onto thin card (230gsm / 67lb). Score along the dotted and dashed lines and cut out the holes before carefully cutting out the pieces.

The tail, legs and paws are all made from double thickness card. Fold over the pieces and glue them down. Make sure that the small tabs on the legs are lifted up and not glued.
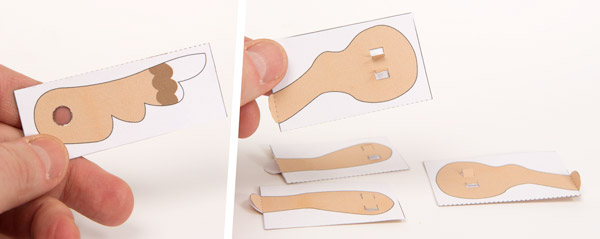
Once the glue is dry carefully cut out the pieces.
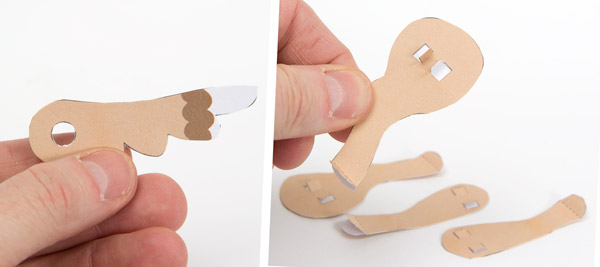
Thread the tabbed tail piece through the hole in the tail and fold the tabs flat on the other side.
Glue the cover to the tabs on the other side of the tail. Make sure you don’t get any glue on the tail itself, these circular pieces must be free to turn inside the tail hole.
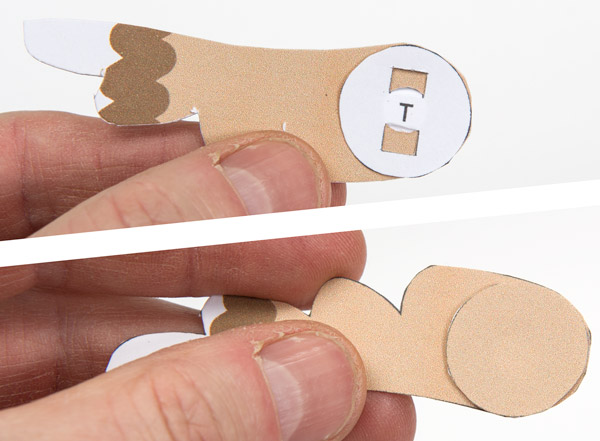
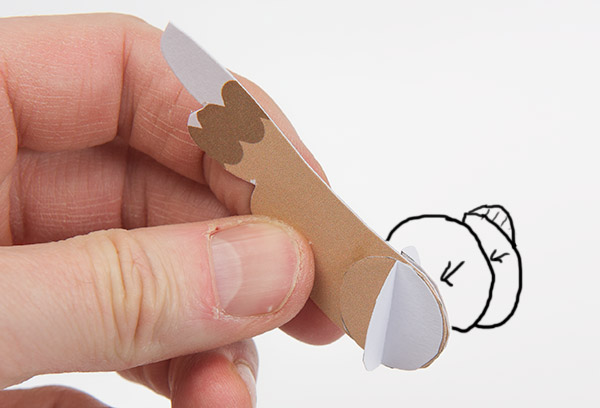
Glue the second tail cover into place on the back of the tail then glue the two creased pieces to the two covers so that they are lined up with each other.
Assemble the body as shown.
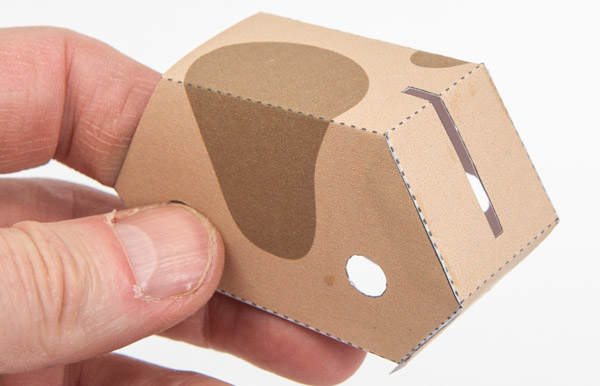
Thread the tail out of the body from the inside then glue the two semi-circular tabs to the inside of the body so that the top of the circle lines up with the crease line in the body.
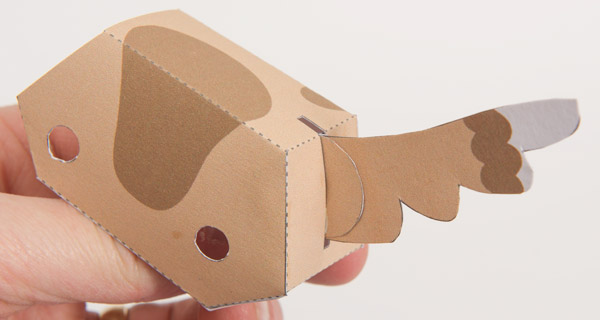
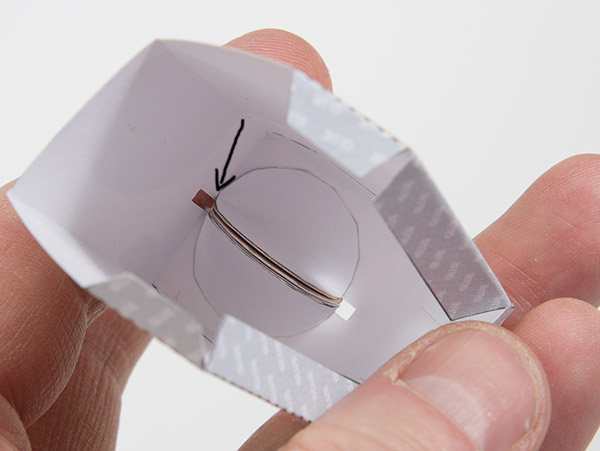
Glue the wide paws to the front legs…

…and the narrow paws to the rear legs.
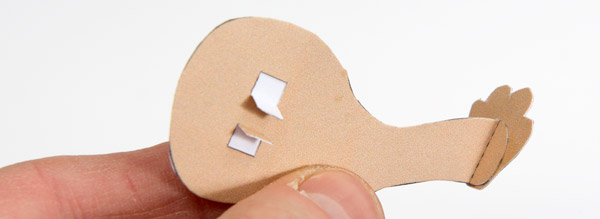
Glue the neck into place in the body, use the grey areas for alignment.
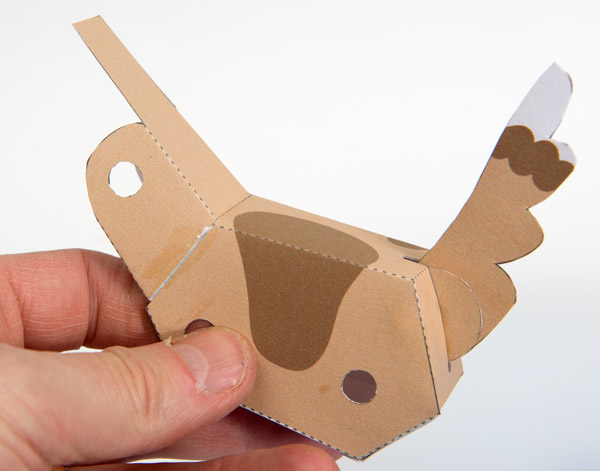
Thread the leg tabs into place through the holes in the body and fix them into place with a couple of small dots of glue on the tabs glued to the ‘L’ cover circles. The legs should be free to move.
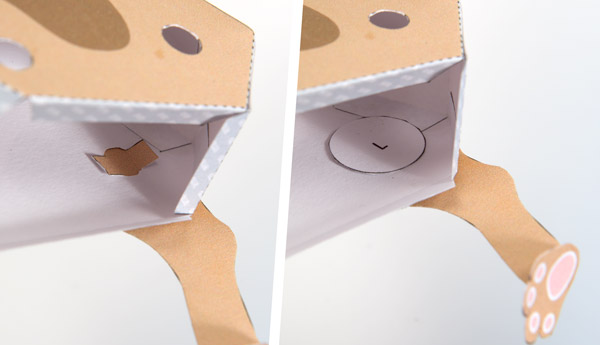
Fit the rest of the legs in the same way.
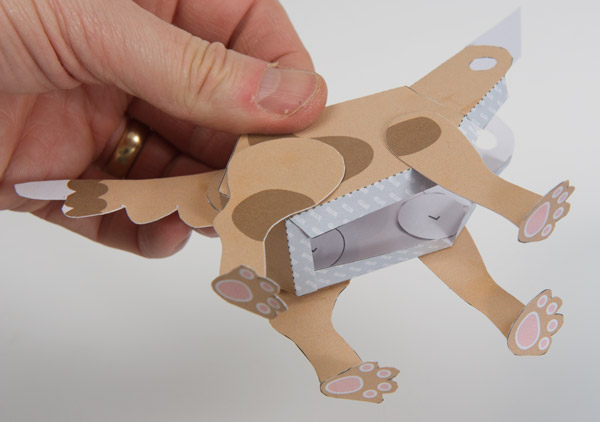
Fit the head covers into place as shown.
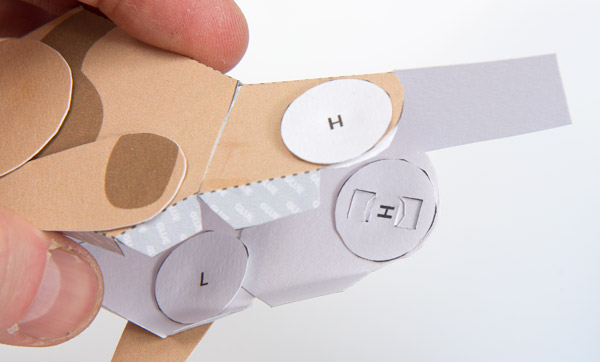
Glue the body front into position.
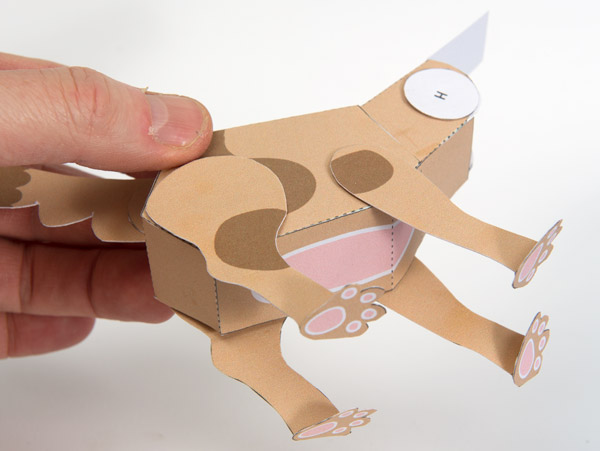
Assemble the head.
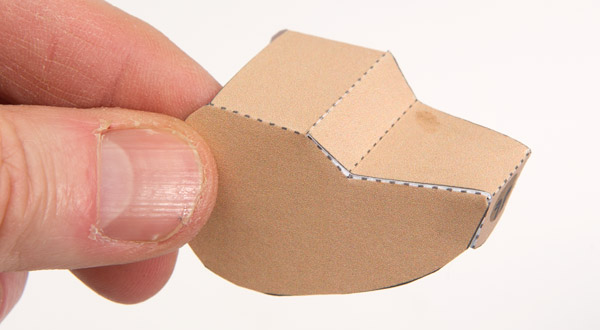
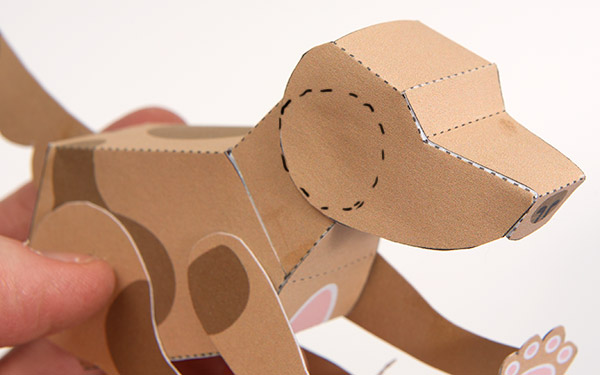
Glue the head to the head cover circles. The head should be free to nod up and down once the glue is dry.
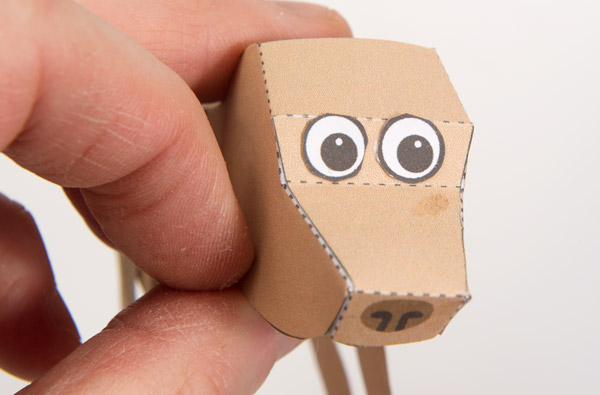
Glue on the eyes.
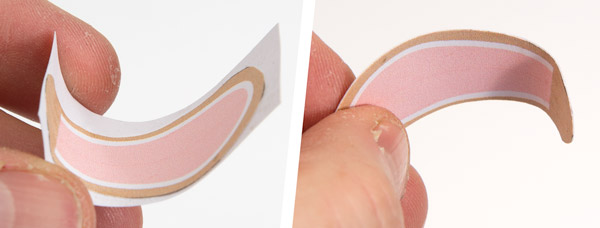
Laminate the two layers of the ears together curving them into shape before the glue dries.
Once the glue is dry cut out the ears.
Glue the two ears to the head as shown.
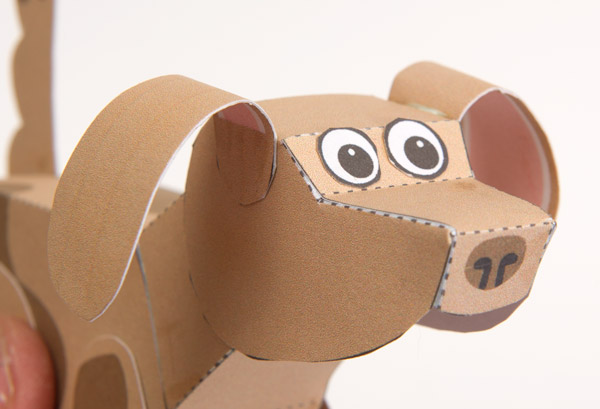
Once the glue is dry your new best friend is complete! Woof!
