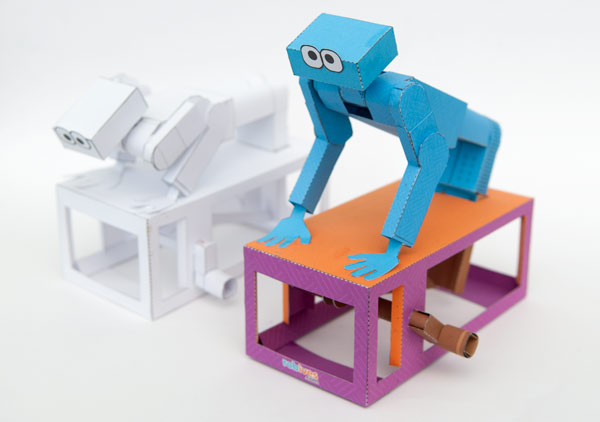
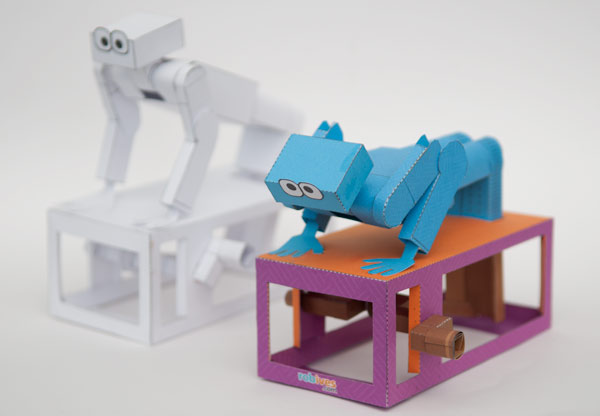
Paper Press Ups – Download and make!
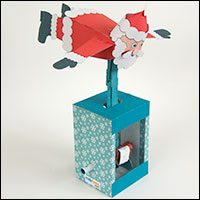
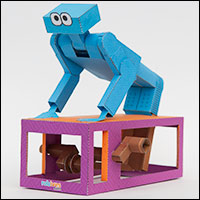
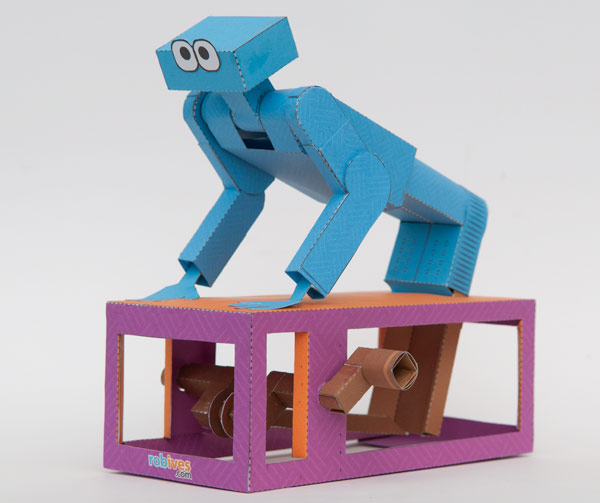
 Turn the handle on this crank powered model and the paper robot practices his press ups.
Members can download and make the parts for this model for free, thanks for signing up. Non members can download it for £2.50 at the link.
The parts are on four sheets. In the file there is a color version and a line only version. If you are printing the colour version you will need to print each sheet on both sides. Print out the parts on one side, flip the card over and return it to the printer to print the other side. Use 230gsm/67lb thin card for this model.
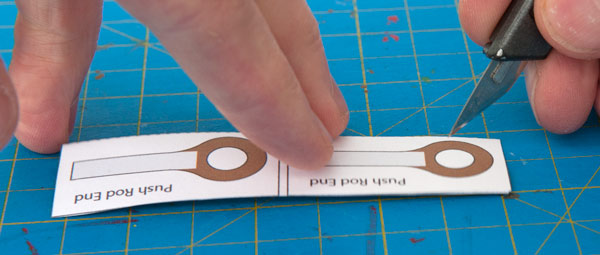
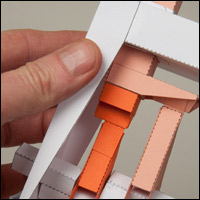
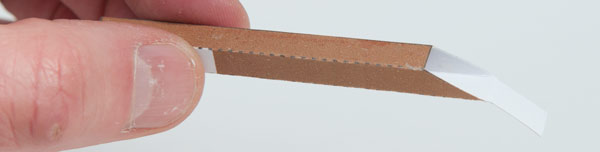
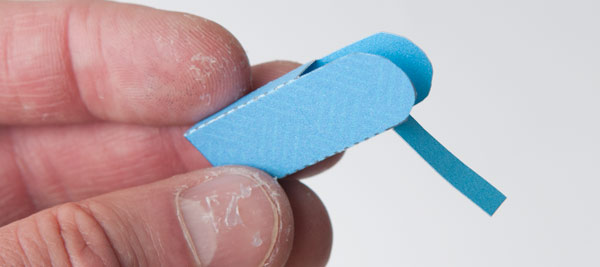
To make the push rod ends fold over the card to make double thickness card and glue it down. Once the glue is dry carefully cut out the holes.
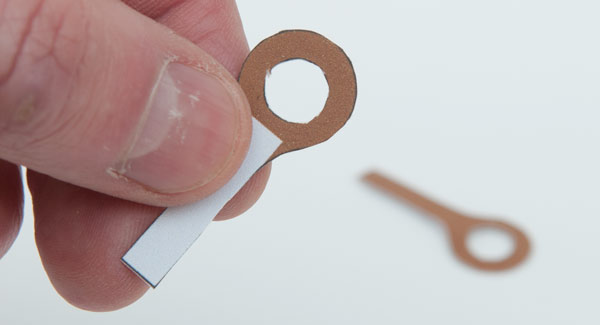
Then cut out the parts.
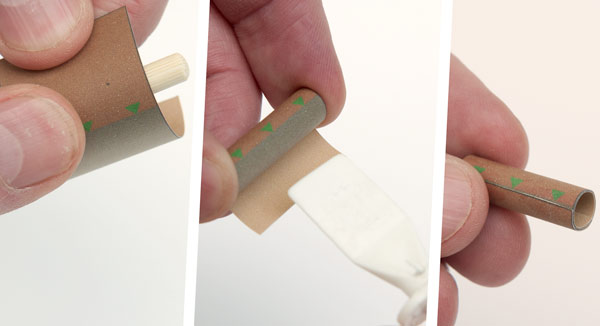
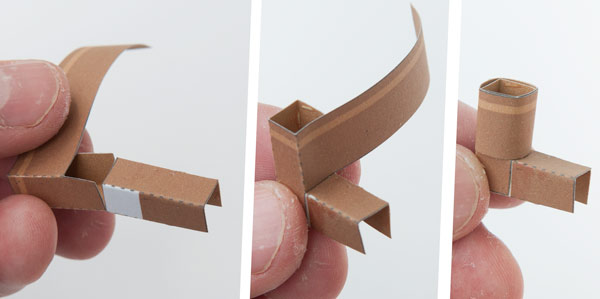
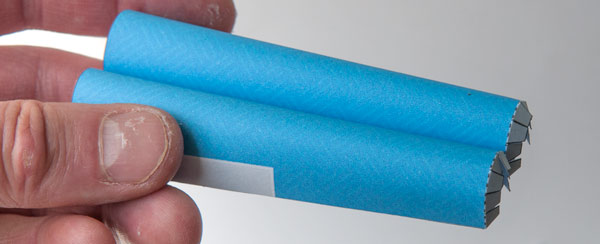
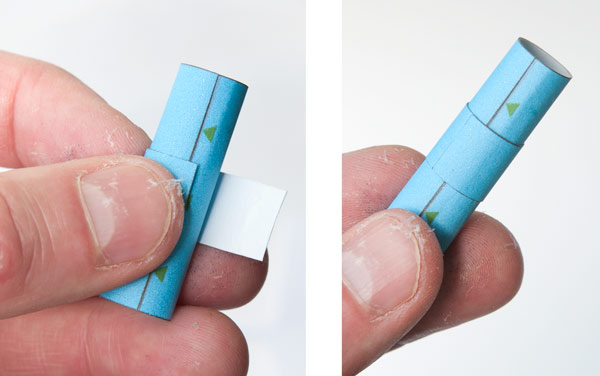
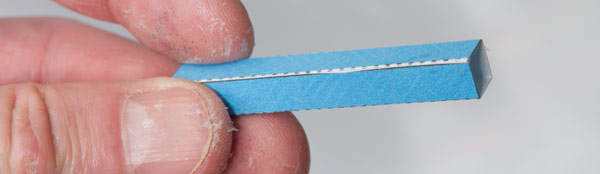
Make up the pins by rolling them round so that they end lines up exactly with the triangle arrows then glue down the ends.
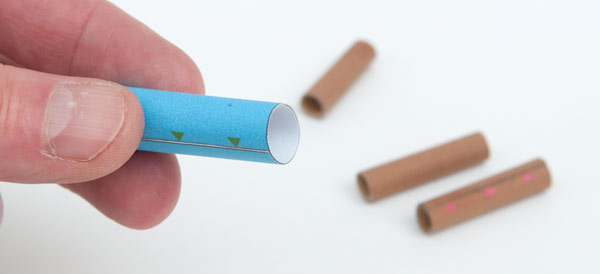
Repeat this process with the three pins and the should tube.
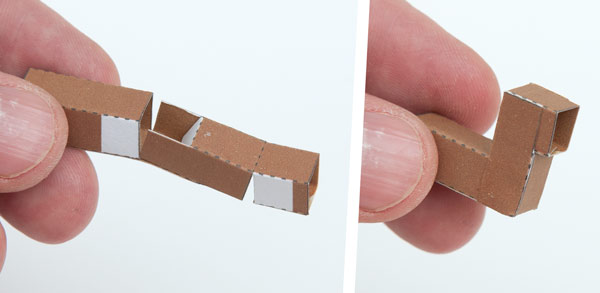
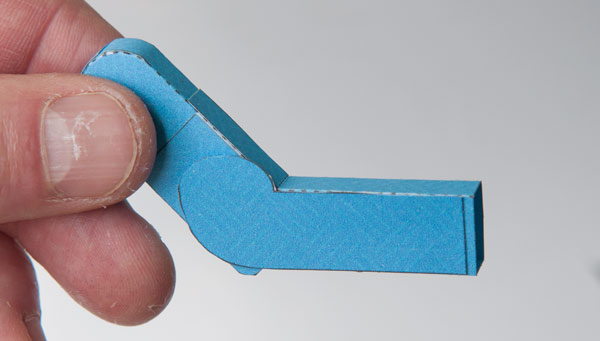
Make up the two crank offsets as shown in the picture.
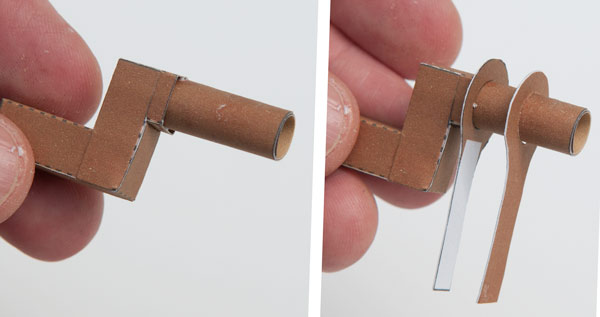
Glue the shorter pin into the short end of one of the crank offsets.
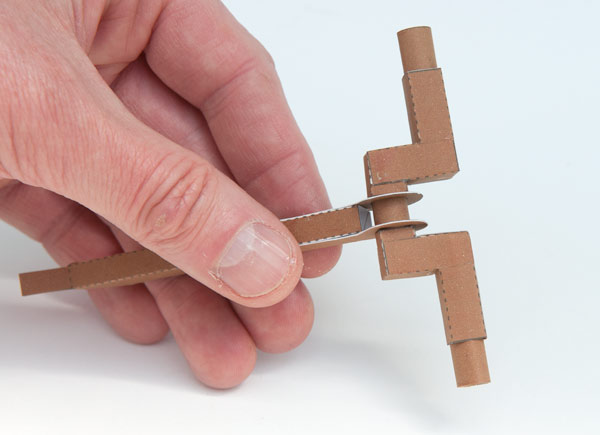
Thread the two push rod ends onto the pin.
Assemble the push rod.
Glue the push rod ends to the push rod making sure that it is kept square to the pin.
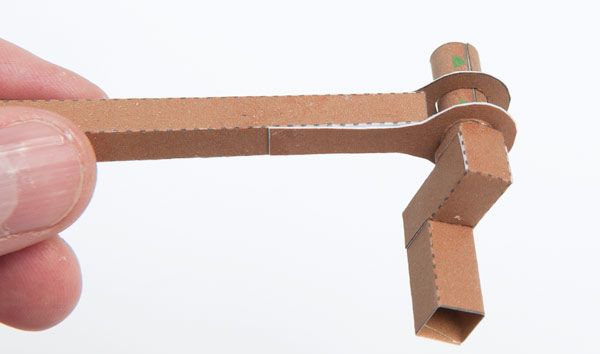
Finish off the crank assembly by gluing on he second crank offset then gluing the two longer pins into place making sure to push them completely home.
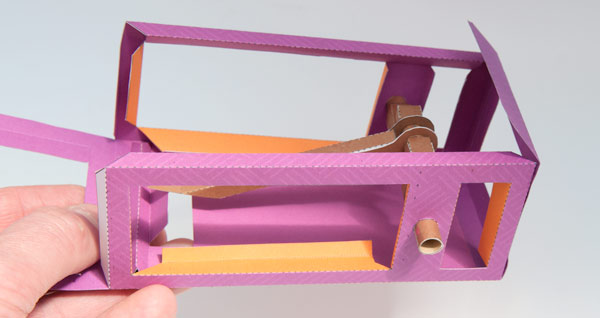
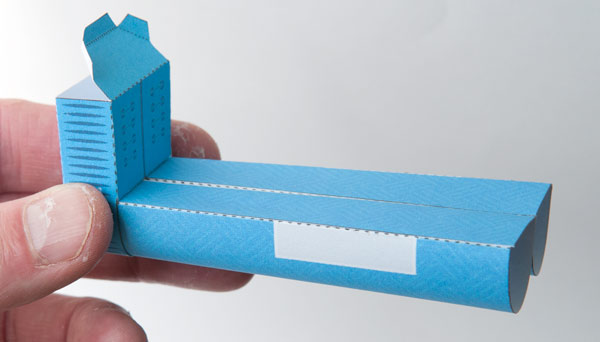
Glue up the two box sides making right angled tube sections.
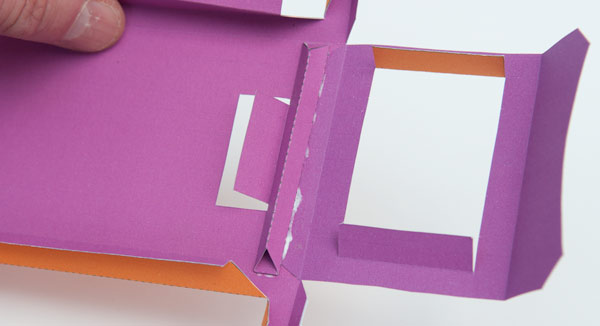
Glue in the two box ends.
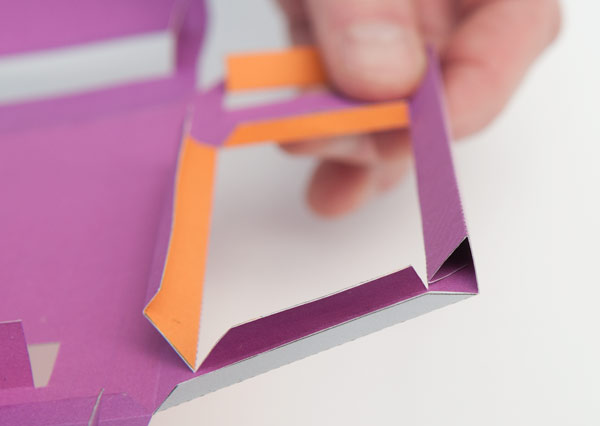
Assemble the box top stiffener triangle tube and glue it so that it just touches the hinge crease.
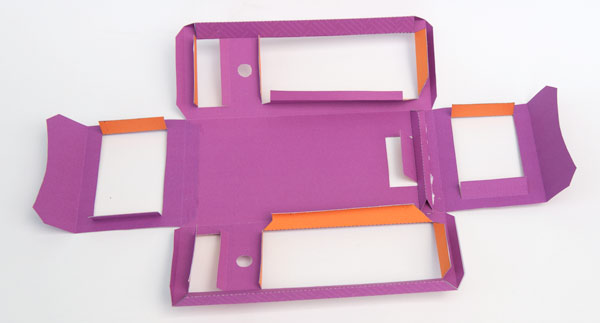
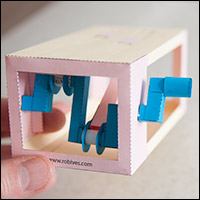
The box, ready for the next step.
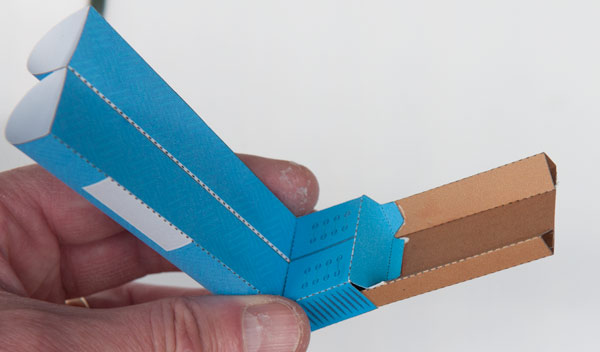
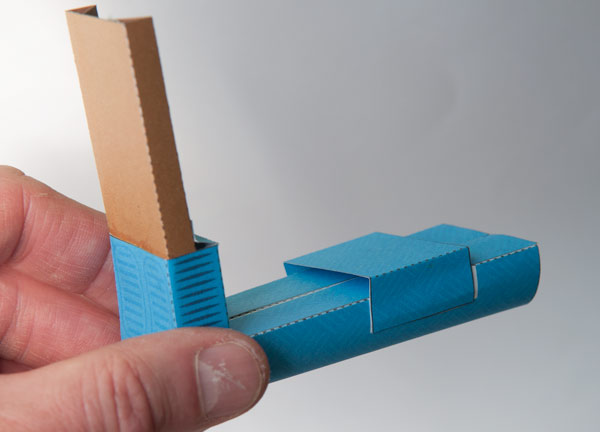
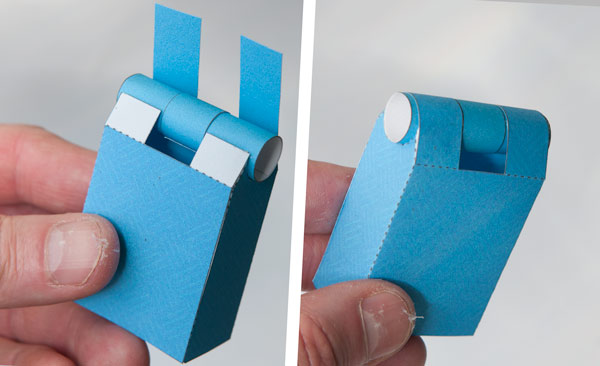
Fold up the box with the crank in place as shown.
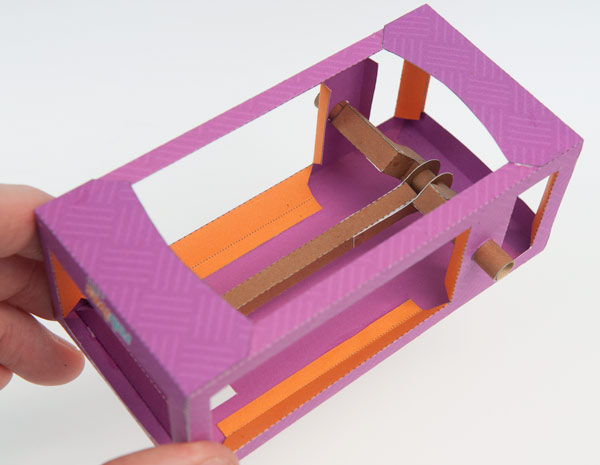
Glue down all the flaps and tabs to complete the box.
Assemble the handle as shown above.

Glue the handle to the crank shaft.
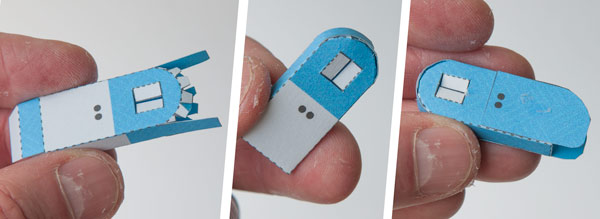
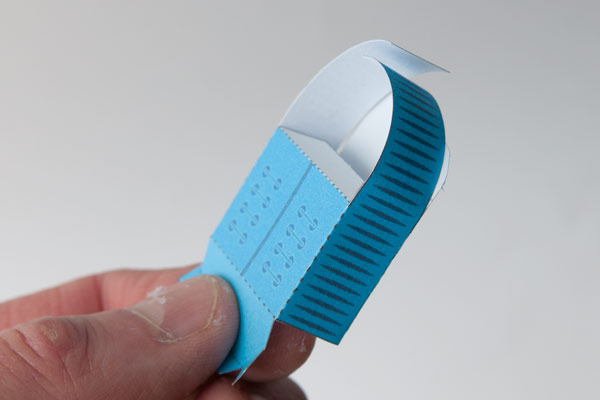
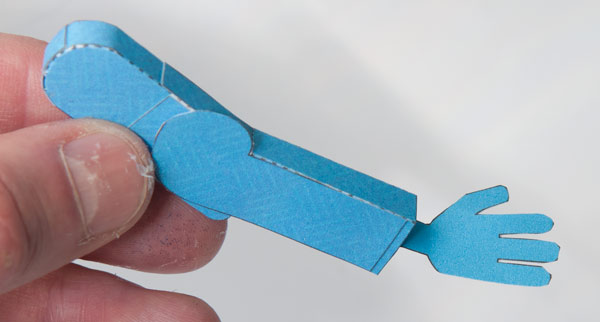
Assemble the upper and then glue the arm side covers into place, use the single and double dots to help with alignment.
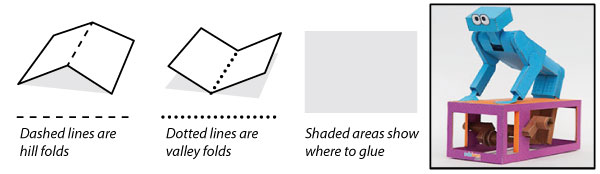
Assemble the forearms. Notice that the long tab is a valley fold.
Glue the upper and lower arms together. Glue the elbow onto the side of the arm without the square hole.
Roll round and assemble each leg. glue them together.
Assemble the feet.
Glue the feet to the leg. Glue round the long tabs into the leg.
Assemble the foot push bar and glue it into the foot.
Glue the body support to the two grey areas on the legs.
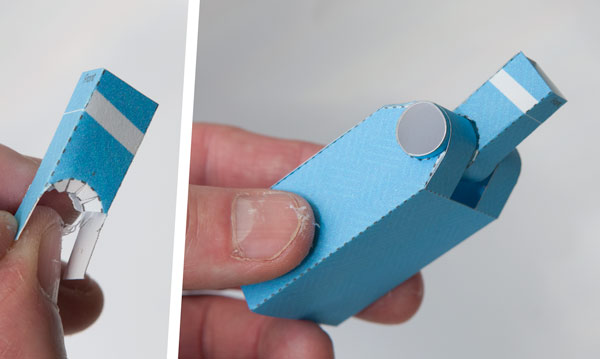
Fold the tab in the top of the box downwards into the box. Thread the foot push bar down through the hole in the top of the box and glue it to the box tab.
Glue the push rod to the end of the foot push bar.
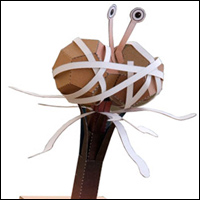
Roll the slip ring round the shoulder and glue it round onto itself so that it is a tight fit but is free to rotate.
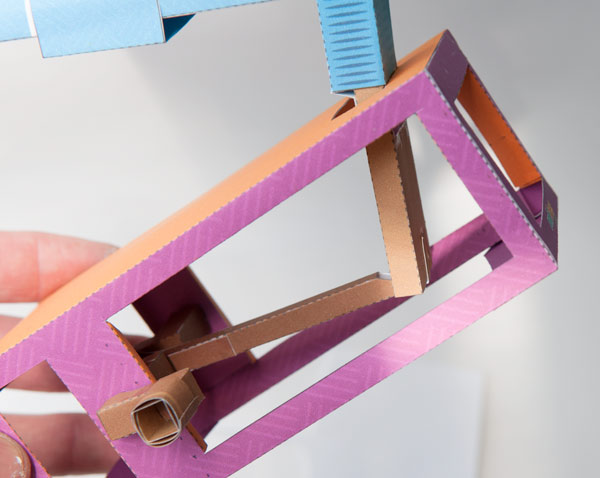
Assemble the body box.
Fit the shoulder tube into the box and glue it into place ensuring that the slip ring can still rotate.
Assemble the neck tube then glue it to the slip ring.
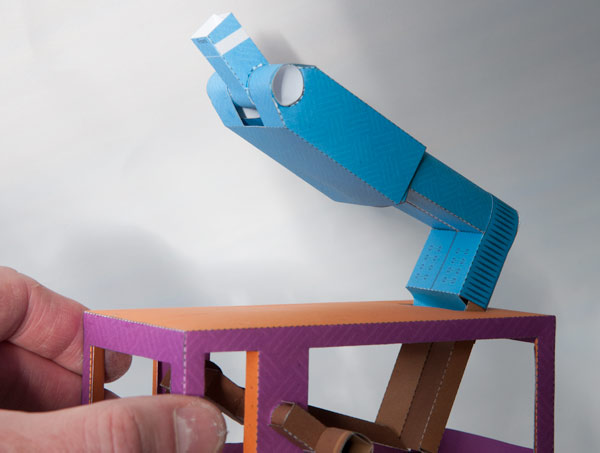
Fit the body to the legs.
Assemble the square shoulder pin
Fit the hands into the arms. The thumb should be on the same side as the square hole.
Thread the square pin through the shoulder tube, glue the two arms to the pin.
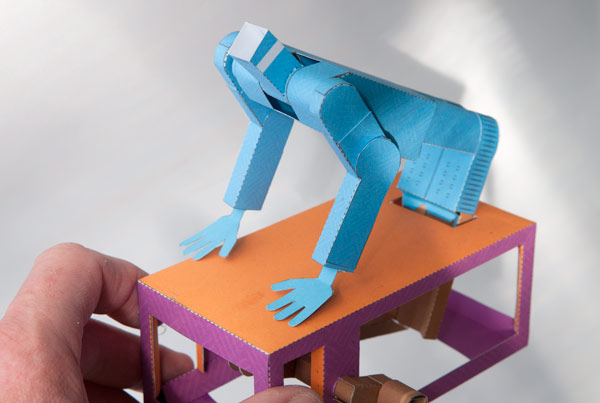
Glue the palms to the top of the box. Complete the model by assembling the head and gluing it to the neck then gluing on the eyes.
Turn the handle to exercise your robot!