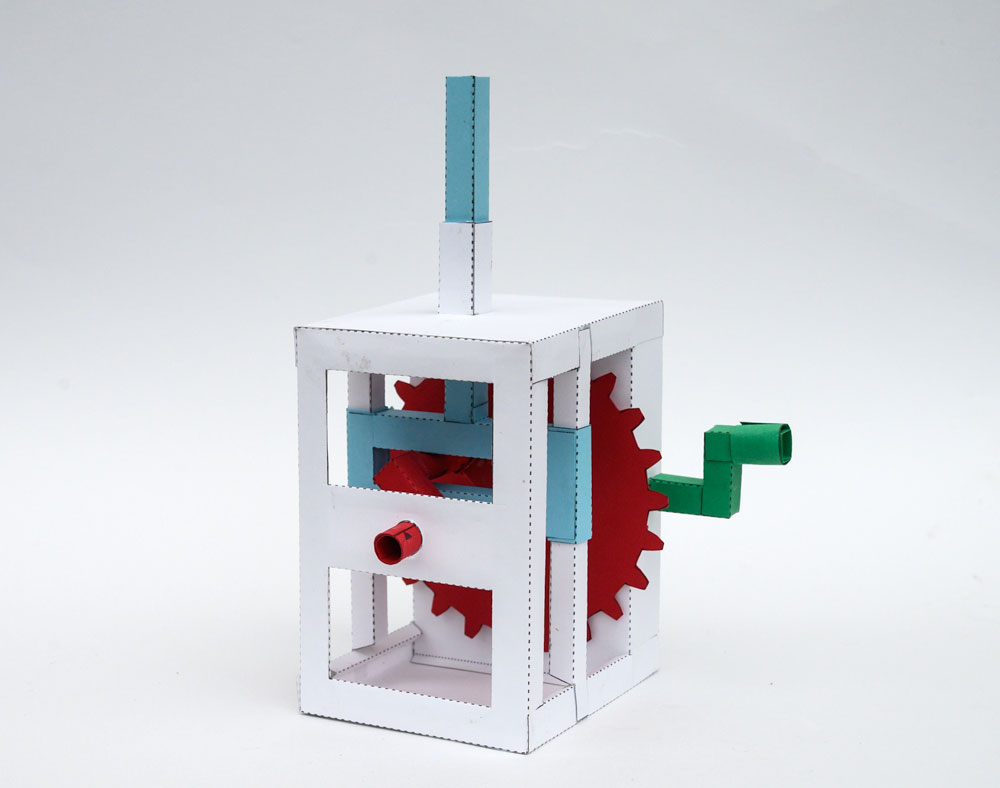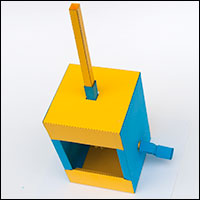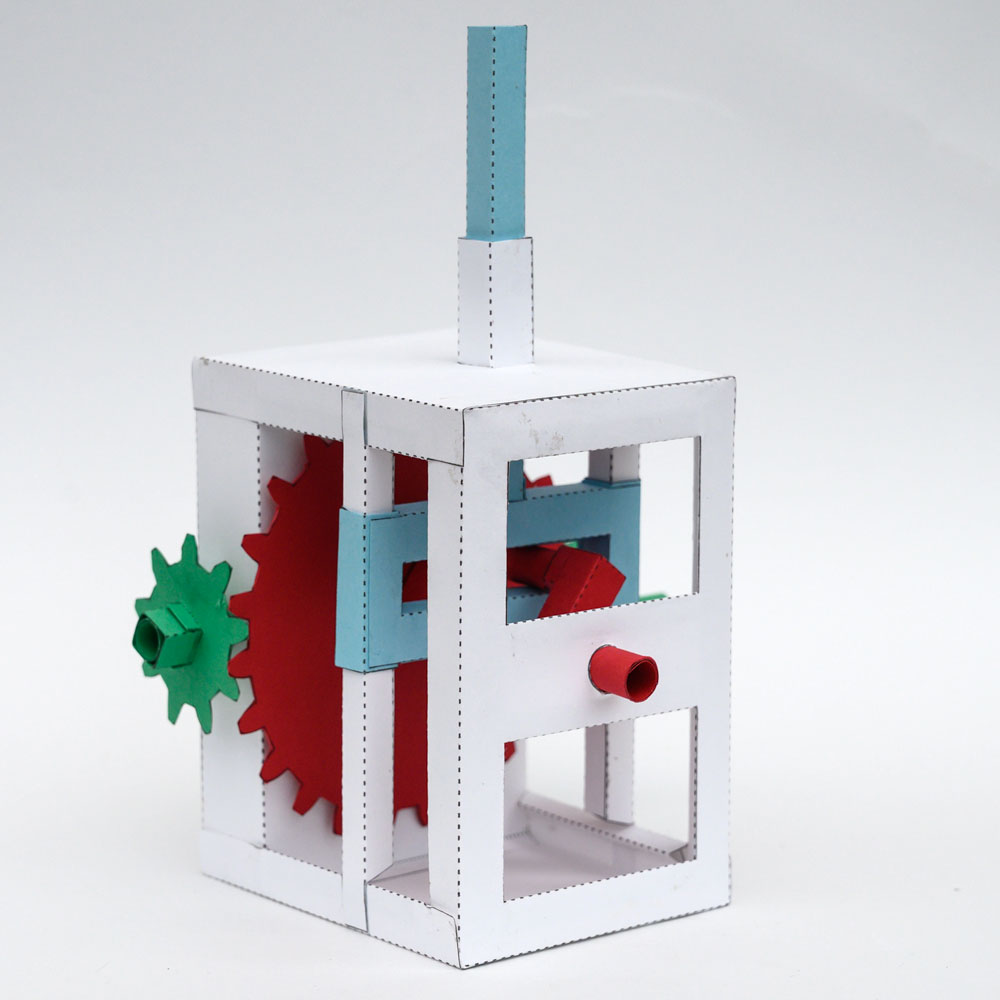
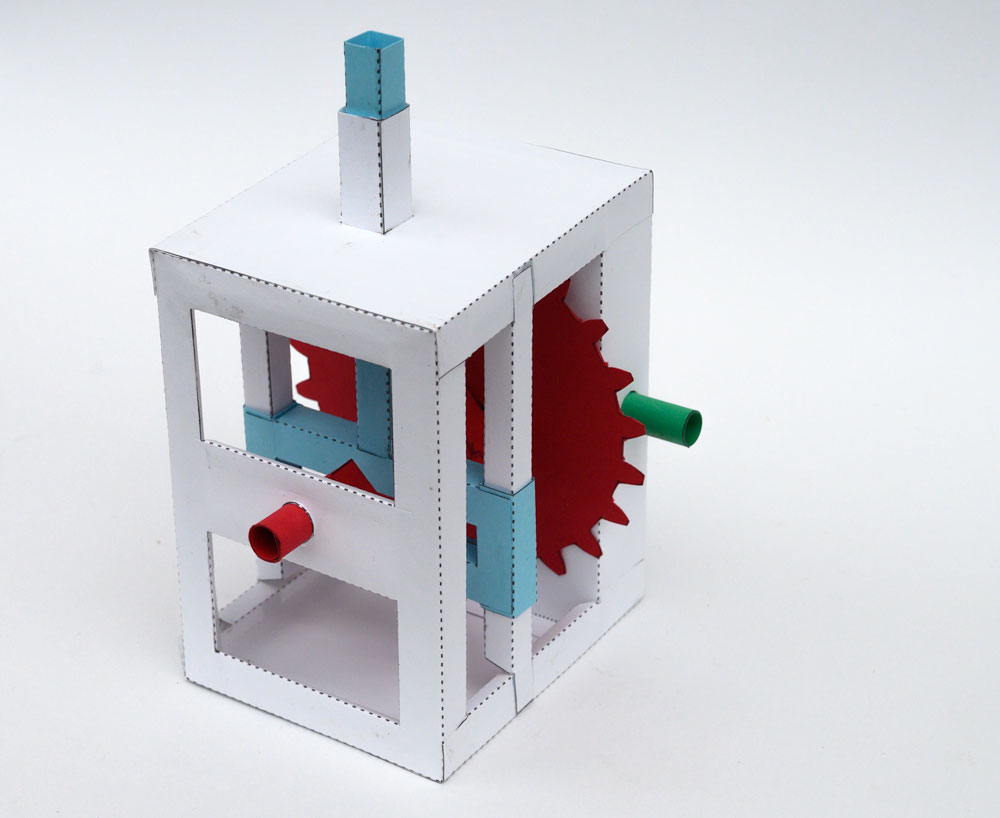
Turn the handle on the Geared Scotch Yoke Essential Mechanism and the central push rod rises slowly up and down. Use the project as an exercise in pure paper engineering or as the starting point for your own character based paper automata.
This project comes in two versions. The print version contains a pdf for you to print out onto thin card then cut out with scissors. The cutting machine version comes with the same pdf but also includes files ready for Silhouette Cameo 3 as well as svg and jpg files. This project is suitable to print and cut on most popular paper cutting machines.
Print out the pages onto thin card.
If you are making the hand cut version, score the dotted and dashed lines cut out the holes then carefully cut out the pieces. Fold over the two gear parts and glue them down to make double thickness card.

Once the glue is dry carefully cut out the gears. If you are using a cutting machine glue the gears back to back making sure that they are carefully aligned.

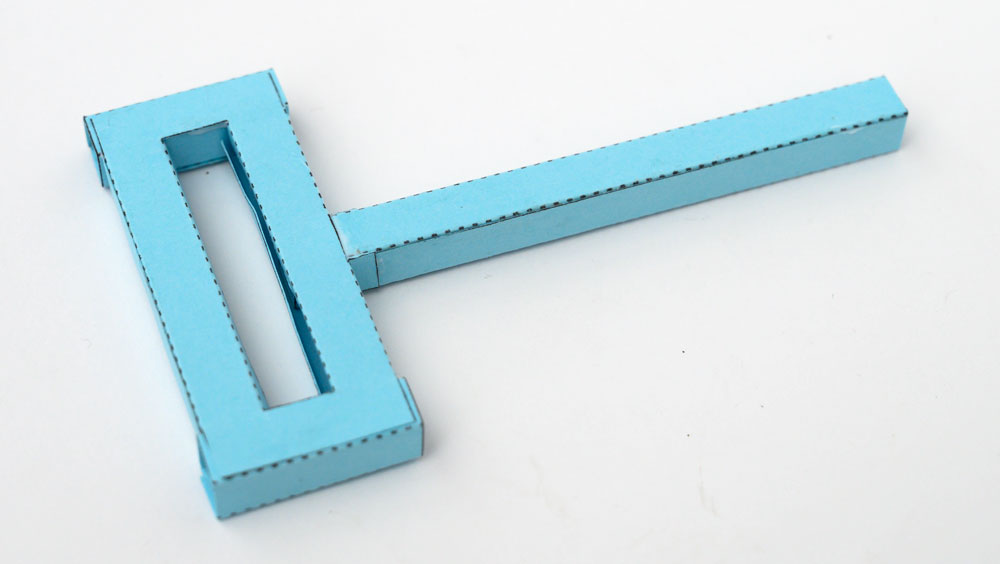
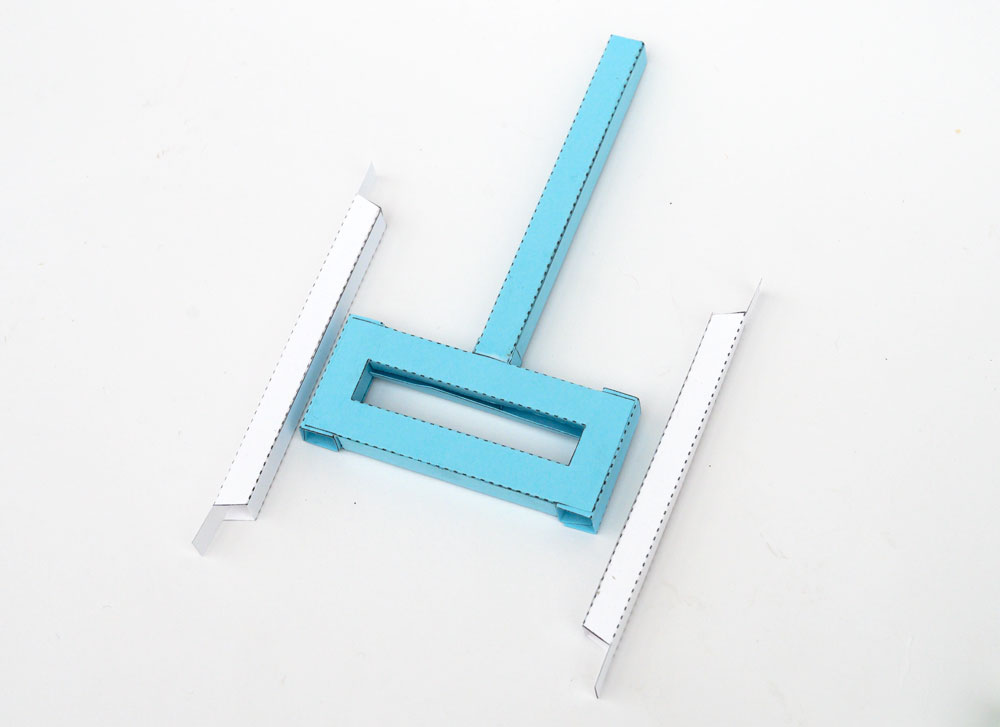
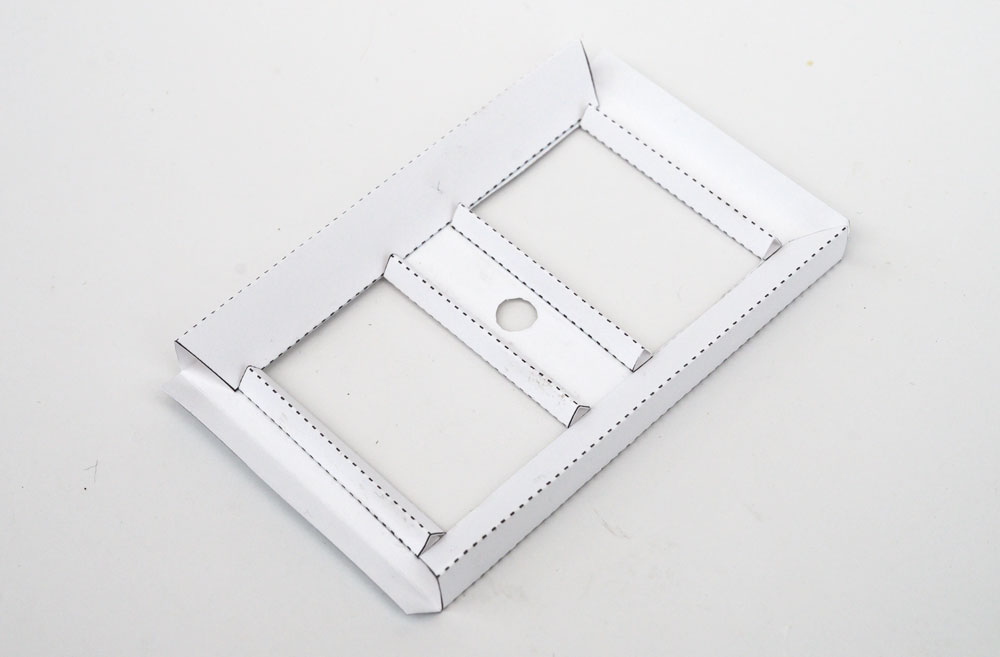
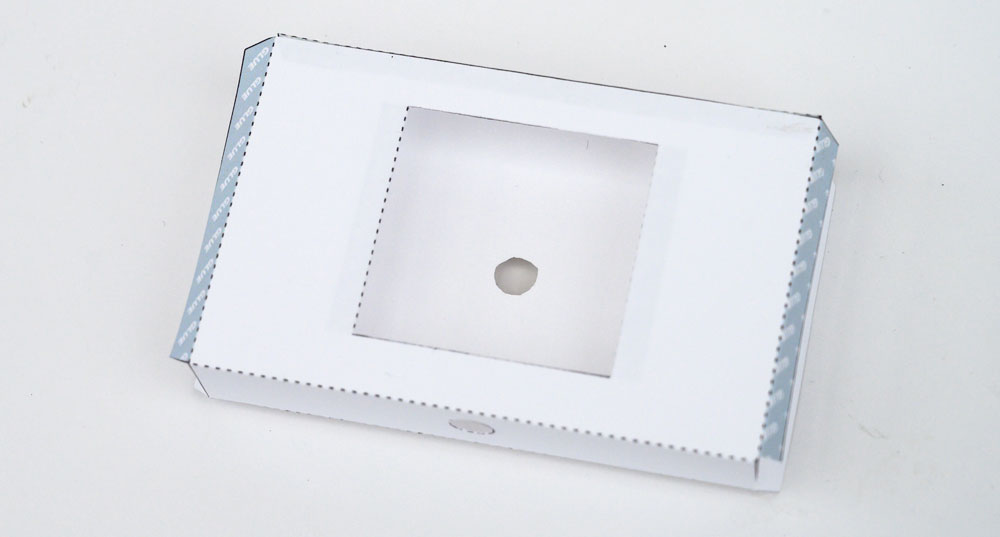
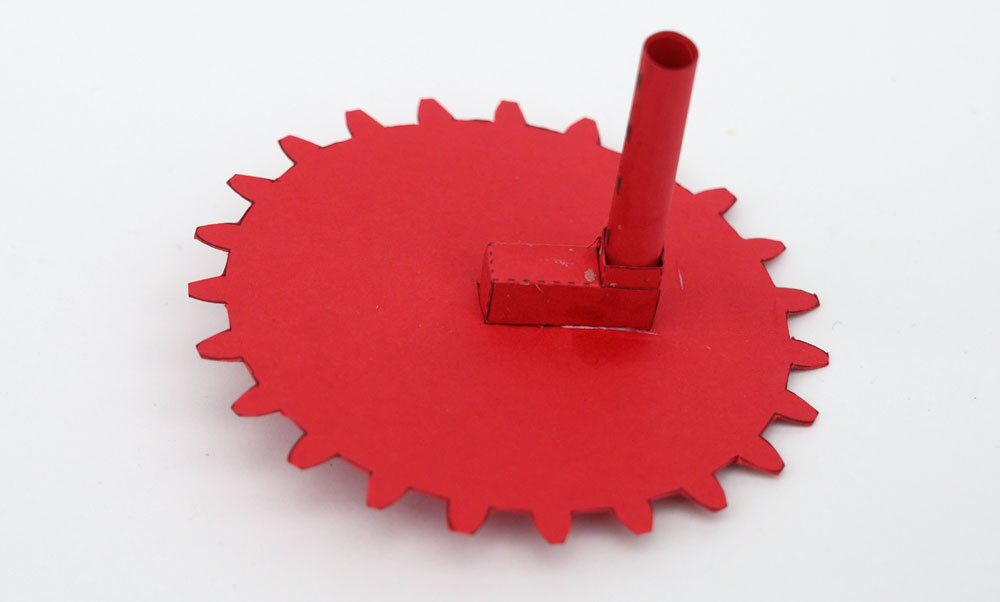
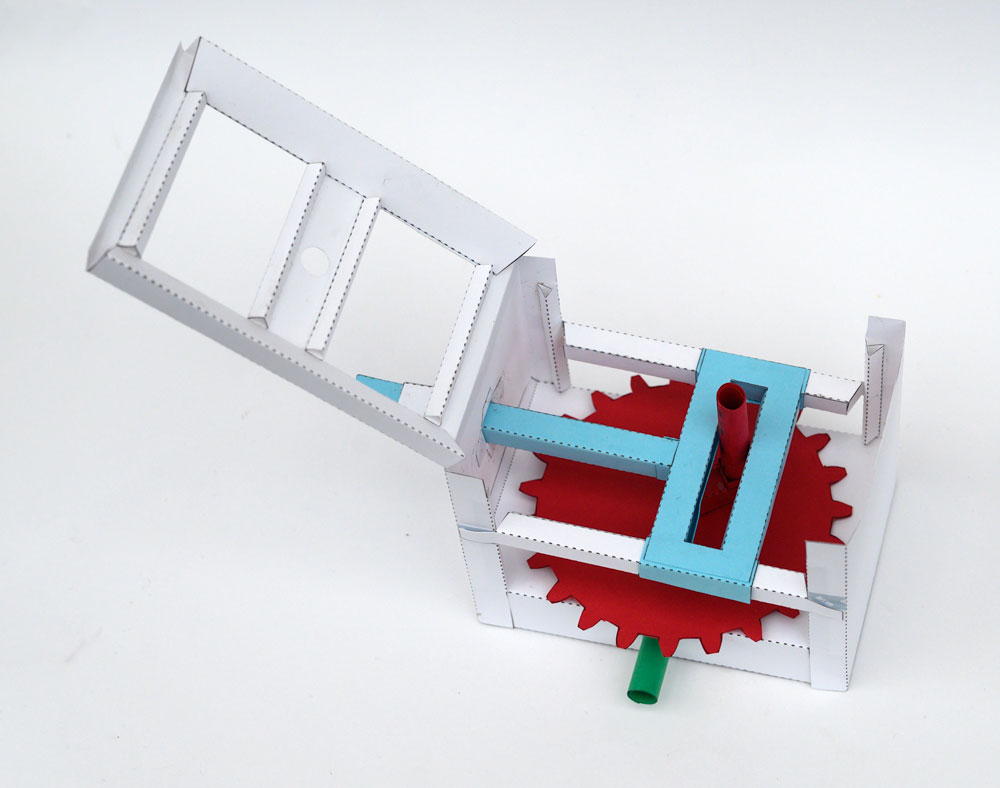
Prepare the parts of the yoke.
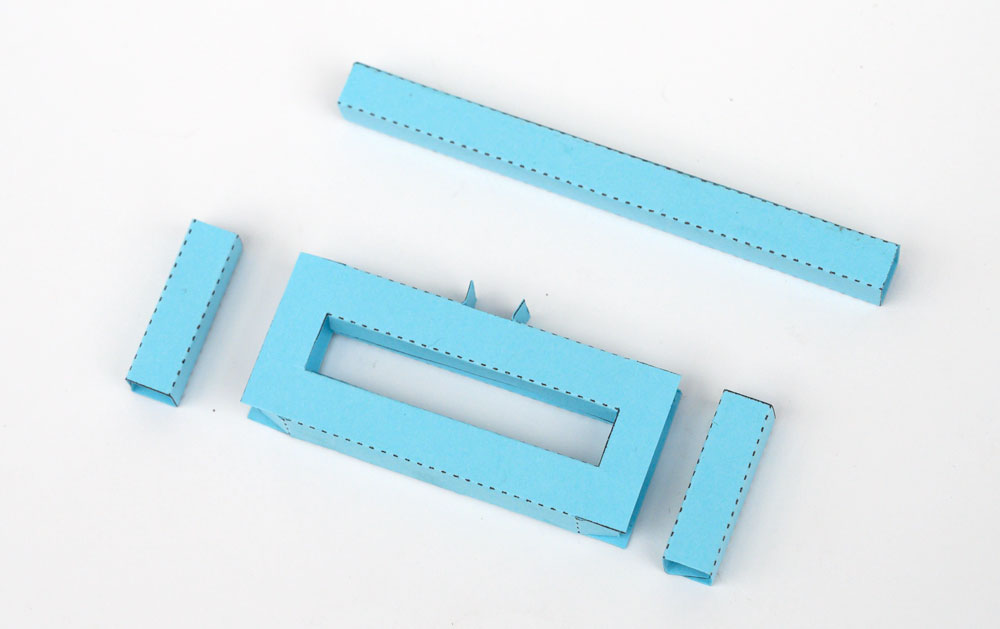
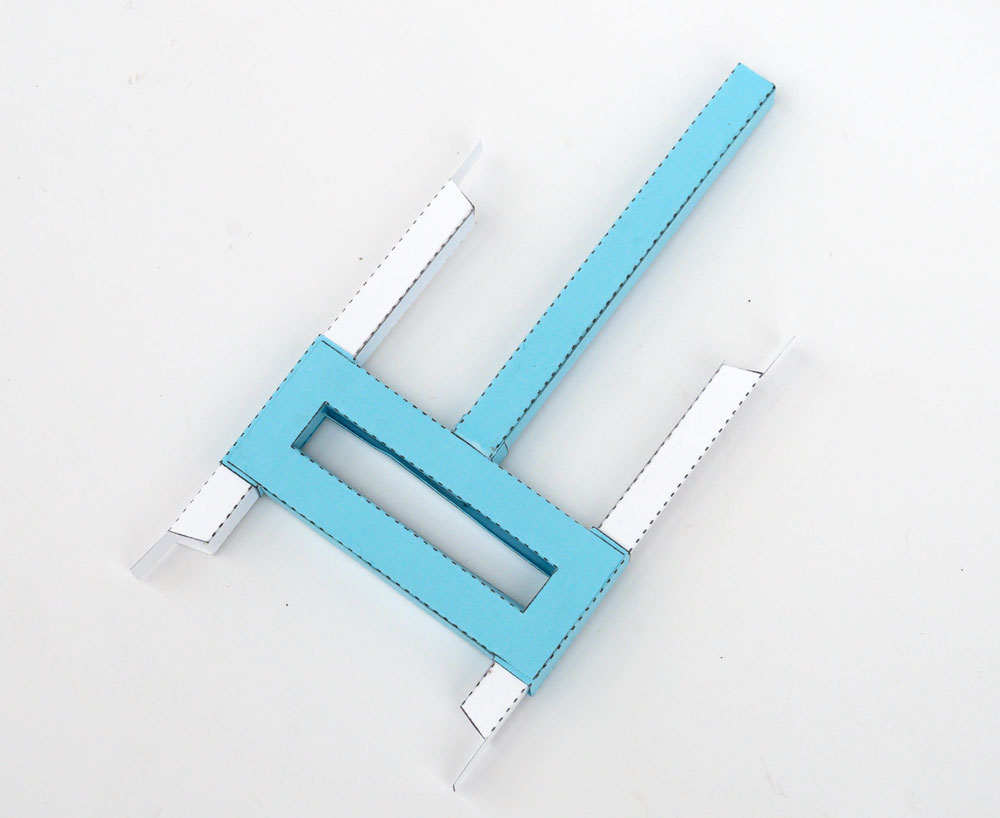
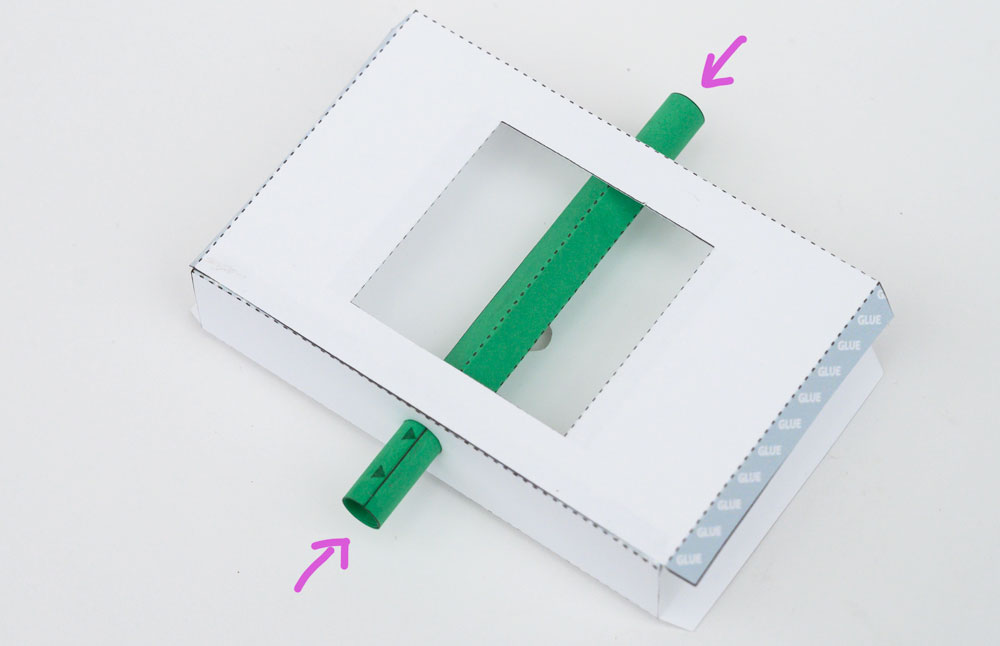
Glue the slider tubes into position.
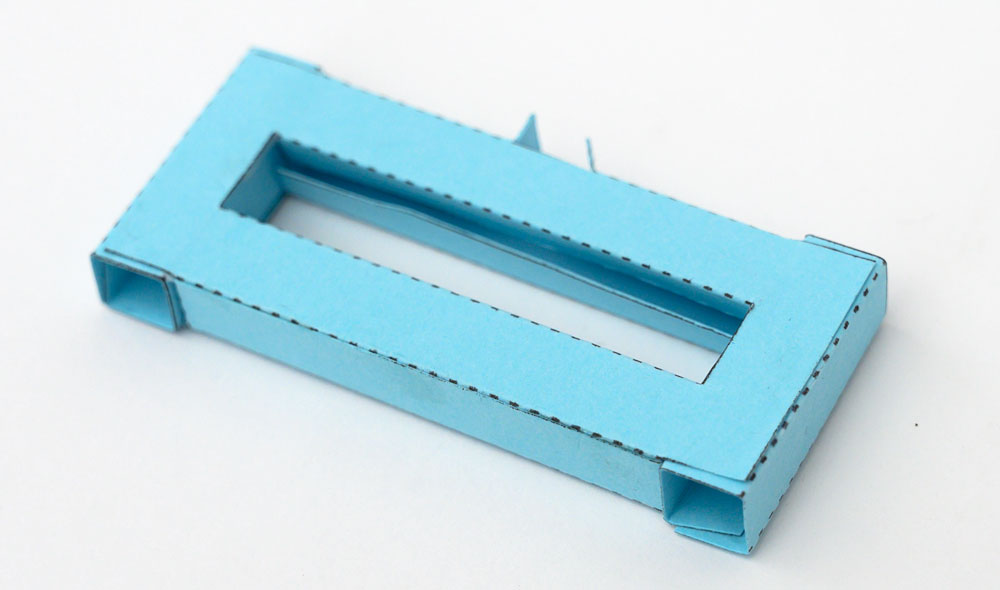
Glue the push rod into place, make sure it is straight!
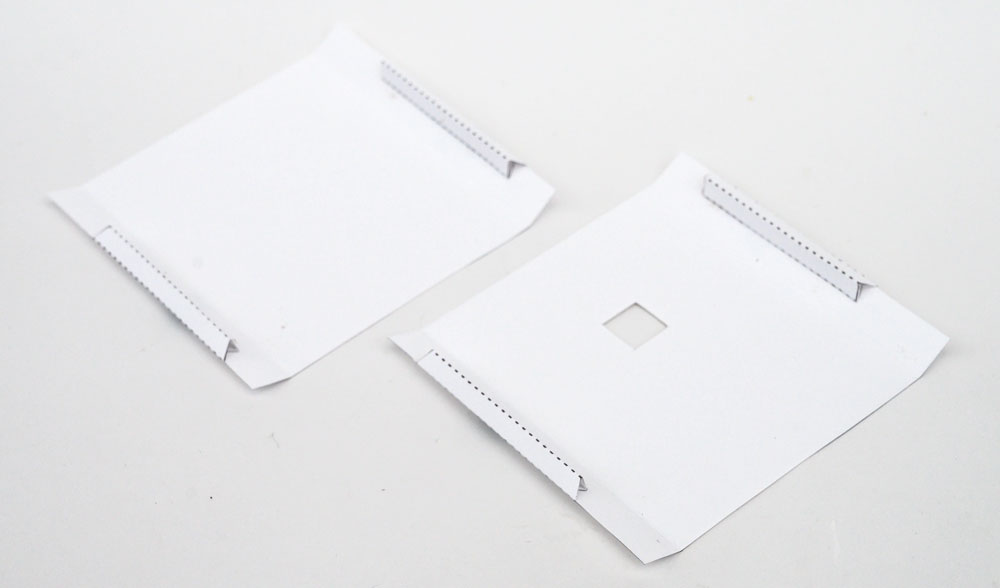
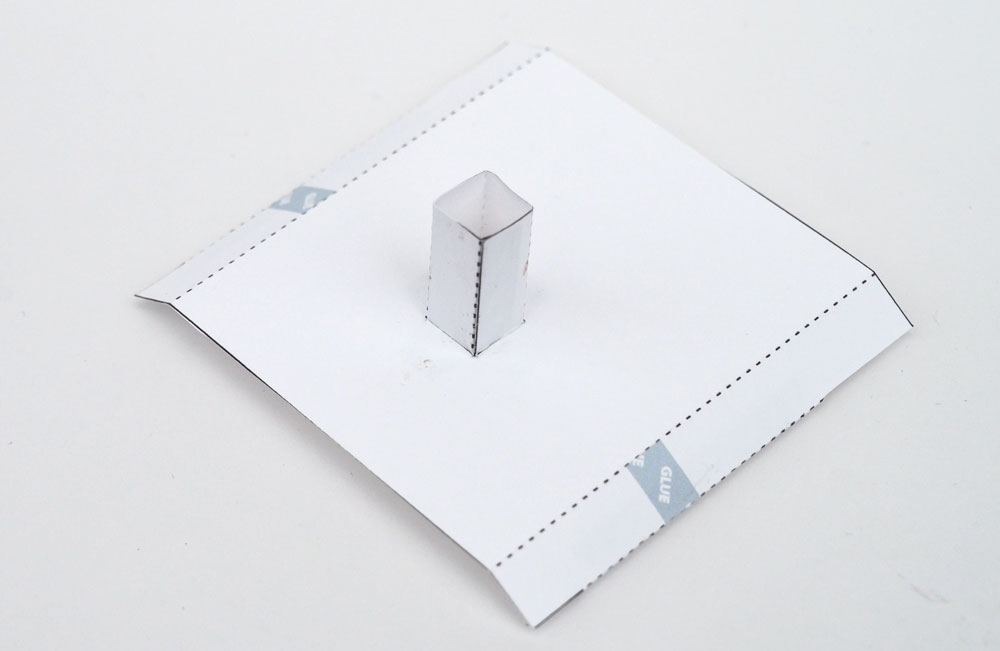
Glue together the two pillars.
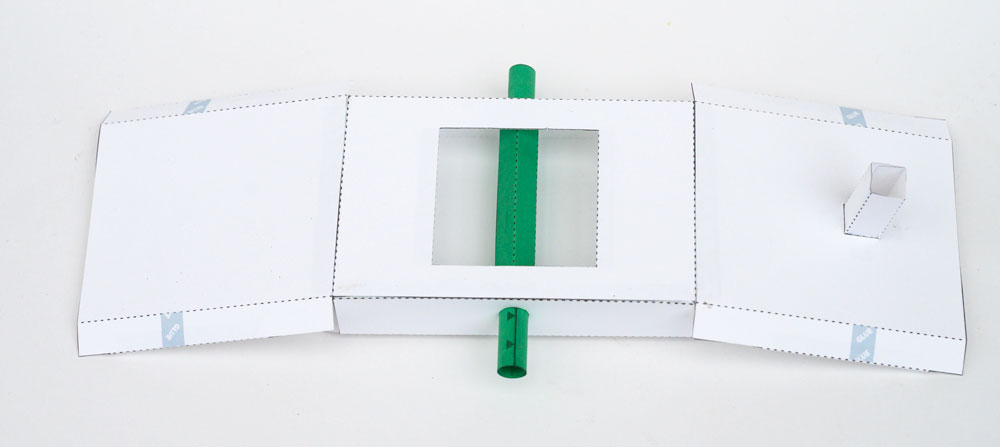
Thread the pillars into place. Don’t glue then, they need to be free to slide.
Fold round and glue the triangle tubes on the top and base.
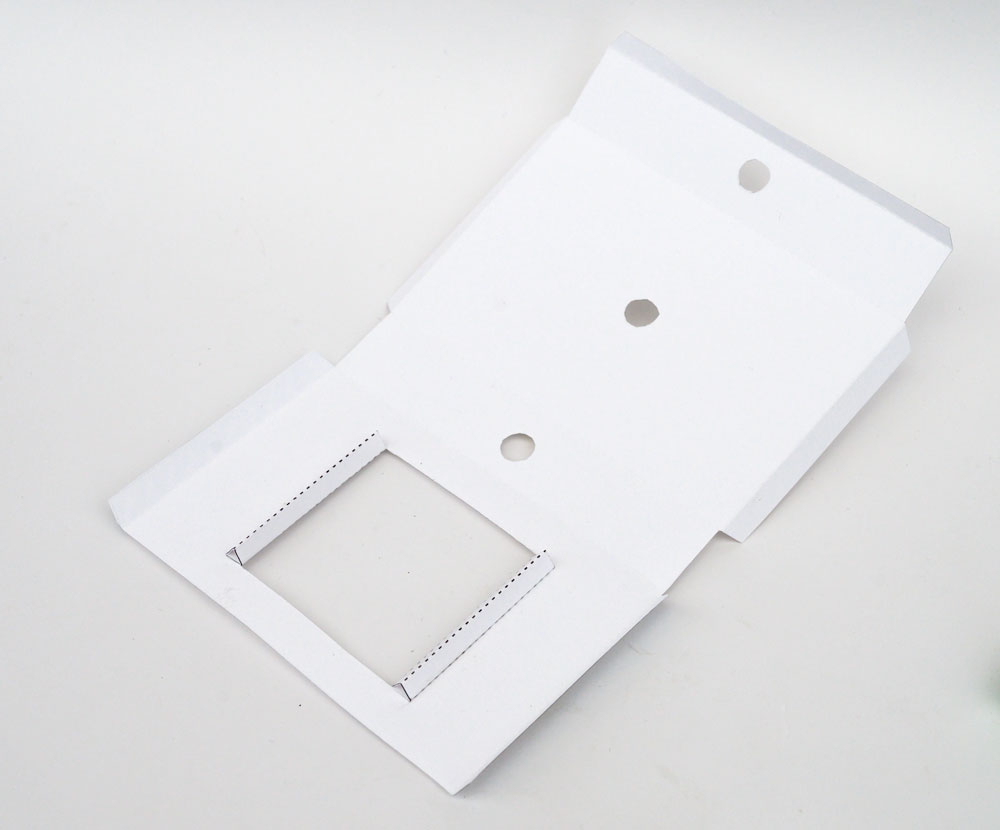
Fold round and glue the various parts of the box front.
Fold round and glue the triangle tubes of the box back.
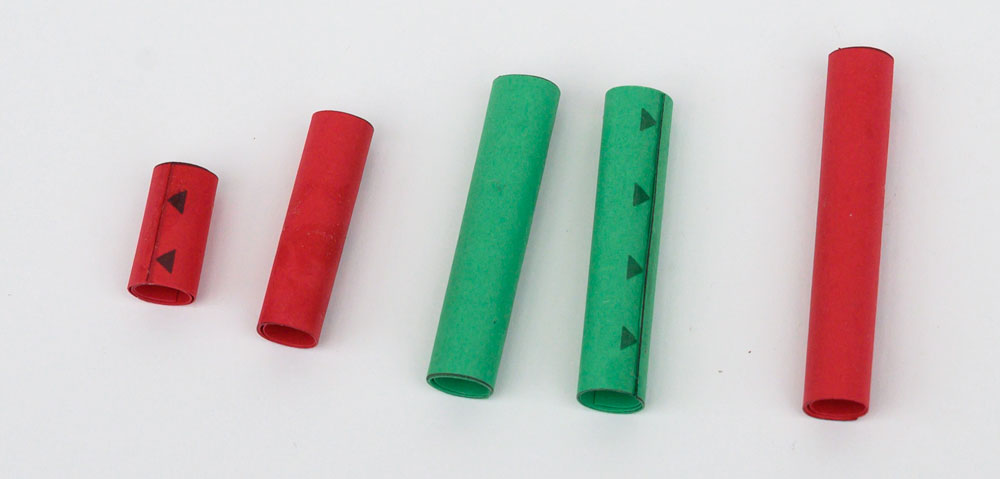
Roll up and glue the five axle tubes.
Fold up and glue together the two crank pieces.

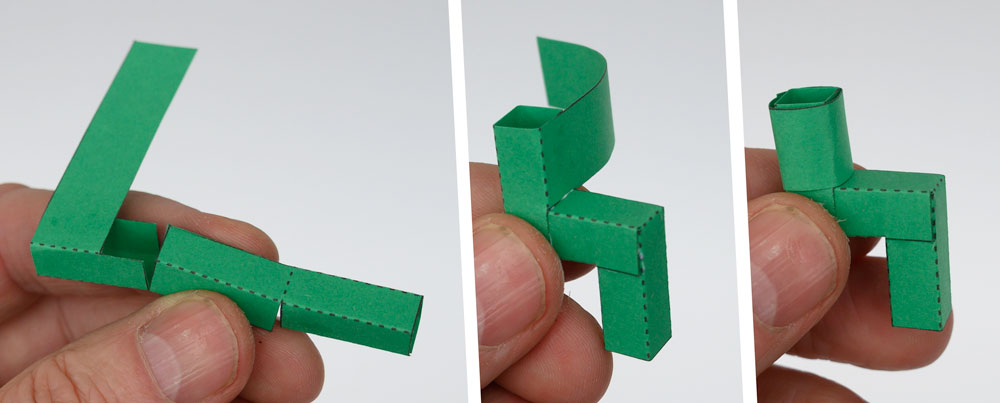
Fold up and glue the handle in three steps.
Glue the shortest and longest axle tubes into the smaller crank. Glue the second shortest axle tube into the long part of the second crank.

Fold round and glue the box-back.
Thread the axle tube into the box back then fit the two axle tube into place securing then in the square tube with a dot of glue. The axle needs to be free to rotate.
Fit the pinion to the pinion axle. I didn’t glue it as this let me move it to best fit the gears together.

Glue the slider tube into the box top.
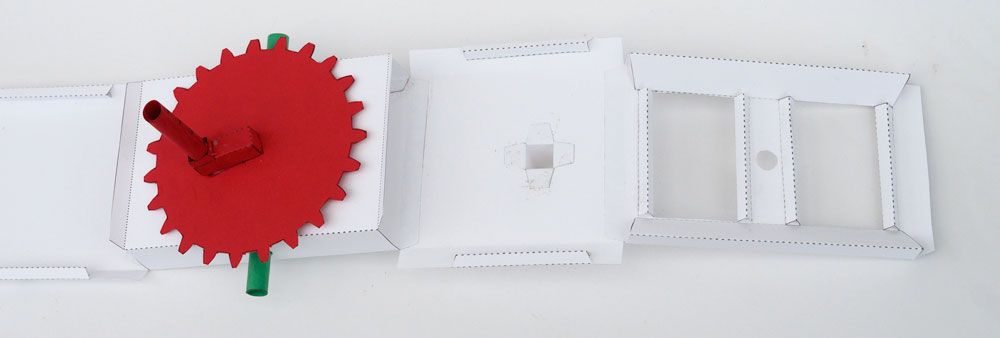
Glue the top and base to the box back as shown.
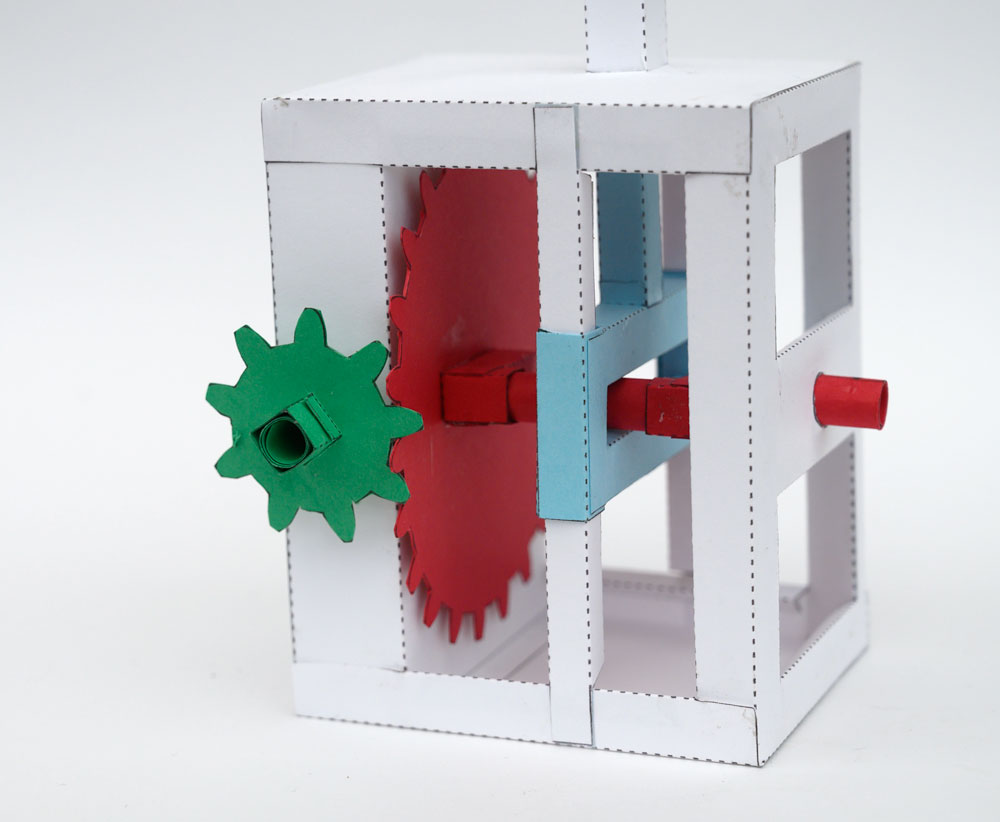
Fit the crank to the gear.
Fit the gear into the hole in the box back, make sure it is free to rotate.
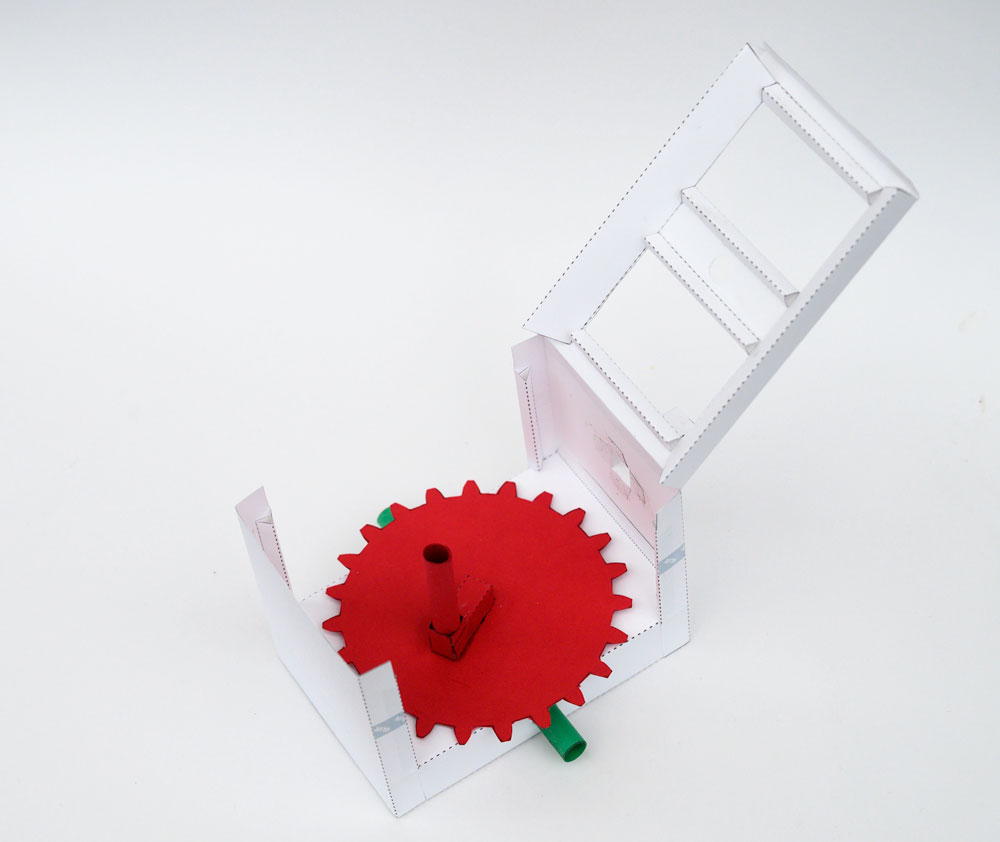
Glue the box front into place.
Fold up the top and bottom.
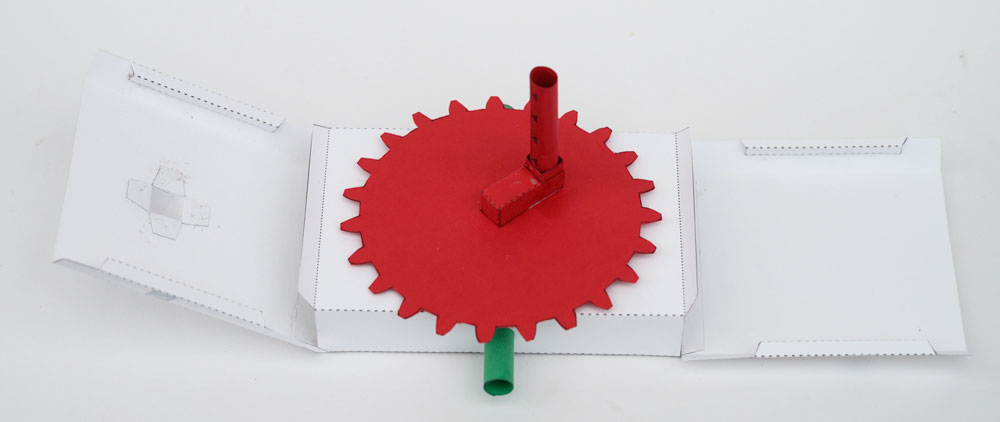
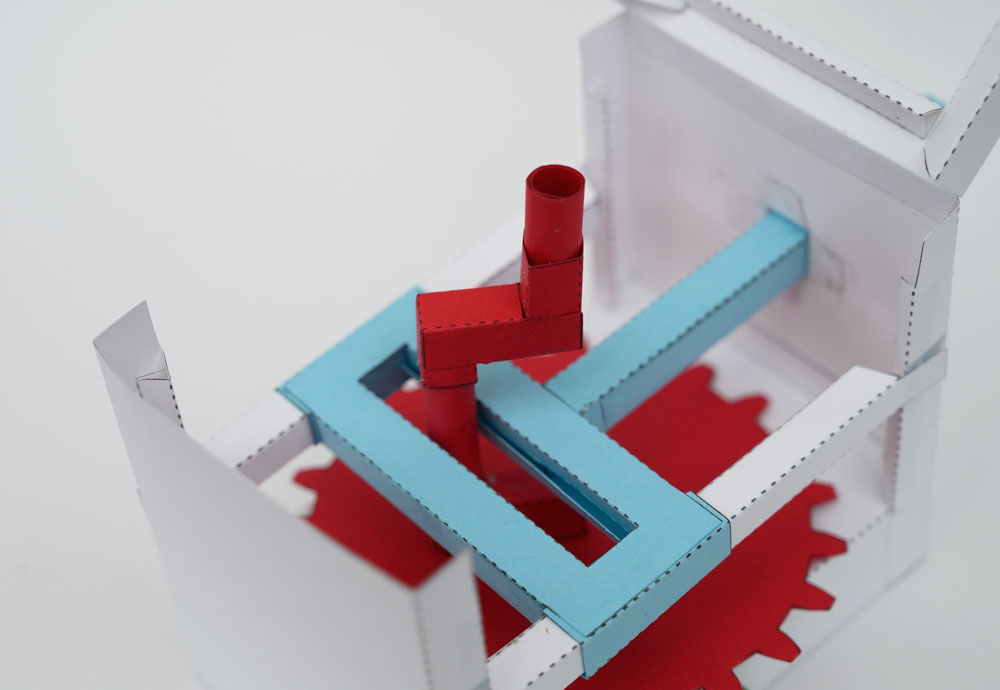
Thread the push rod up through the slider tube then fit the yoke over the crank axle.
Glue the other crank into position.
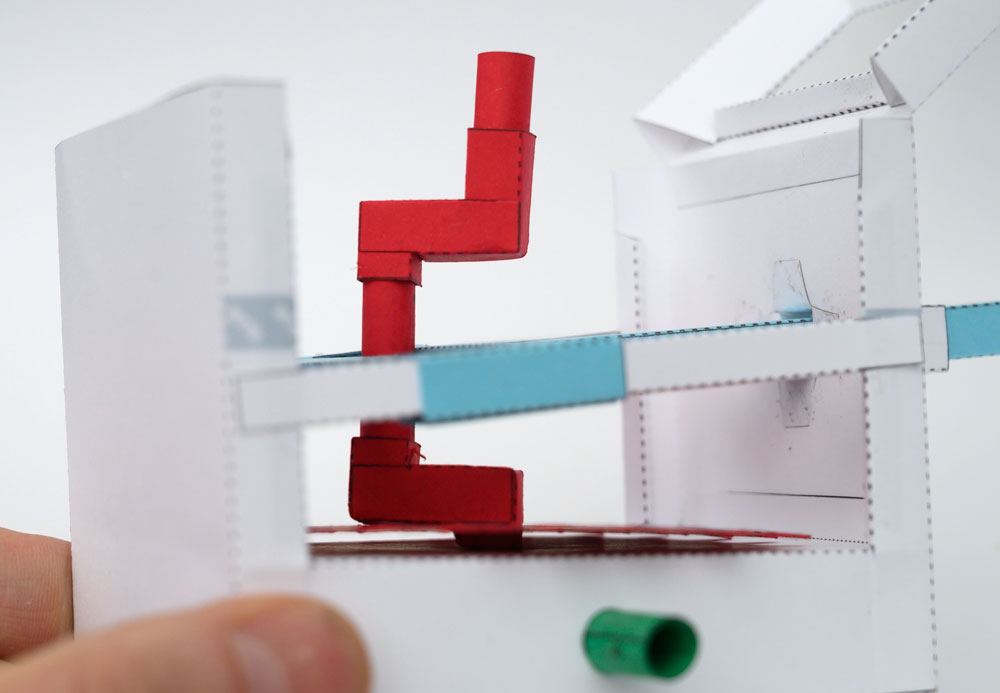
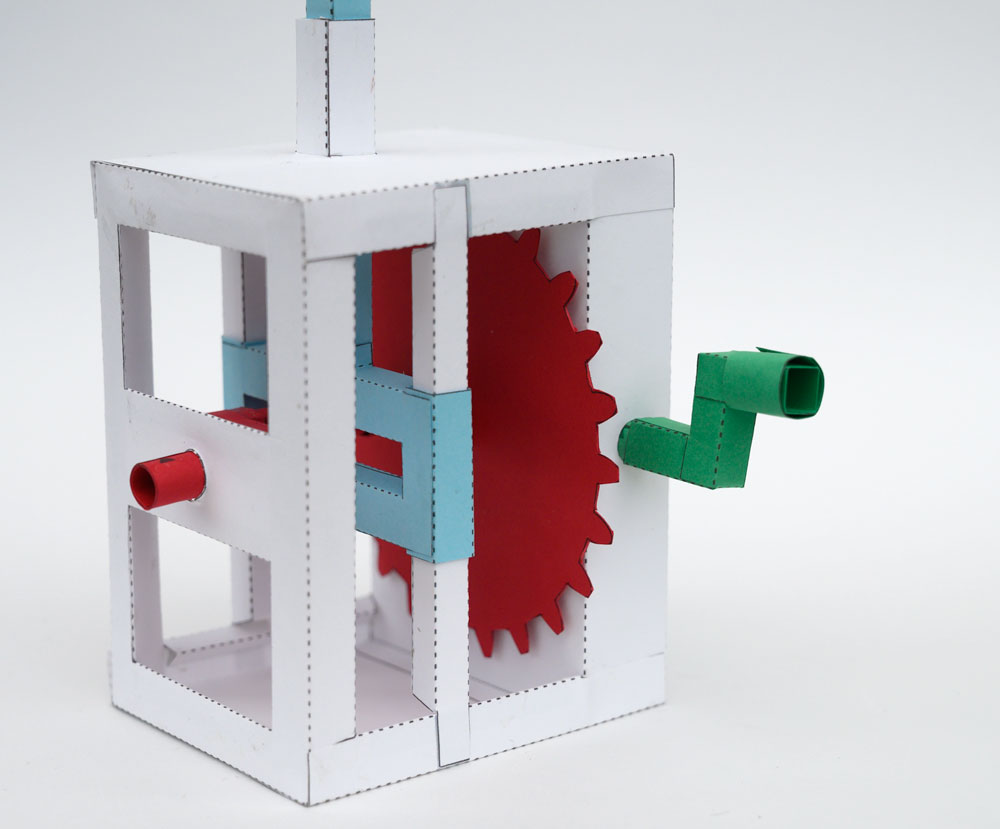
Side view showing the crank in position.
Fold the box round. Glue it closed and glue the pillars into position making sure the yoke is free to slide up and down.
Glue the pinion into place. Adjust the position so that the gears mesh nicely.
Finish the model by gluing on the handle.
Turn the handle and the centre pillar slowly rises and falls.