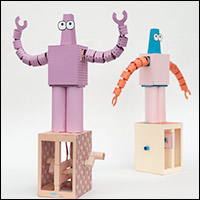
Turn the handle on the side of the Flexibot and the scotch yoke mechanism operates the flex arms. The file for the model parts are available for members to download for free, thanks for signing up! Non-members can join in the fun for £2.50.
The file comes in both coloured and non-coloured version. Print out the parts of your choice onto thin card (230 gsm) The straps that are used to pull the arms need to be printed out onto ordinary printer paper (80gsm)
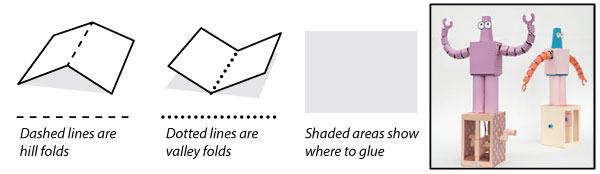
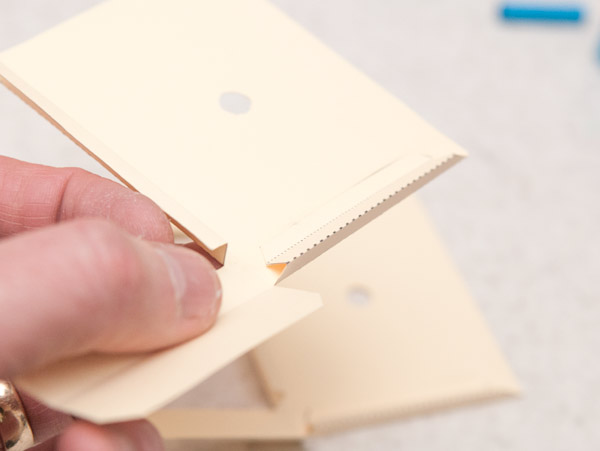
Score along all the dotted and dashed line and cut out the holes before carefully cutting out all the parts. Follow the instructions below to put together the Flexibot.
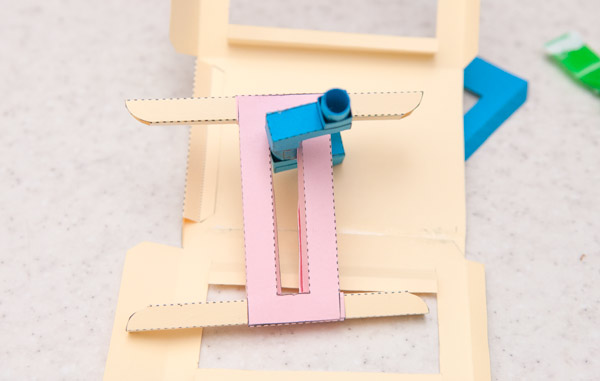
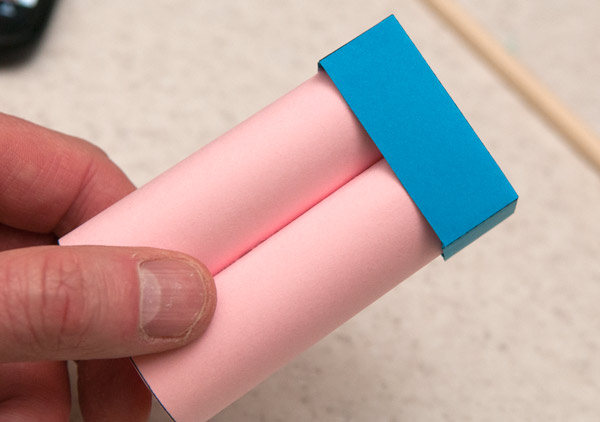
Start by gluing together the yoke. Glue the two slider tubes into place, one at each end of the yoke.
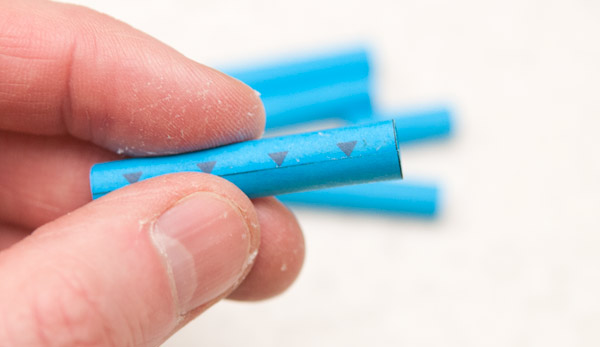
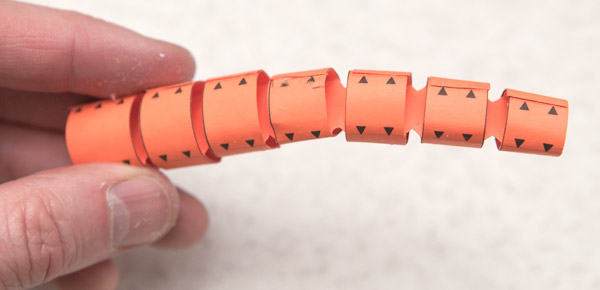
Roll round and glue together the five paper tubes lining up the edge as accurately as possible with the points of the arrows.
Assemble the two crank pieces.

Assemble the handle in three steps as shown.
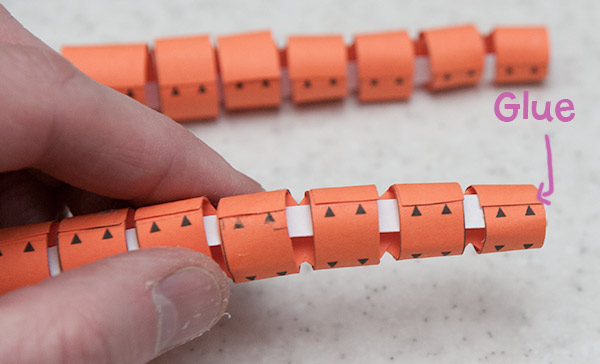
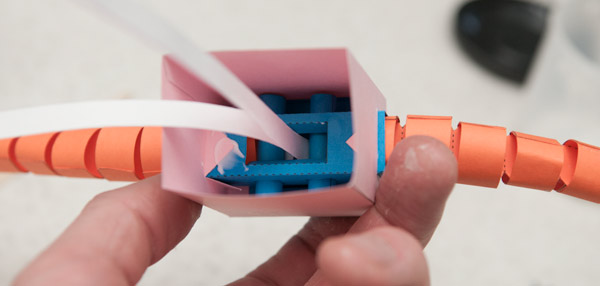
Thread the longest of the five tube through the yoke then assemble the crank parts in situ. The other two tubes are the ones with triangle arrows rather than squares. The crank should be free to move inside the yoke.
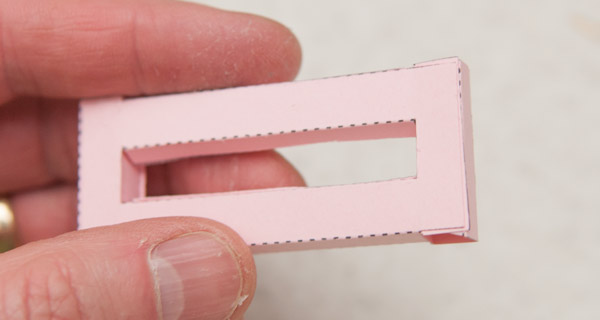
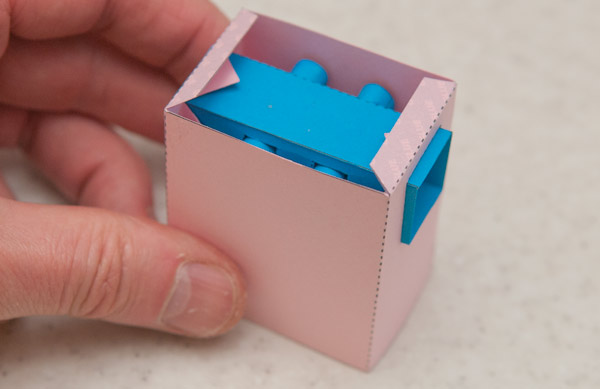
Fold up and glue down the tabs on the base of the box parts to make right angle triangle tube sections.
Glue the two parts of the box together.
Slide the two pillars into the slider tubes as shown.
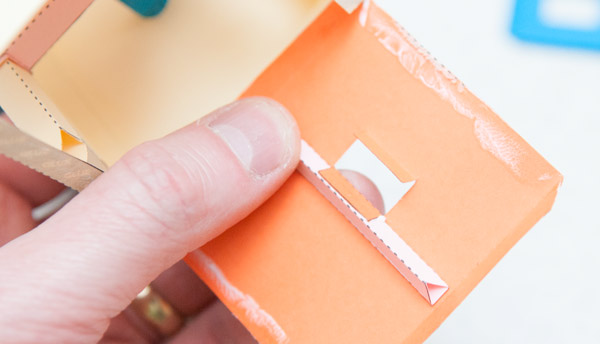
Fit one end of the crank through the hole in the box side.

Fold the box round threading the other end of the crank into the other circular hole.
Glue the box closed.
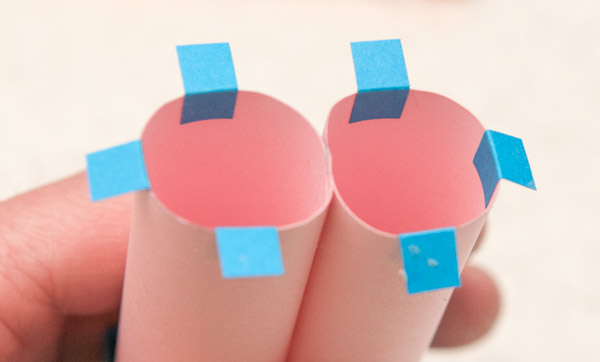
Glue the two pillars in place using the faint grey arrows for alignment.
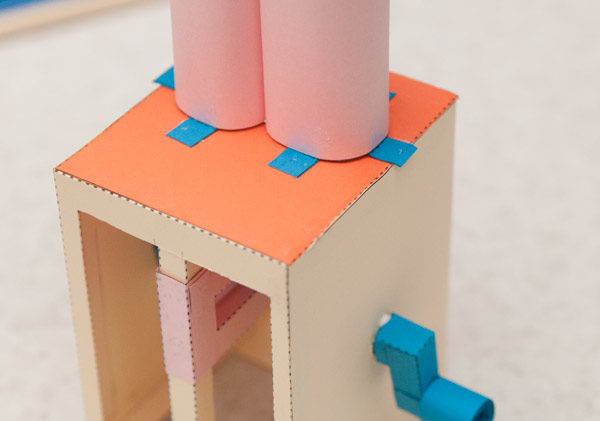
Glue the box top stiffener tube to the underside of the box top as shown.
Glue the box top into place on top of the box.
Flip the box over and glue down the two tabs.
Glue the four vertical tabs to the insides walls of the box.
Complete the box by gluing the handle into place.
Once the glue is dry, turn the handle to make sure that the scotch yoke is working properly. The yoke should move smoothly up and down as the handle is turned.
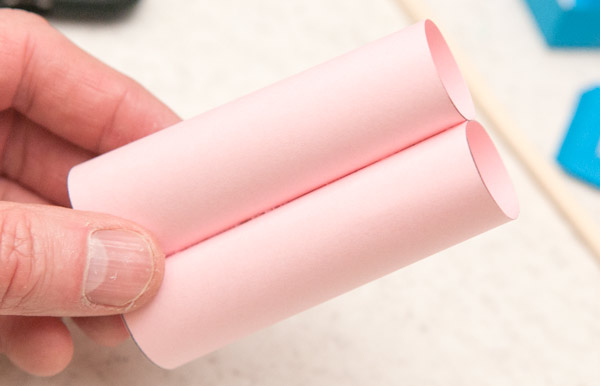
Roll round and glue together the two leg tubes joining then in the middle.
Glue the leg end cap into place.
Glue the six tabs to the inside ends of the legs.

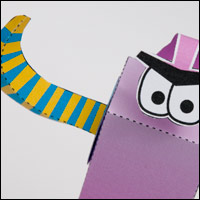
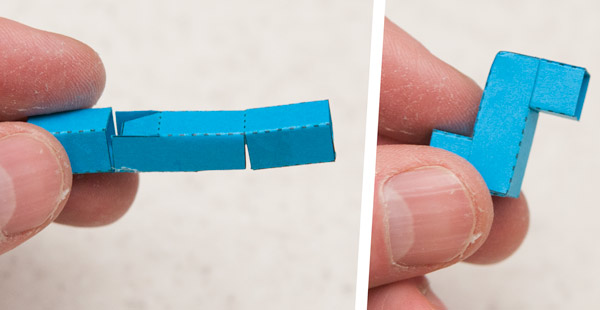
Before you start gluing the arms together fold along all the crease lines to ensure that they flex freely.
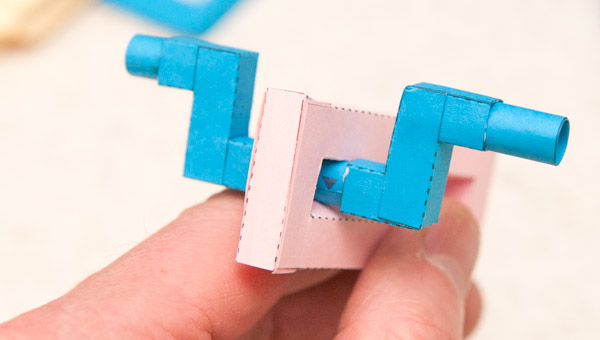
Assemble both arms by rolling round each half section and gluing it down. Use the lines and arrows for alignment.
Work your way to the end of the arm.
Thread the long paper strips through the arm and glue the end to the inside top of the narrowest section.
Let the glue dry then try pulling the paper strip, the arm should flex upwards.
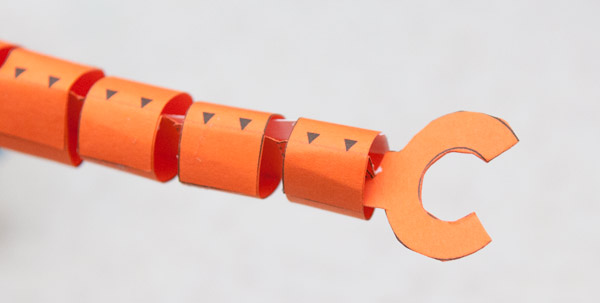
Make up the claws from double thickness card.
Fit the claw into the end of the arm.

Glue together the arm holder and thread the two remaining paper tubes into place.

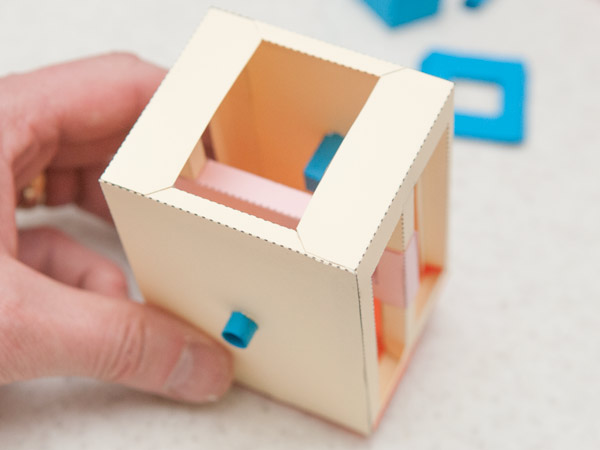
Glue together the two parts of the body and roll them round fitting the arm holder into place with the hole facing downwards as shown.
Glue the body closed.
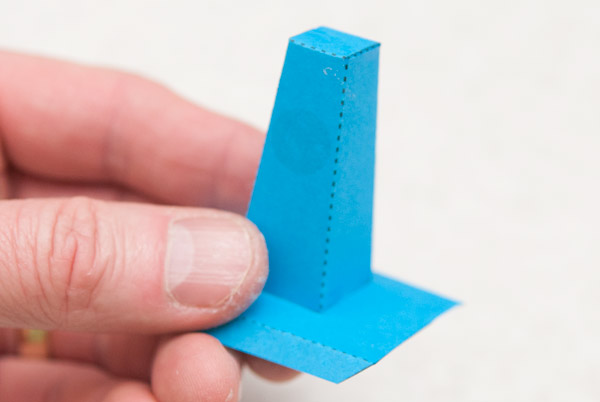
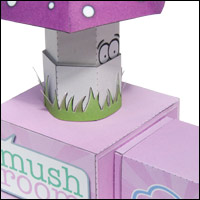
Assemble the head and fit it into the body top.
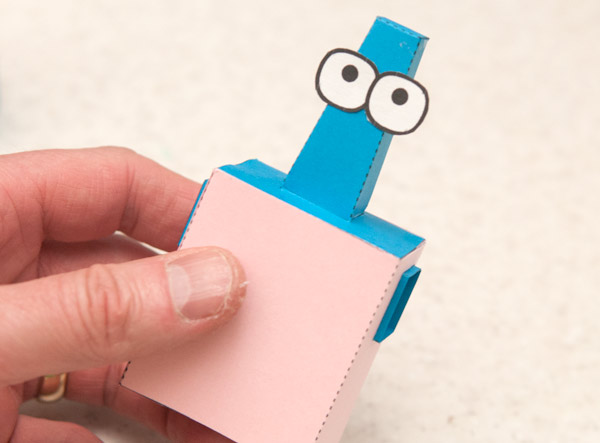
Glue the body top into place and glue the eyes onto the head.
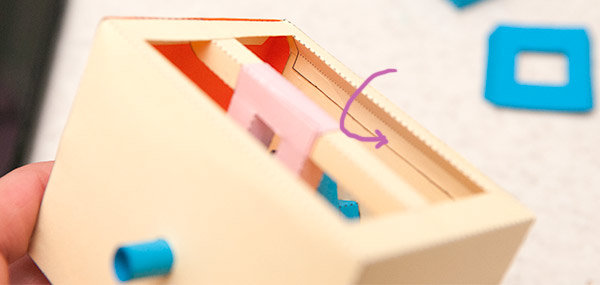
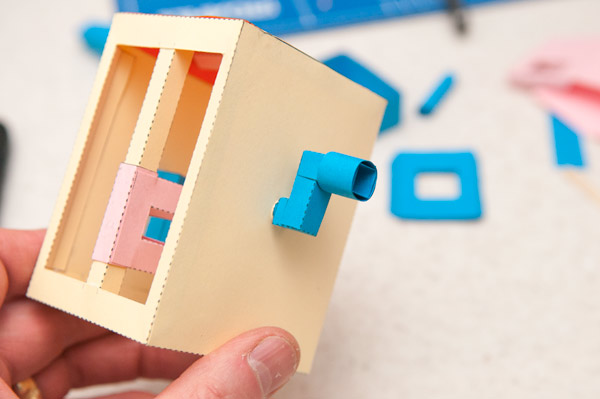
Slide the arms into the arm holder carefully threading the paper strips down through the hole and out of the bottom of the body.

Thread on paper strip one through each leg and glue the legs into place in the body.
Thread the paper strips down through the top of the box and glue the legs to the box top.
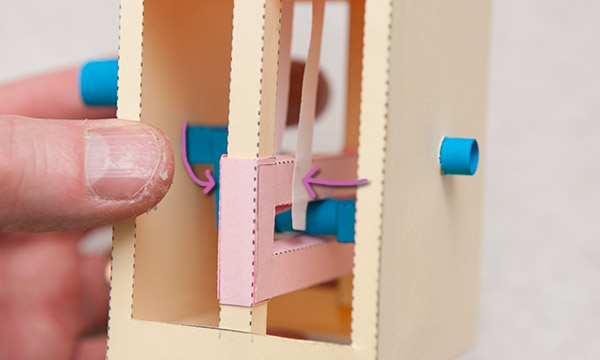
Turn the handle so that the yoke is at its lowest position.
Pull the paper strip so that the arm is up as high as possible and glue the end of the paper strip to the side of the yoke. Repeat this process with the other paper strip on the other side of the yoke. Let the glue dry.
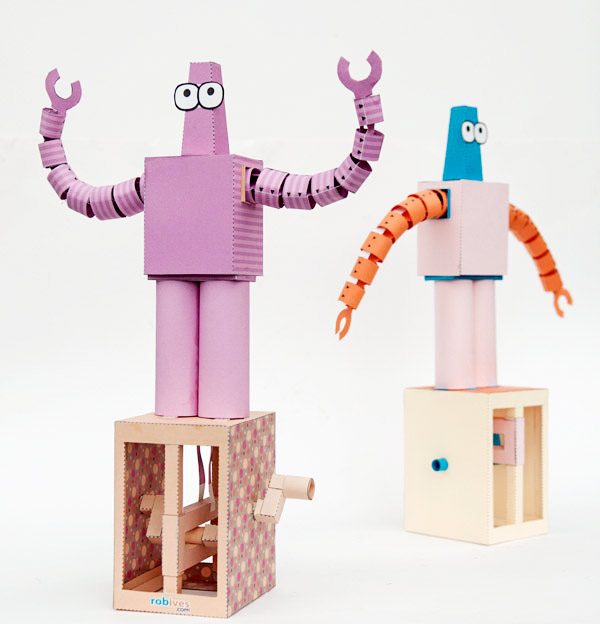
And there it is complete! Turn the handle and marvel as the robot flexes his arms!