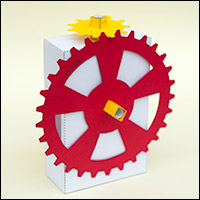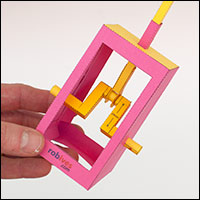
This project is an incremental improvement to the crank slider mechanism used in the sssnake model. The modified side pieces in the crank make it easy to change the the throw of the crank and hence the range of movement of the push rod.
These three animations show the three included crank sides. Once the model is assemble the throw can’t be changed as the parts are glued together so you need to pick the correct size before you complete the model.
Perhaps a later project could include adjustable crank slide length. For now, this project includes crank sides length 8mm, 16mm and 24mm.
Members can download the project for free. Thanks for signing up!
 |
 |
 |
| 8mm | 16mm | 24mm |
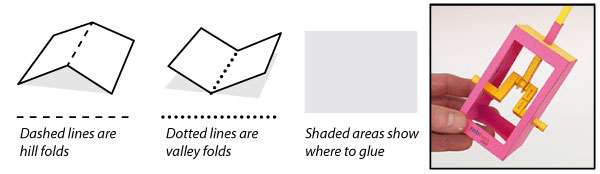
Print out the parts onto thin card. I’ve used coloured card here.
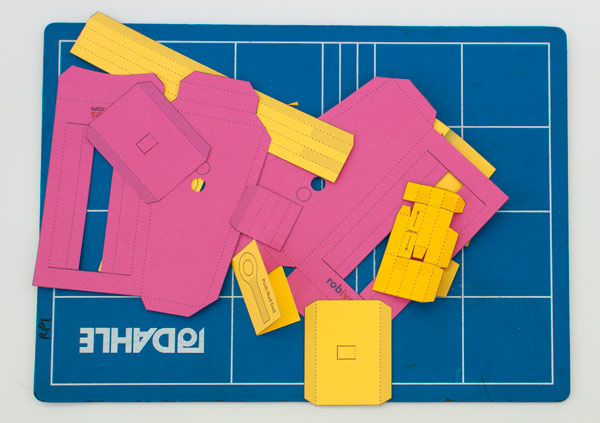
Score along the dotted lines, cut out the holes then carefully cut out the parts.
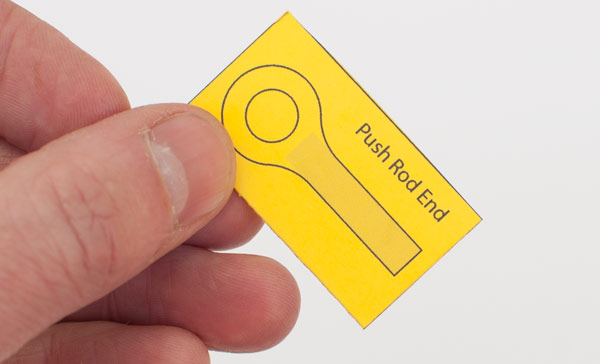
Fold the push rod ends in half and glue them down to make double thickness card. Once the glue is dry cut out the holes and then carefully cut out the parts.
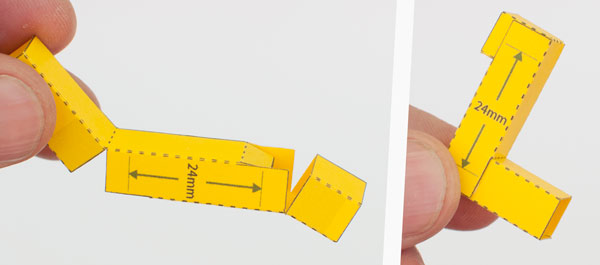
Choose the length of throw that you want then glue up the two parts of that size, in this case the 24mm sides.
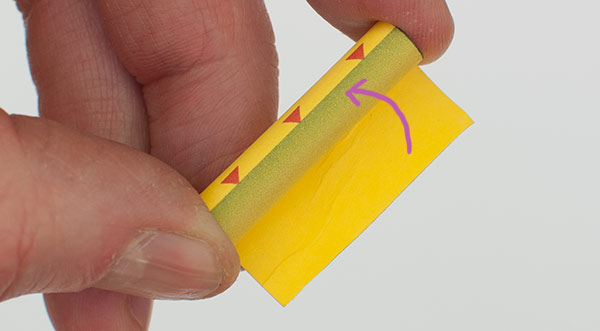
Glue together the push rod.
Glue the two push rod ends onto the grey areas making sure that they are lined up.
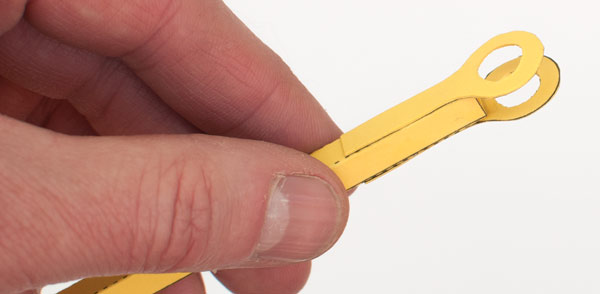
For each of the three pins; roll them round then glue up the end so that it lines up exactly with the point of the arrows and the edge of the grey area.
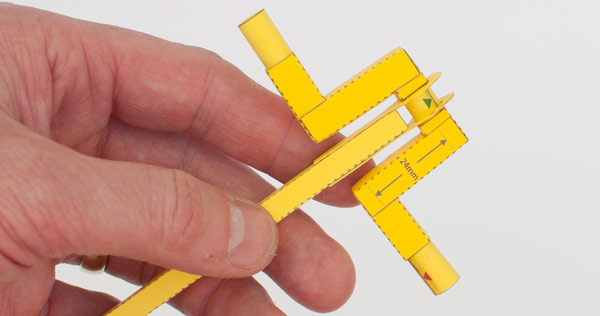
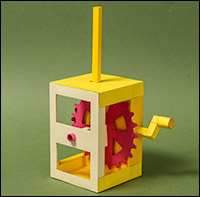
Assemble the crank shaft as shown in the picture.
The pin with the green arrows is slightly shorter than the other two. It fits in the middle.
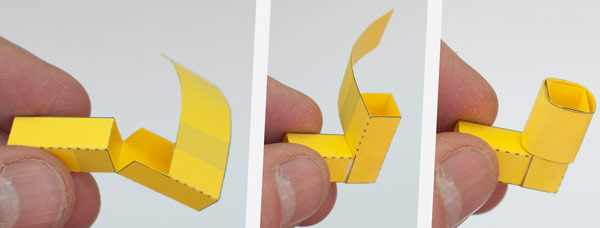
Assemble the handle in three steps.
Glue the two square sections up. Fold one section into the other and glue. Roll round the long tab and glue it down.
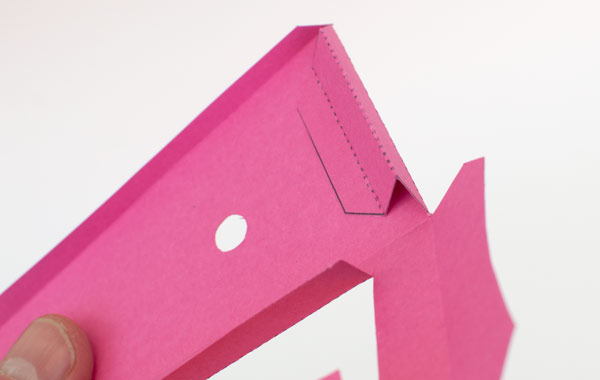
Fold the tab at the bottom of the box to make a right angled triangle and glue it down.
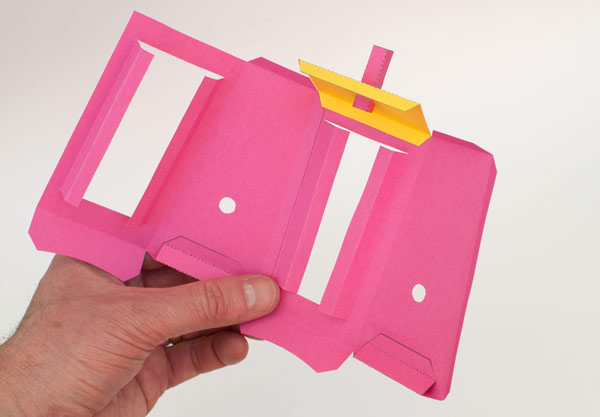
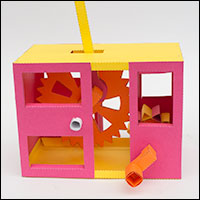
Glue the two box parts together. Assemble the slider tube, Glue it to the tab in the box lid. Glue one edge of the box lid into place.
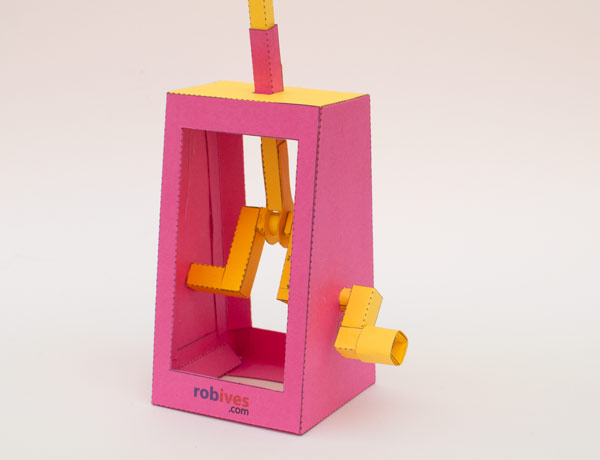
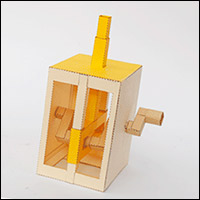
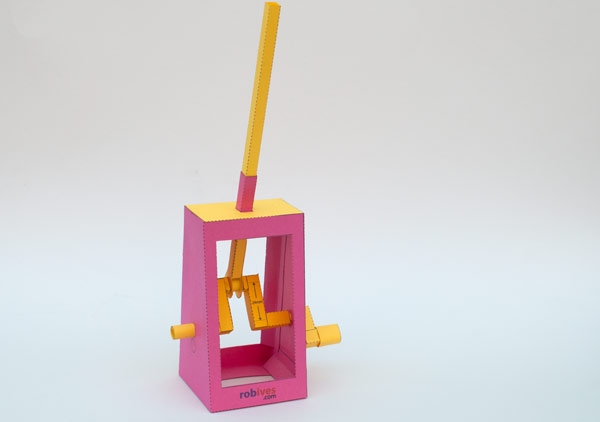
Slide the push rod up through the slider tube. Fit the crank shaft through the holes in the side of the box and glue the box round. Glue the box lid down.
Glue the base tabs into place and then glue the four long tabs to the inside walls of the box.
Complete the project by gluing the handle to the shaft. Use this as the starting point for your own character based projects. Send pictures of what you make!