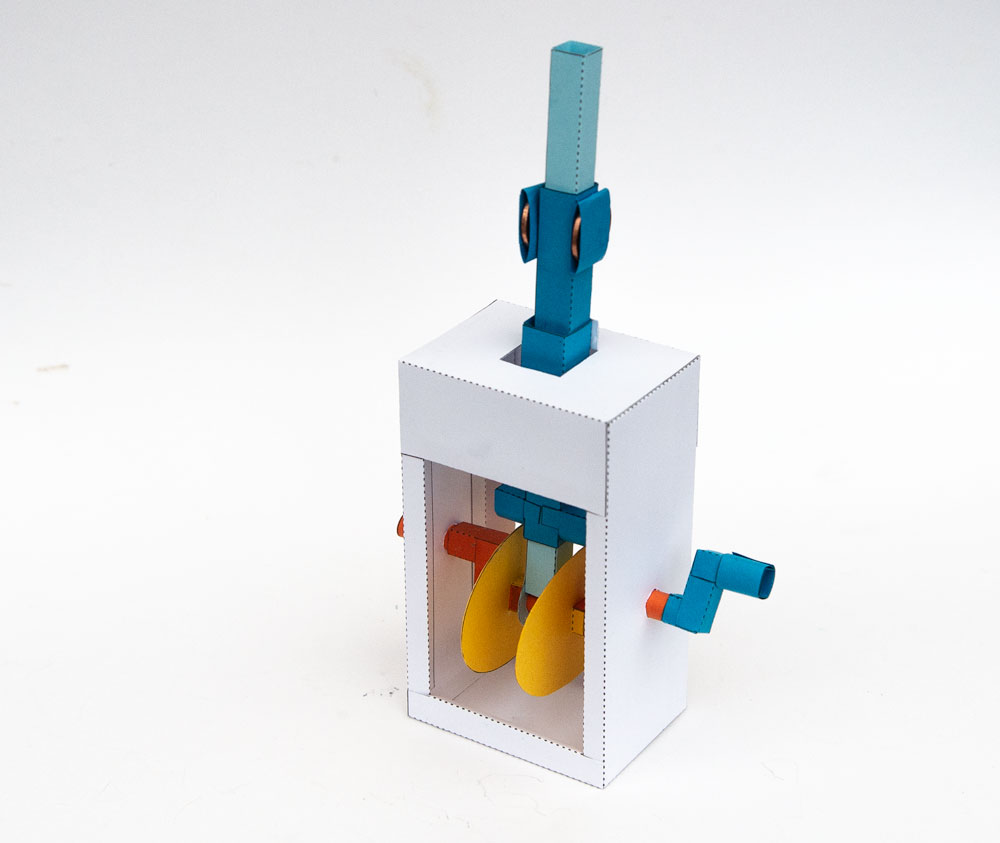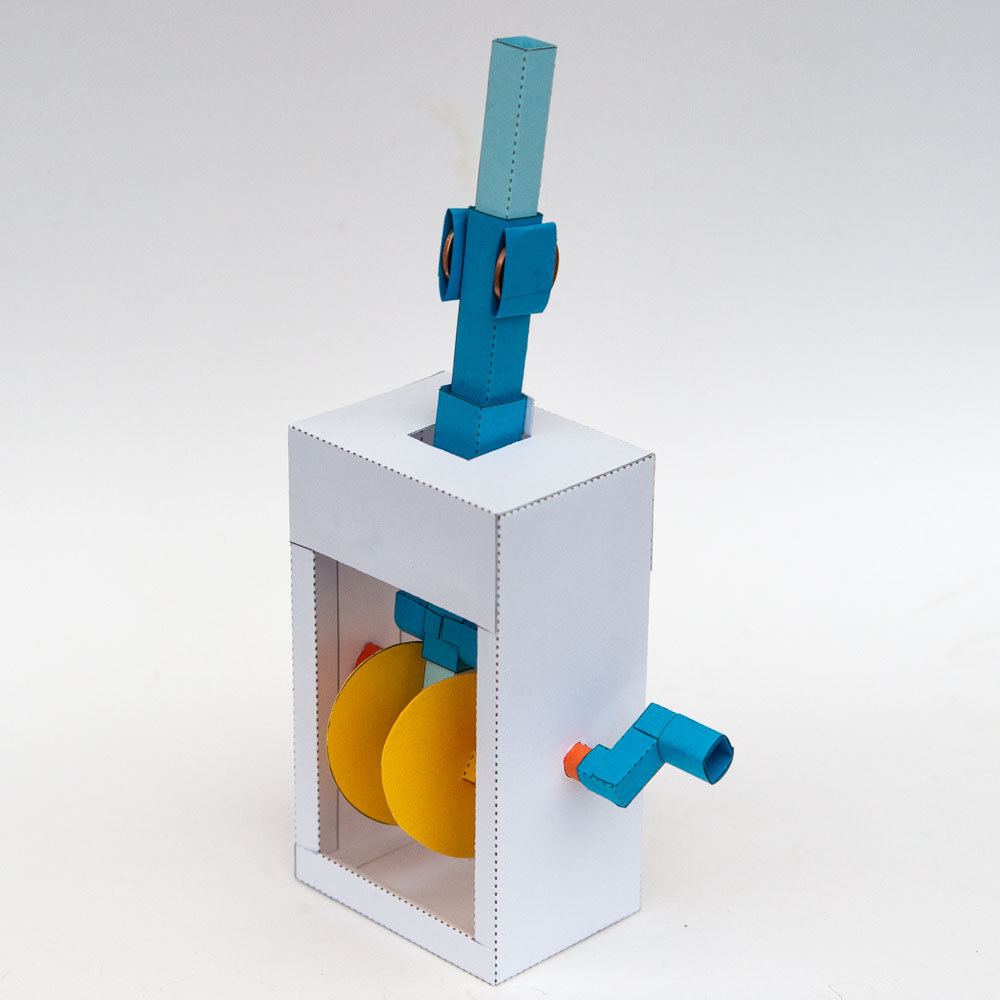
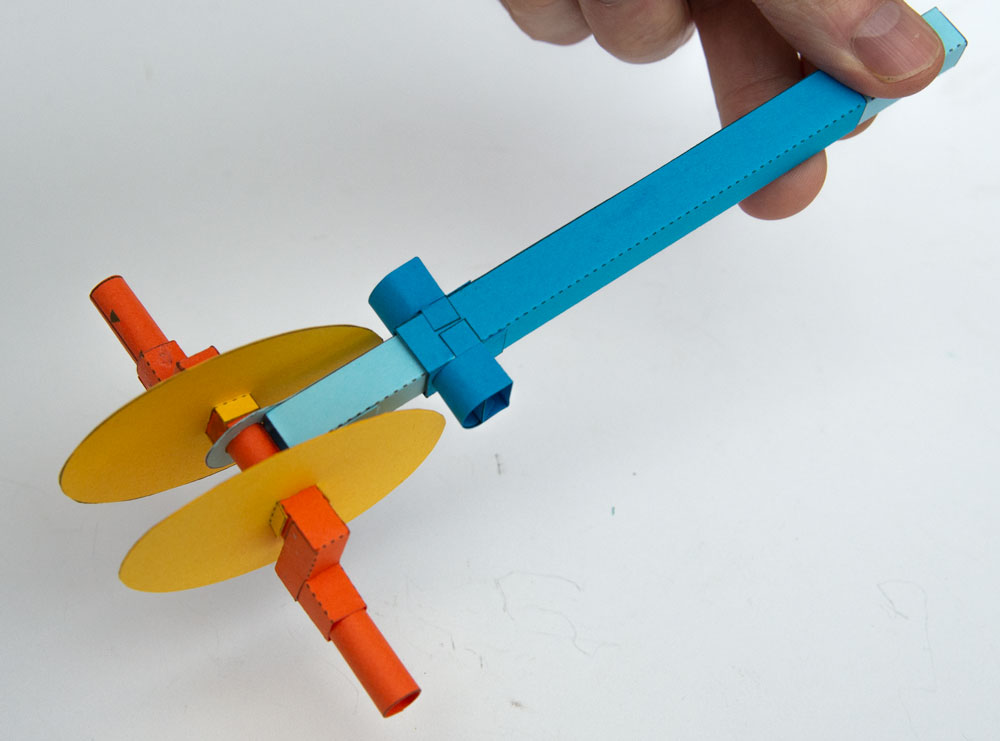
Crank /Cam Mechanism. Use this mechanism as a starting point for your own designs or as an exercise in pure mechanism.
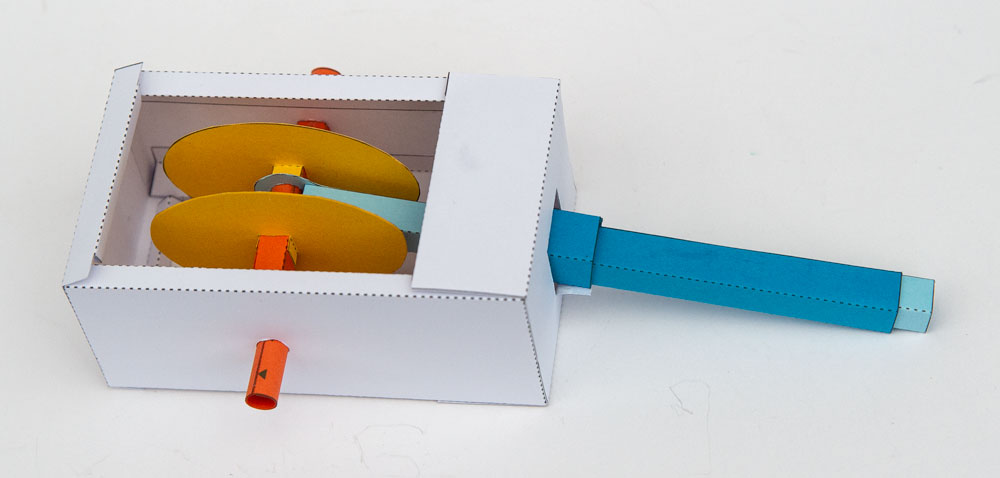
As the handle turns the light blue centre push rod describes a smooth curve. Meanwhile, the dark blue slider moves up and down at a different speed driven by the cams in the box. This project is ideal as the starting point for a flying character where the arms/wings move at a different speed from the body.
Included with the project are a pdf of all the parts you need to make the model including four variants with different cams. Also included is a high-resolution image of ideas for how the project could be used. Look out for character-based projects centred around this Essential Mechanism coming soon.
Ideas for using the Crank/Cam mechanism. A hi-res version of this image is available to download as part of the project.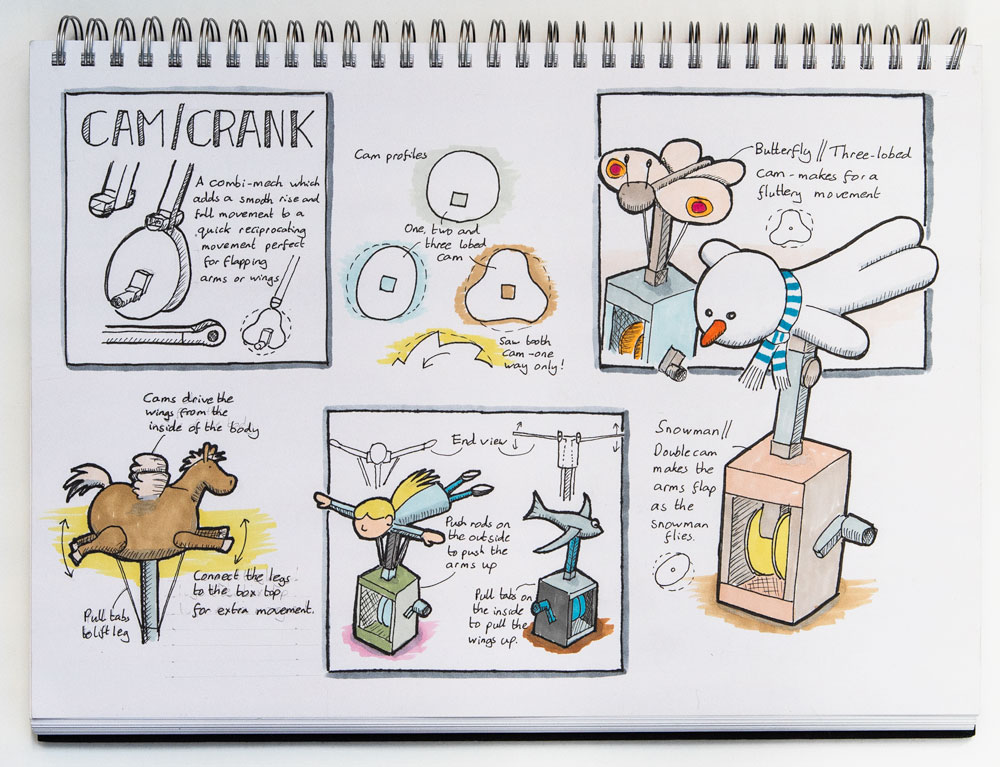
Members can download the files for free at the link. Non-members can join in the fun for £2.50 or equivalent or by becoming a member to download this and all other projects on the site for free. Sign up for membership here.
Print out the parts onto thin card (230gsm) I used coloured card for a colourful model. Score along all the dotted and dashed lines and cut out the holes before carefully cutting out the parts.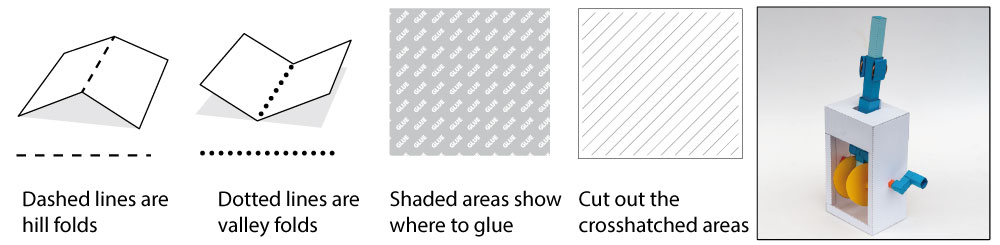
Roll up and glue the three axles as accurately as possible.
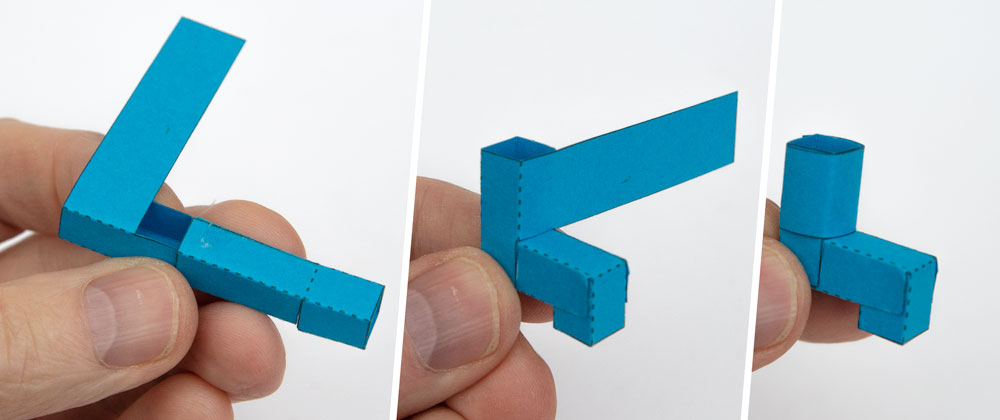
Make the push rod ends from double thickness card.
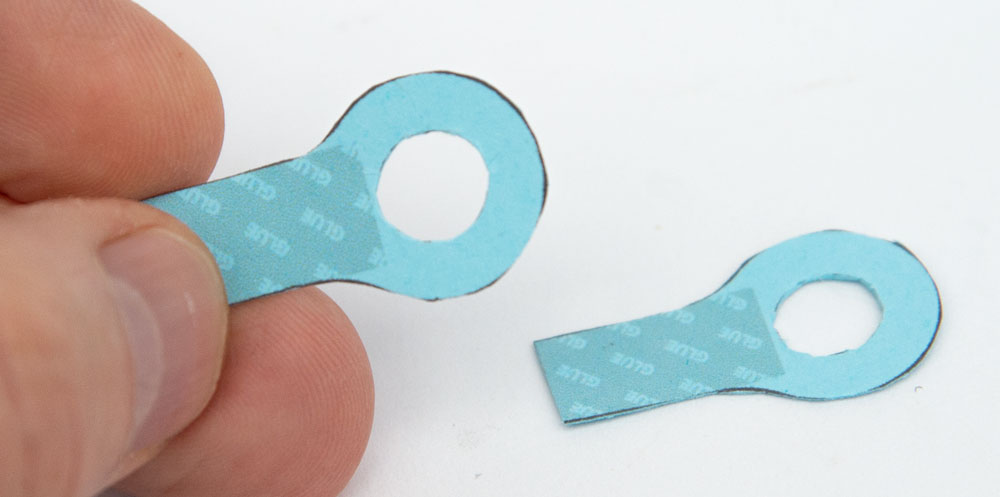
Thread the longest axle through the two push rod ends and glue them to the grey areas on push rod.
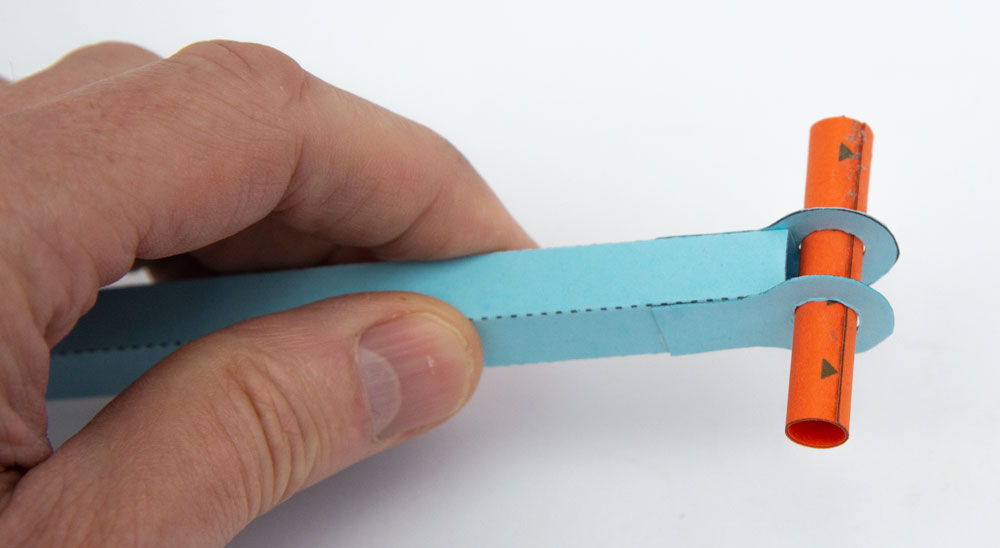
Assemble the two cranks
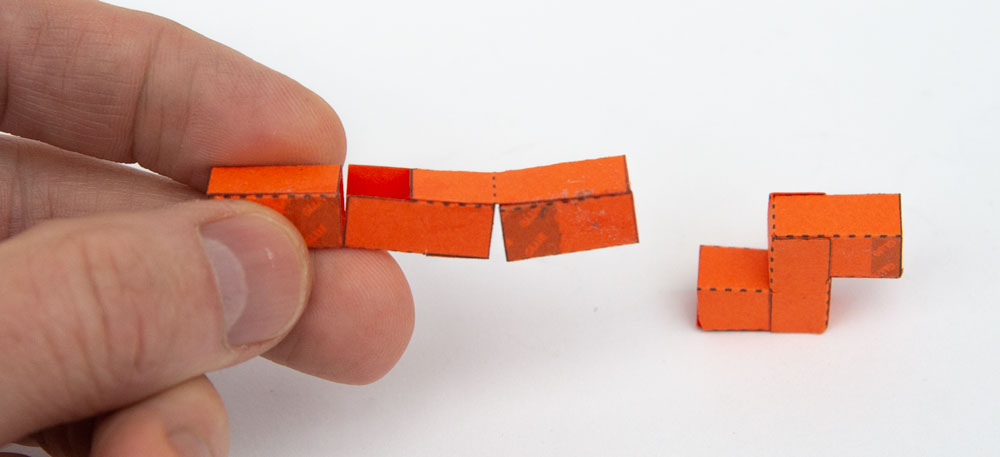
Choose which cams you are using and make them up from double thickness card.
Glue the cams to the crank arm lining up the ends of the tab with the end of the crank
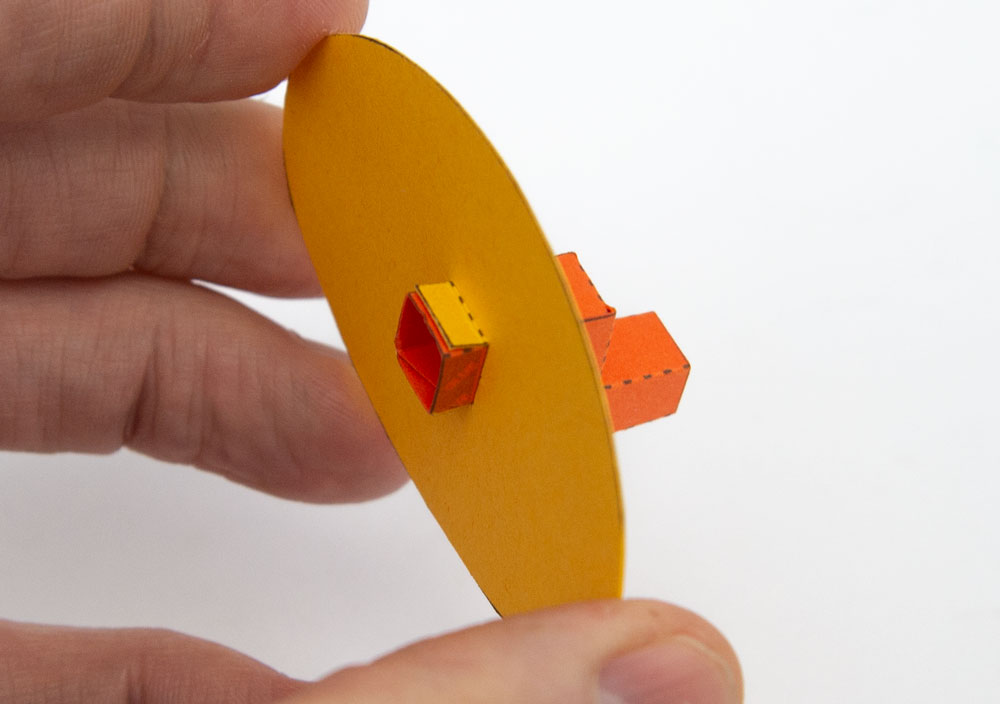
Glue the two crank/cams into place on the centre axle making sure that they are lined up with each other.

Fit the short axles into place.

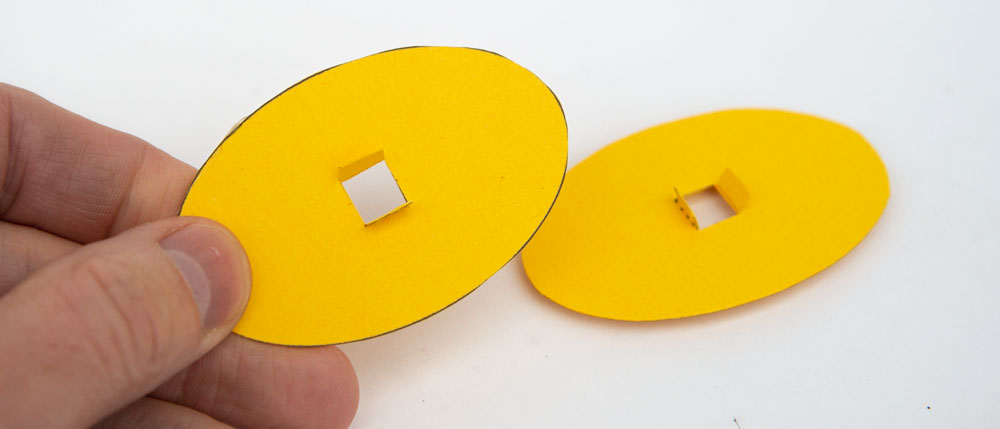
Assemble the cam followers as shown.
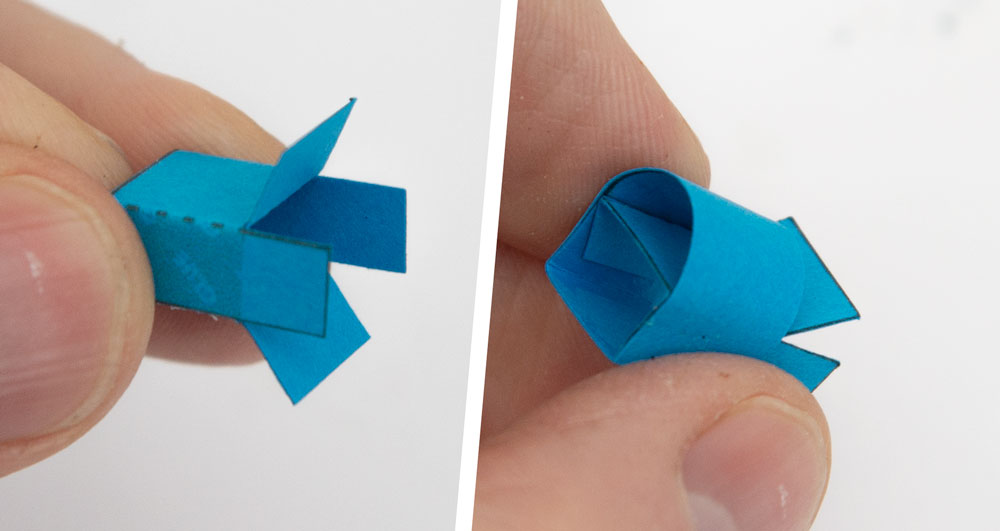
Glue together the inner slider tube.
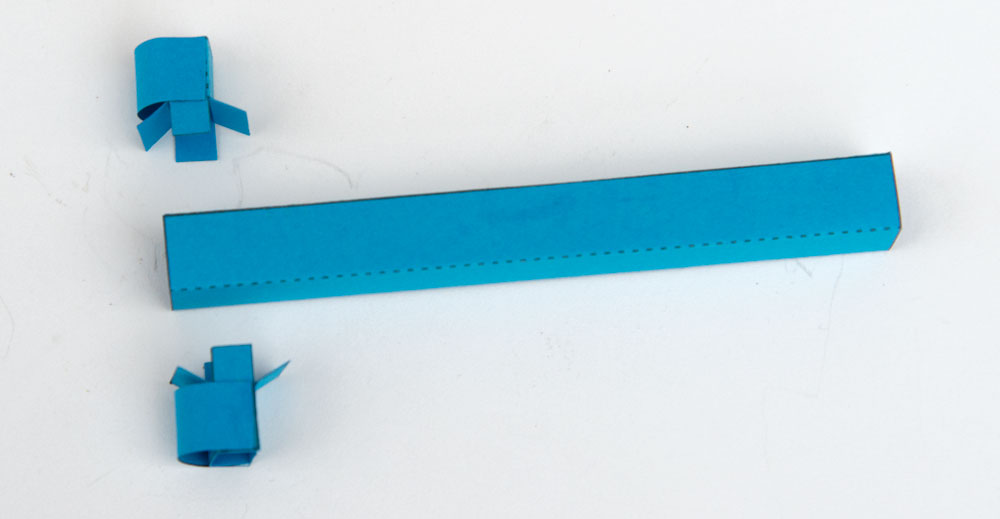
Glue the cam followers to the end of the inner slider tube.

Slide the inner slider tube down over the push rod. Make sure that it moves up and down easily.
Assemble the handle in three steps.
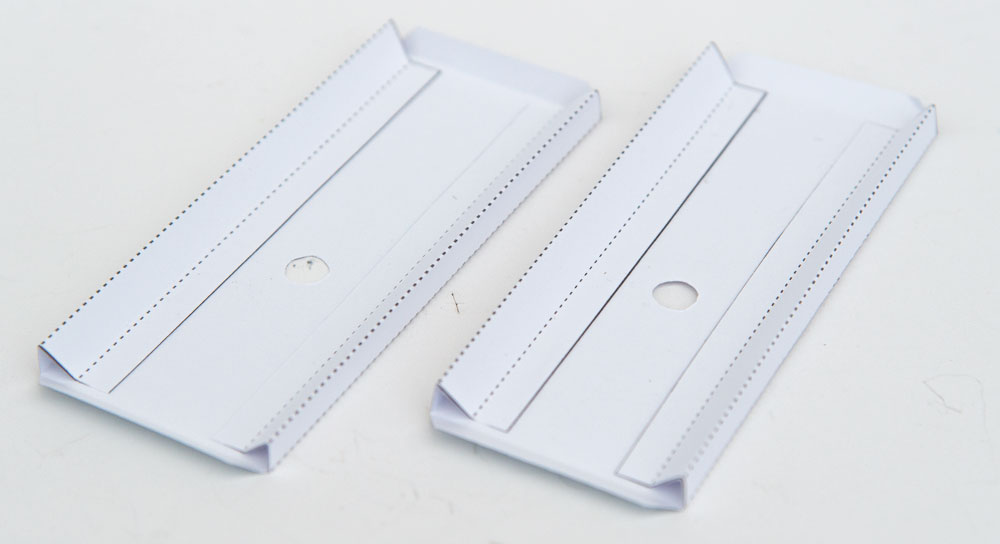
Make the box sides as shown.
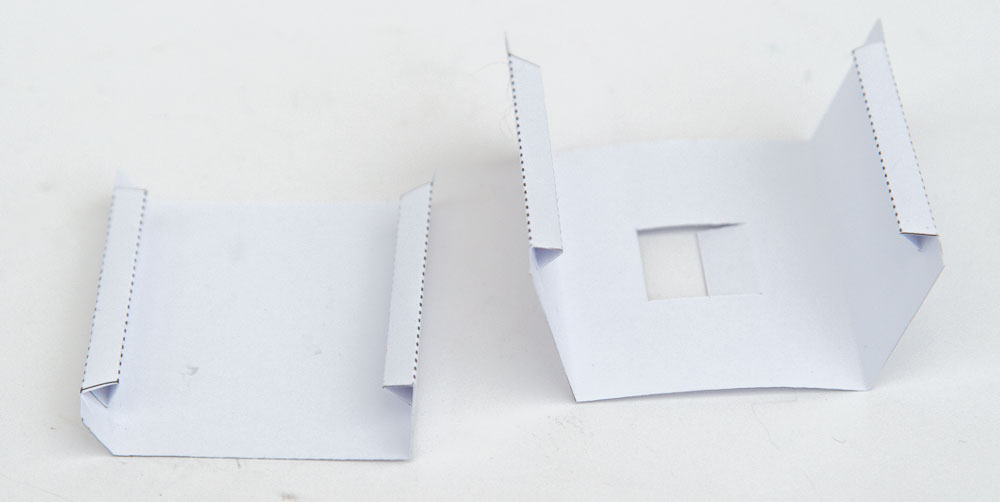
Make the box base and top as shown.
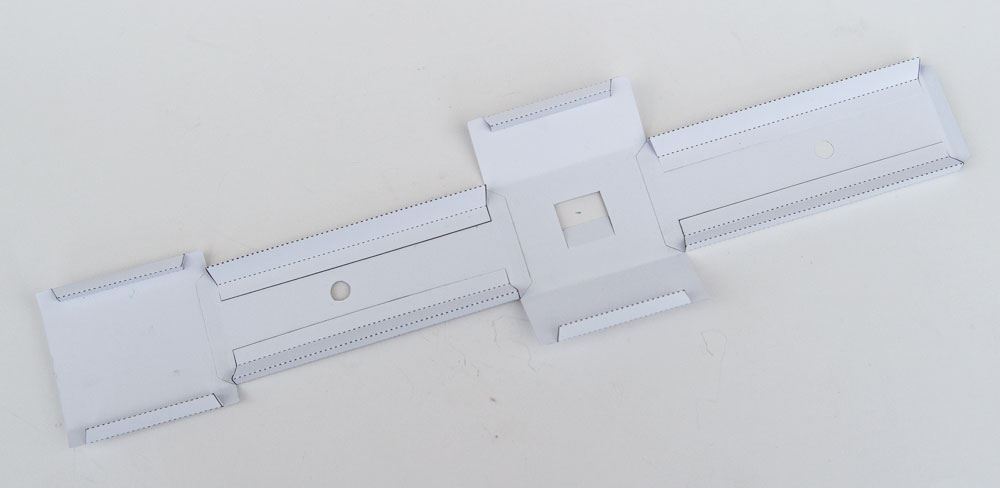
Glue together the four parts of the box noting where the various holes are.
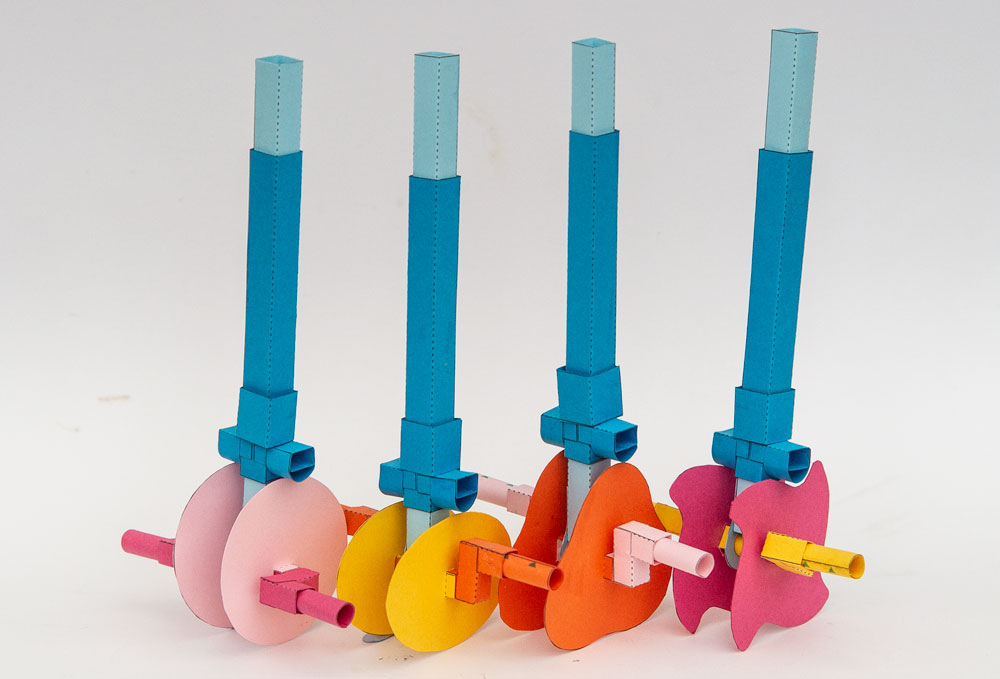
Here are the four different cam variants. Choose which one you are using. The more lobes on the cam the faster the slider tube will move.
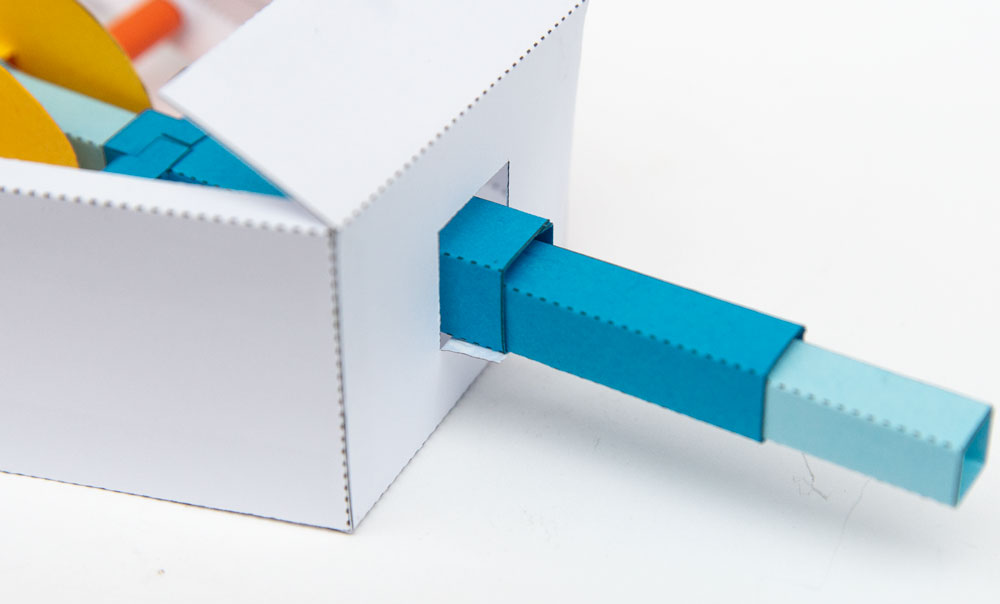
Glue together the outer slider tube. Glue it into place on the box top tab and thread the push rod up through it.
Fold the box round.

Glue the box closed with the axles into place.
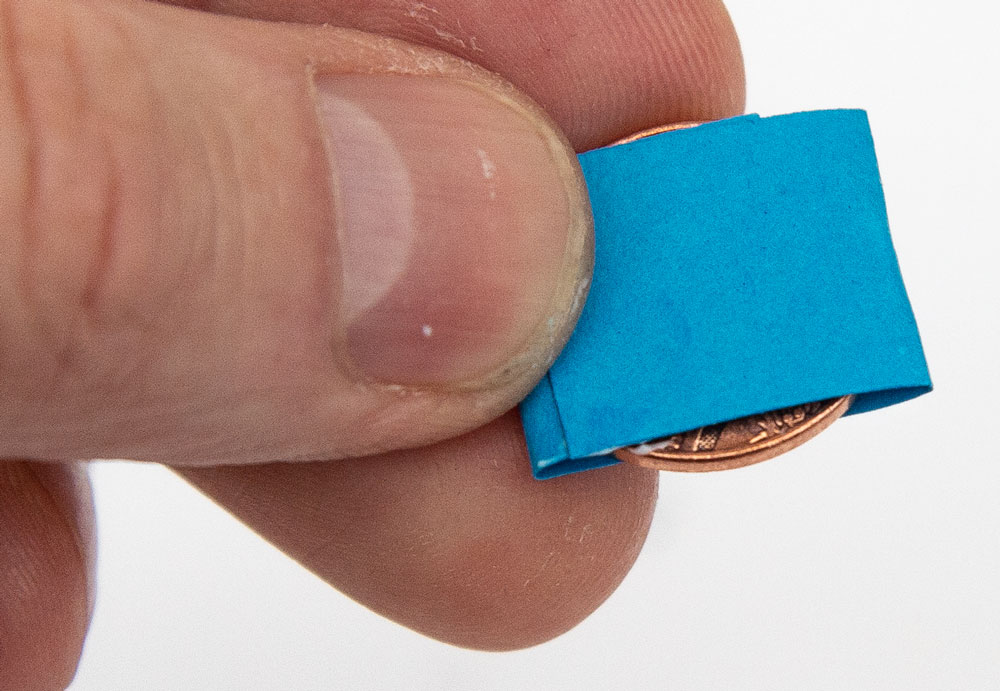
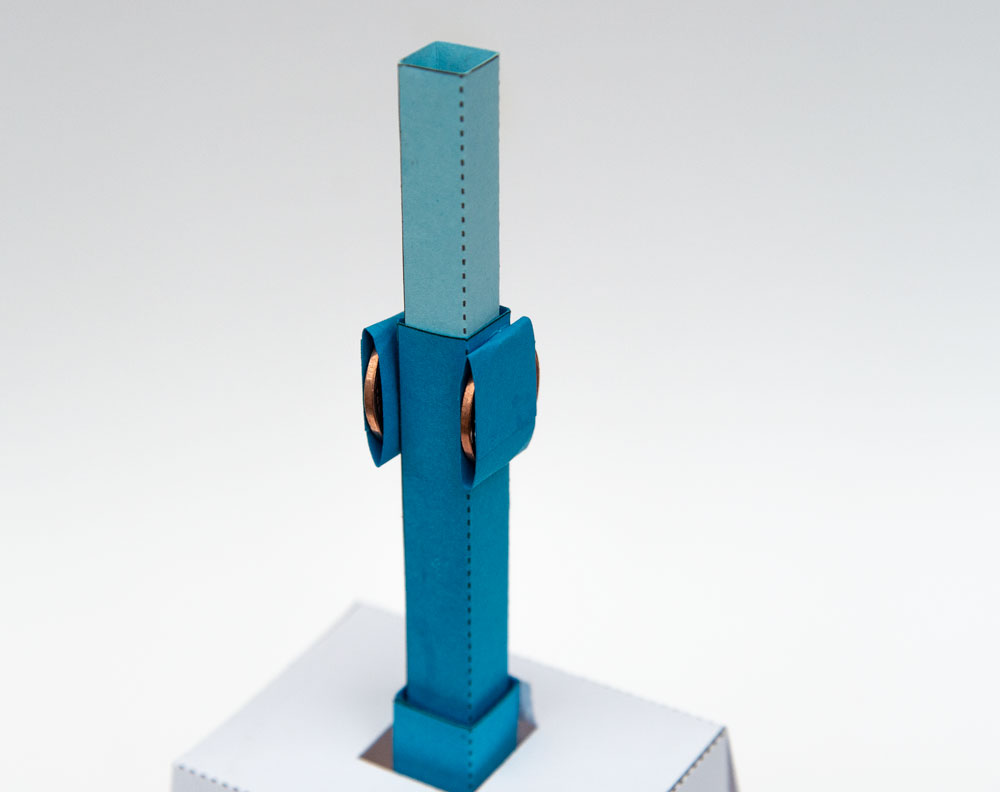
You will need two small coins to act as weights. A UK one penny is perfect, 20mm diameter, 4 gram weight. Wrap the coin tightly in a piece of paper.
Glue the coins to the tops of the inner slider tube.
Glue the handle into place to complete the project.