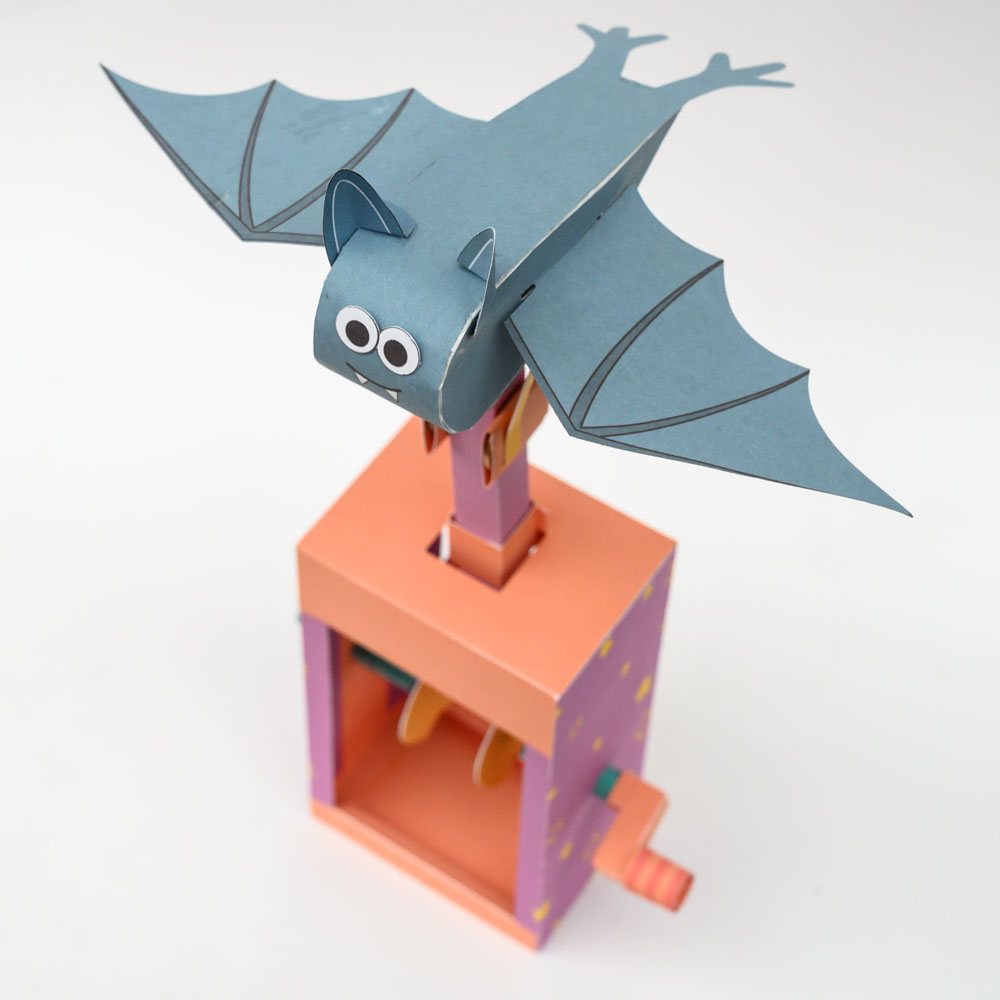
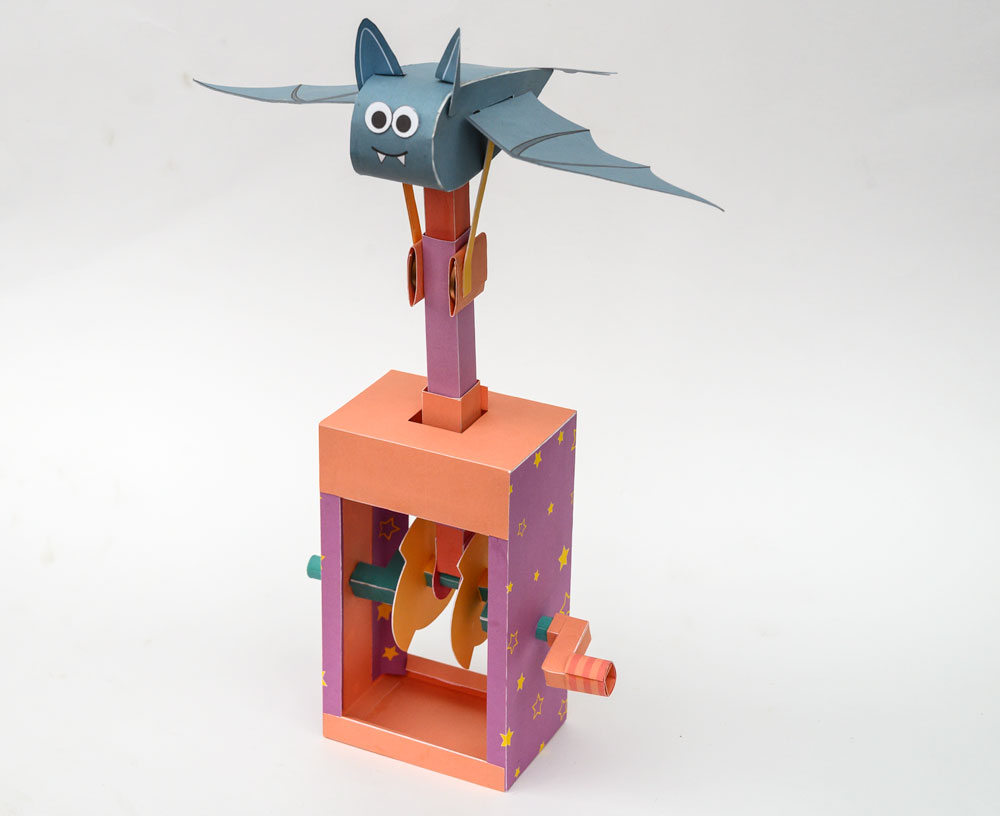
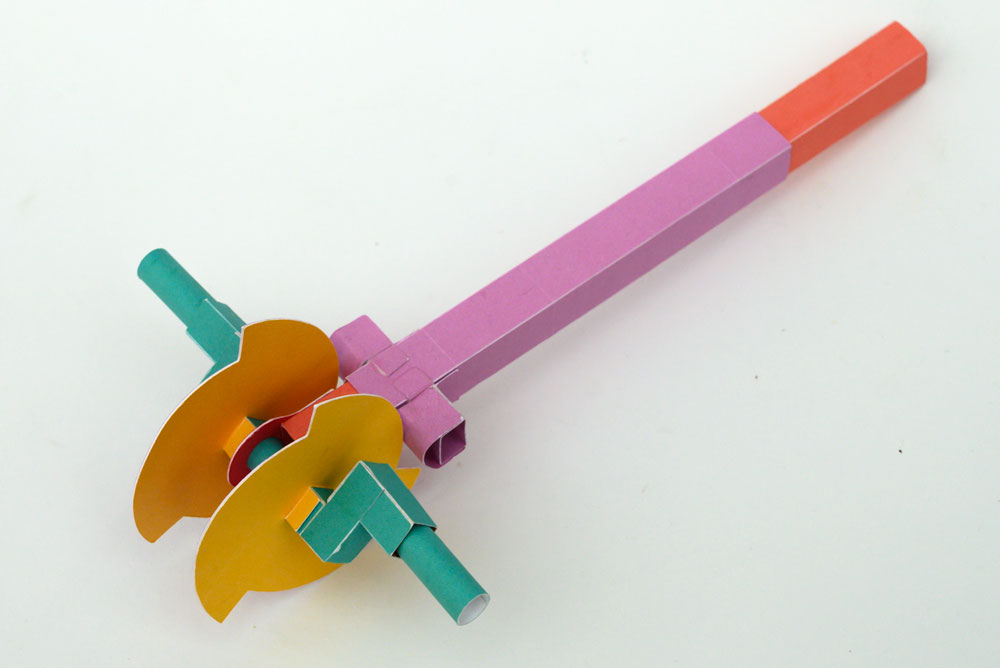
Turn the handle on the (Updated) Fluttering Bat project and the wings flap enthusiastically powered by the crank/cam in the box.
Members can download the project for free by adding it to the basket, thanks for your support! Non members can join in the fun for £2.50 or equivalent.
This project comes in two versions. The print version contains a pdf for you to print out onto thin card then cut out with scissors. The cutting machine version comes with the same pdf but also includes files ready for Silhouette Cameo 3 as well as svg and jpg files. This project is suitable to print and cut on most popular paper cutting machines.
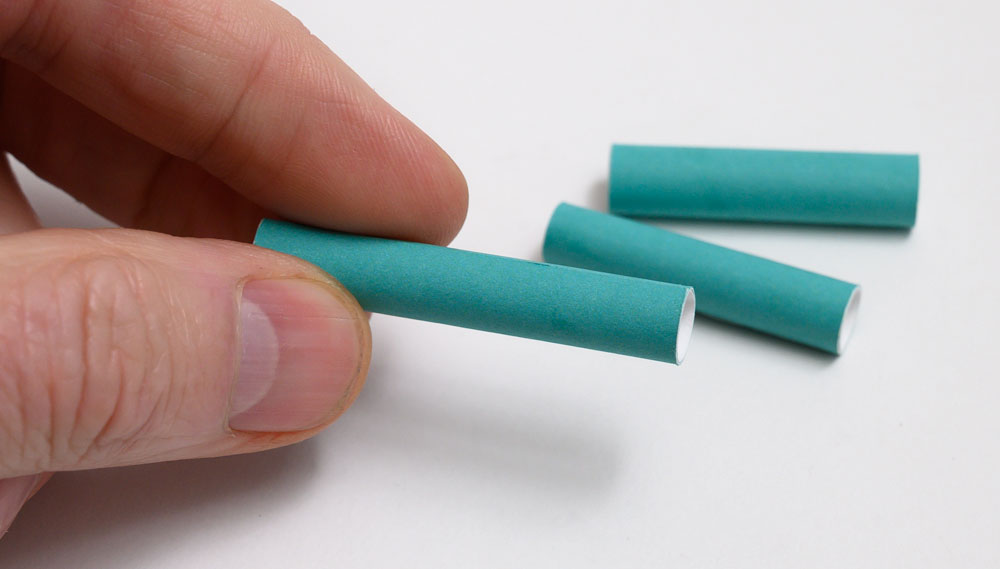
Roll round and glue the three axle tubes.
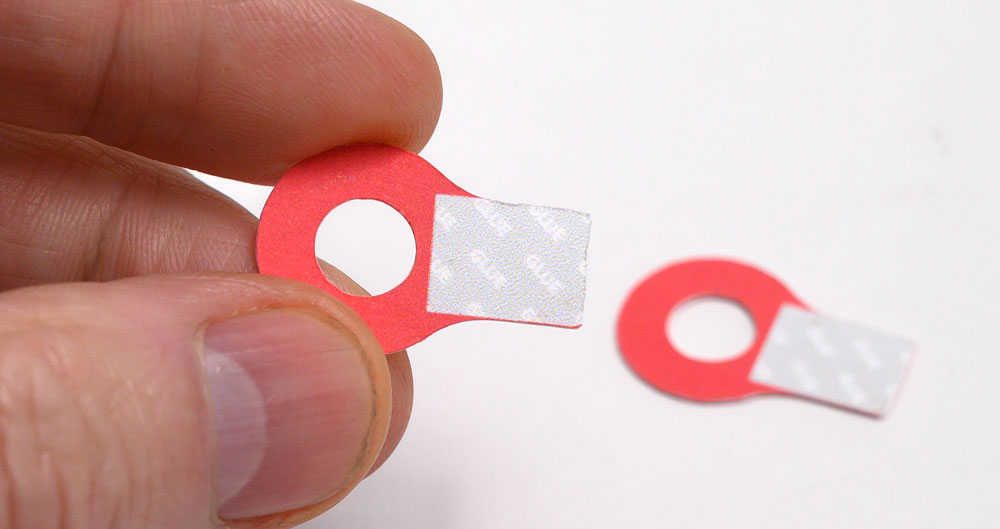
Make the push rod ends from double thickness card.
Thread the longest of the axle tubes through the push rod ends then glue the push rod ends to the push rod as carefully as possible.
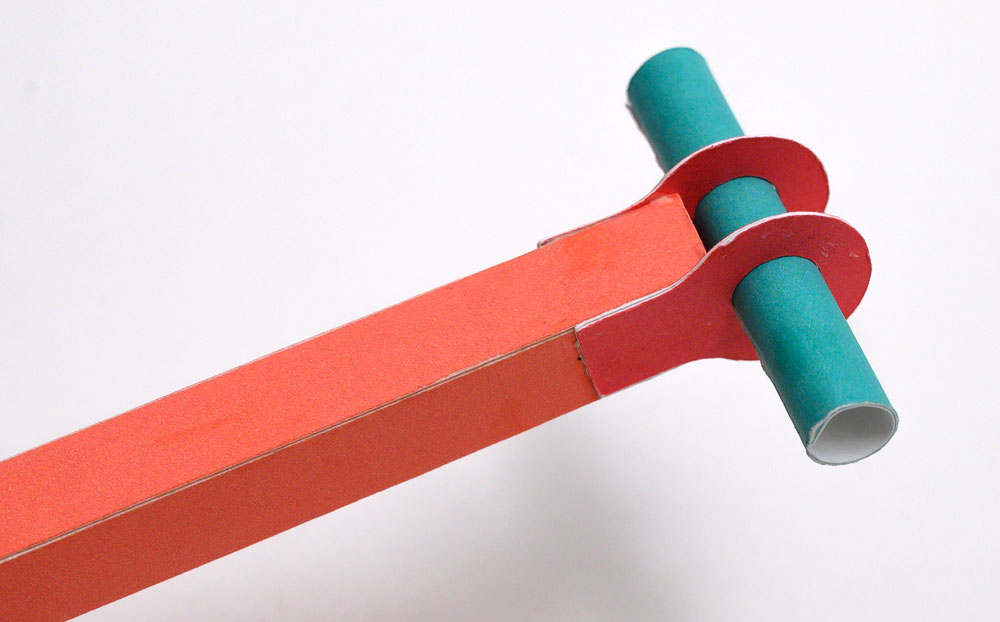
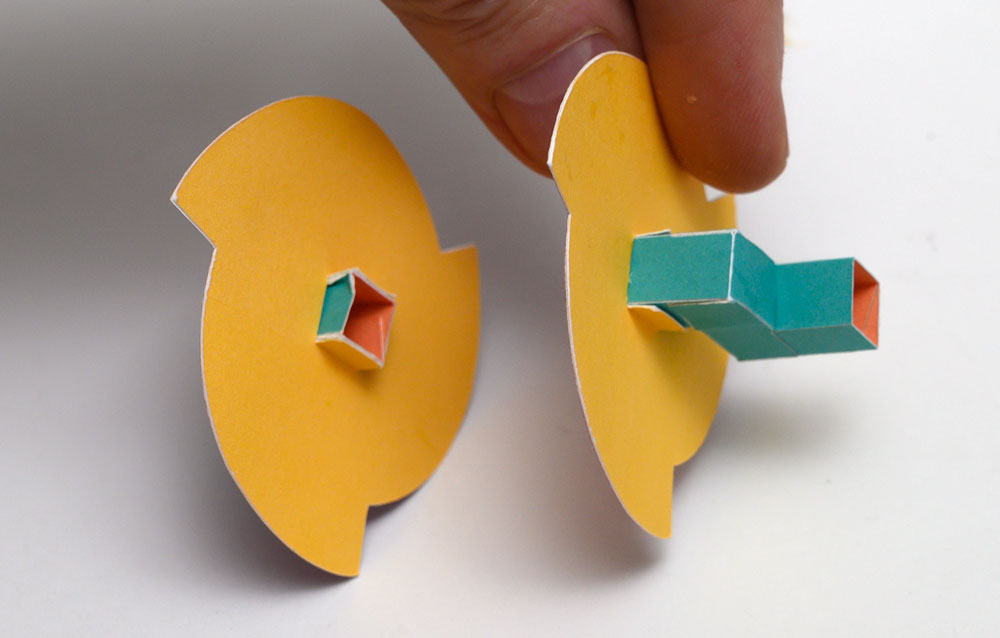
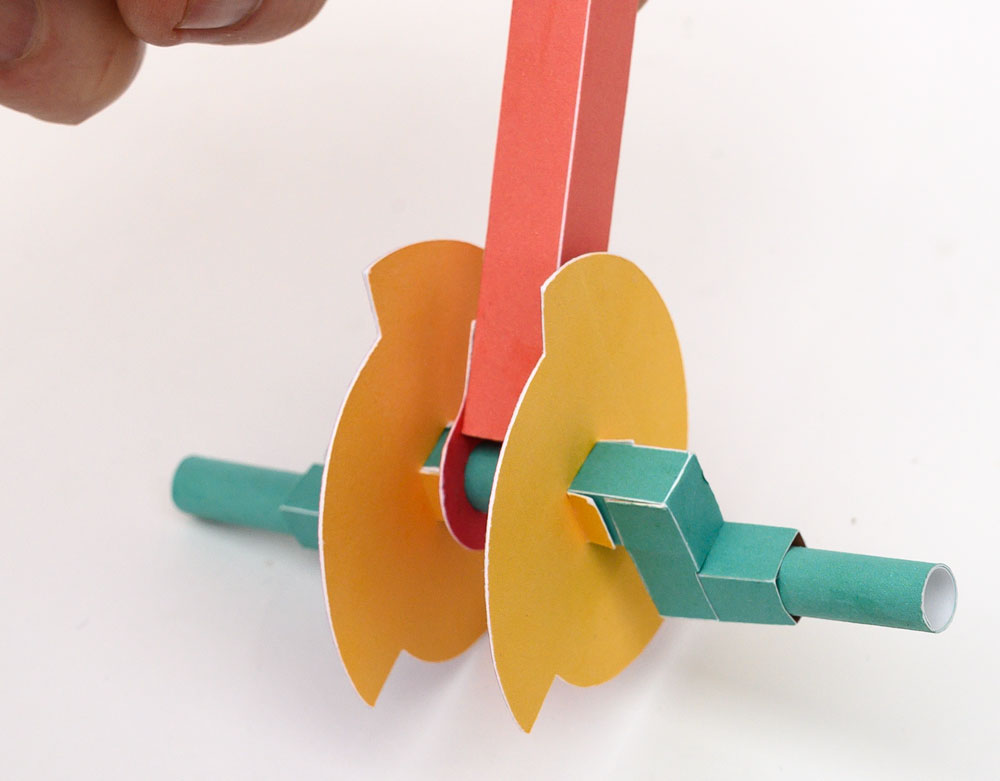
Assemble the two crank parts.
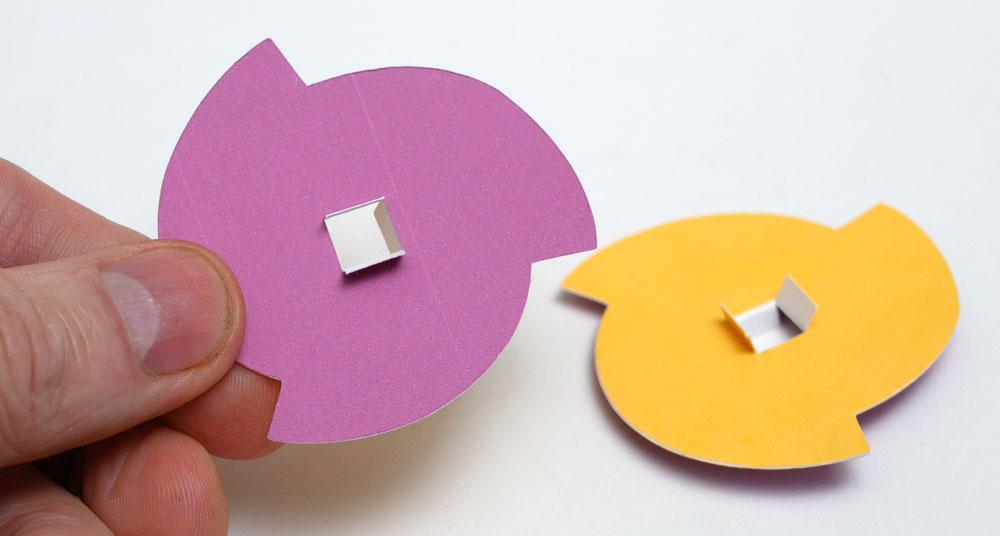
Make you the two cams from double thickness card.
With the two cams lined up, fit the cranks into place.
Glue the cranks onto the centre axle.
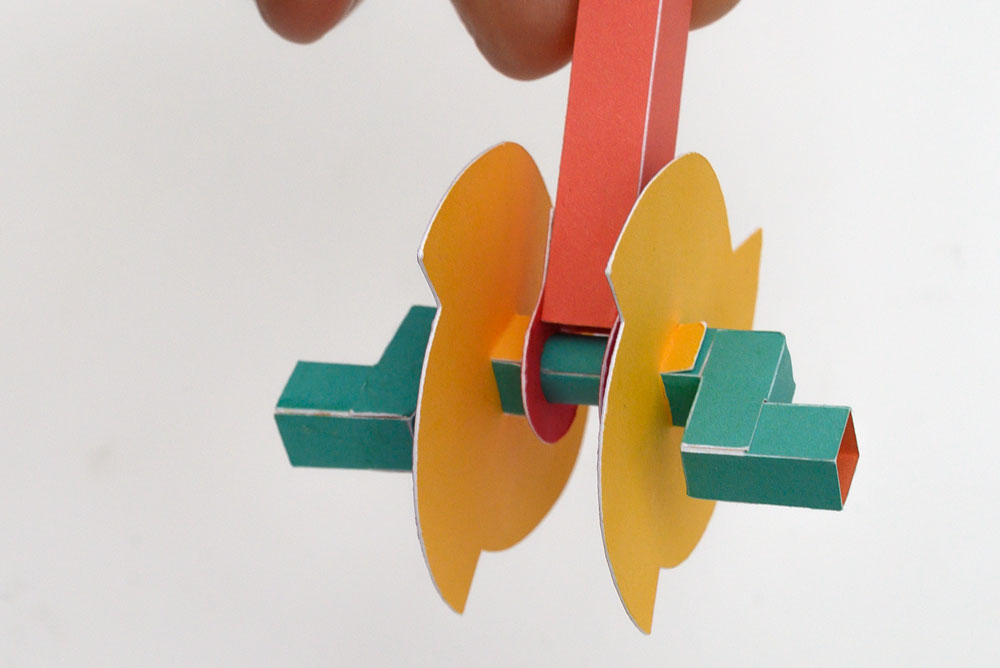
Glue the other two axles into place.
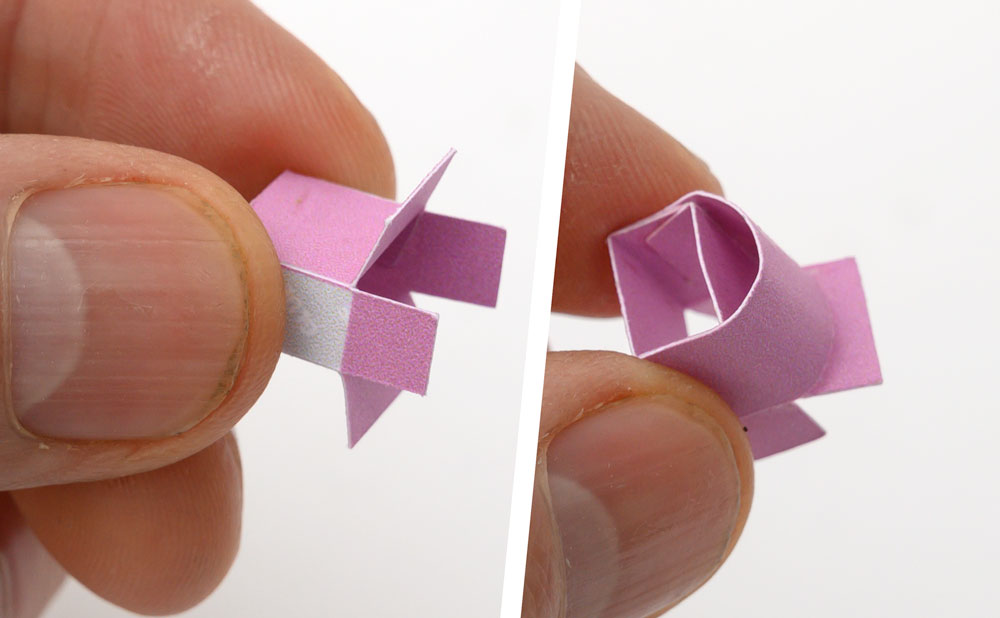
Make up the cam followers as shown.
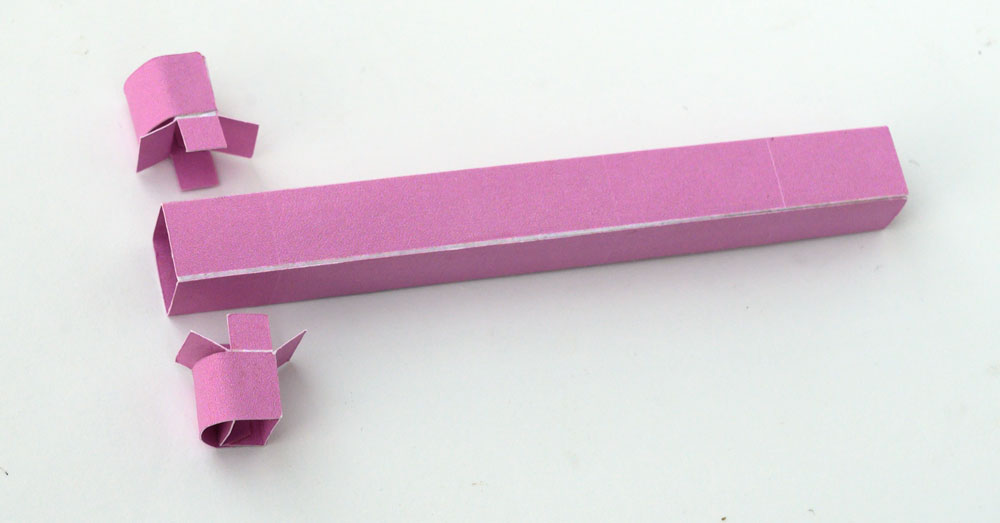
Glue together the inner slider.
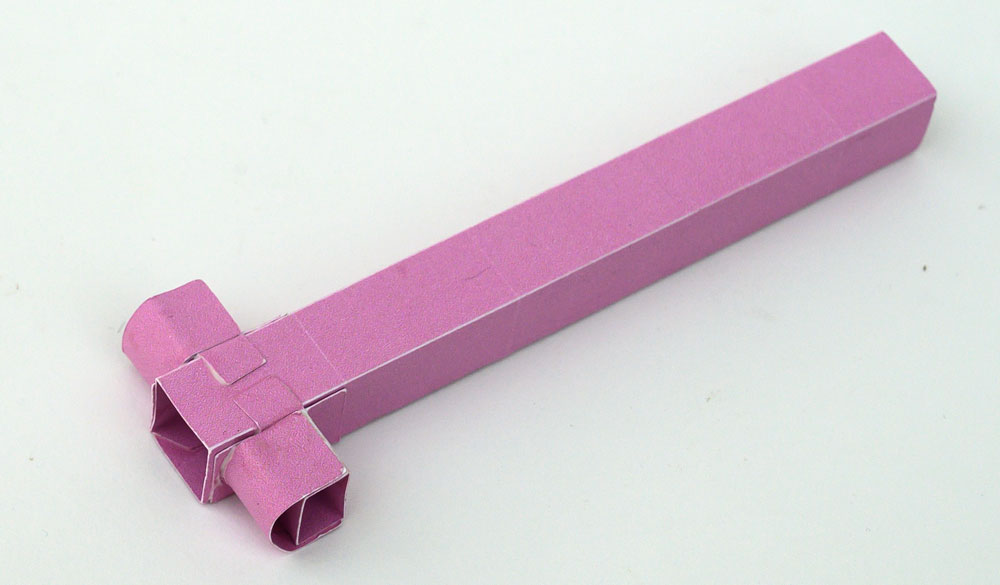
Glue the cam followers to the inner slider lining up the tabs with the end of the tube.
Thread the inner slider onto the push rod.
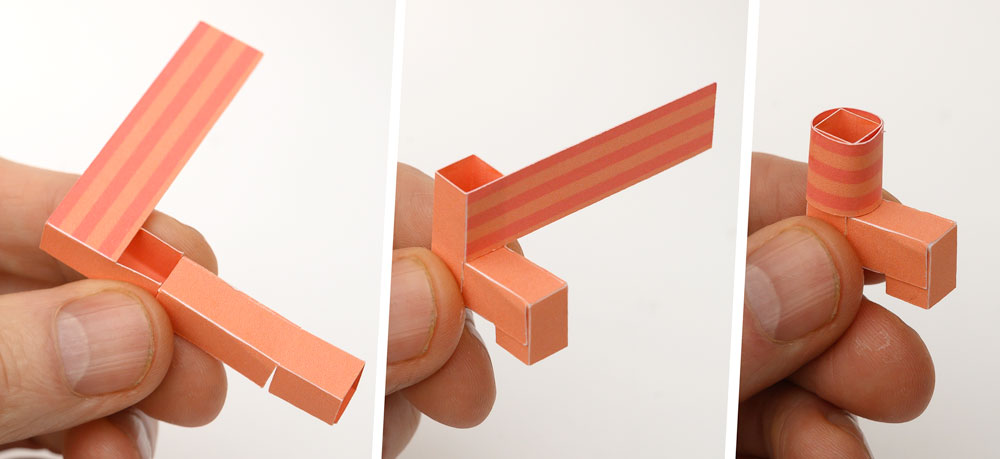
Assemble the handle in three steps.
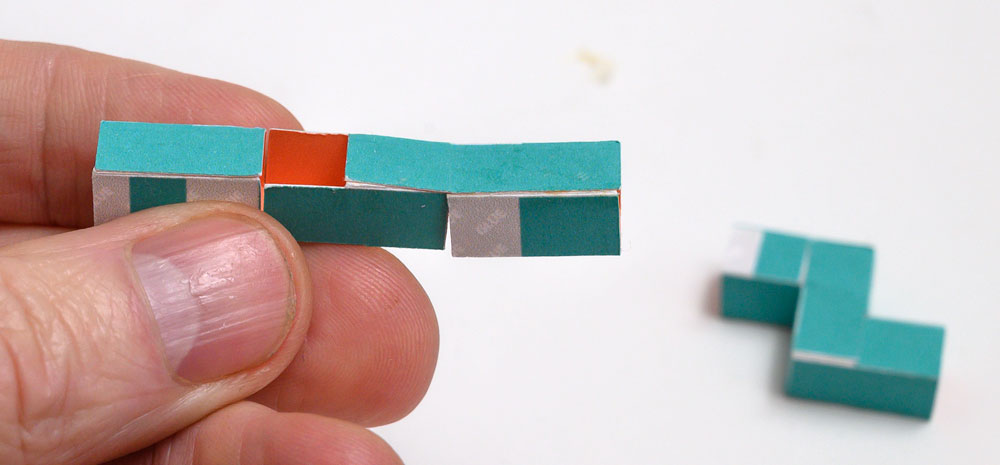
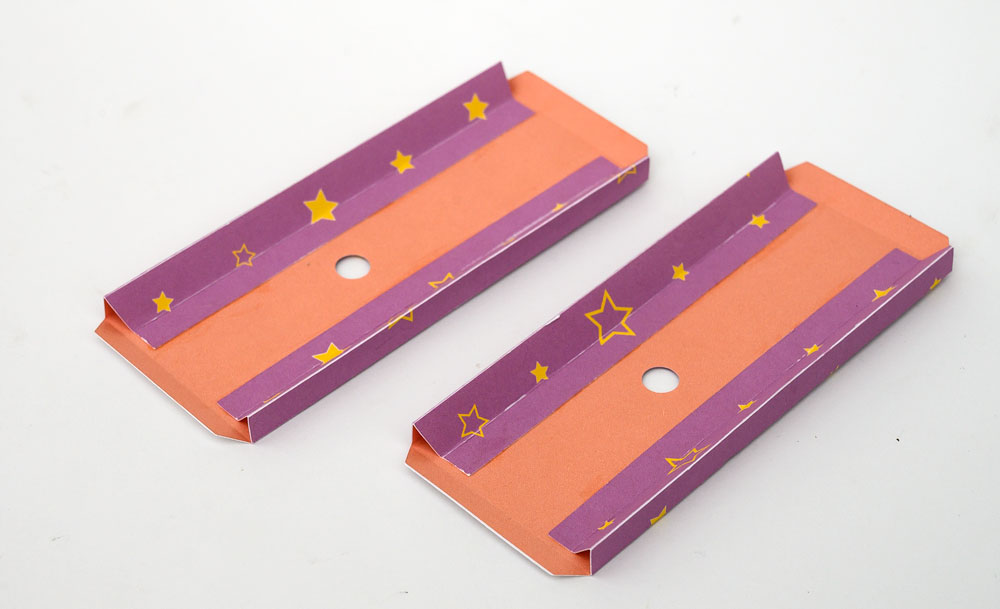
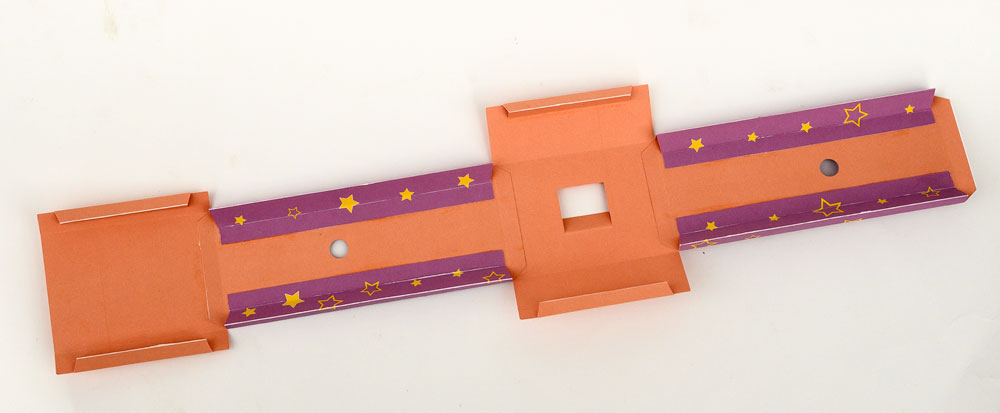
Make up the two sides with right angle triangle tubes.
Fold round and glue the equilateral triangle tubes on the top and base.
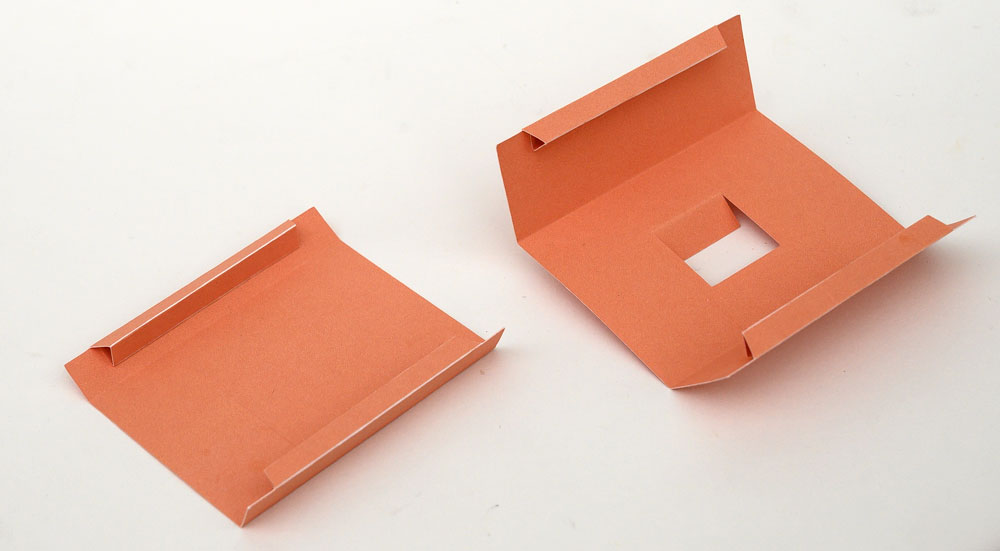
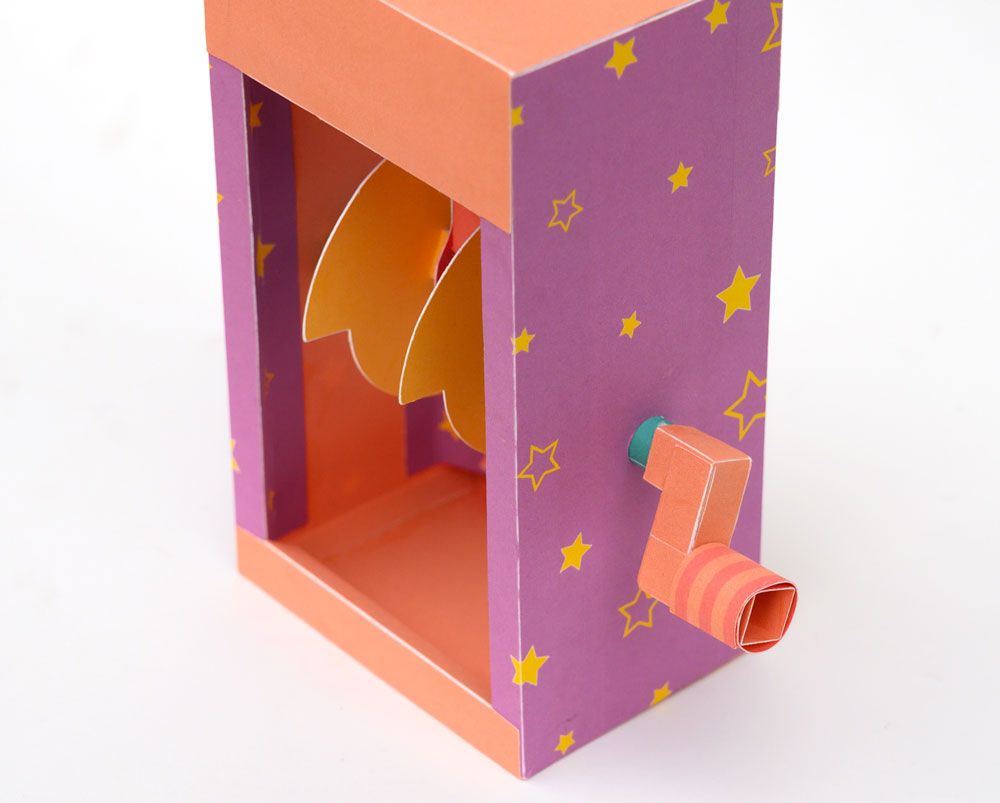
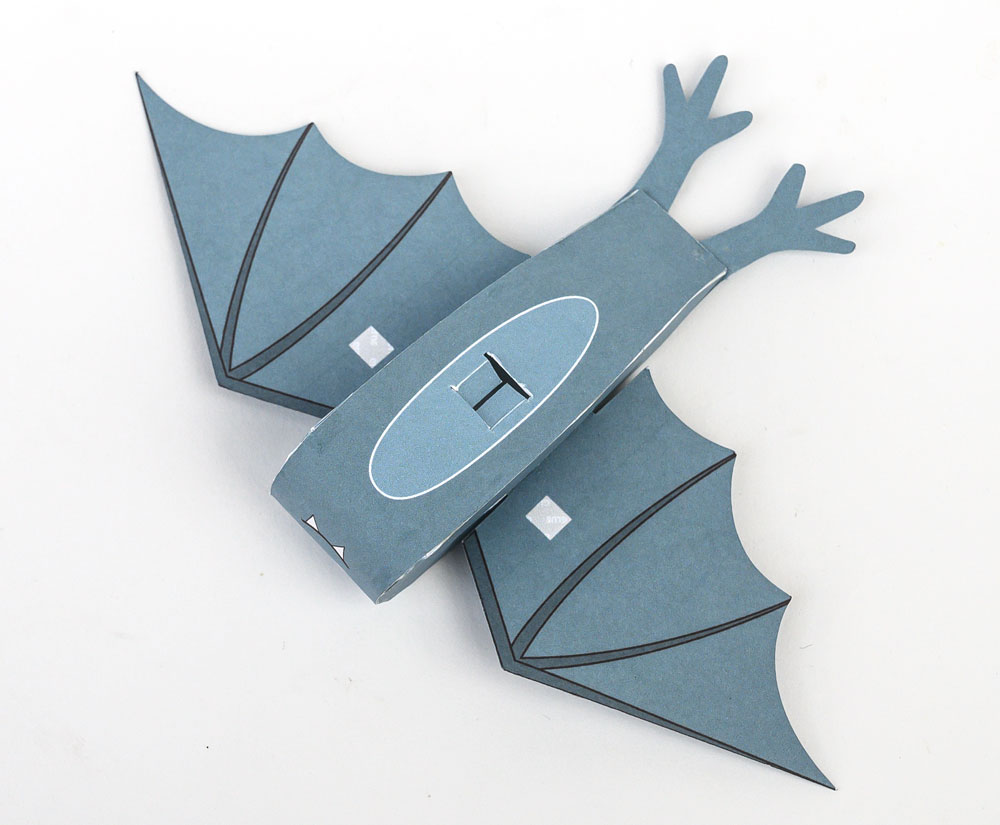
Glue together the four parts of the box. Note that the circular holes are away from the top.
Thread the outer slider down over the inner slider.
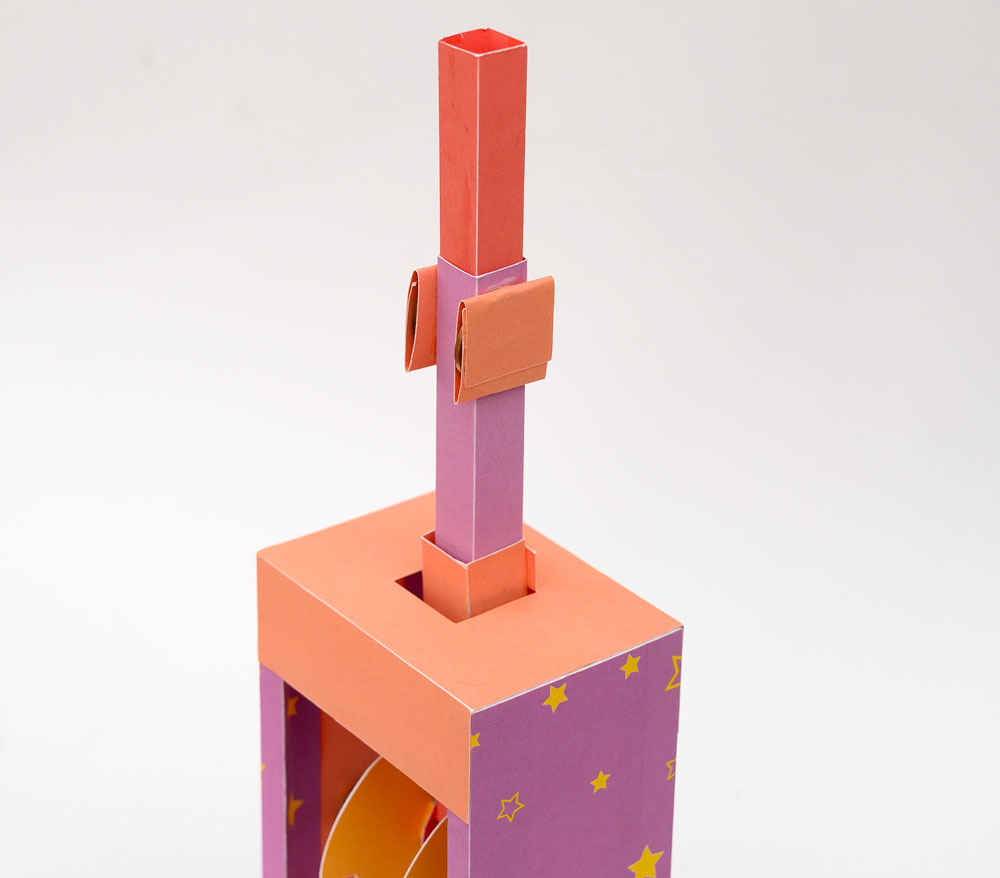
Fit the whole push rod/crank assembly up through the hole in the box top
Glue the outer slider to the tab in the box top.
Fit the axles through the circular holes in the side of the box.
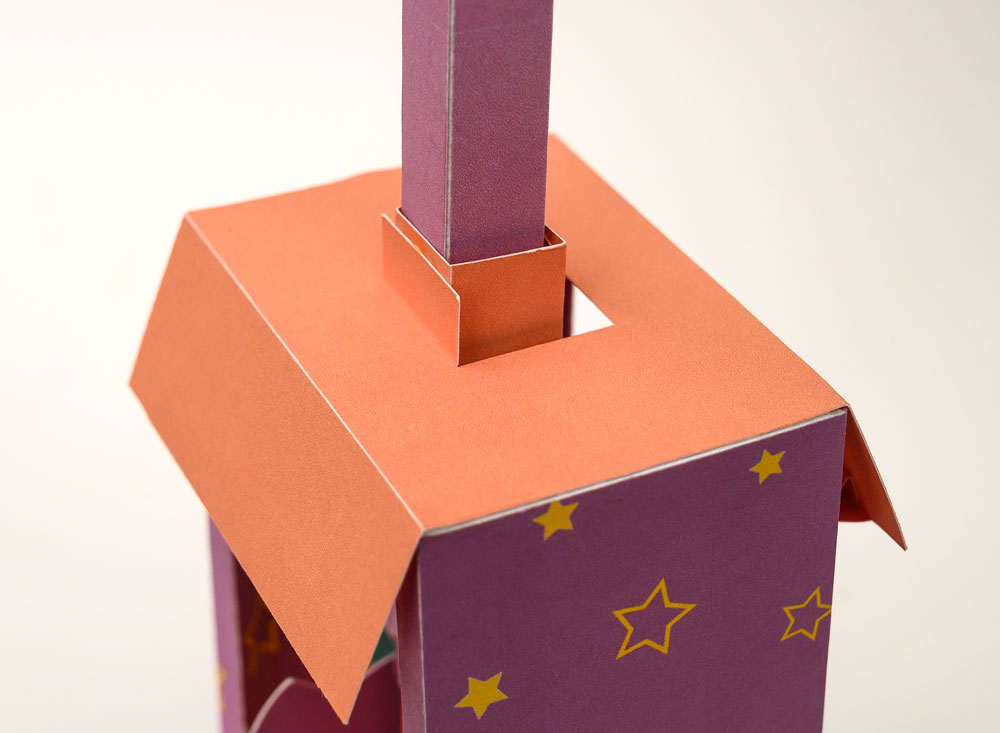
Glue the box closed.
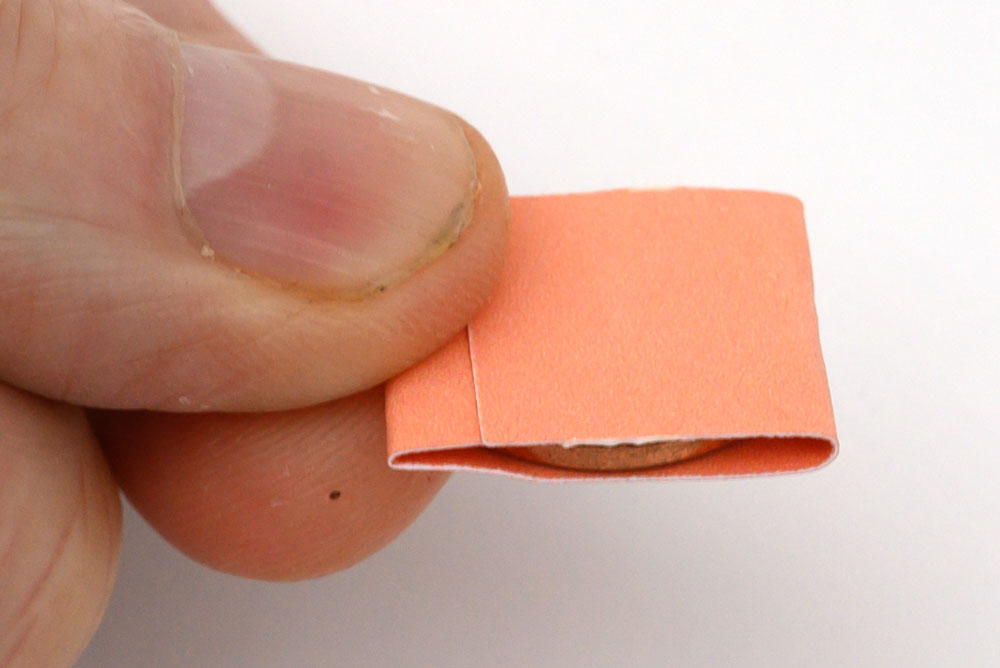
Find two coins. 20mm diameter 4 grams weight – UK pennies are ideal. Wrap them tightly in the coin wraps.
Glue the coins to the top sides of the inner slider. The extra weight helps with the wing movement.
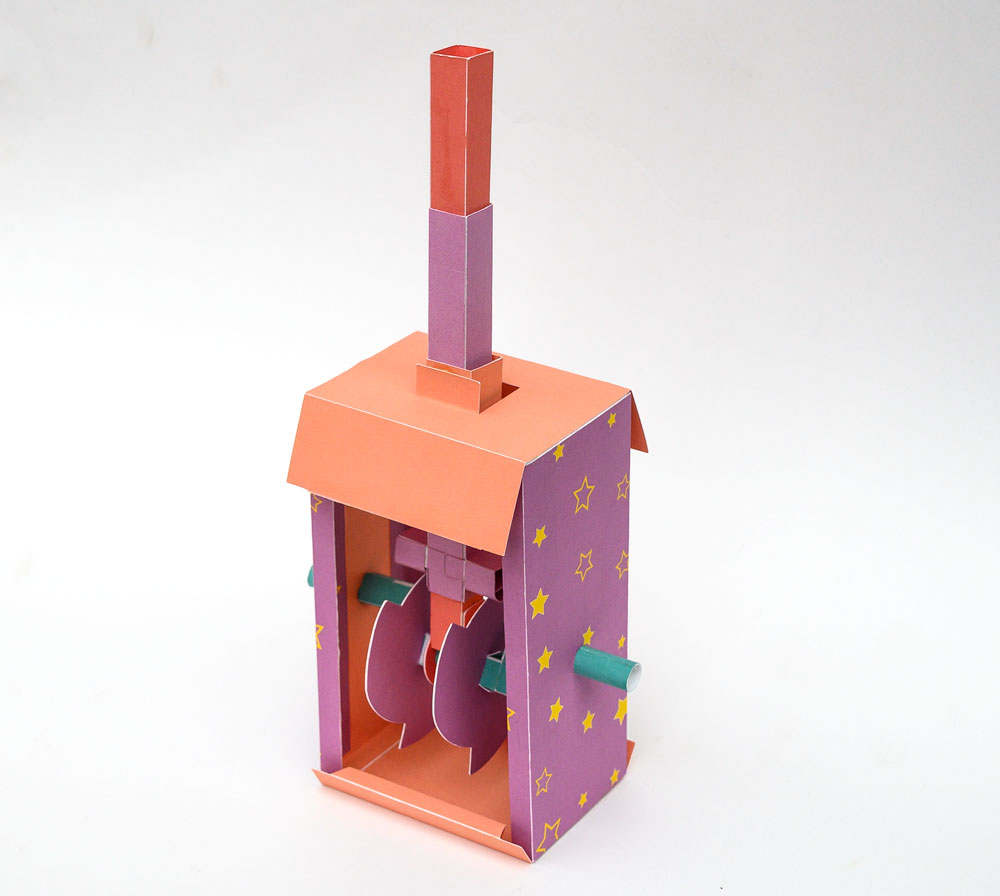
Glue on the handle to complete the box.
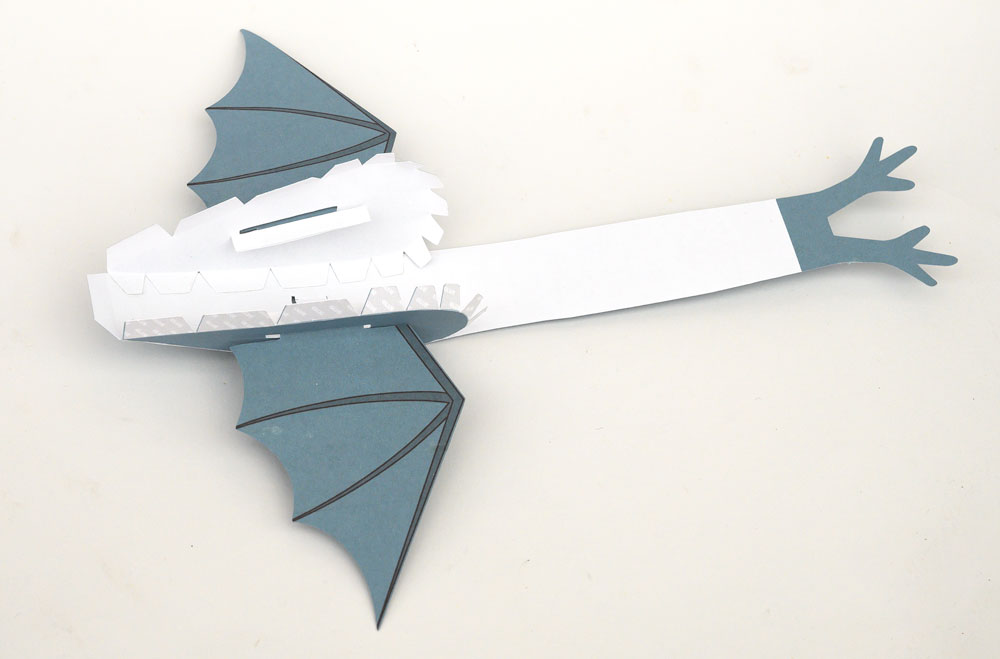
Making the Bat
Thread the wing through the slot in the side of the body. The slot is at the top of the body side so the grey glue point on the wing should be on the underside of the wing.
Sandwich the wing end around the stub of the wing. This will hold the wing loosely into place so it can move freely.
Repeat with the other side.
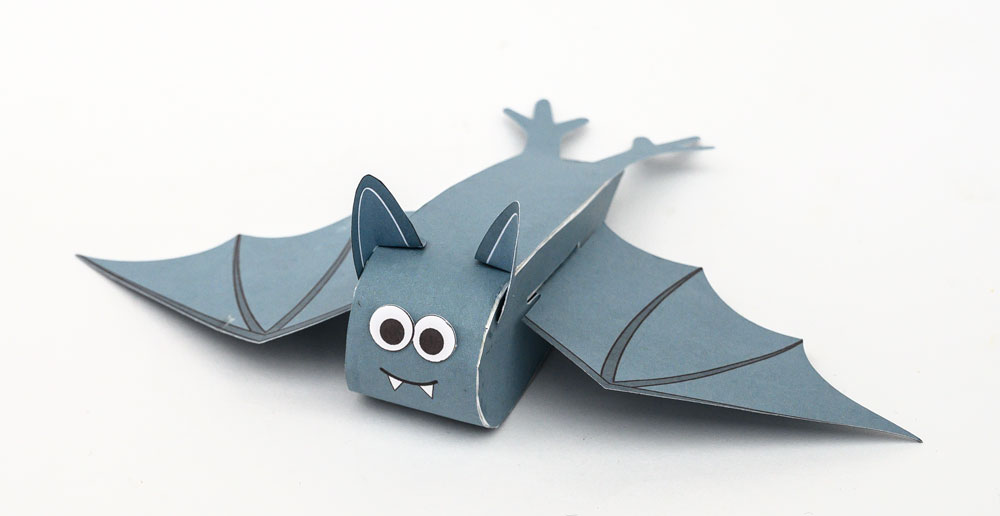
Starting from the underside of the body, glue on the body a few tabs as a time.
Glue the body all the way round a few tabs at a time.
Glue on the eyes and ears as shown.
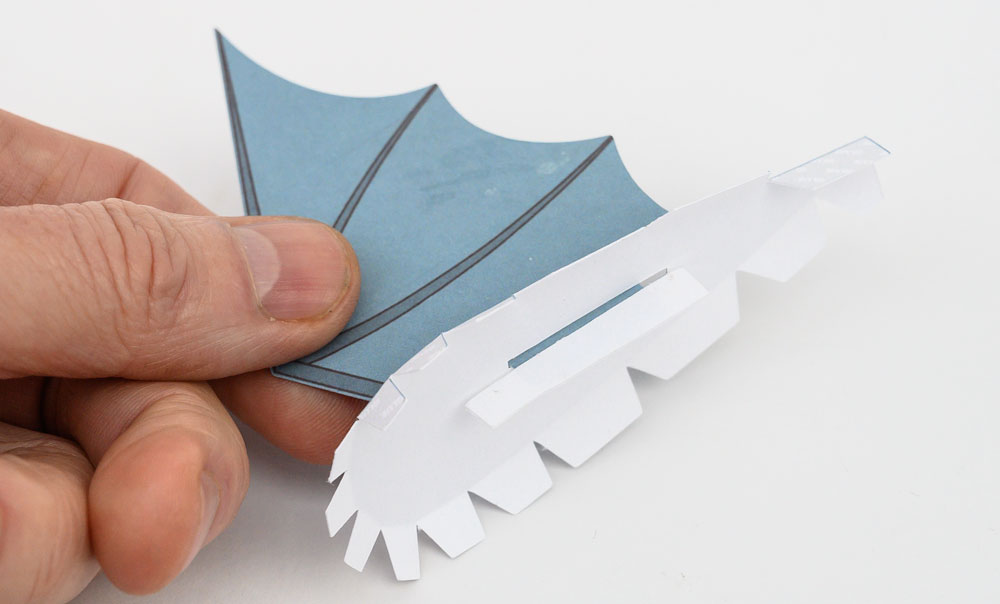
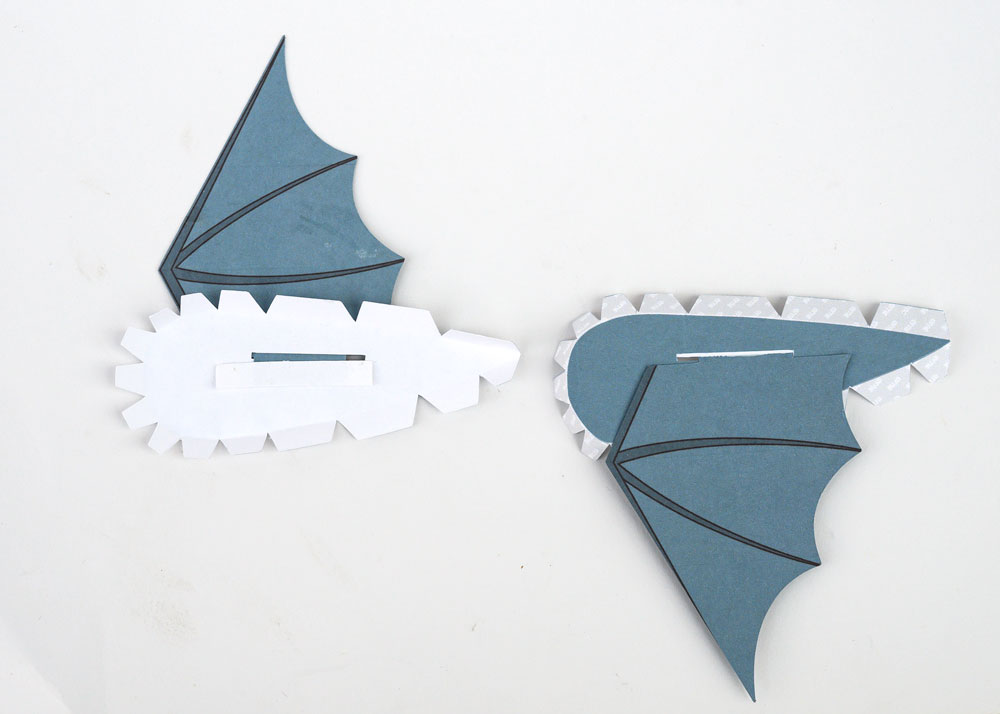
Make the push rods from double thickness card then glue them to the under side of the wings.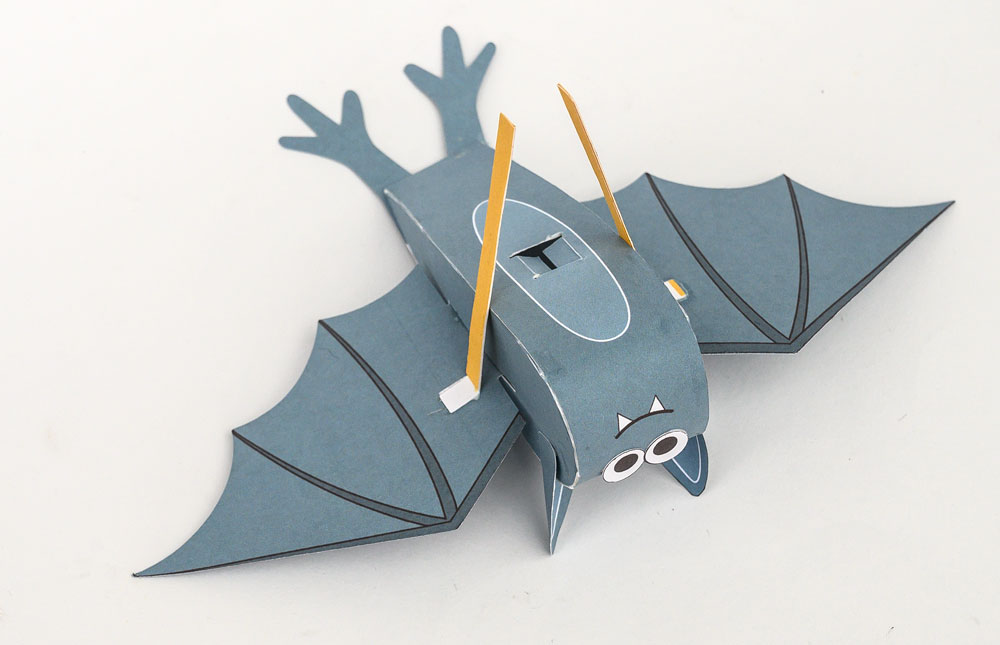
Thread the bat to the push rod and glue it into place.
Turn the handle so that the inner slider tube is at its lowest position. Glue the wing push rods to the coins with the wings just below horizontal.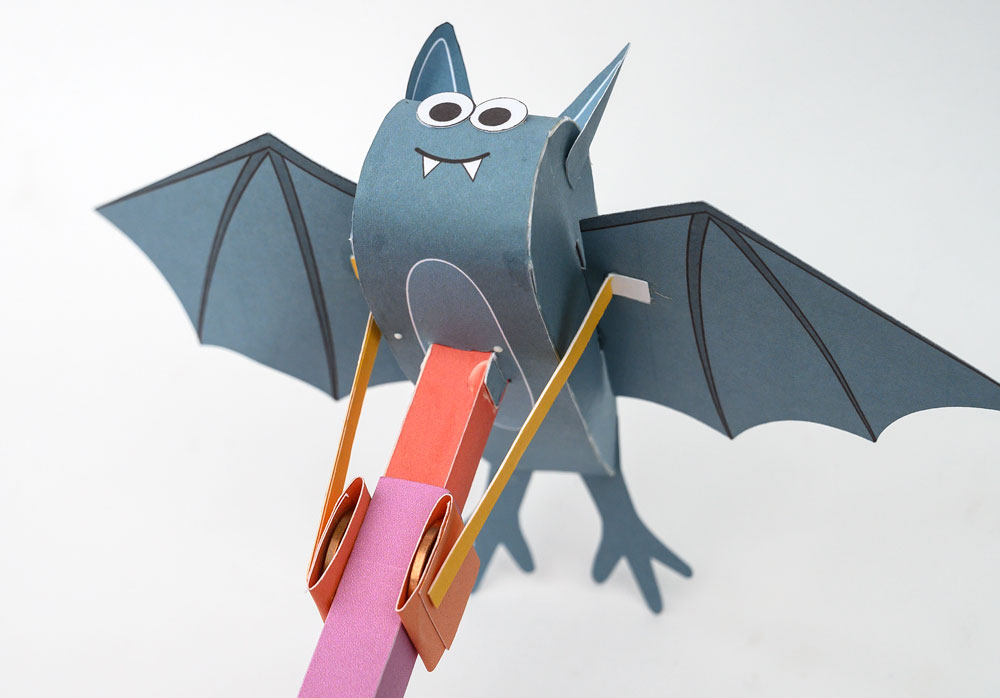
Turn the handle and watch your bat flutter!