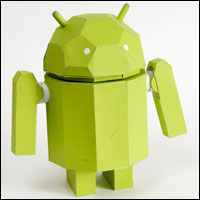


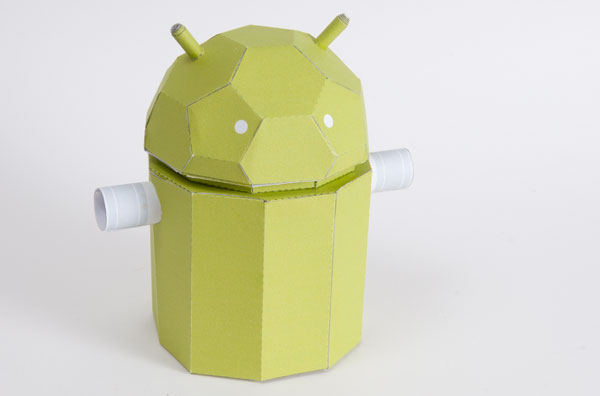
Download, print out and make your own Android robot. This poseable robot is available for everyone to download for free.
The Android robot is the logo of Google’s Android mobile device operating system.
This Android robot is modified from work created and shared by Google and used according to terms described in the Creative Commons 3.0 Attribution License.
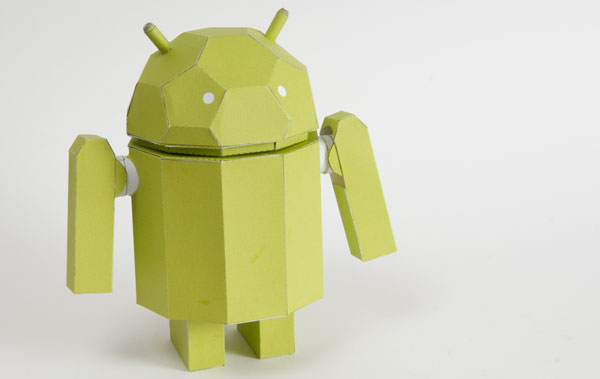
The project is poseable in three ways.
 |
 |
 |
| The legs bend back and forth. | The arms bend with two degrees of freedom |
The head rotates. |
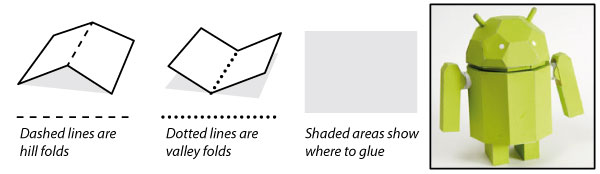
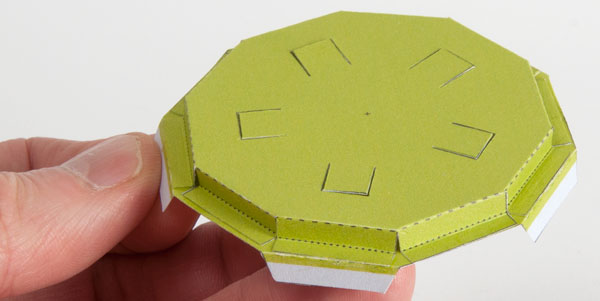
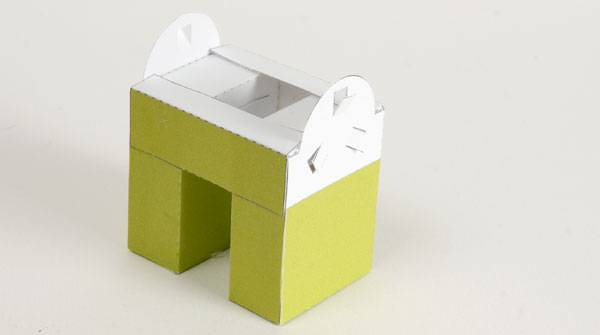
Download the parts. Print out the pages onto four sheets of thin card (230 micron / 67lb) Score along the dotted and dashed lines. Carefully cut out the holes then cut out the pieces.

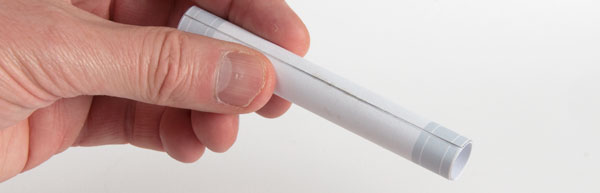
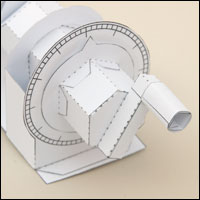
Roll round the shoulder tube so that the edge lines up with grey line arrowed in the top picture. Glue the tube down making sure that the edge is accurately lined up with the grey line along its full length.
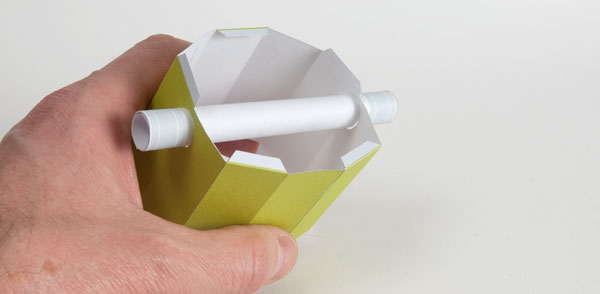
Glue the two halves of the body together then thread the shoulder tube into place. Don’t glue the shoulder tube yet.
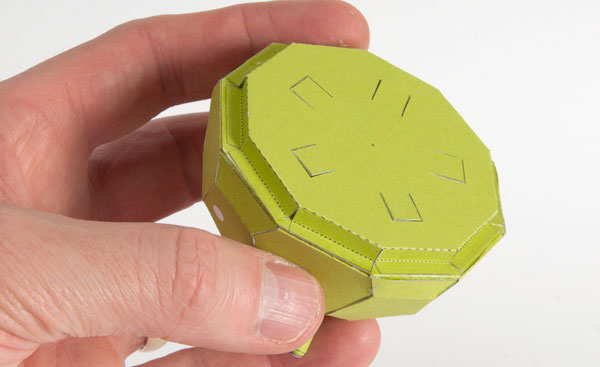
Fold up and slick together the head.
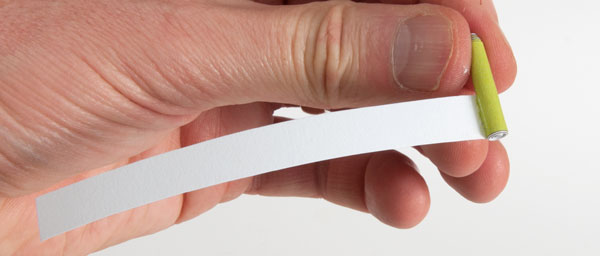
Both antennae are made in the same way. Roll round the main body of the piece into a tight tube. Glue it into place.
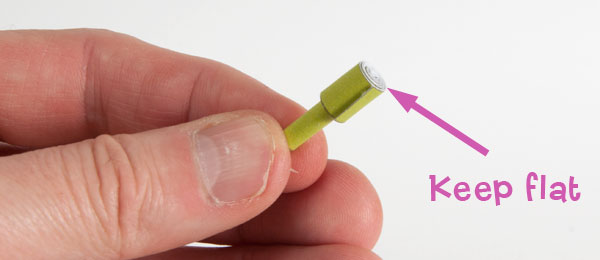
Roll round the long tab and glue it down to complete the antennae
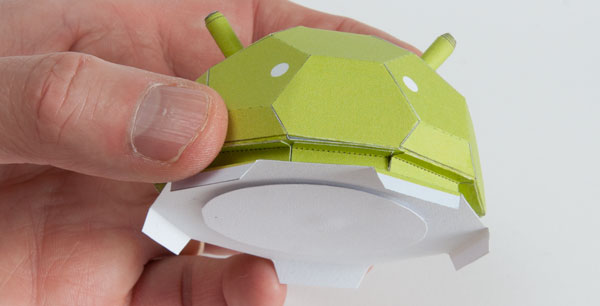
Fit the antennae up through the holes in the head and glue them into place.
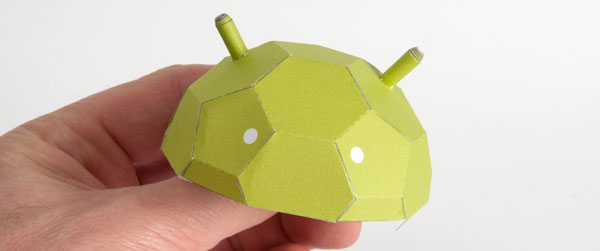
The antennae in place.
Glue the neck plate to the head base so that the ends of the the tabs are lined up with the sides of the head base.
Glue the head base into the head as shown.
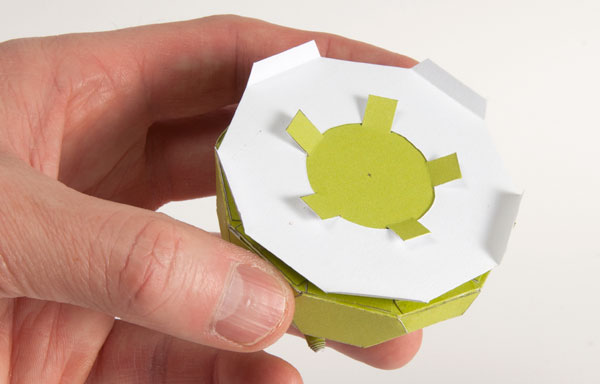
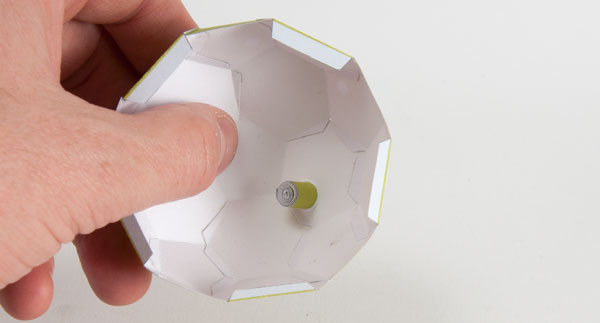
Fit the body top to the five tabs on the head so that it is free to rotate.
Glue the large disk to the tabs making sure that the head can rotate freely.
Glue the head to to the top of the body.
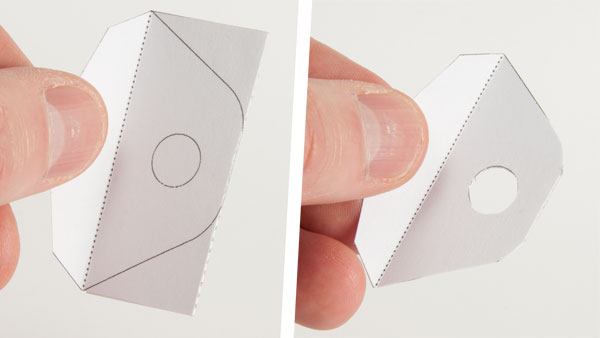
Fold over and glue down the leg support to make double thickness card. Once the glue is dry carefully cut out the hole and cut off the two curved sides as shown. Repeat this process with the other leg support.
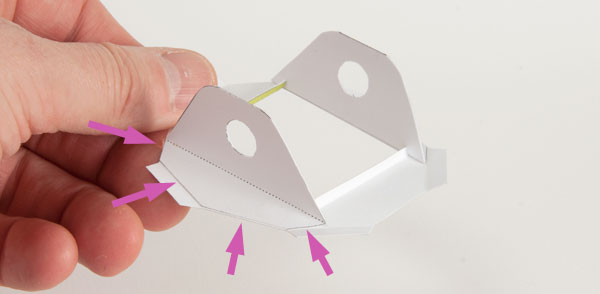
Glue the two leg supports to the body base so that they are lined up with the edge of the hole and with the edges of the body base. Notice that the two tabs running across the hole in the base are folded up at ninety degrees. These add rigidity to the base.
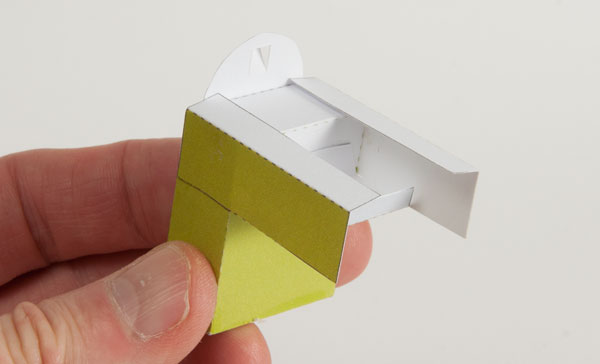
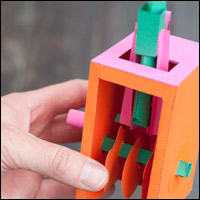
Fold round and glue together the two legs to make rectangular boxes. Glue the leg joiner to one of the legs as shown here.
Glue the second leg into place. Make sure that the two legs are lined up with each other by standing them on a flat surface.
Fit the legs into the hole in the body base. Fit the tabs through the holes in the leg supports.
Fix the tabs with the medium circular disks. Make sure that the legs are free to move back and forth.
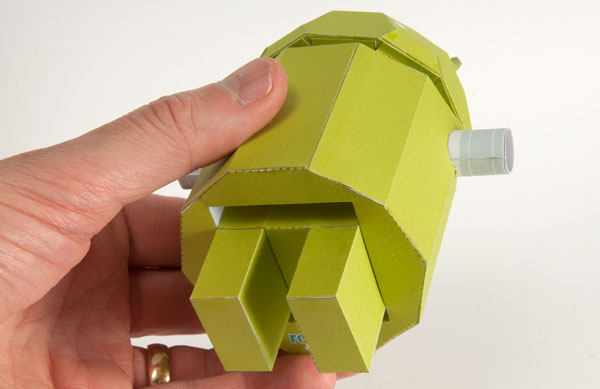
Fit the body base to the body. Make sure that the legs are facing the correct direction in relation to the shoulders.
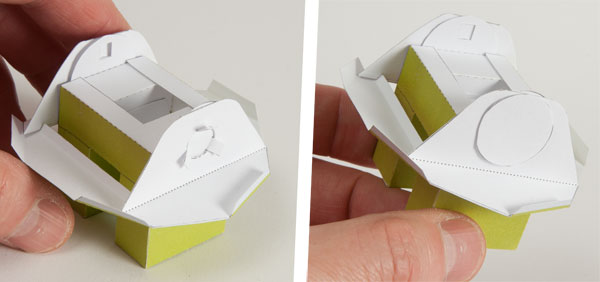
Making the arm joints: Glue one of the long thin strips to the inner grey ring. Roll it round and glue it down.
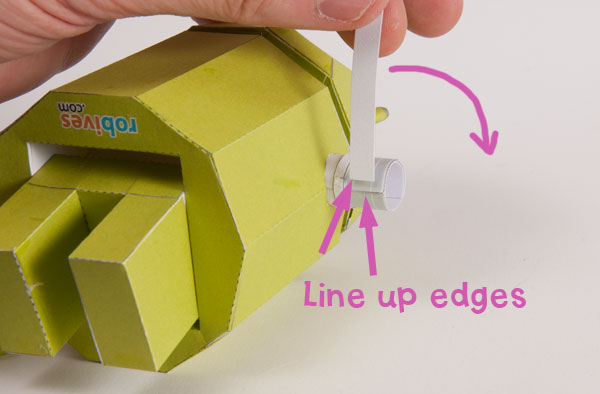
The centre strip is the one that rotates. Don’t glue it down. Line up the end of the strip with the step in the shoulder tube. Roll it round, then glue the end of the strip onto the strip itself making sure that it is free to rotate.
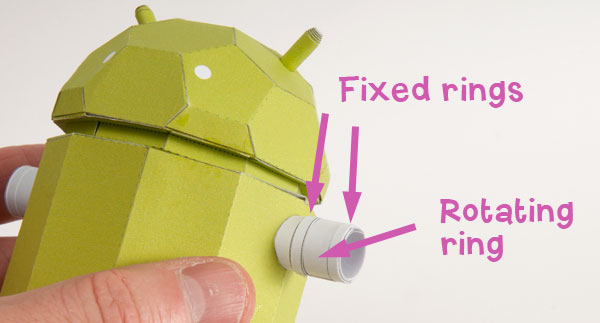
Secure the rotating ring with the final fixed ring.
Glue the tab strip to the centre rotating ring.

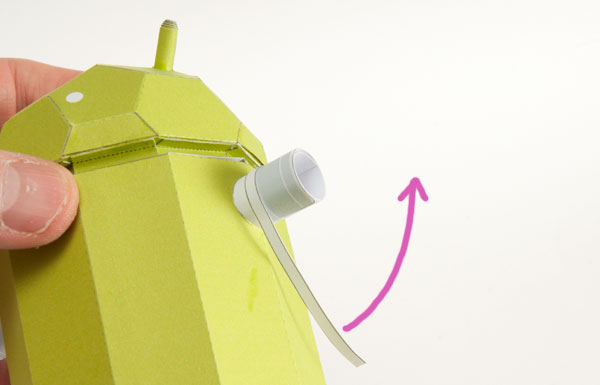
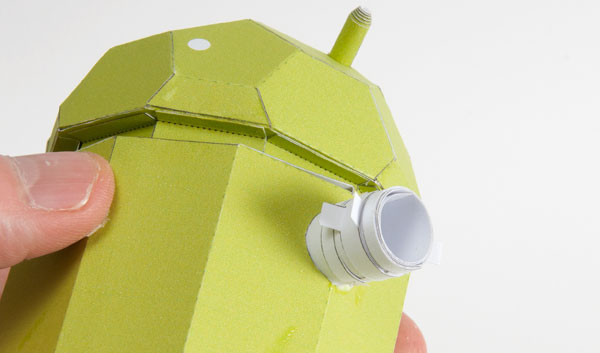
Thread the shoulder into place on the tabs. Glue the small circle to the tabs making sure that the shoulder is free to move up and down. Repeat this process on the other side.
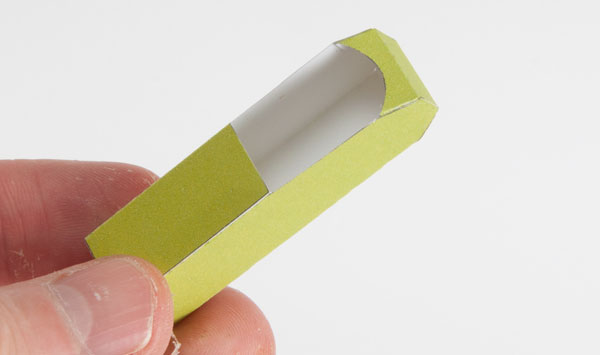
Fold up and glue together the two arms.
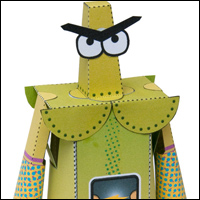
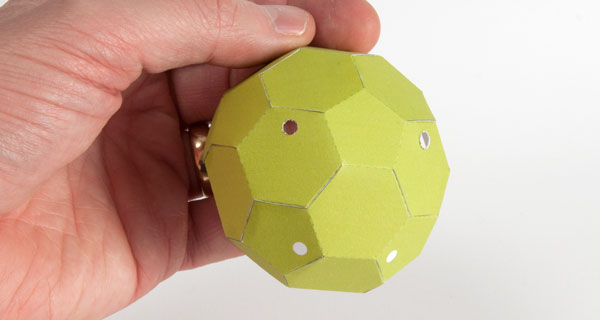
One the glue is dry your Android robot is complete!