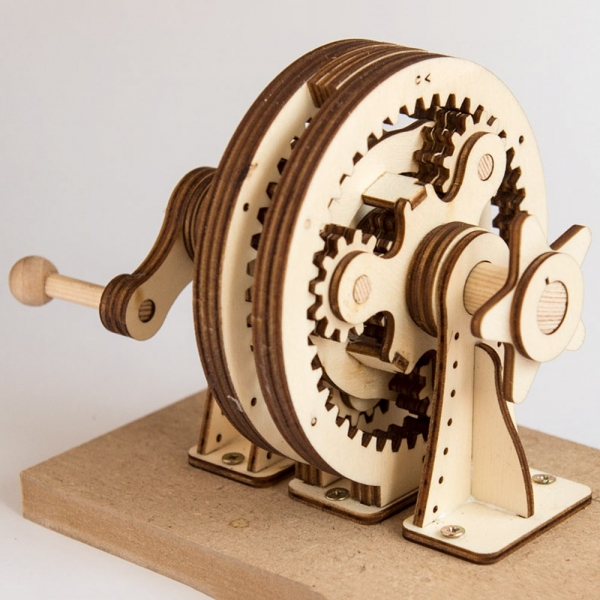
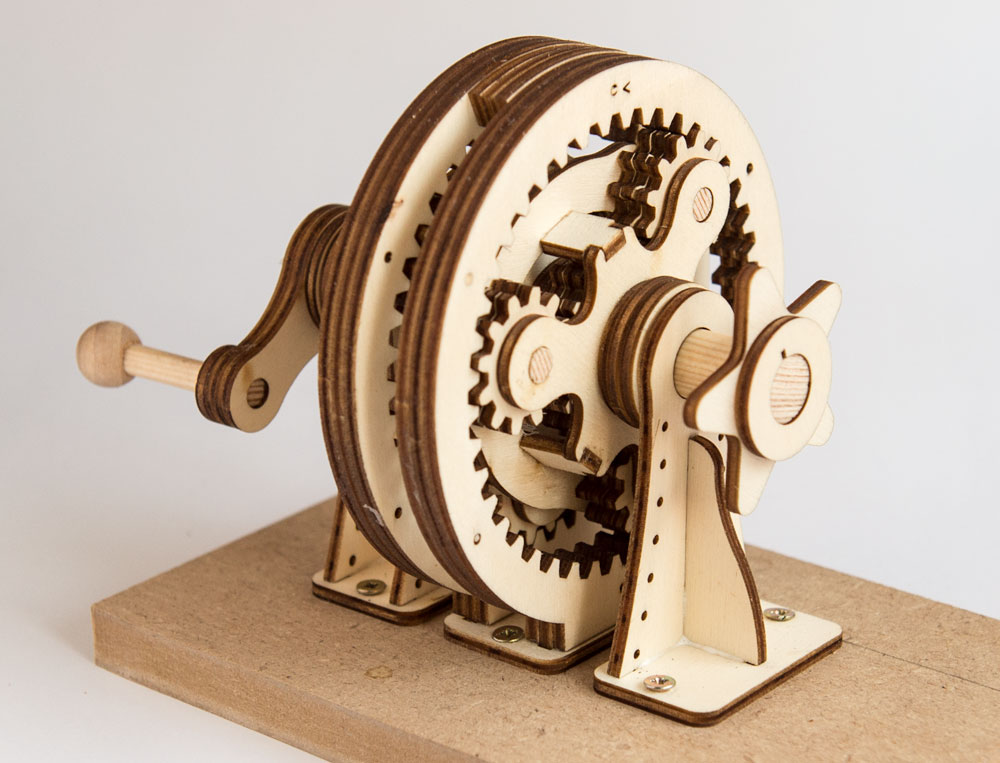
Make your own hand cranked planetary gearbox from laser cut parts.
Download the parts in pdf and dxf format to cut out on your own Laser-Cutter.
If you don’t have a laser cutter you can often get access to one at a MakerSpace, Hack-Space of Fab Lab – search the web for one near you.
You will need:
3mm plywood.
12mm dowel: 15mm long x 1 | 55mm long x 1 | 30mm long x 1
6mm dowel: 15mm long x 6 | 36mm long x 1
optional 12mm wooden ball
12mm MDF baseboard 130mm x 100mm
6 small wood screw.
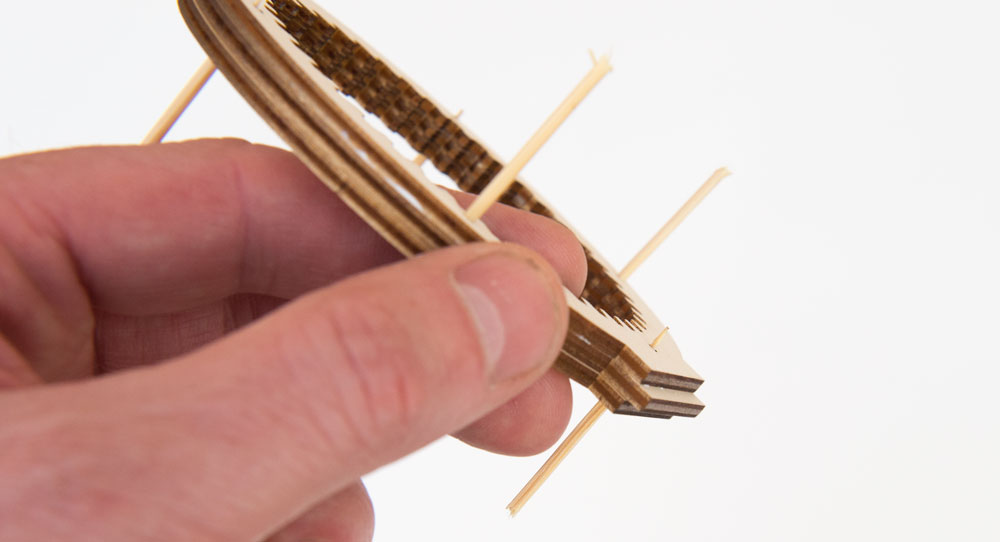
Start with the parts from the ringgear.pdf file. You will need to cut out two copies of the ring gears. Cut out the parts from 3mm plywood on your laser cutter. These make up the frame of the gear box. Each of the two ring gears is made from three layers. The centre layer has a longer tongue than the two outer layers.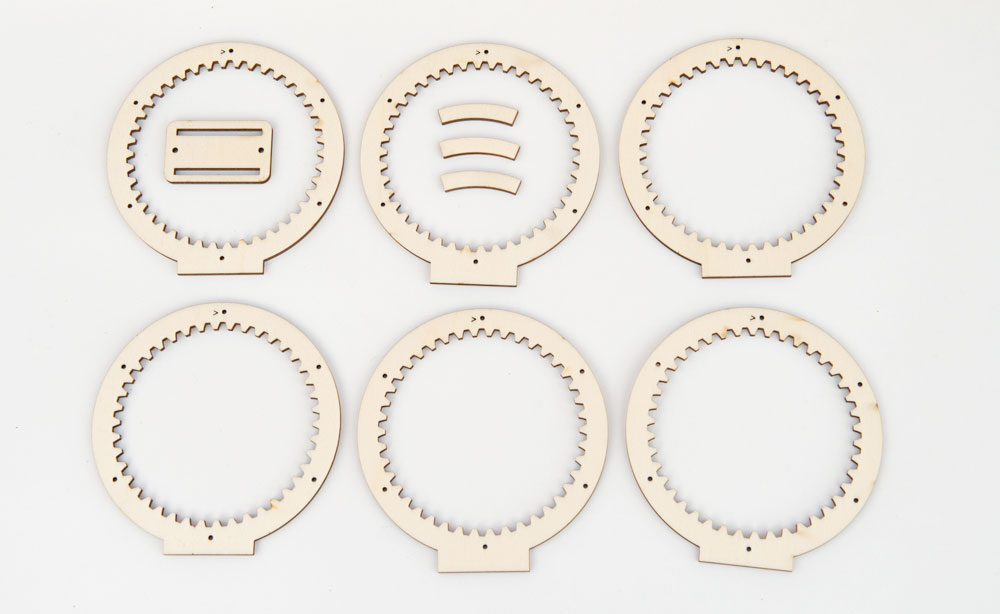
Use cocktail sticks to help align the pieces as you glue them together.
Glue the third layer into place and again line it up with cocktail sticks through the location holes.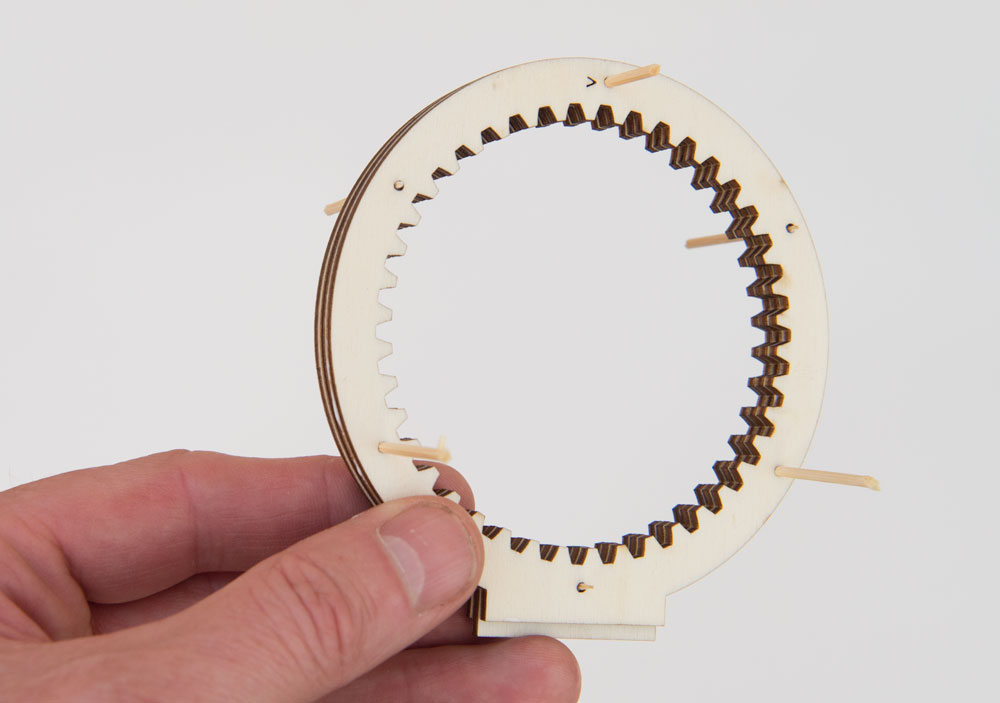
Notice how the longer tongue protrudes from the centre of the ring.
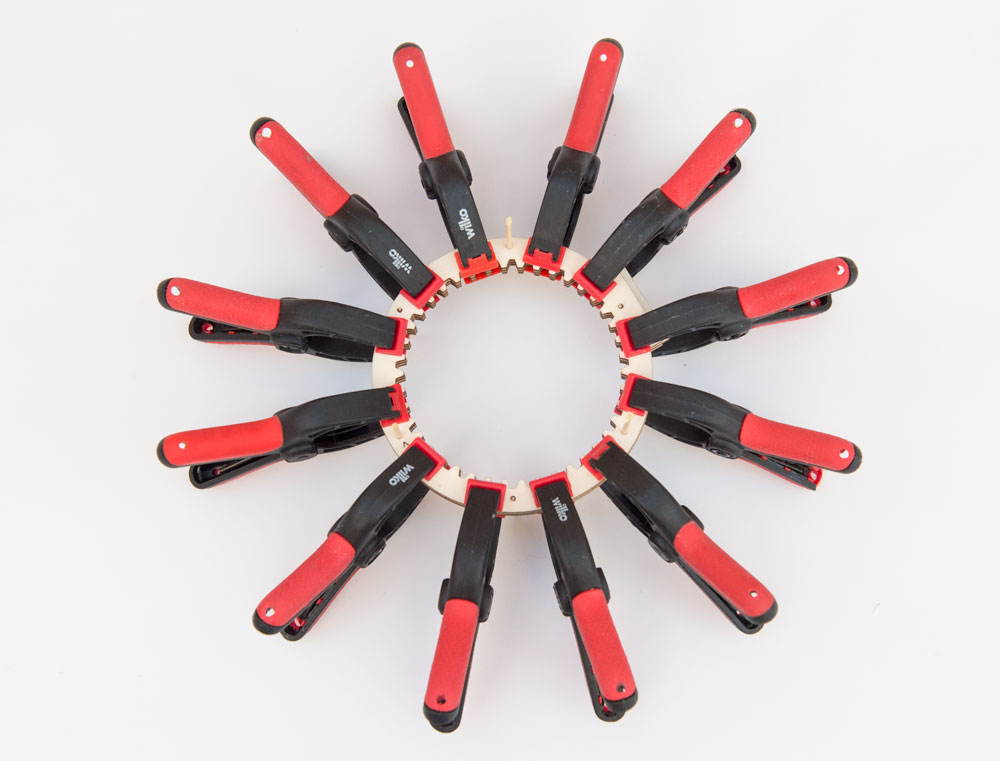
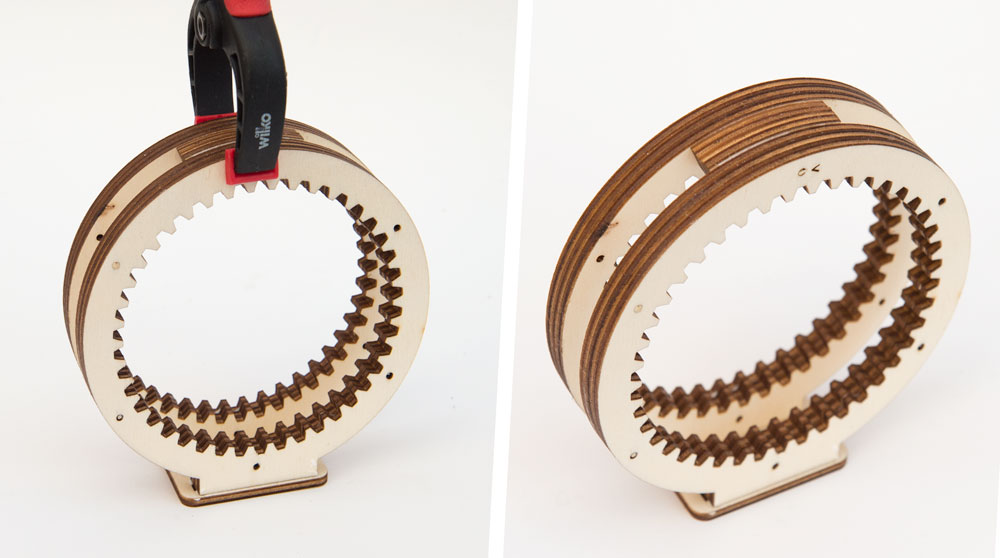
Clamp the parts up and let the glue dry thoroughly. Repeat this process to make up the second ring.
Glue together the three spacers.
Fit the two rings into the base and glue them down. Thread the spacer into position glue it and clamp it into position at the top of the ring.
Assembling the Parts from Planetary1
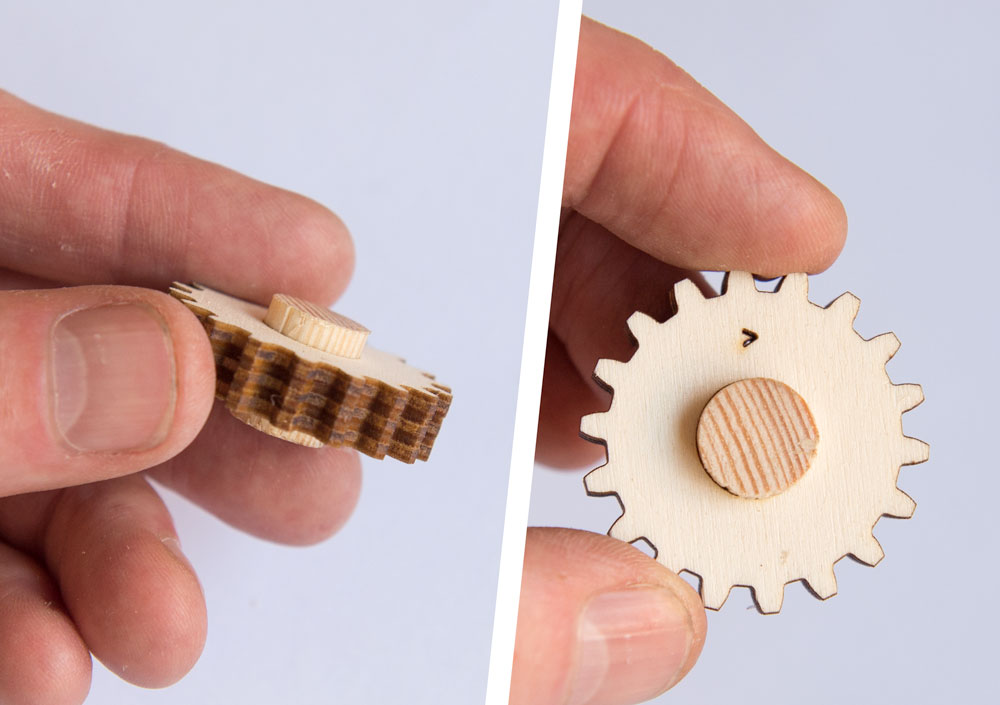
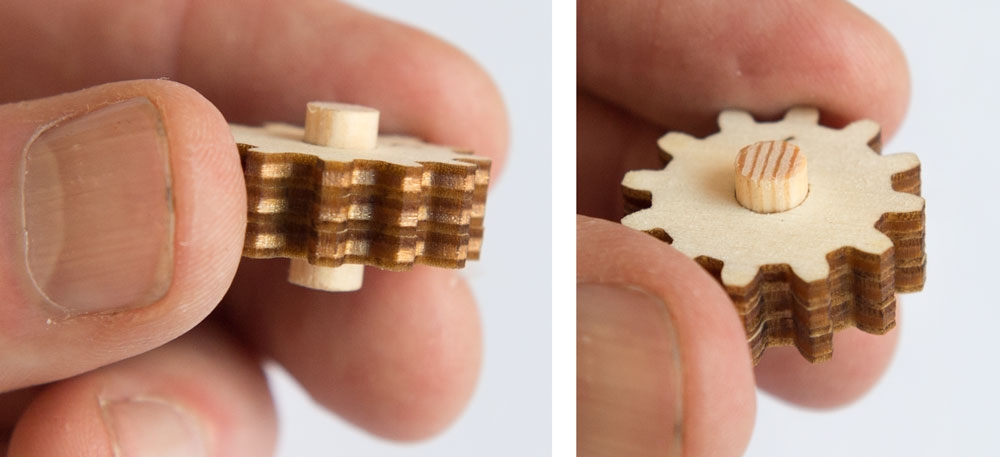
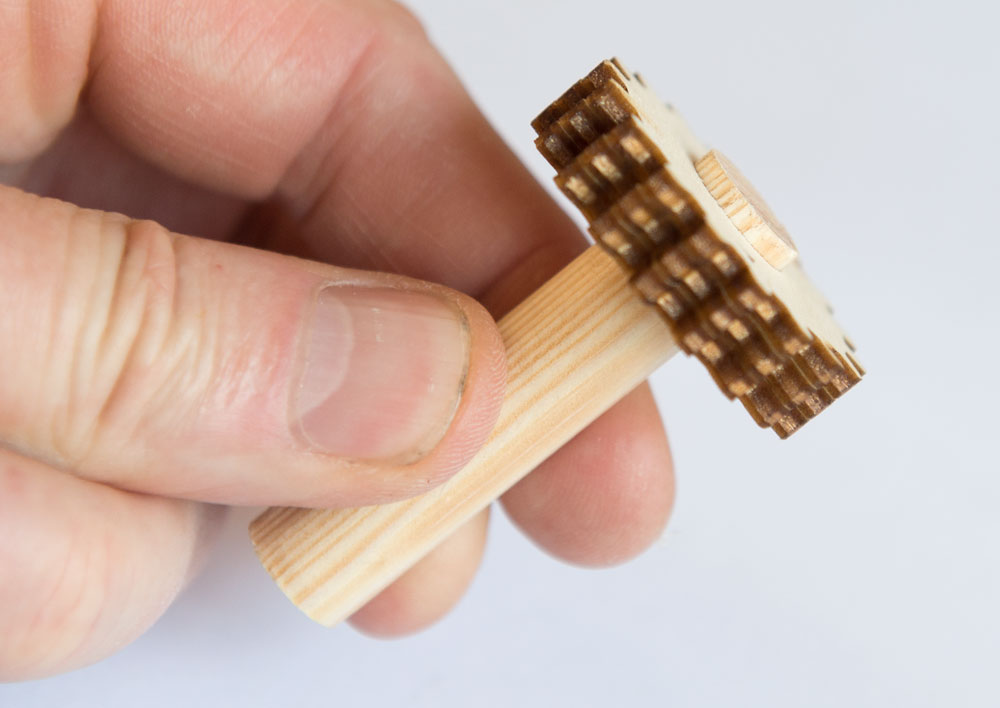
The larger gear has eighteen teeth. You will need a dowel 12mm diameter x 15mm long
Thread and glue the three gears to the dowel and centre them along the length of the dowel. Use the small arrow to help accurately line up the teeth.
 The two spacer pieces have a slightly larger centre hole than the holes in the gears. Glue them onto one side of the gear.
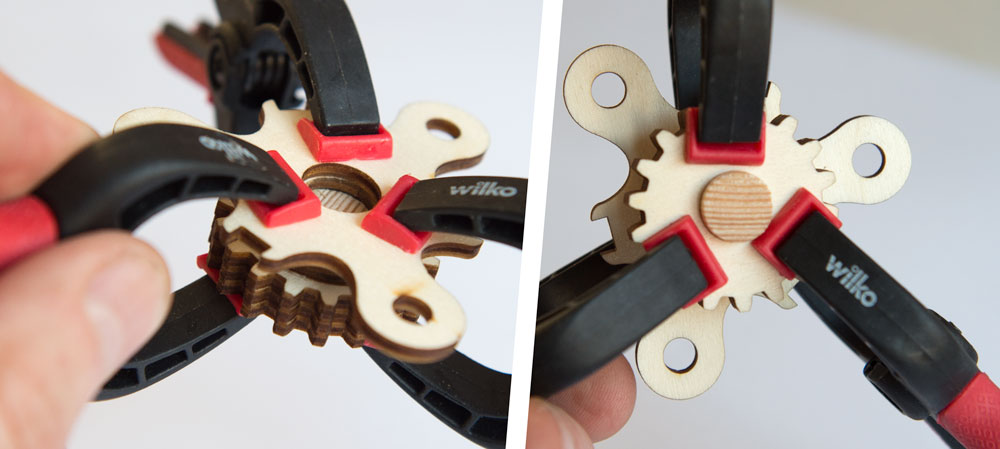
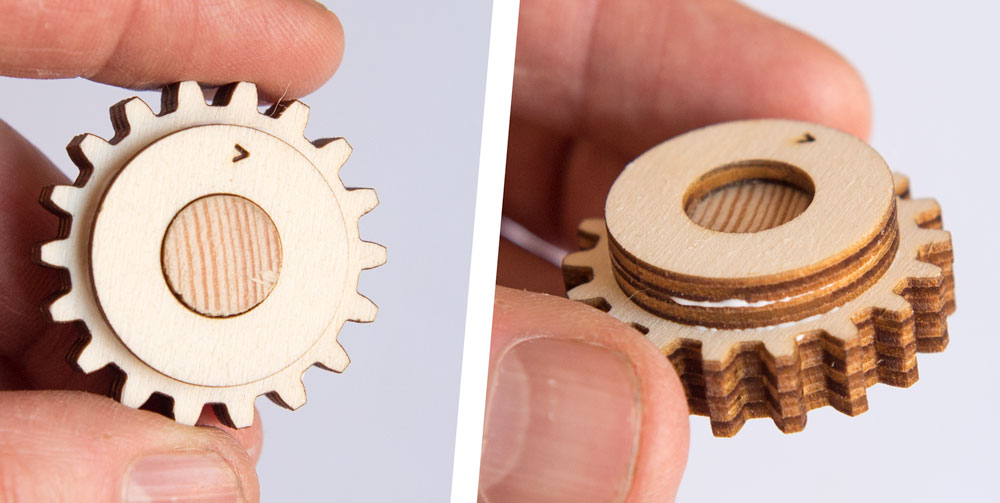 Carefully clamp them up as the glue dries.
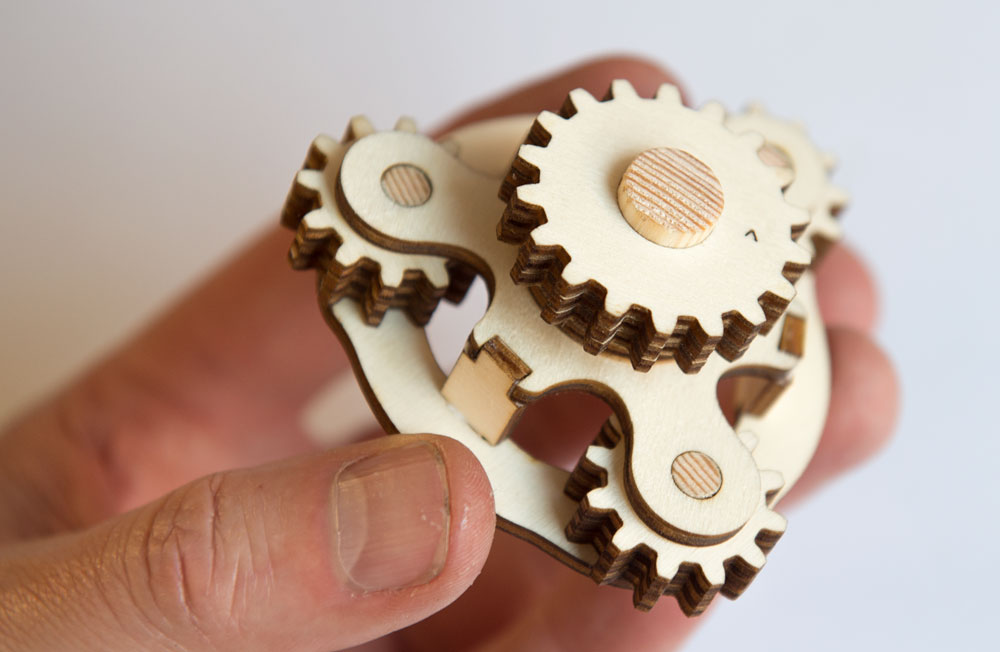
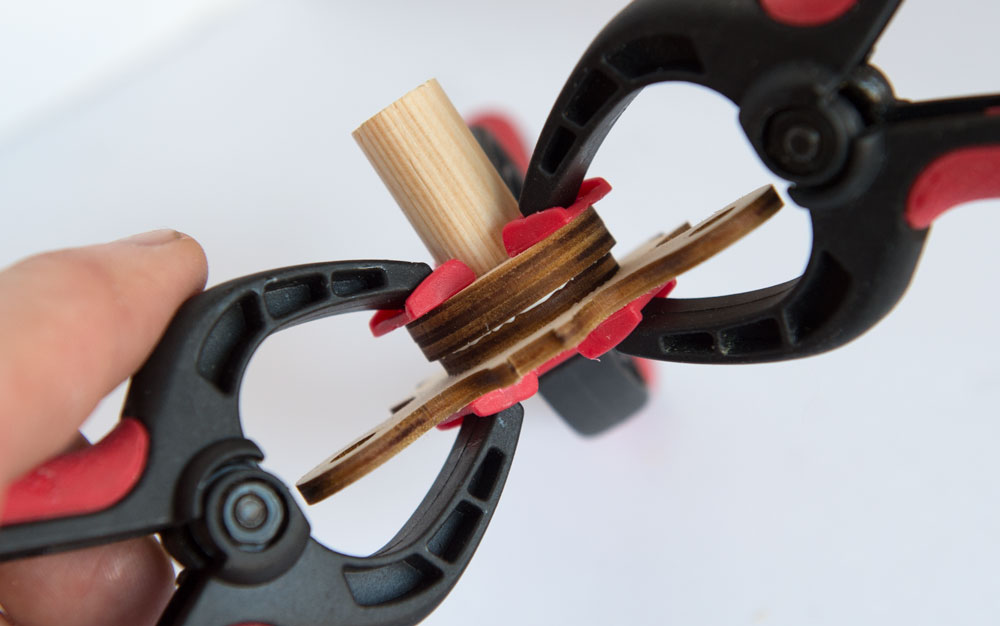
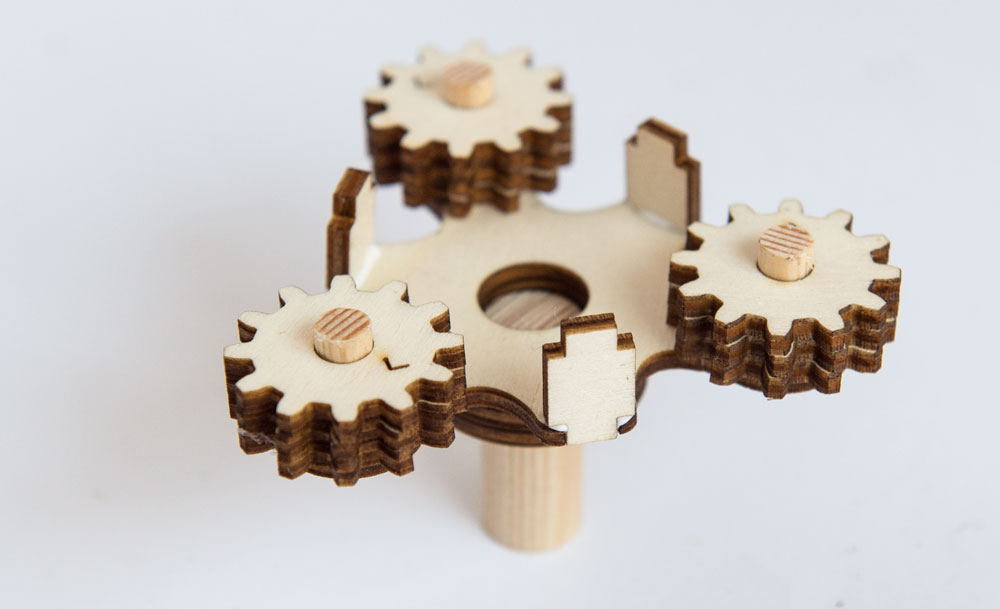
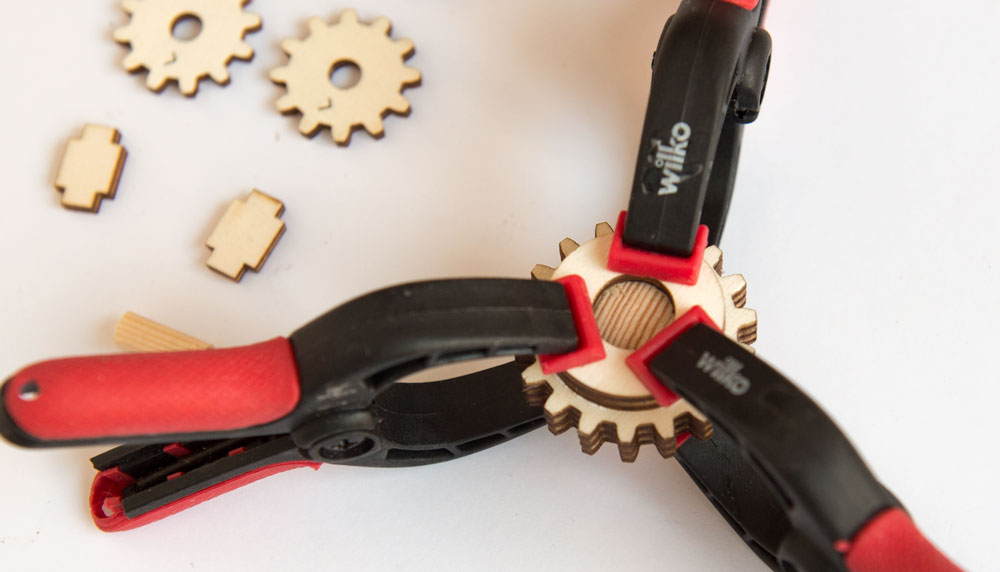 Glue and clamp the spacer side of the gear to the spider lining it up carefully with the hole in the spider.
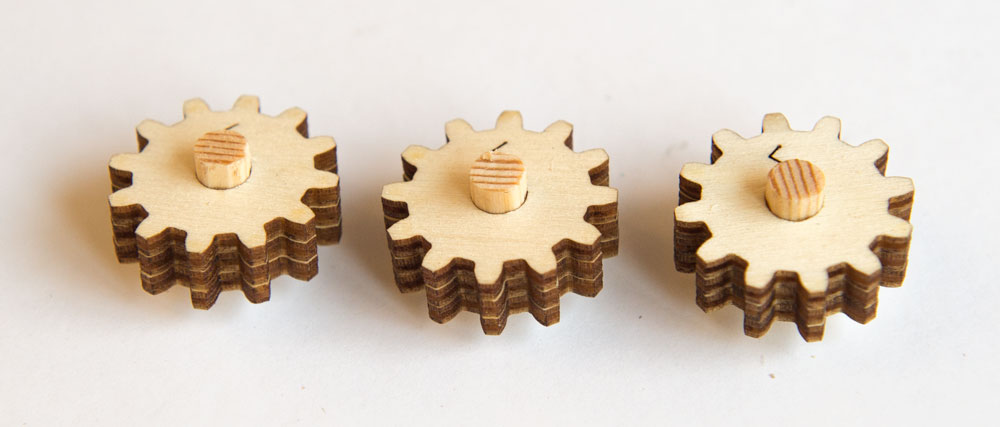
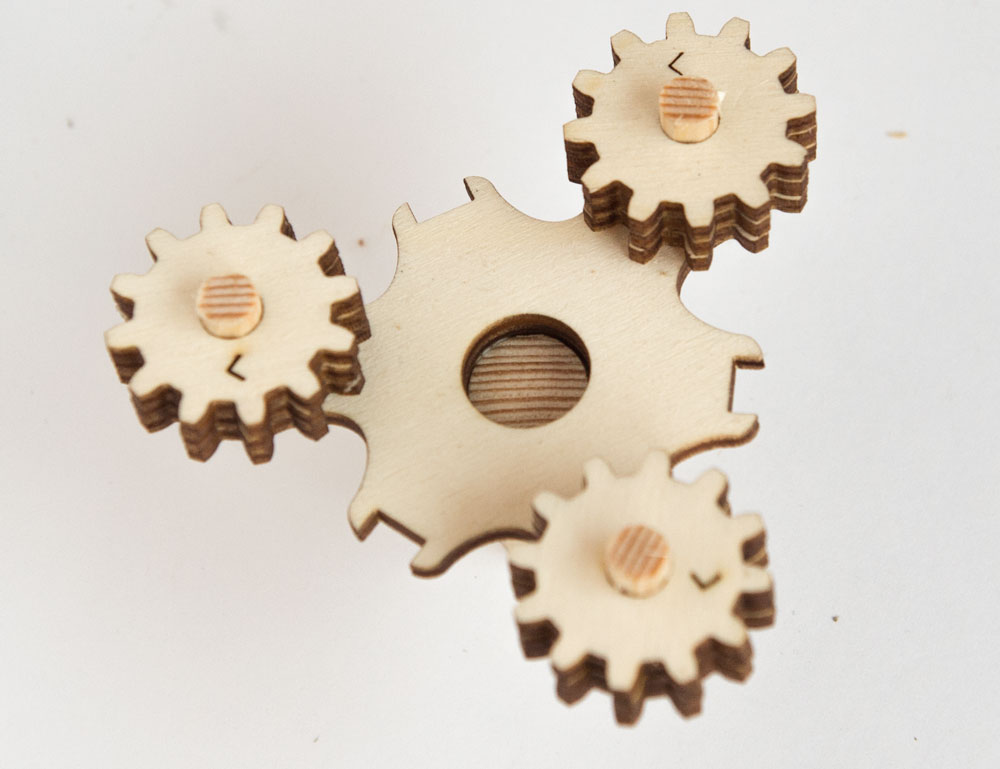
The small gears have twelve teeth each. The dowel is 6mm diameter x 15mm long. Glue together the three gear pieces and centre them over the dowel.
Assemble all three in the same way.
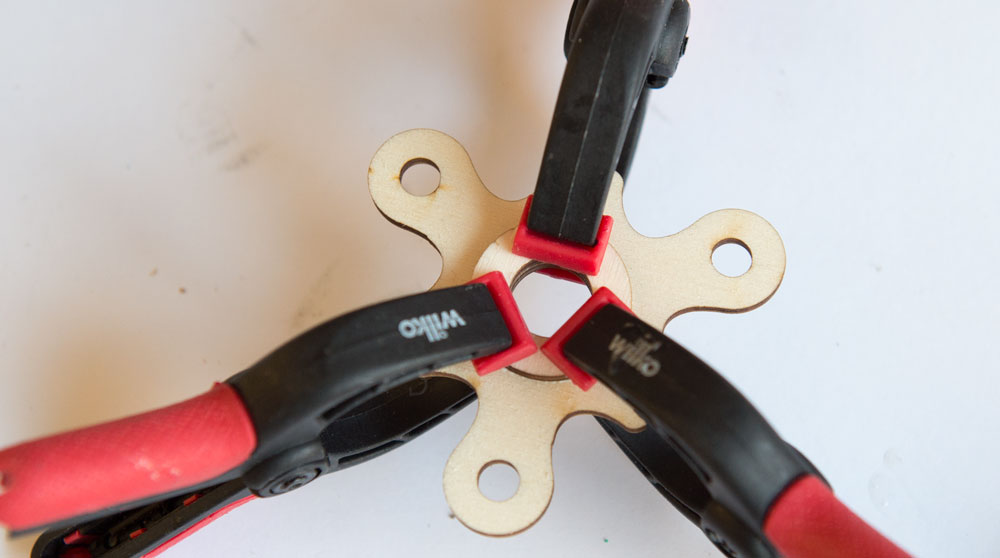
 Drop the three small gears into the spider.
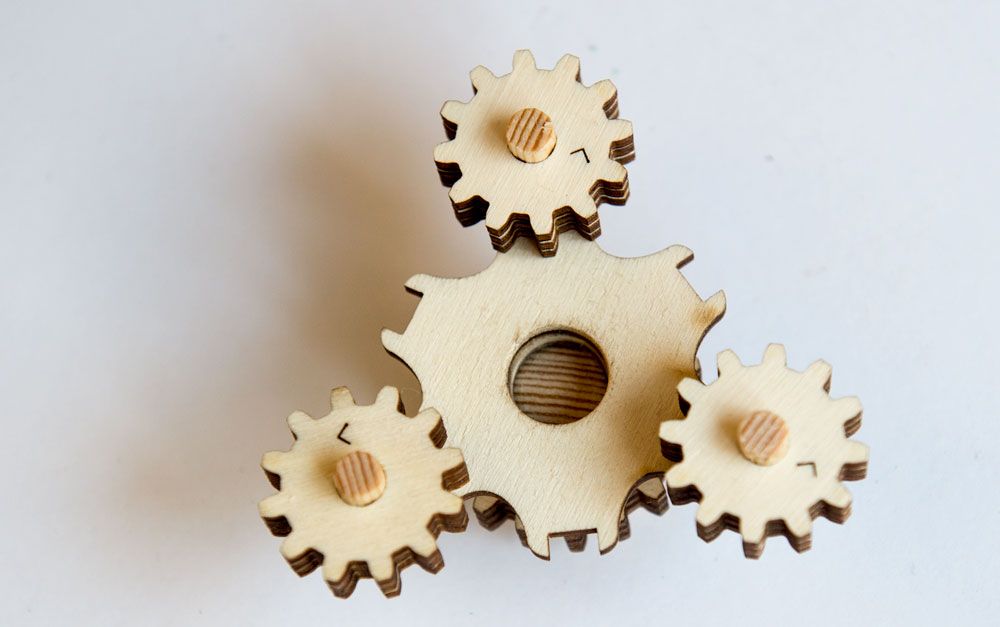
Glue in the three spacers.
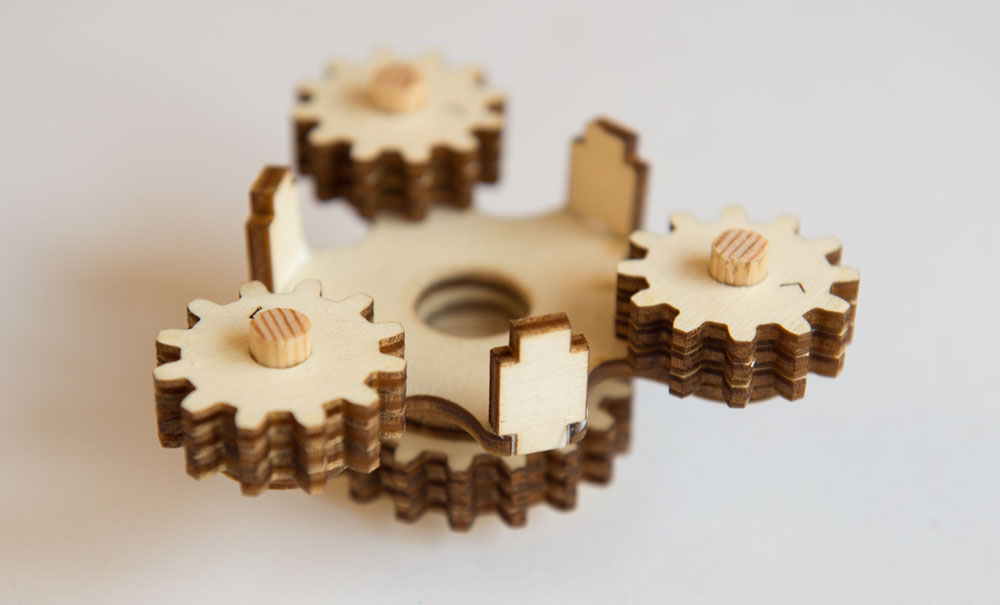
…and fit the cover piece into place gluing it to the spacers to complete the first planetary gear module.
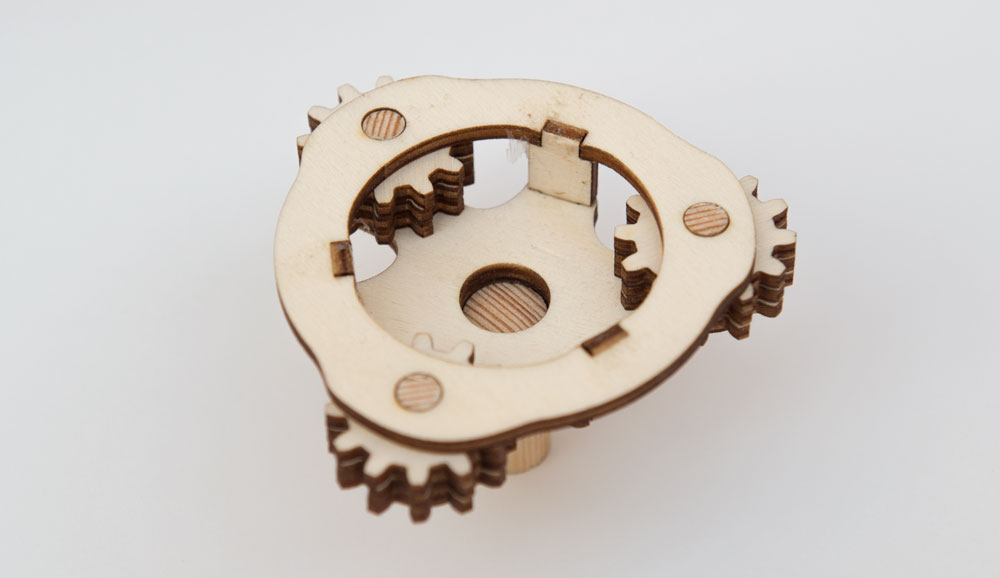
Planetary gear viewed from the other side.
Assembling the stands.pdf parts
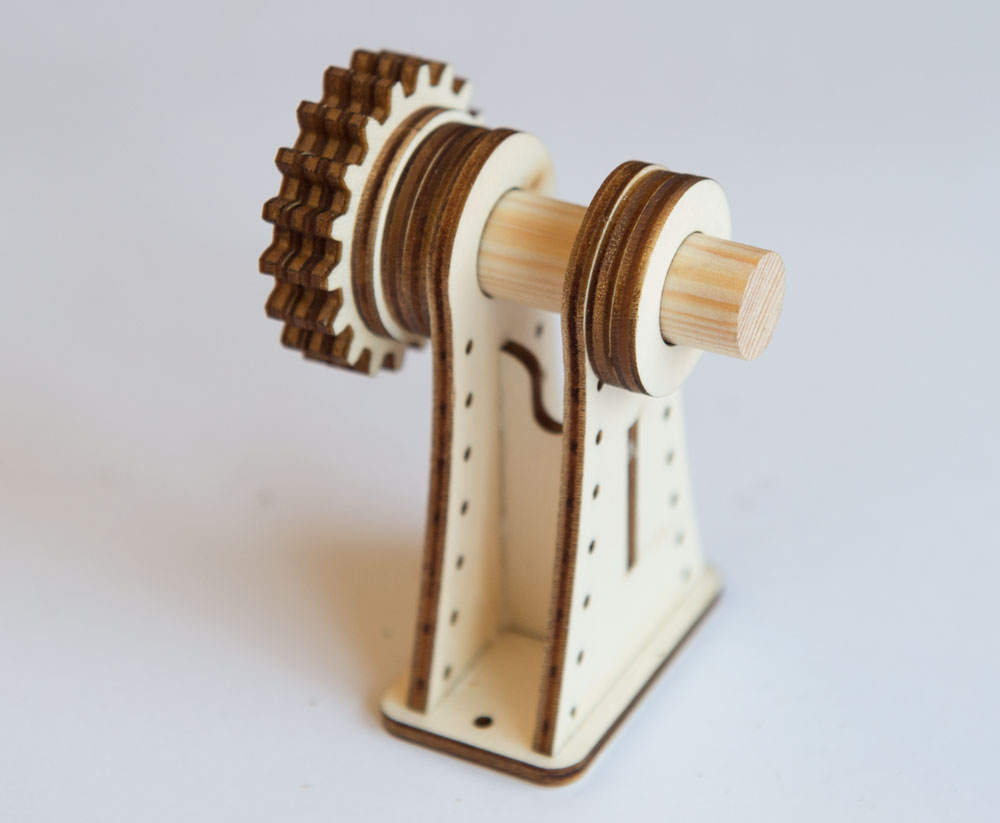
The main gear has eighteen teeth and is made from three layers. The dowel is 12mm diameter x 55mm long. Thread and glue together the three gears onto the dowel carefully lining up the teeth. The dowel should protrude just under 3mm from the top gear.
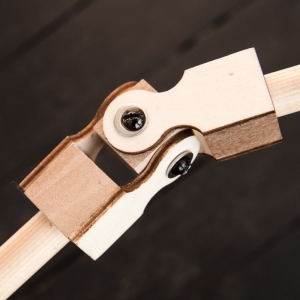
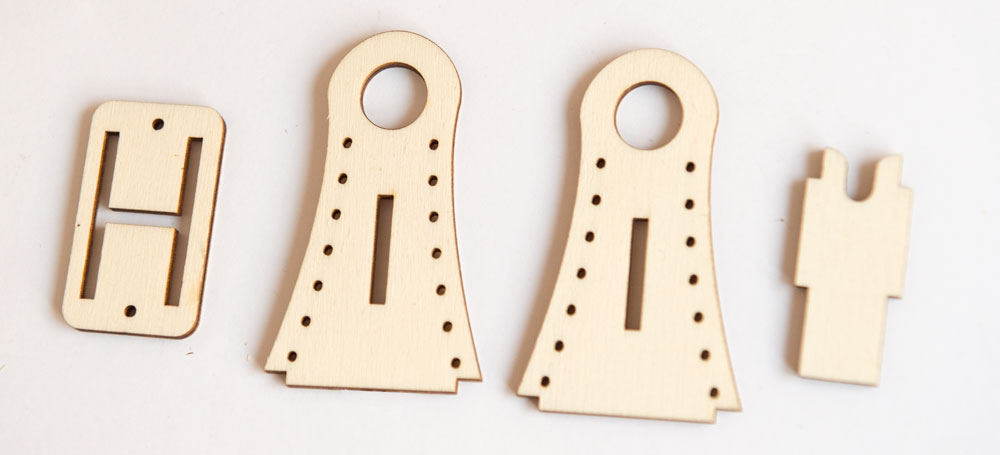
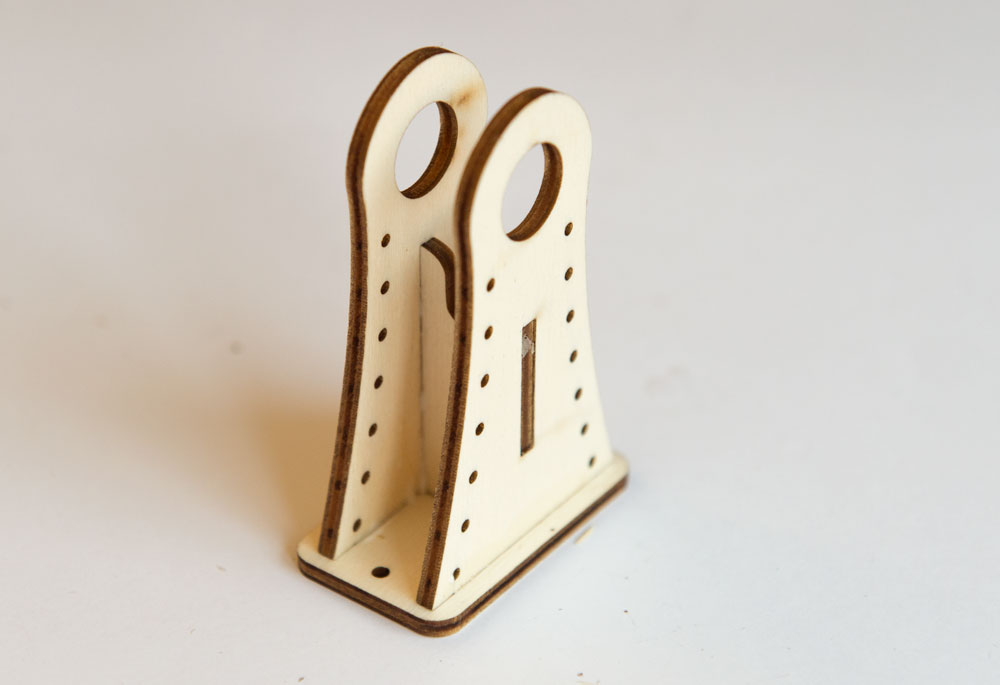
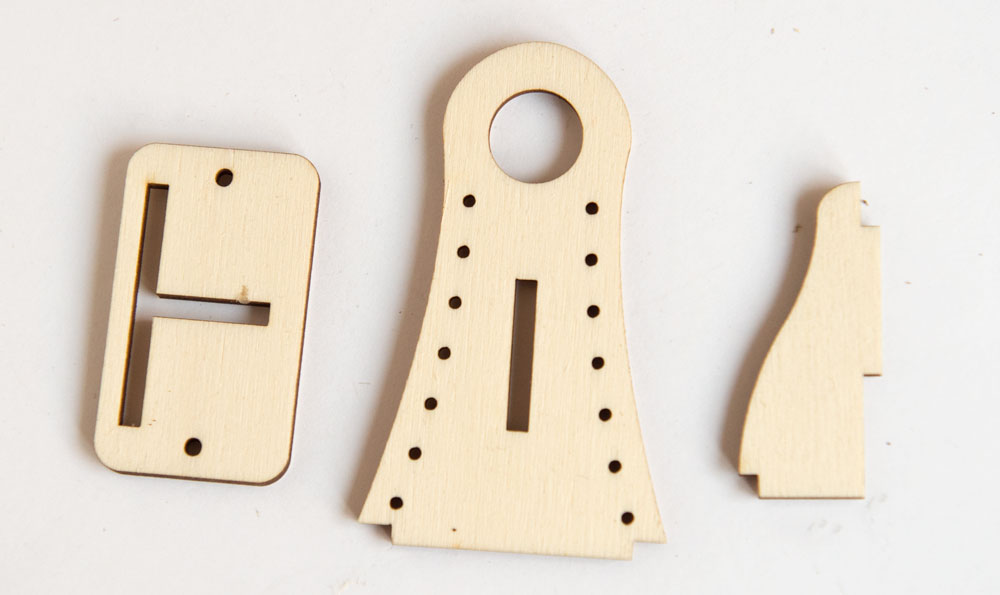
You will need these four parts to make the handle stand.
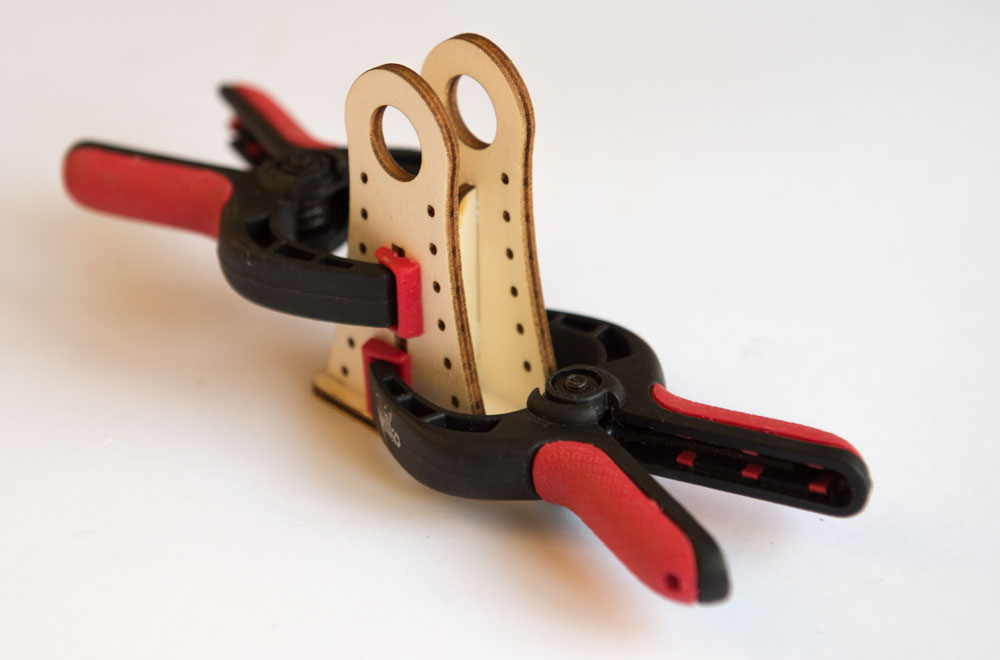
Glue and clamp them together.
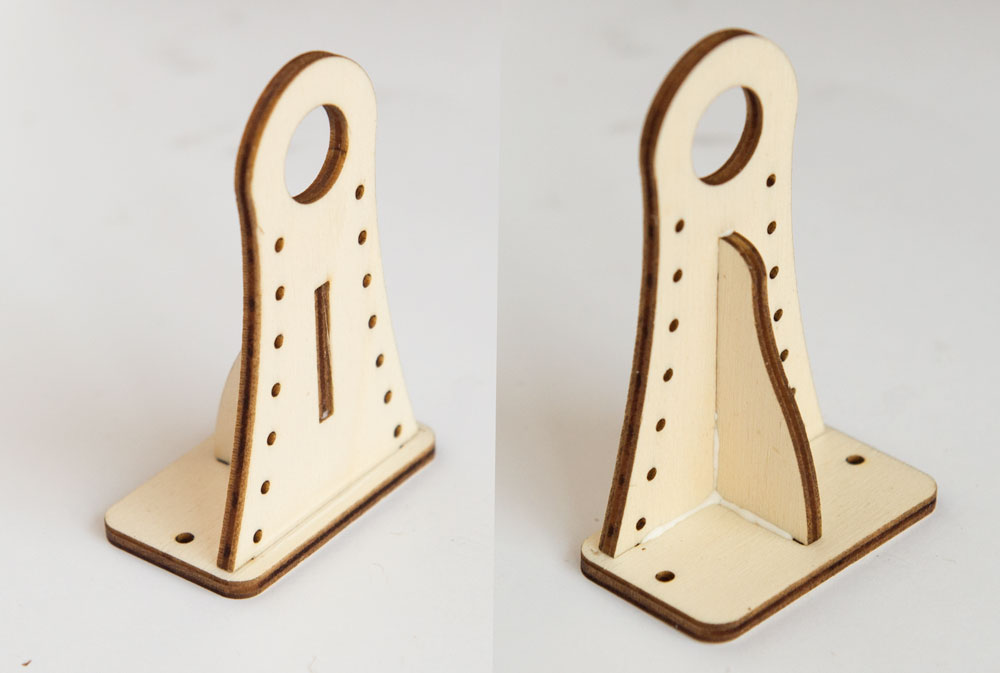
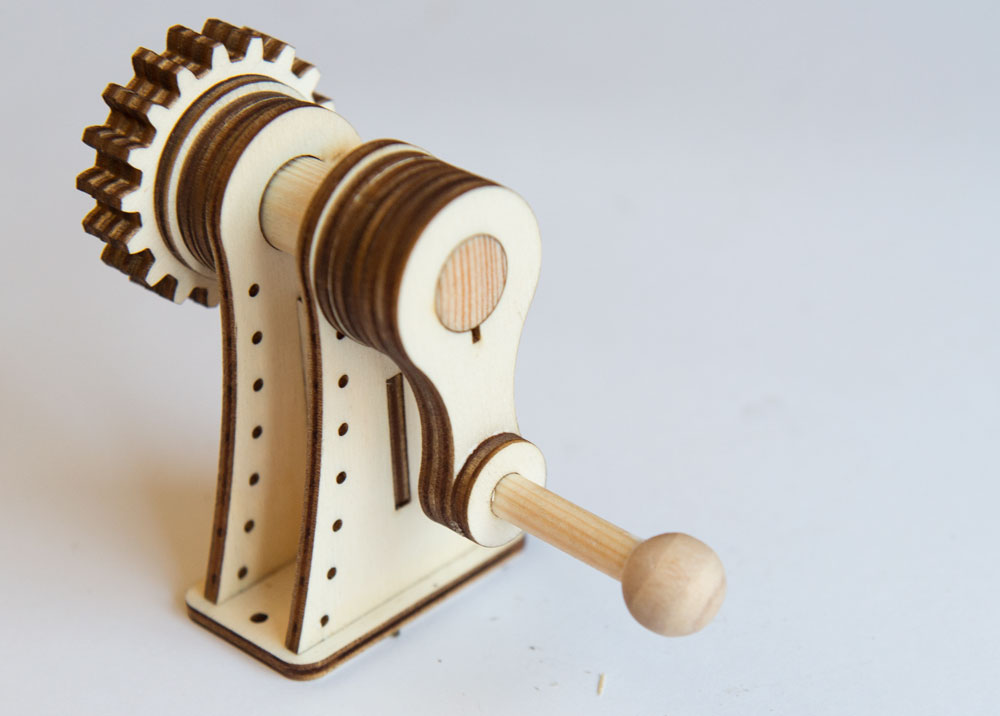
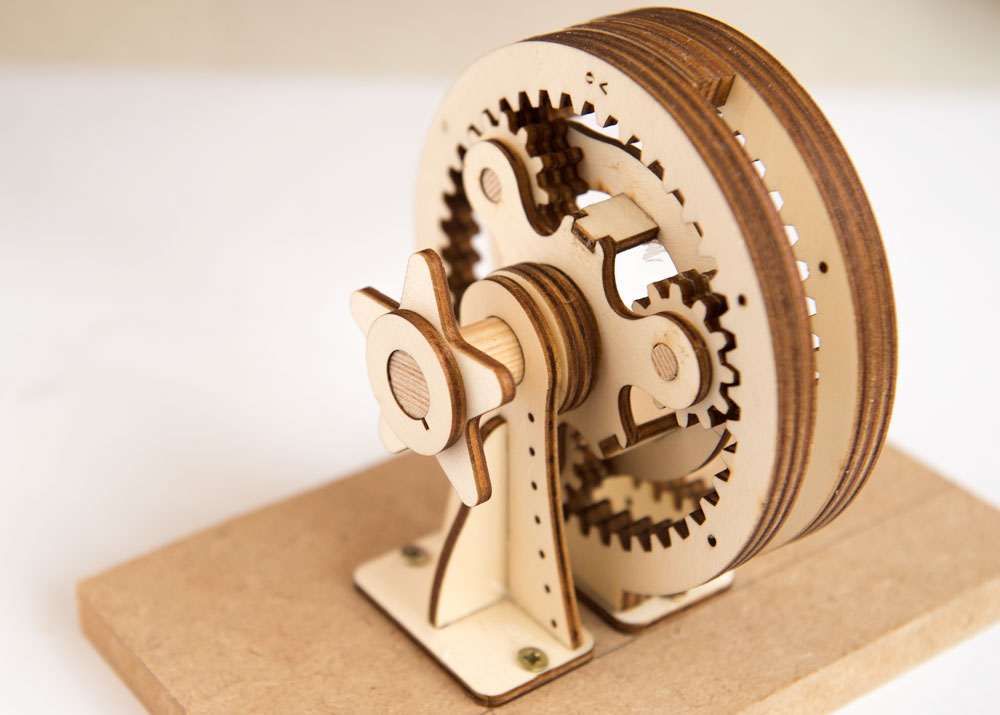
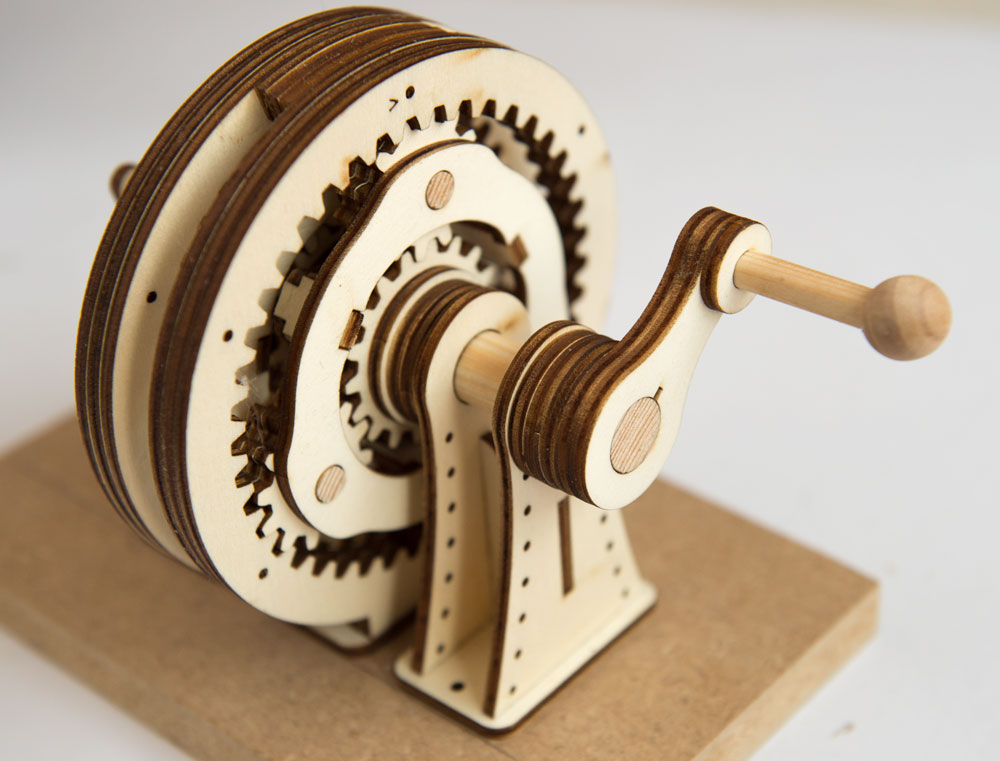
The completed handle stand.
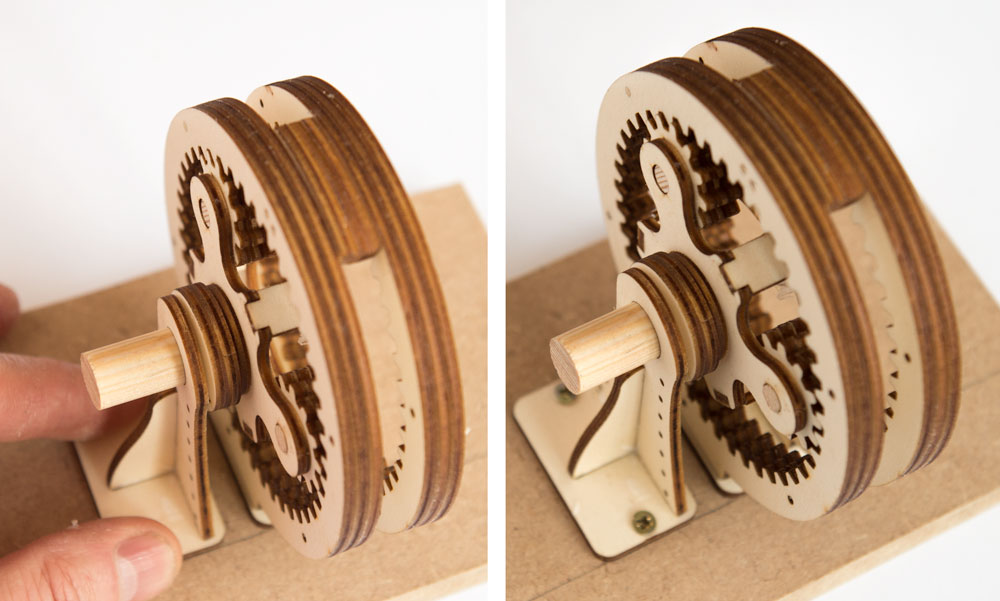
Thread the gear into place in the stand with the five spacers fitted as in the picture.
These parts make up the output stand.
Front and back views of the assembled output stand are shown here. Use glue to fit the parts together.
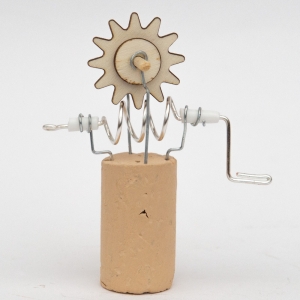
Making up the parts from handle.pdf
You will need a 6mm diameter dowel 36mm long. A wooden ball finishes off the handle nicely. The ball in the illustration below is a 12mm diameter beech wooden ball with a 6mm hole drilled into it. The balls can be purchased from eBay – I’ve written a blog post on drilling holes in wooden balls here.
The handle is made from two layers. Glue and clamp then together then fit the handle to the drive shaft as shown. The remaining parts (the star and spacer) will be fitted to the output shaft later.
Assembling the parts for planetary2.pdf
You will need the final 12mm dowel for this part. 12mm diameter x 30mm long.
There are three circular spacers in this module. Two large outer diameter (27.5mm) and one with a smaller outside diameter (25mm). Starting with the smaller spacer, line it up with the hole in the spacer and glue it down.
Fit and glue the two larger spacers to the end of the dowel so that they are a flush fit. Glue the spacers and dowel to the first spacer so that they are lined up as accurately as possible.
Make up the three twelve tooth gears as before. Drop them into place on the spider.
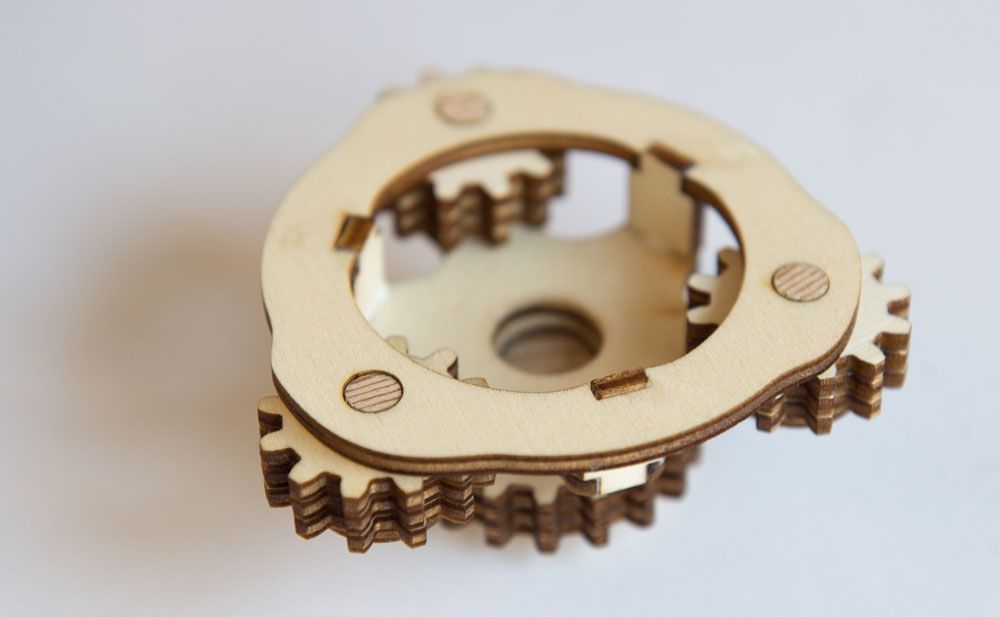
Glue the three spacers into position…
…thread the ring into position and glue it to the spacers to complete the second planetary gear.
 Final Assembly of the Parts
Draw an alignment line 22.5mm from the centre of the board. Line up the edge of the ring gear base with your alignment line then screw the ring gear to the centre of the board.

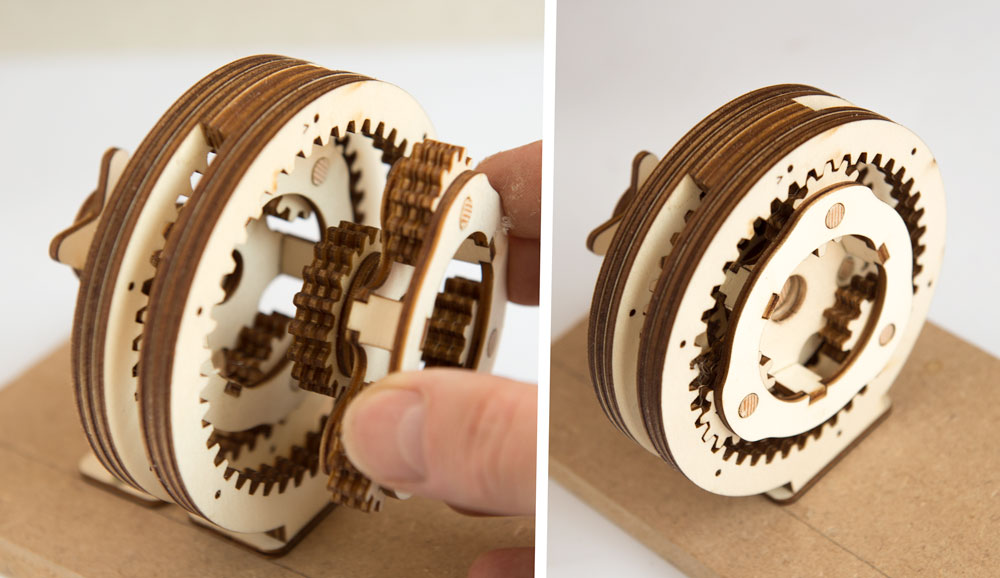
Fit the second gear assembly into the first ring gear.

Fit the output stand over the output shaft. Screw the stand into place.
Push fit the star onto the output shaft. This helps make the turn of the output shaft clear and visible.
From the other side of the gear, fit the first planetary gear into place.
Fit the input gear and handle into place in the first planetary gear…
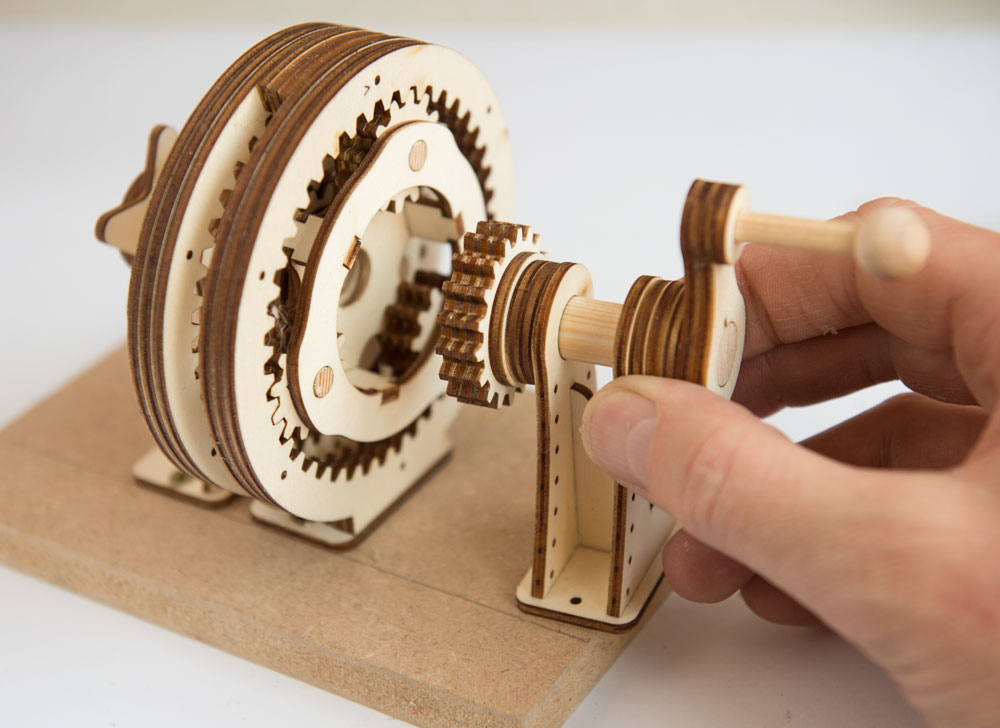
…and screw the stand into position.
That’s it! Turn the handle and marvel as the wheels within wheels turn in beautifully harmonic synchrony!