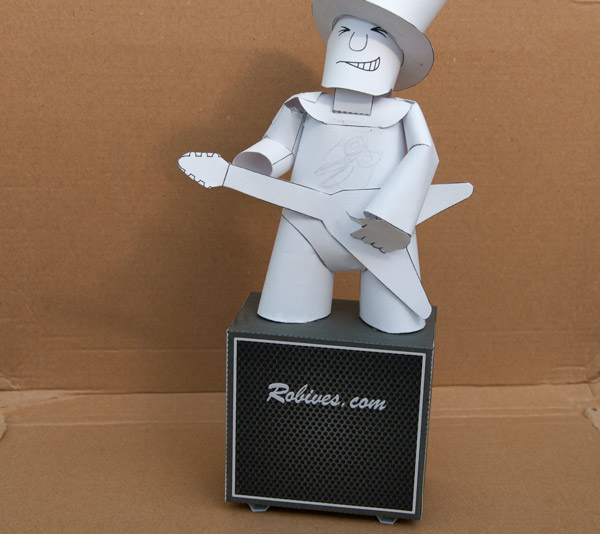
Time to make the Paper Rock model move! My plan is a to add a pendulum drive and hopefully make the head nod up and down and perhaps make an arm strum on the guitar strings. To that end, I need a box into which to fit a mechanism. A loudspeaker cabinet seems the most fitting.
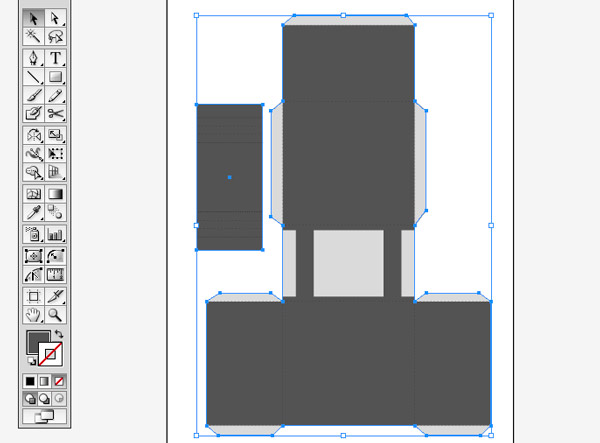
I'm still planning the mechanism. So in the meantime, I'm working on artwork. Here, I'll show how I created the texture effect for the front grill of the loudspeaker cabinet. My starting point is the net of a box 90mm x 85mm x 46mm as an Illustrator file. I've picked a blue-grey for the background colour. I'll be adding the grill texture to the top square of the box. Follow the directions below to complete the texture. Members can download the completed file for free.
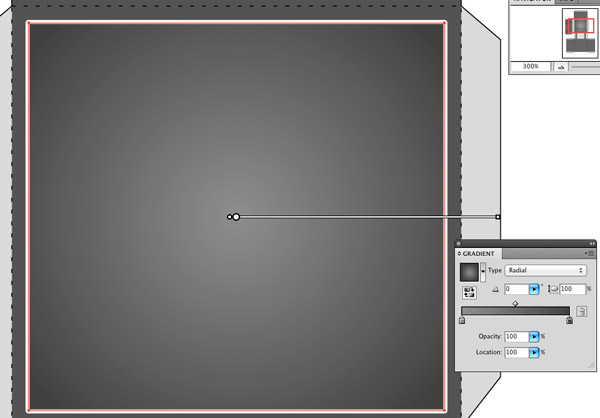
Start by drawing a square over the front of the box 5mm smaller all round than the size of the box front. Fill the new square with a radial fill graduating from light grey to dark grey. Add a 3 point off-white border stroke.
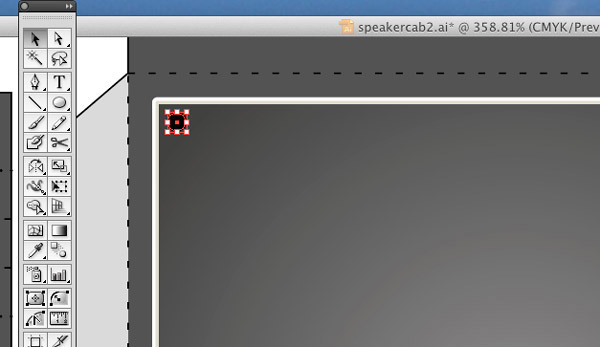
Having created the grill background, time now to create the holes in the grill. Start by drawing a small black circle, top left in the grill.
Select the circle the copy it once by <shift><alt> dragging it so that the new circle is roughly half a diameter from the first. Repeatedly press <cmd>d (<ctrl>d on a PC) until the full row of circles is complete. Select them all and group them by clicking <cmd>g.
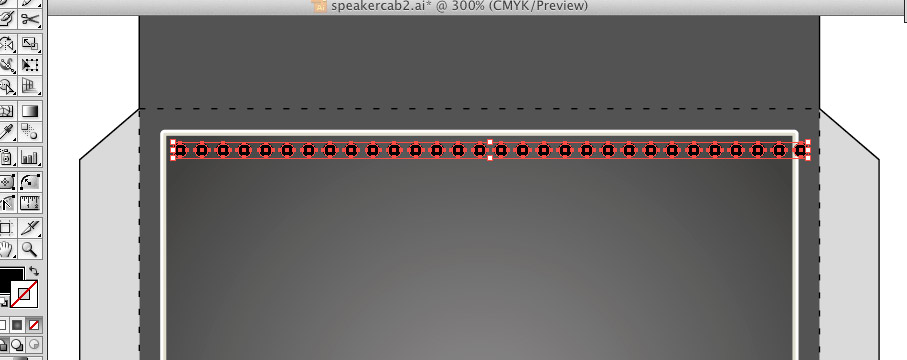
Select the row of circles. <alt> drag it down and to the right to create a second row of circles between and below the first. Select both rows and again group them.
Select the double row of circles.
<Shift><alt> drag it downwards to create a new double row equally spaced with the first. Repeatedly <cmd>d until you have more than filled the whole box front with rows of circles.
Select all the rows and group them together into one giant group.
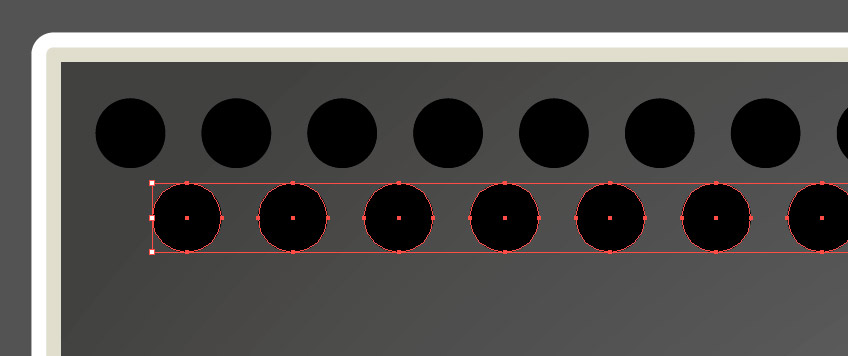
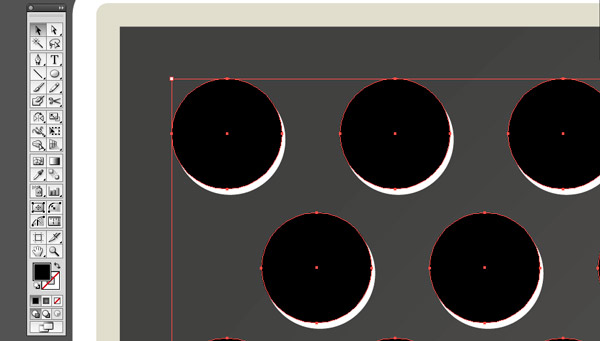
Zoom right in then select the circles and <alt> drag them to create a second set of circles.
Select the lower set of circles and set their fill colour to white. Move them just slightly right and down. This will simulate light catching at the bottom edge of the holes in the grill.
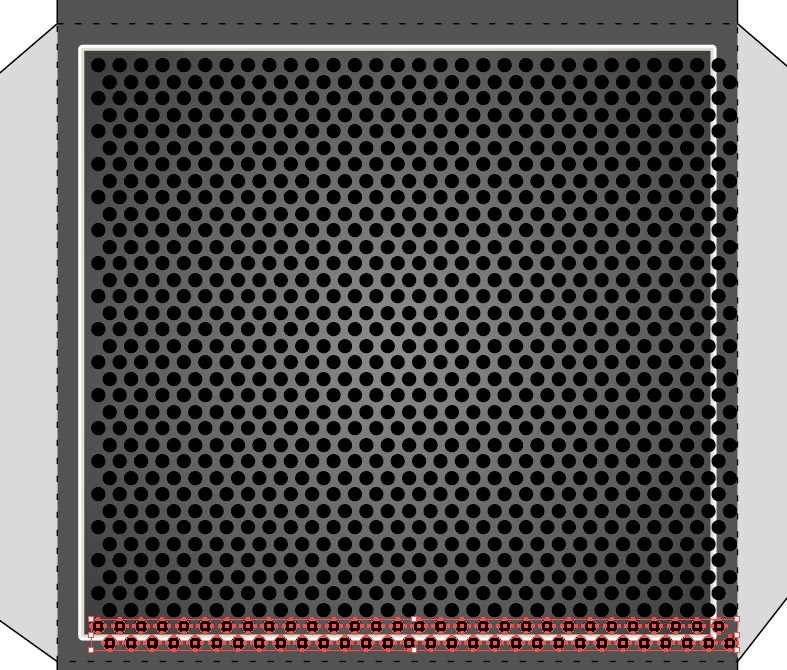
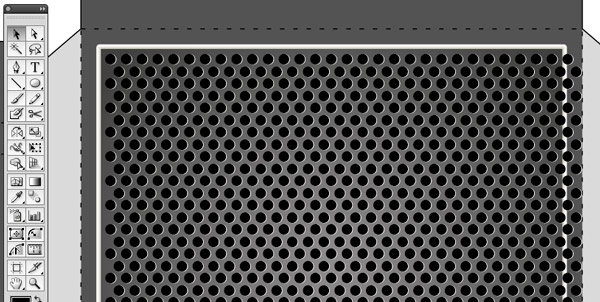
Zoom out to take a look!
Group both layers of circles.
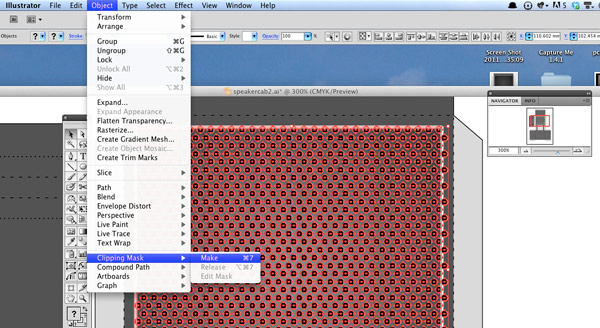
Draw a rectangle above your original white rectangle.
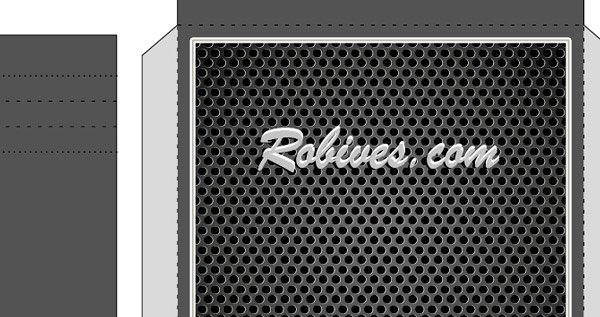
Select the circles and the top rectangle then click on object->clipping mask->make. This will make a clipping mask using the top rectangle and will hide any circles that are overlapping the edge of the box.
In true Marshall Amp style, type out the chosen name for your speaker cab. Make three copies and colour them as below. In the objects below the grey writing is at the top of the stack, the black at the bottom.
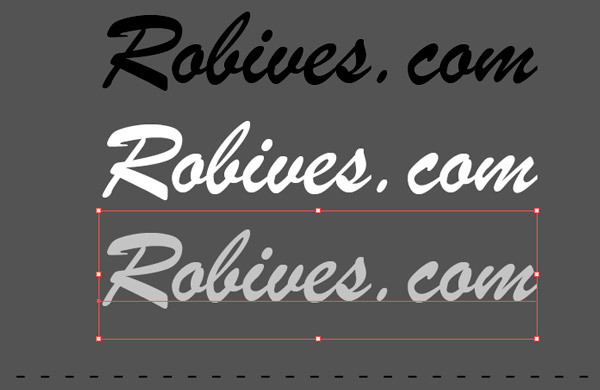
Drag the white over the black with the overlap shown.
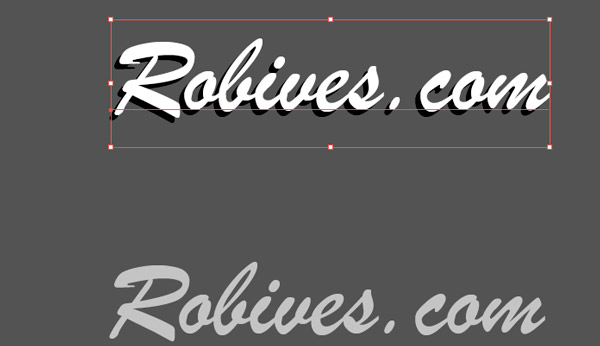
Drag the grey onto the other two and group all three together.
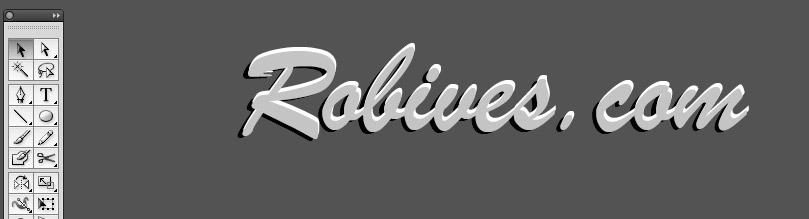
Drag the text onto the grill and resize it if necessary. Quite an effective speaker grill I hope you agree!
Print out and put together the parts.
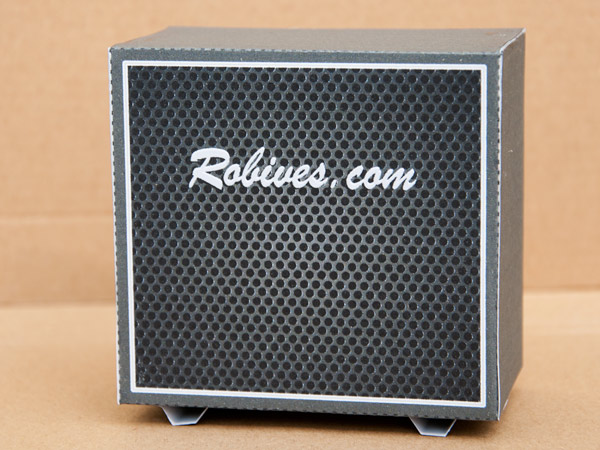
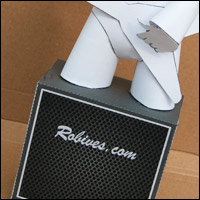
I'm hoping there will be enough room inside the cab to fit a pendulum and drive linkages. If not I can stack a couple of cabs on top of one another or add an amplifier head.