
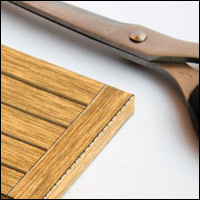
I'm finishing off the art work for the Giraffe model. Next stage – the crate. I'm aiming to create a texture that looks like a wooden crate with a notice sprayed on the outside through a stencil.
I did have a look through some of the online tutorials and found various ways of creating a wood effect, some of them incredibly photo-realistic. The technique that I have opted for in the end is one I came up with through experimentation. It's not photo-realistic and might not be the most efficient way of doing things but it works and I'm pleased with the result. See what you think.
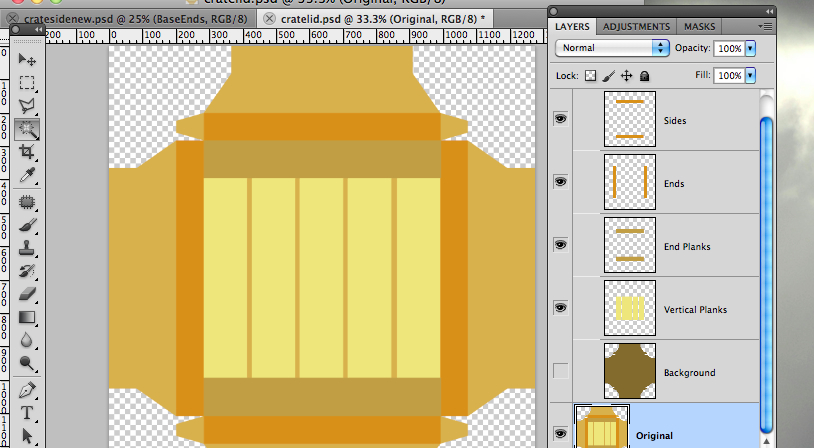
I've started off in Illustrator by dividing the crate lid part up into areas of colour. I have a separate colour block for each of the planks of the box lid. These aren't the colours I'll be using. They are just different colours to make them easy to select. I then import the file into PhotoShop and rename the layer 'Original' This is my starting point in PhotoShop, I'll now describe the rest of the process:
Go through each of the elements of the lid, for example the vertical planks and the background and copy them onto a separate layer using the magic wand tool to select. Give each layer a suitable name.
The resultant file is available for Members to download at the bottom of this post if you want to give this a try. (cratelidoriginal.psd)
Group all the layers into a single group – rename the group 'Original'
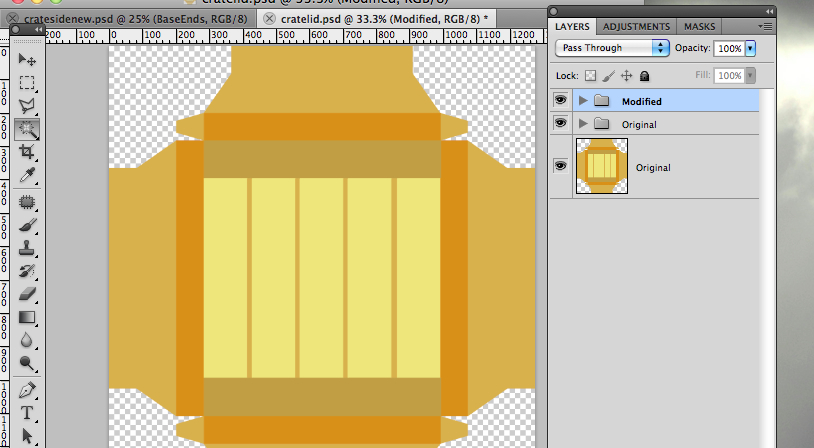
Copy the 'Original' group and rename it to 'Modified' This leaves you with the original parts should you need to go back to them.
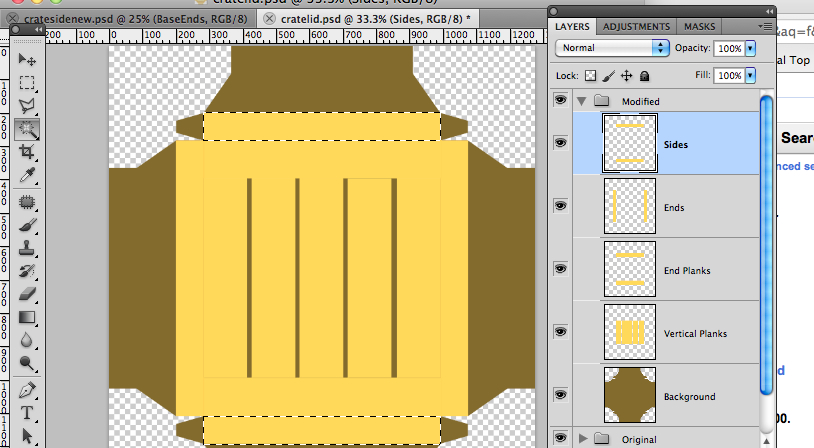
Set the foreground colour to RGB 255, 234, 126 and the background colour to RGB 120, 101, 46
Using the magic wand and fill tool on each layer, select first the background and fill it with the background colour, then all the other elements and fill them with the foreground colour.

Select the vertical planks layer. Select each of the planks with the magic wand and give them a wood grain effect using Filter -> Render -> Fibers
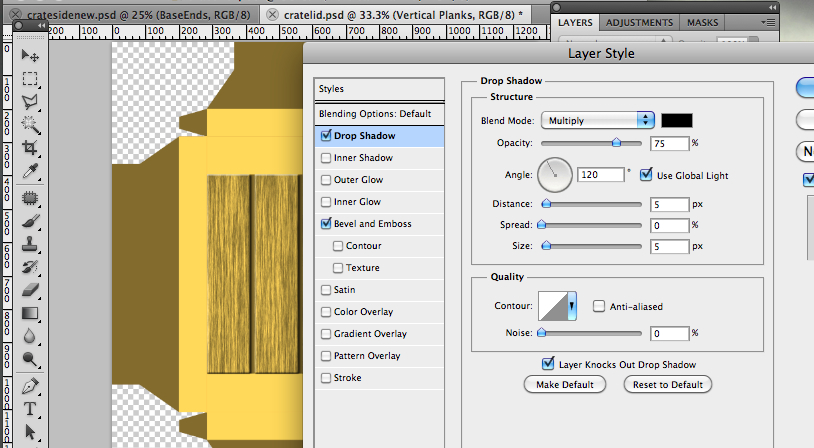
Add a small drop shadow and little Bevel and Emboss to give the planks a three dimensional look.
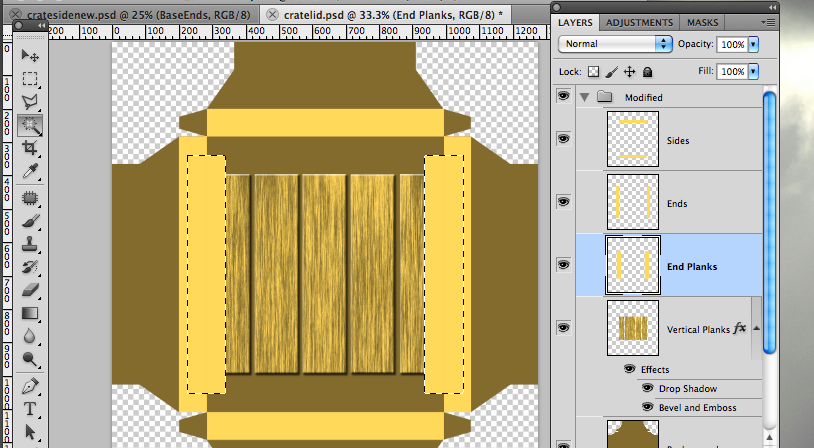
Select the plank ends layer. Select the plank ends with the magic wand, use the <shift> key to select multiple planks. Rotate the planks by 90 degrees (Edit -> Transform -> Rotate 90 degrees CW)
Apply the fibers effect and drop shadow + bevel to these items then rotate them back into place.
(There might be a better way of doing this but I couldn't find a way to adjust the fibers angle on PhotoShop CS5)
Complete the remaining parts in the same way – rotating them if necessary
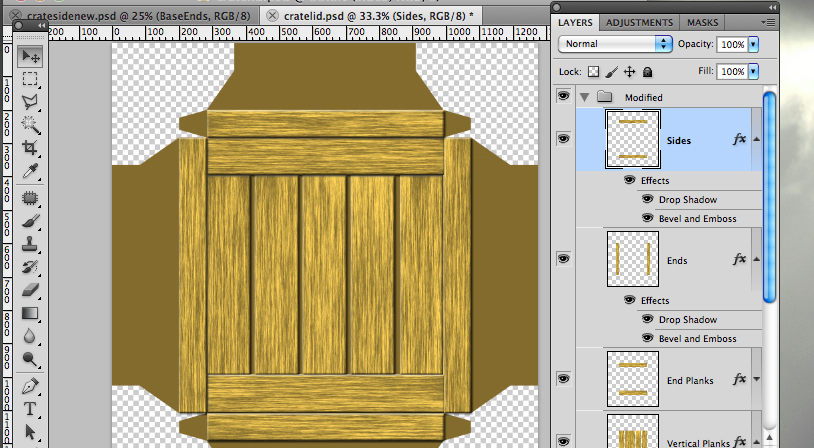
I completed the parts by saving the file as a jpeg and dropping it into Illustrator behind the lines I had already created for the box lid.
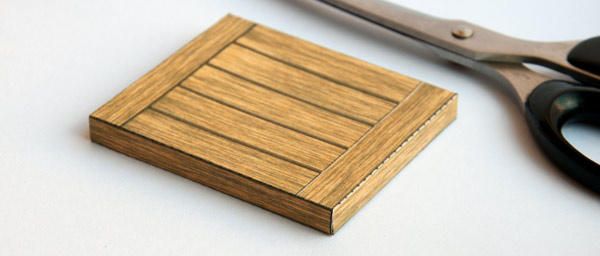
The finished file is available for members to download at the end of this blog post. (cratelid.pdf)
Cut out, glue together, that's it!
Another driving lesson for #1 daughter then the giraffe head will complete the model!
