
This will be a two part tutorial on creating a paper model banana using the open source 3D program Blender. You can download Blender for free from their website and follow along at home.
Download and save the Banana picture here.
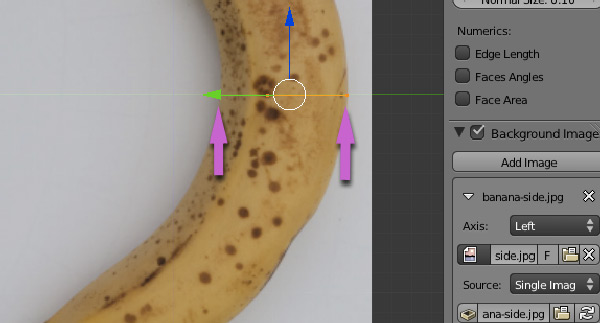
Add the picture as a background image. There is a tutorial here explaining how.
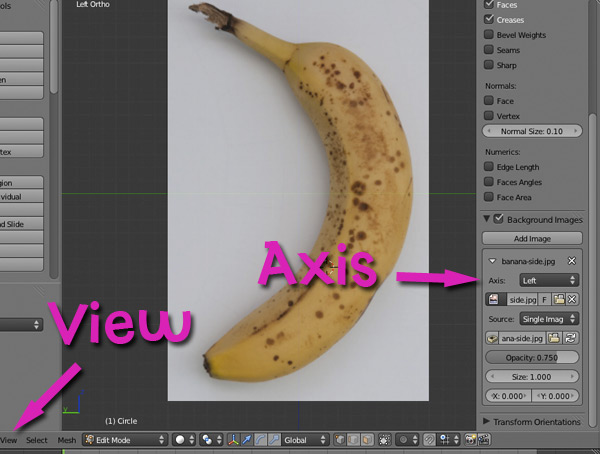
Make sure that the background image Axis is set to Left then click View at the bottom left of the window and set the view to Left as well.
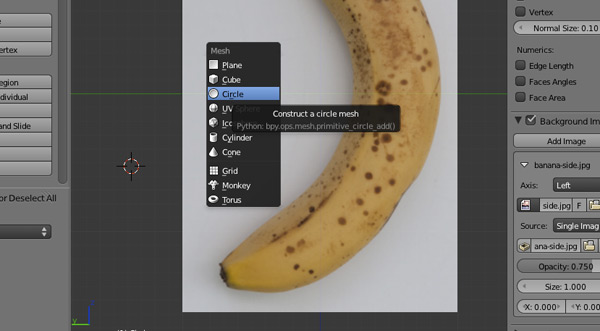
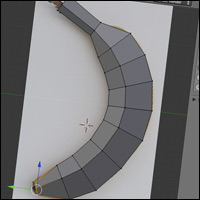
The banana shape is made up from a series of pentagons joined together. To create a pentagon in Blender we create a circle and set its number of sides to five(!)
Start by clicking <shift> A then choosing Circle from the menu.
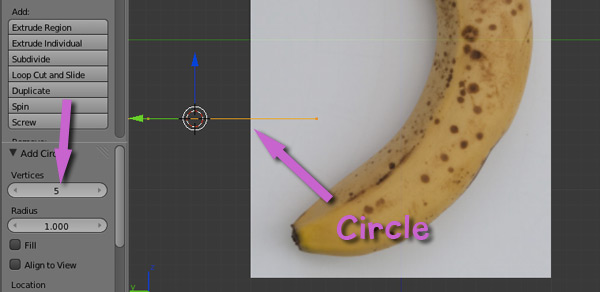
Set the number of vertices to 5. The circle is shown edge on so it looks like an orange straight line in this view.
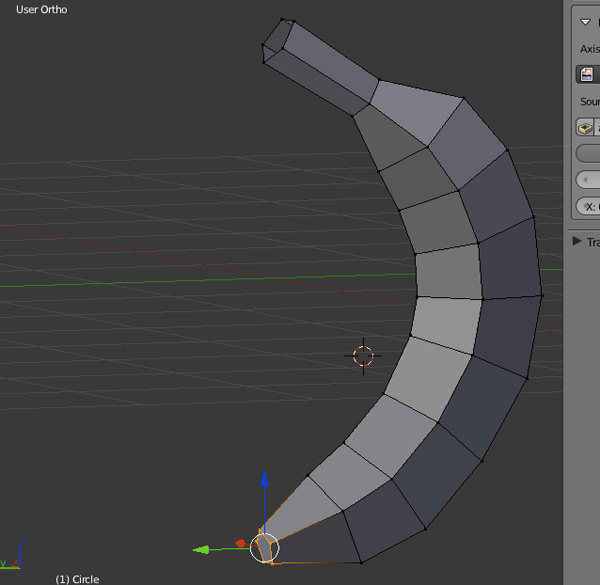
We're going to start the construction of the banana from the middle. Using a combination of G to grab the circle, S to scale the circle and R to rotate it move the circle so that it fits neatly across the middle of the banana.

To create the next section we're going to extrude from the first section. Press the E key. A new pentagon connected to the first one will be created. Move the mouse to see clearly how it works. Use a combination of G, S & R to position it higher up on the banana. Click the mouse to fix its position.
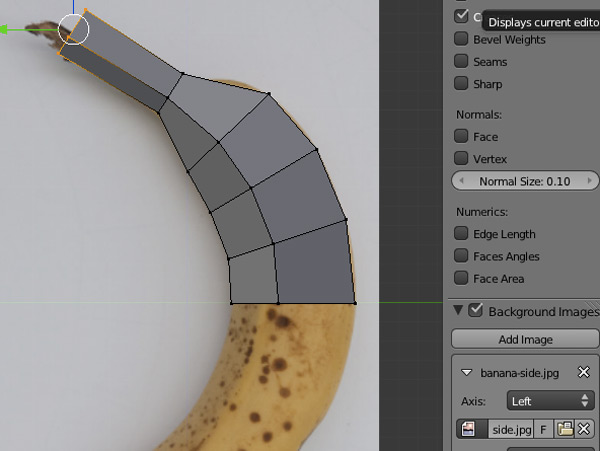
Repeat the process of using E to extrude and G, S & R for Grab, Scale & Rotate to position the segments until you are at the top of the banana stalk.

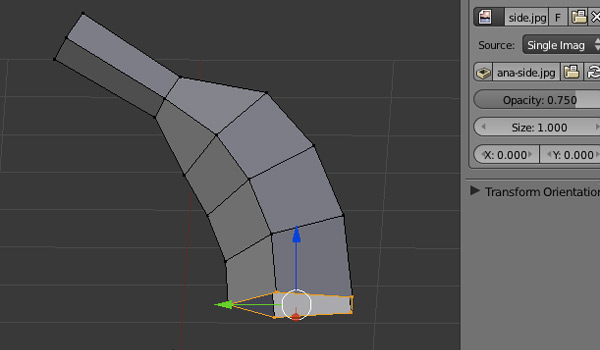
Use <alt> <click> and drag to change the view point. As you move away from the left view the background image will disappear. Notice that in the above image the top most pentagon is selected hence the orange lines. Before finishing off the banana we need to deselect these. First press A to select everything – press A again and everything will be deselected including the previously selected stalk.
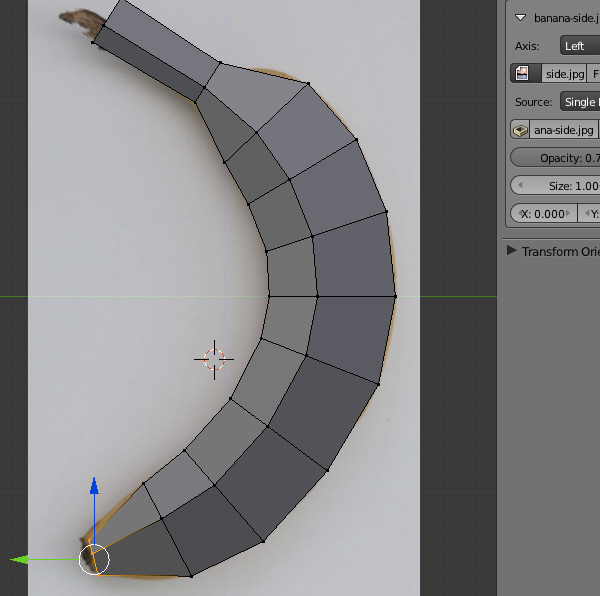
<Alt> <click> and drag the view round so that you can see the open base of the banana. Select the five points of the pentagon using the lasso select tool. <Ctrl> <click> and drag.
Make sure that you set the view to Left before proceeding.
Once done repeat the process of E to Extrude, G, S & R to move until you have completed the banana shape.
<Alt> <click>drag to admire your handy work!
Save the file under a suitable name. 'Banana' would do nicely. In the next tutorial I'll show you how to convert the 3D computer model into a paper model.
