
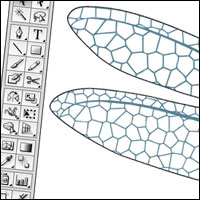
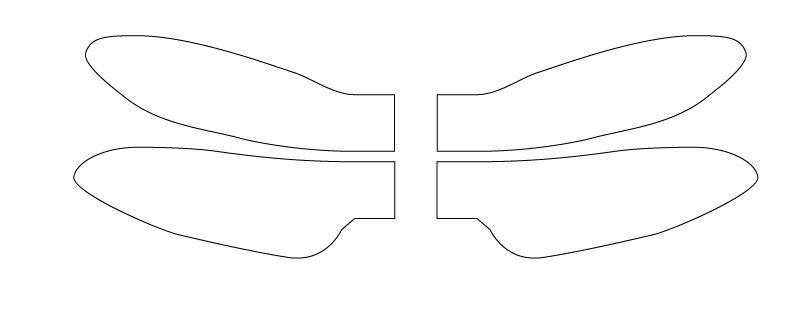
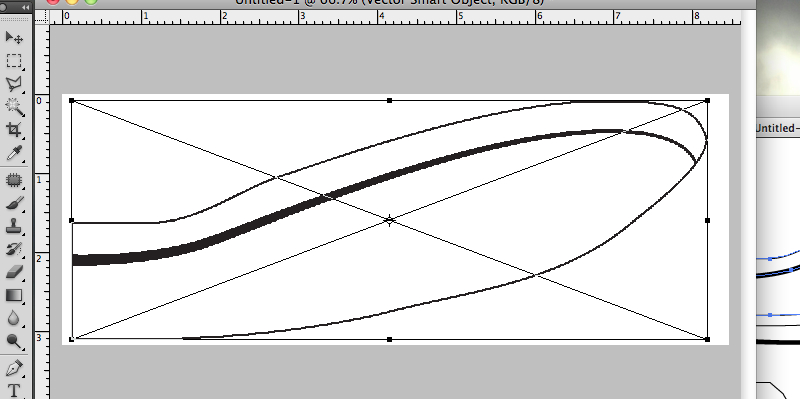
The wings on the Dragonfly model are decorated with an organic filligree pattern. This quick walk through shows how I created the pattern. I started with the wing outlines created in Illustrator.
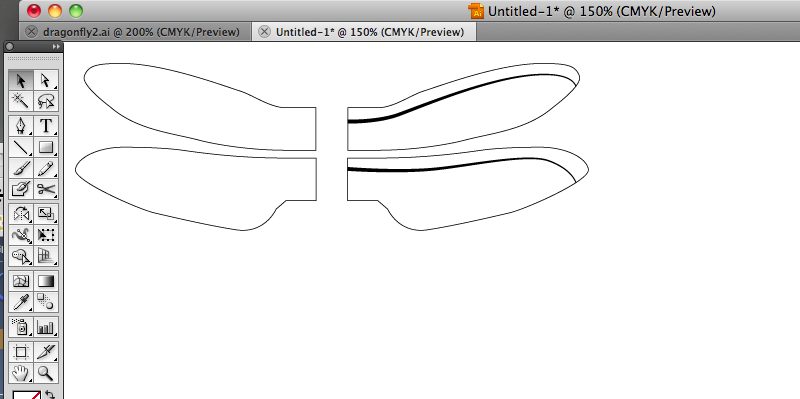
I added a couple of thick lines to the top half of the wings.
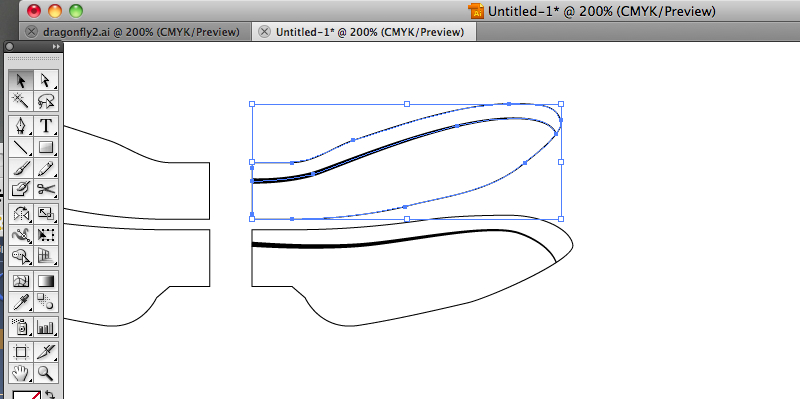
Working on one wing at a time. I selected the wing and copied it into the clipboard.
I cracked open PhotoShop and created a blank document roughly 1000 pixels by 400 pixels. I pasted the wing into place and resized it to fit the document.
Okay. A couple of steps here. First, I flattened the image so that everything was on one layer.
Next, with the Magic Wand Tool, I selected the top white area of the wing. You can just make out the marching ants in the picture.
Third, I created a new blank layer and filled it with white while the section was still active
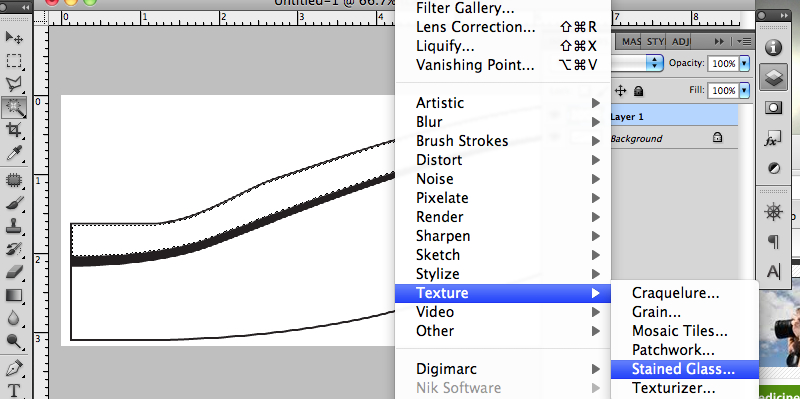
Finally, I selected the Filter -> Texture -> Stained Glass tool. I choose an appropriate cell size and border width using a background colour of white and a foreground colour of black.
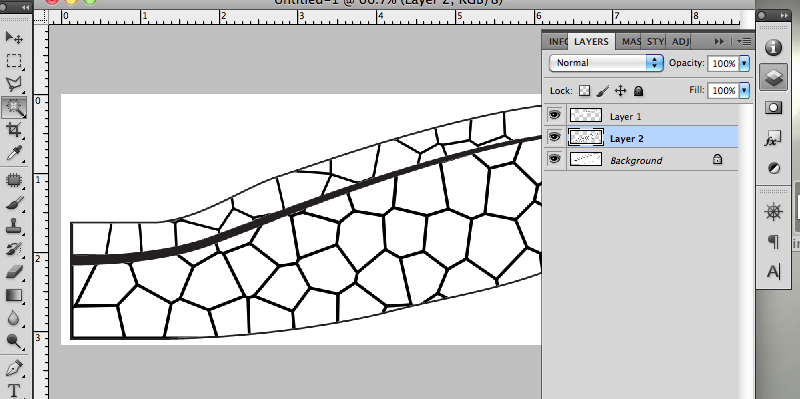
I repeated this process with the lower half of the wing.
I then flattened the image.

Back to Illustrator, I dropped the image from PhotoShop into Illustrator. At this point I could have stopped, and dragged the image behind the outline.

Because I wanted the file to be compact for downloads I needed to convert the lines into vector format.
I selected the image and clicked on Live Trace -> Make and Expand
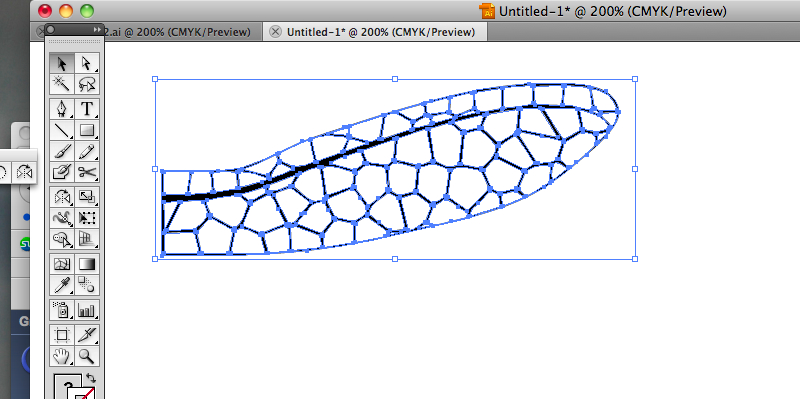
This traces round the image making it into a vector based picture. This makes a more compact file.

I then ungrouped the image, selected the black part and dragged it away from the white background. I deleted the background.
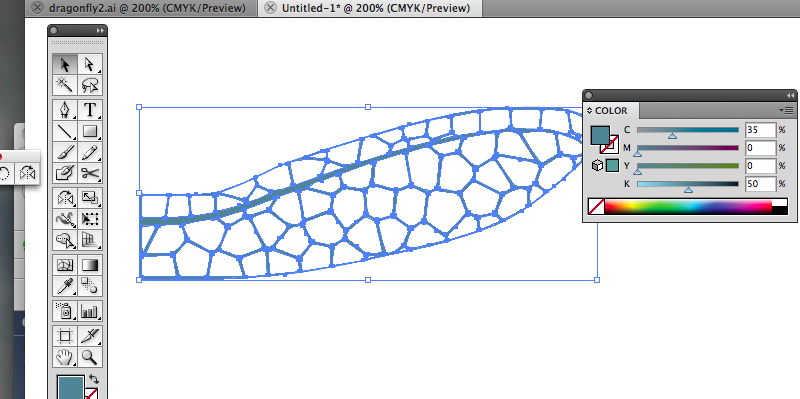
Now with the filigree texture selected I lightened the colour and gave it a bluish tinge.
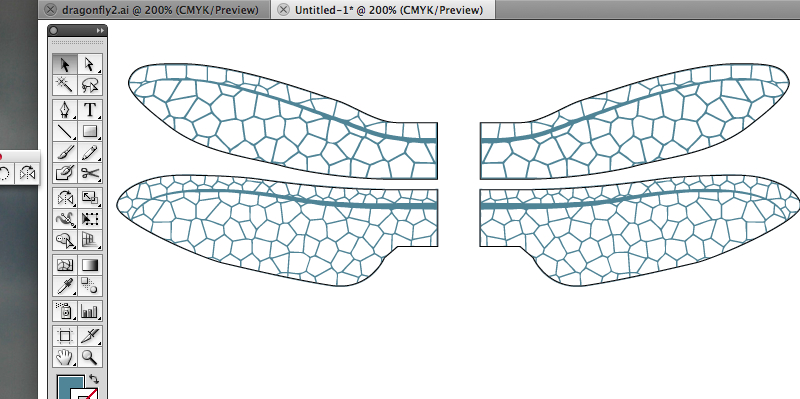
I copied the right hand wing and flipped it before placing it on the picture behind the wing outline. I repeated the process with the lower wings to complete the design. Ta daa!
