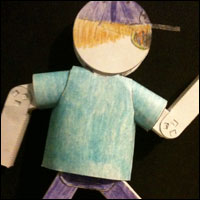
Cyndi H sent me this picture of the stickman that she and her 12 year old son have modified. Cyndi made the stickman from the project parts here and her son added the T-shirt and colour scheme including cool shades and baseball cap.
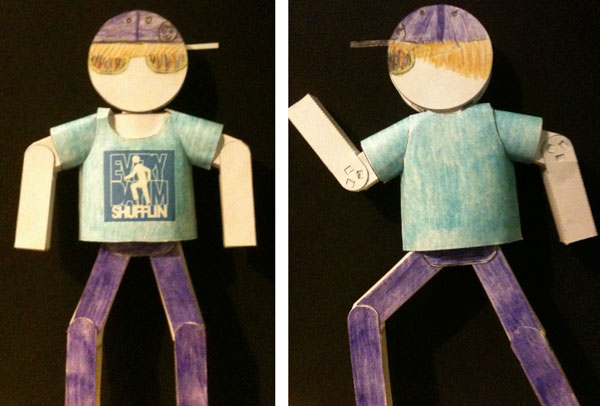
Nice work both of you! Thanks for sharing your pictures!
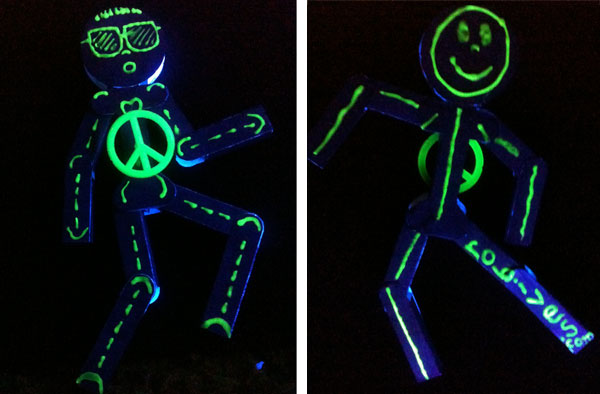
Cyndi and Son have sent these amazing neon glow stickmen picture to add to their collection. Now that's cool!