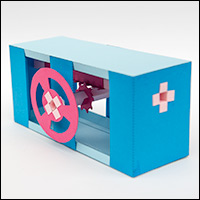
This project is part of the Gears Collection.
This is a new and improved version of a Worm Gear drive, building on previous projects. In this version the worm drive itself is much stronger allowing more force to be exerted on the gear. Members can, as always, download the parts for free. Non-members can join in the fun for £2.50 or equivalent.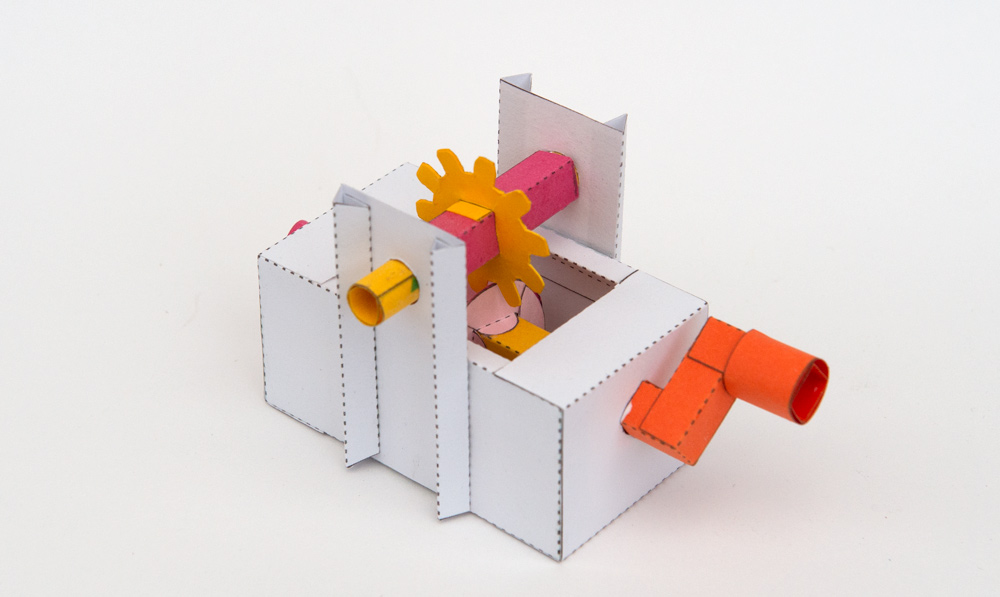
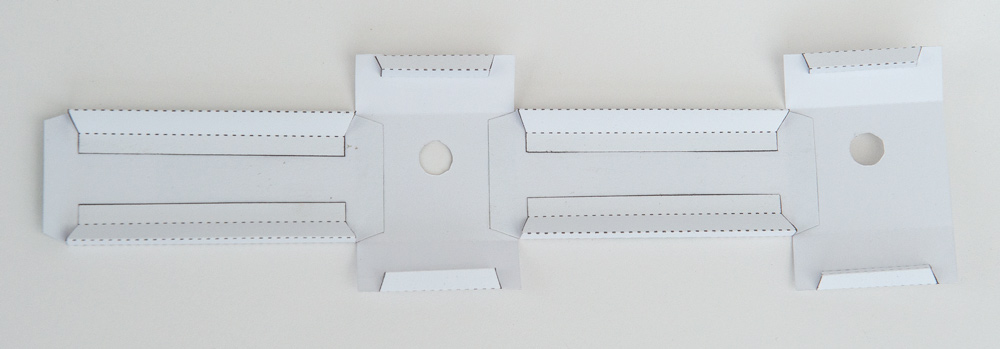
Download the parts and print them out onto thin card. I used coloured card for a colourful model. Carefully score along the dotted and dashed lines and cut out the holes before carefully cutting out the parts. 
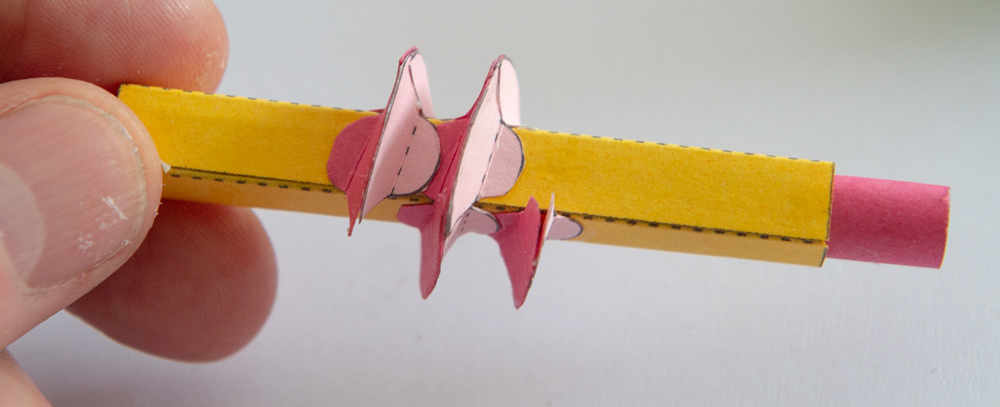
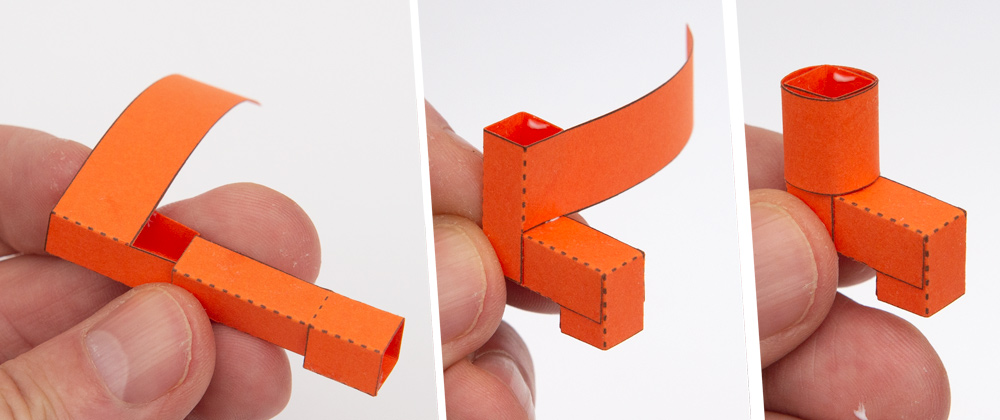
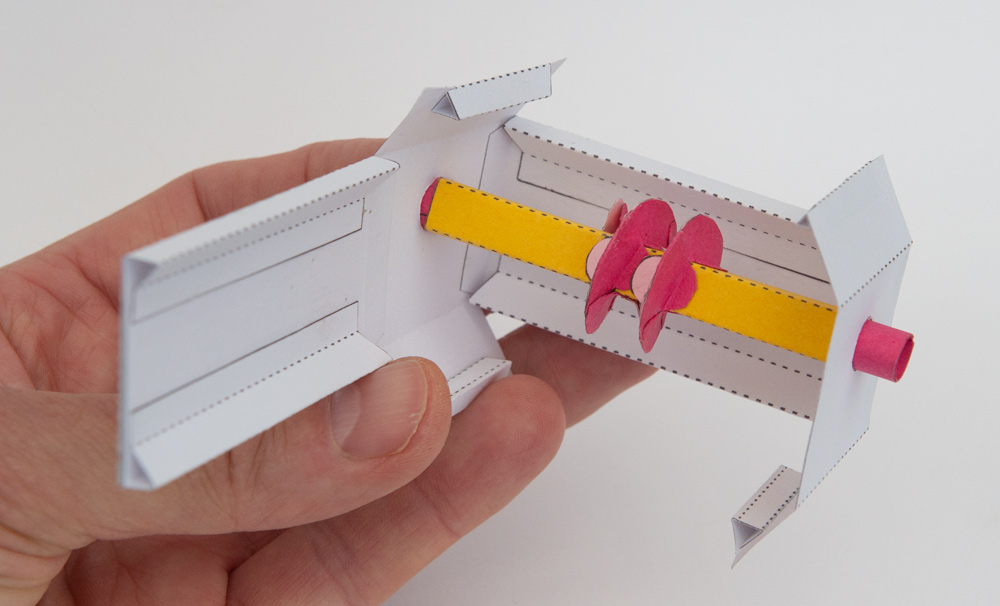
Fold up and glue the worm axle tube. Note that the is a length of double-spiral in the centre. This is to line up the worm parts on.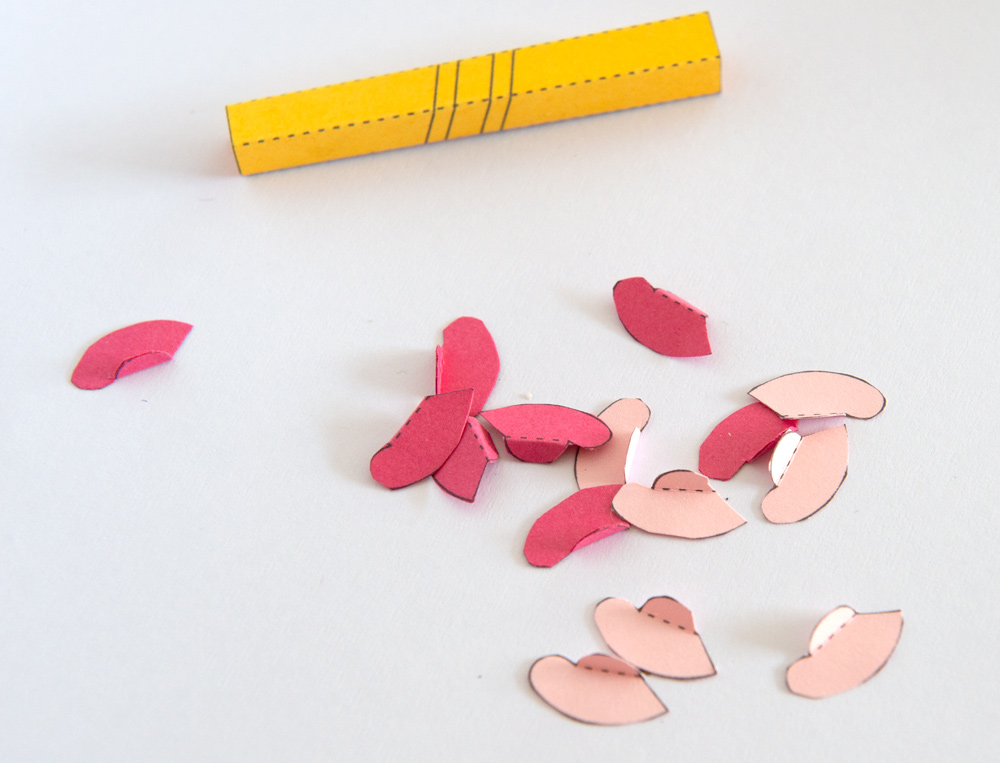
Work your way down the tube glueing one set of vanes onto the shaft lining them up with one of the spirals. Don’t join them together yet.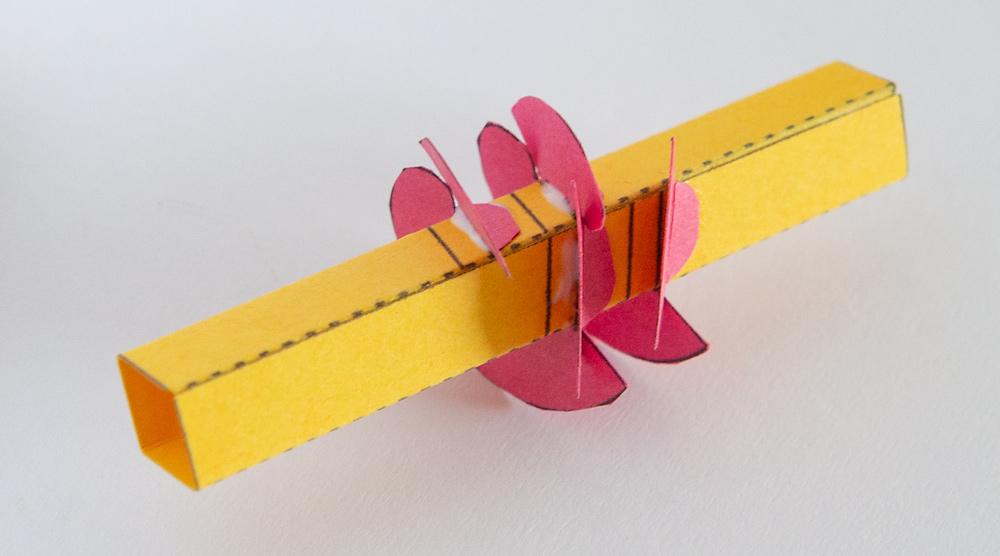
Glue the second set of vanes to the second spiral with the tabs facing the other way.
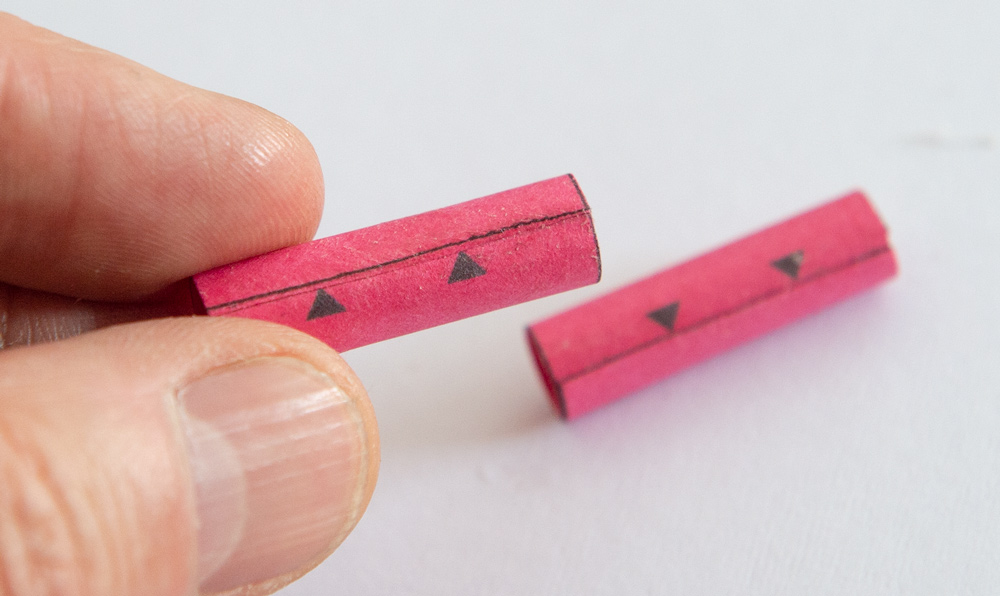
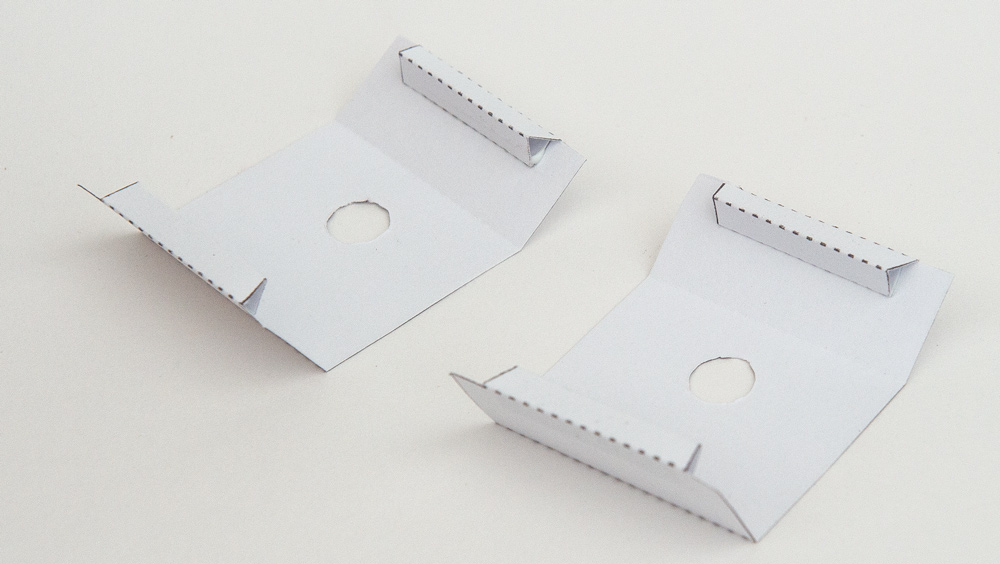
 Roll up and glue down the axle tubes as shown.
 Fit the axle tubes into place at each end of the square tube with a dot of glue. Glue the overlap of the vanes together and glue them together at the top to make a single worm with a strong triangular section. This is far more rigid than the previous, single worm design that I have used.
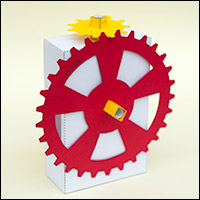
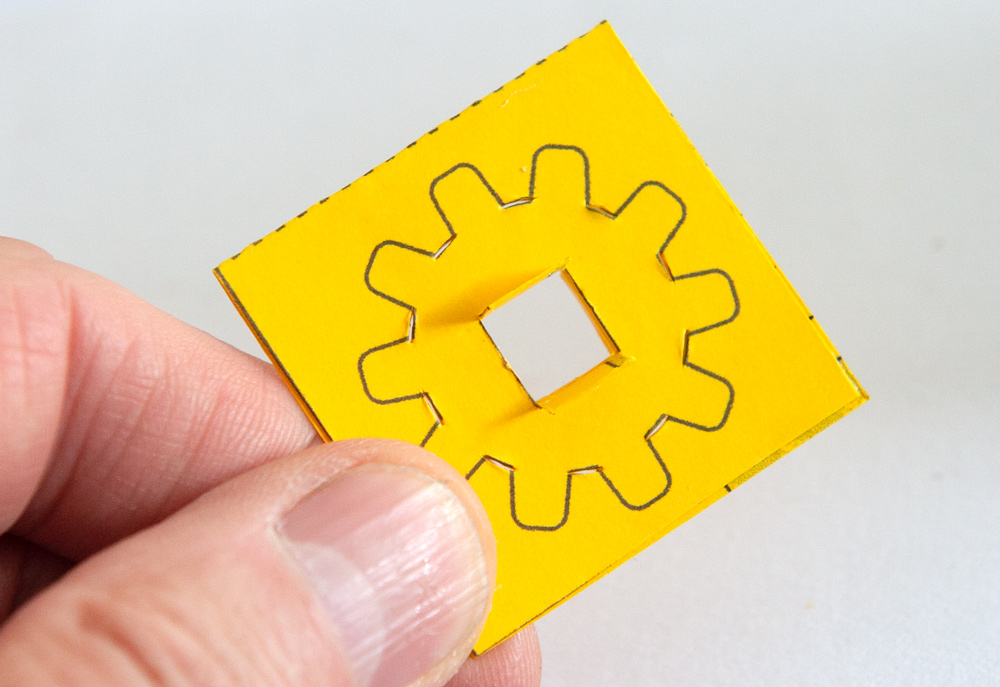
Make up the ten tooth gear from double thickness card. Once the glue is dry carefully cut it out.
 Glue it to the centre of the shorter axle.
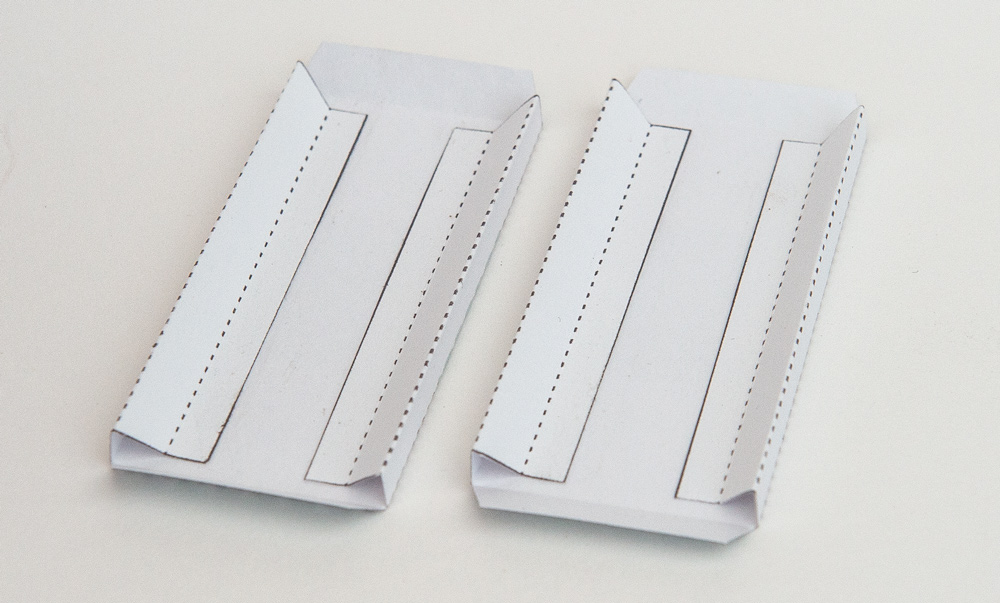
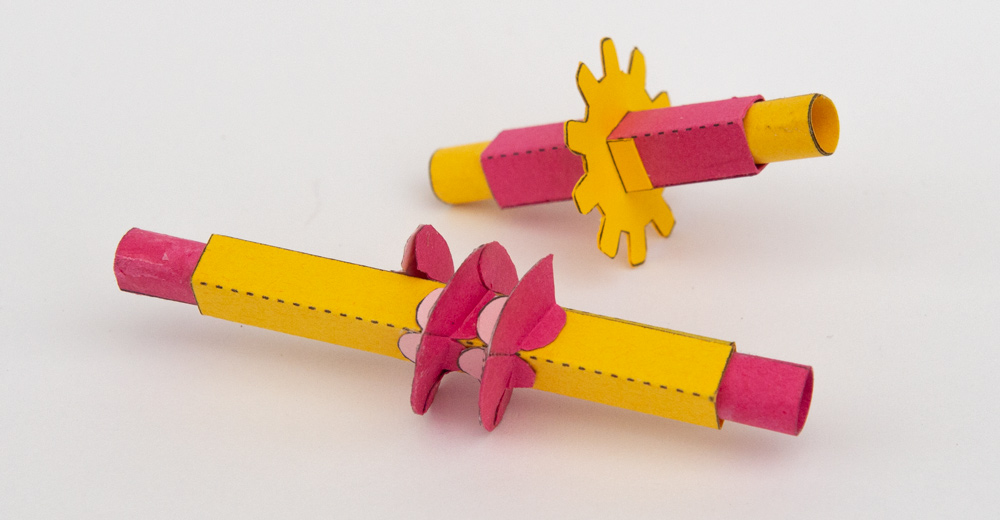 Fold round and glue the triangle sections of the various parts.

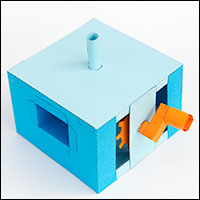
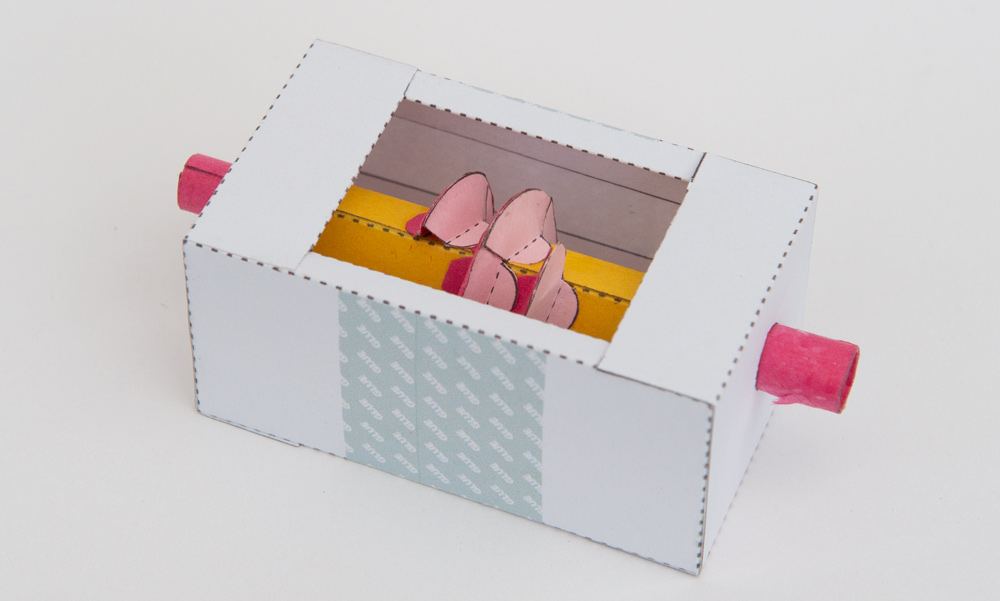
Glue together the four parts of the main box as shown.
Make up the handle in three steps.
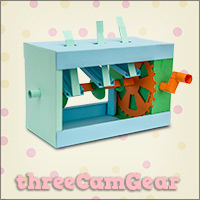
Fit the worm drive into the box then glue the box closed around it.
 Glue the top and bottom flaps into place.
Fit the gear between the two uprights and glue them to the box as shown.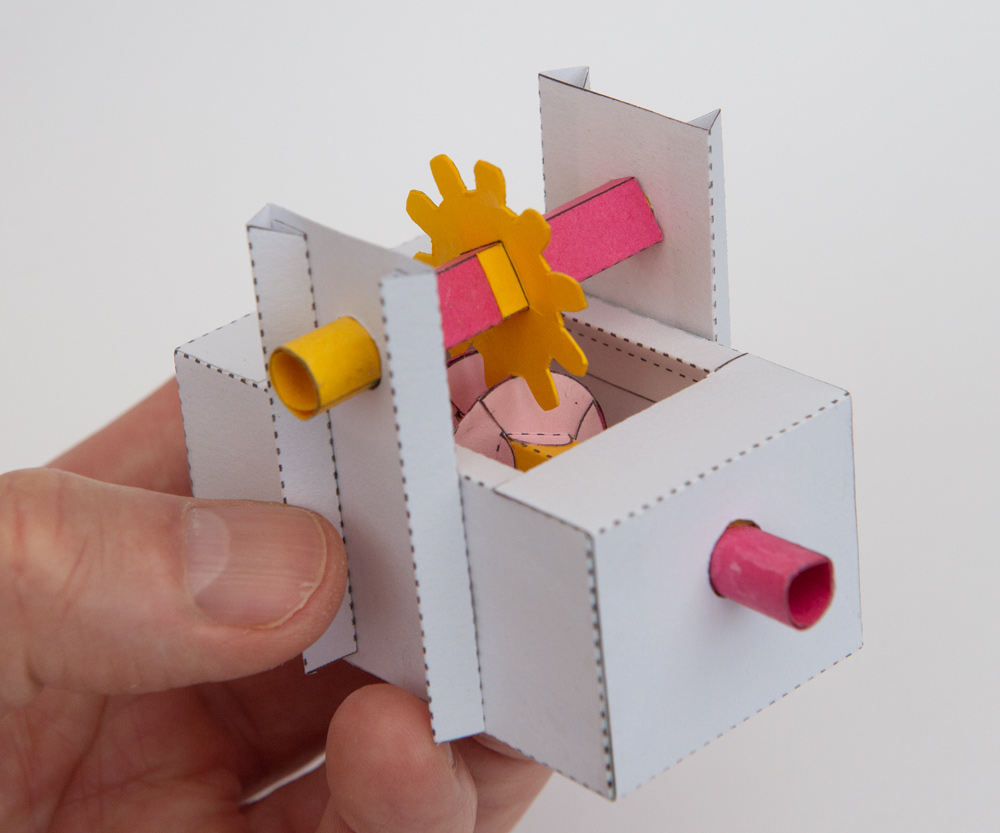
Finish the model by adding the handle.