This project is part of the Gears Collection
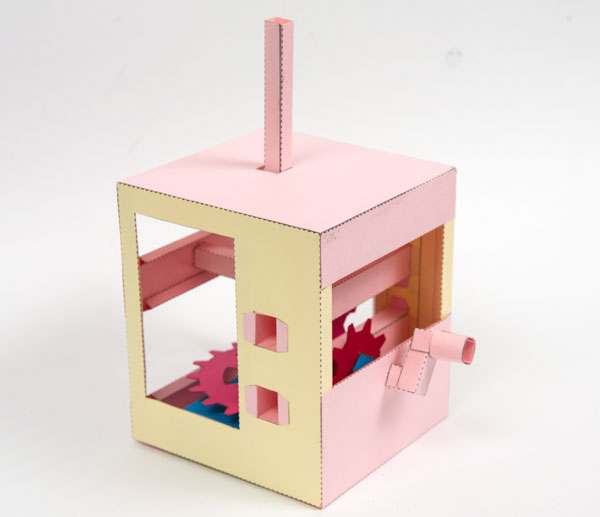
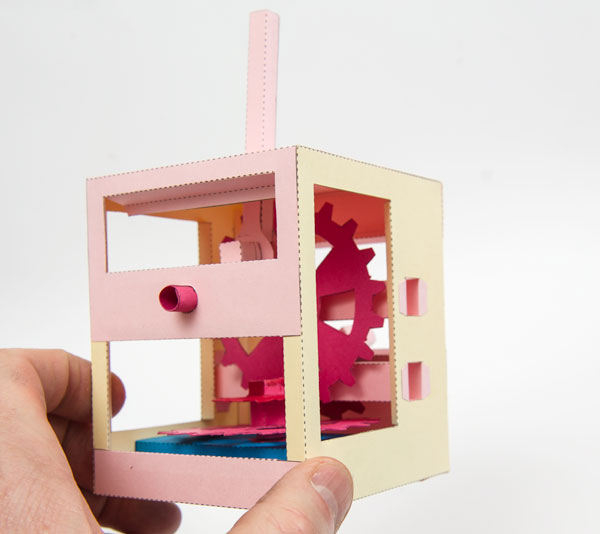
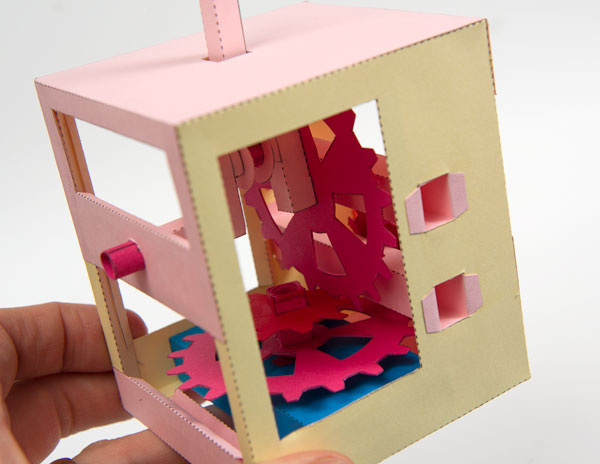
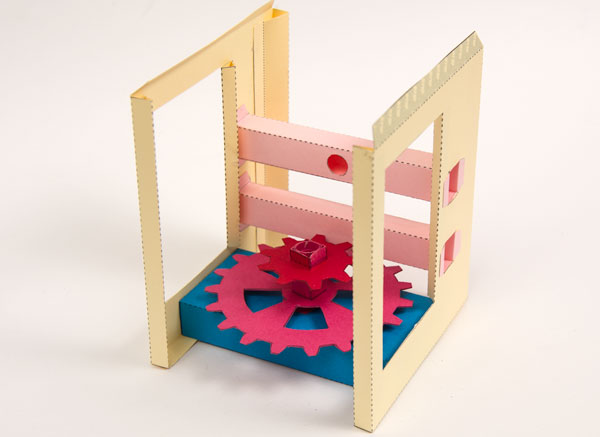
 This project is for a two stage reduction gear with a crank output. The mechanism is fitted into an almost square topped box with the output crank close to the centre of the box top. The gear reduction is close to 4.5 : 1
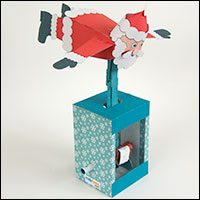
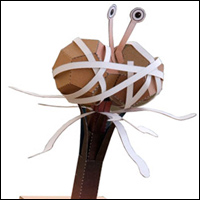
Make the model as an exercise in pure mechanism or as the starting point for your own character based animated paper models.
Click the picture for a short animation
Members can download the parts for free at the link, thanks for signing up! Non-members can join in the fun for £2.50.
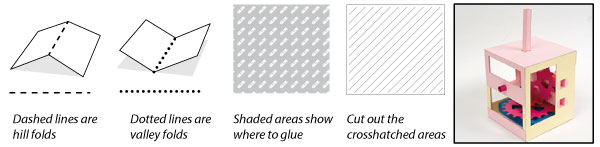
Print out the parts onto thin card. (230gsm/67lb are ideal weights) Use coloured card if you can to make a model colourful model.
Score along the dotted and dashed lines then cut out the holes before carefully ad accurately cutting out the pieces.
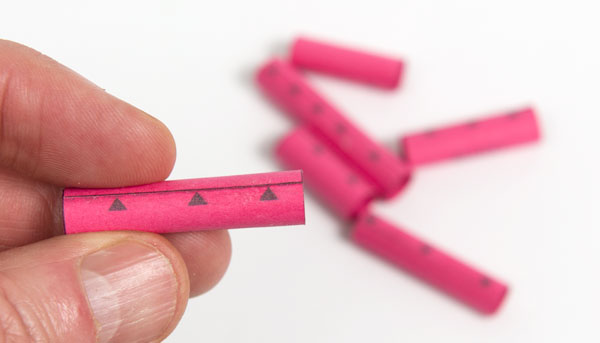
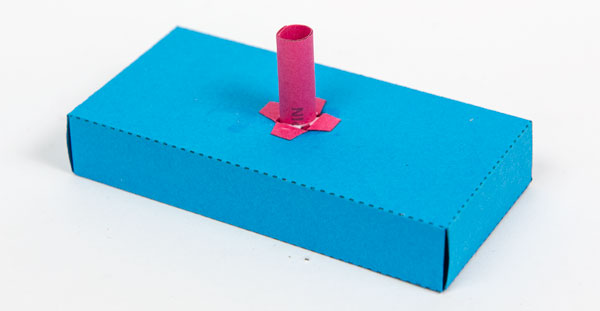
Roll up and glue down the various tubes. Line up the ends with the points of the arrows as shown.
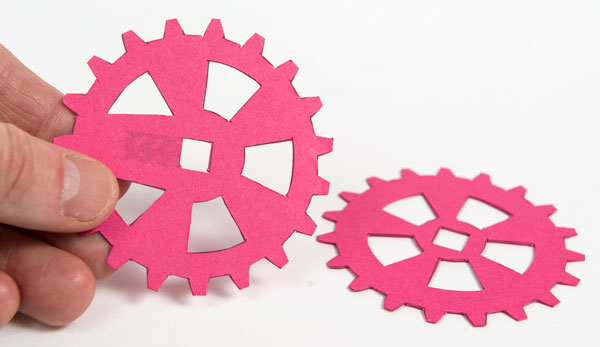
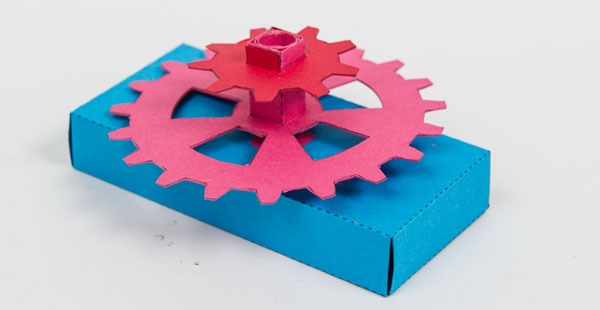
Make up the four gears from double thickness card cutting them out once the glue is dry.
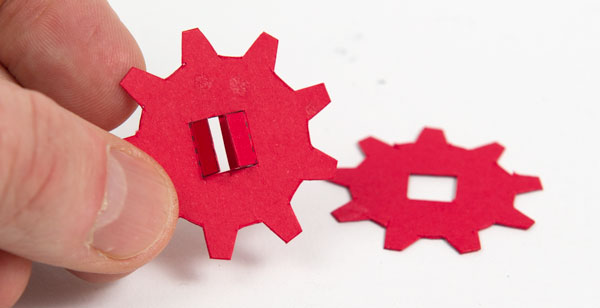
Fit the short square axle with the four tabs into the large gear without the glue markings.
Fit the 9mm diameter tube into the axle tube lining it up with the top of the square tube.
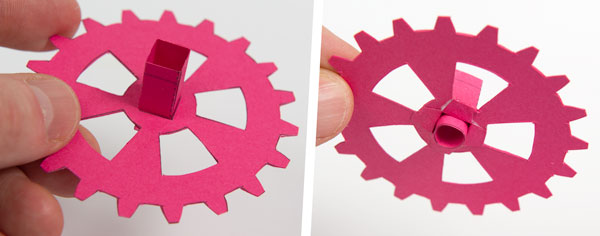
Fit the small gear into place lining it up with the grey line.

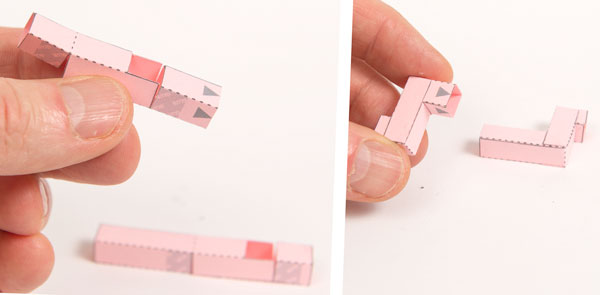
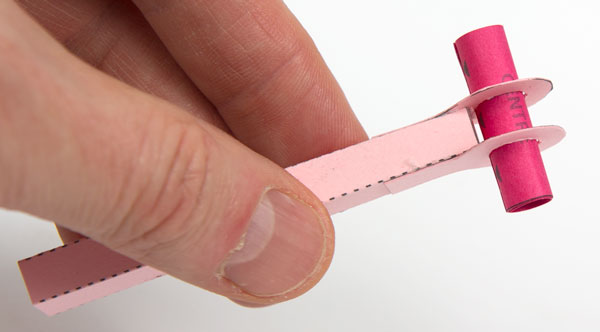
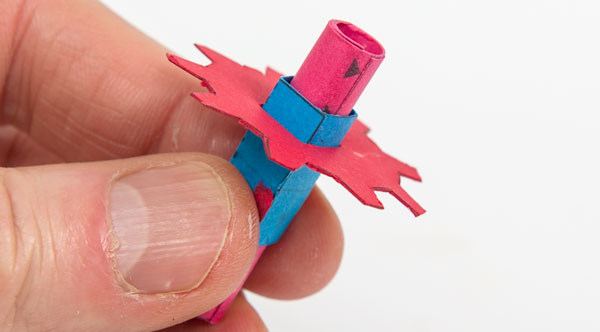
Assemble the two crank pieces as shown.
Make up the push rod ends from double thickness card. Once the glue is dry carefully cut them out.
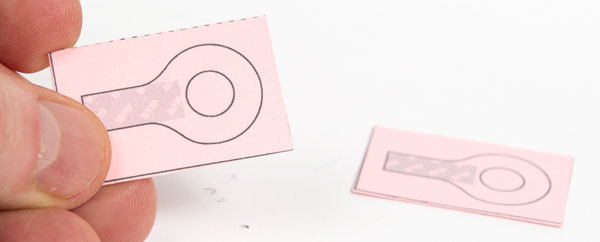
Thread the centre pin through the two push rod ends and glue them to the push rod.
Fit the longer of the two crank pieces to the second large gear with the arrowed end threaded through the square hole.
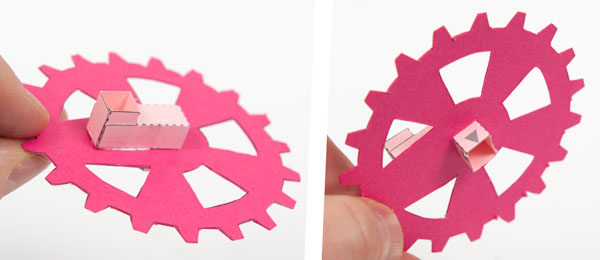
Assemble the rest of the crank/gear assembly as shown.

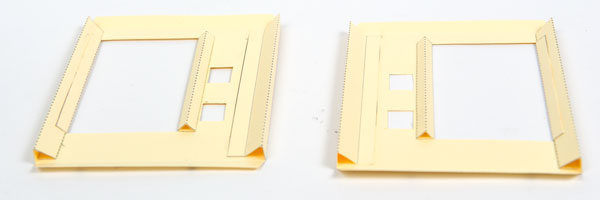
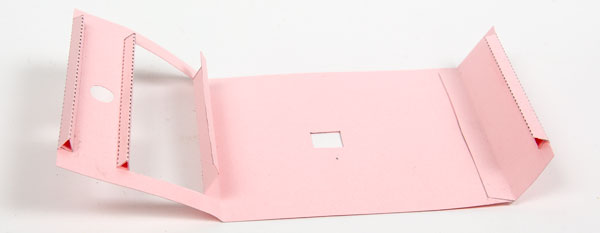
Fold up the box base. Fit the box base inner into place.

Fit the 7mm axle tube into place.
Thread the gear assembly into place. The gear should turn freely. No glue here!
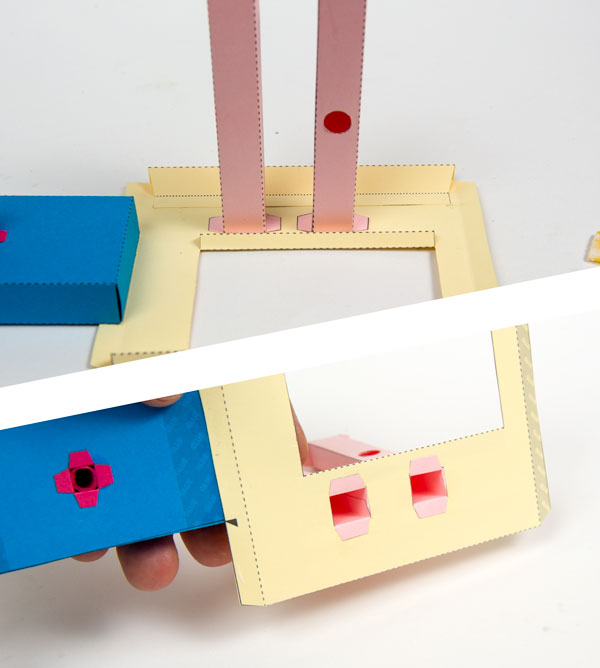
Fold up and glue the two sides as shown.
Fit the sides to the base between the alignment arrows as shown.

Fit the two cross pieces into position as shown. Notice where the circular holes are facing.
Fold up and glue the sides and cross pieces.
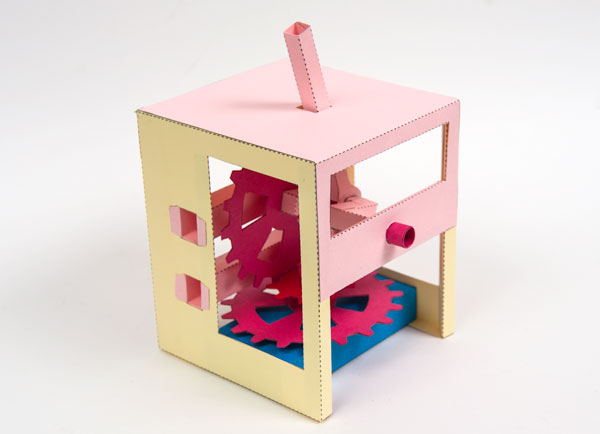
Fold up and glue the two top pieces joining them together into one piece as shown.
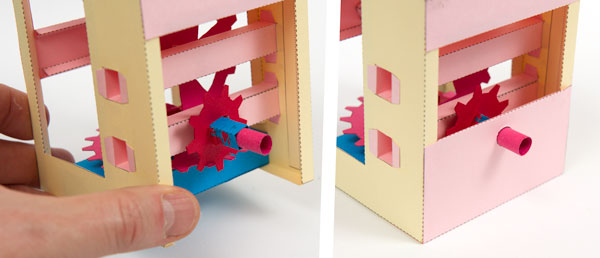
Fit the crank assembly into place.

Fit the top into place threading it down over the push rod and gluing it into place on the box.
Make up the small gear as shown,
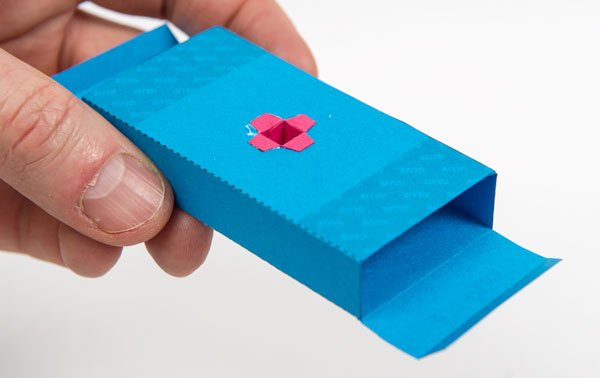
Fit the small gear into the hole on the cross piece. Glue the cover piece into place.
Glue the remaining corner piece into place on the other side of the box. (Not visible on this picture.)
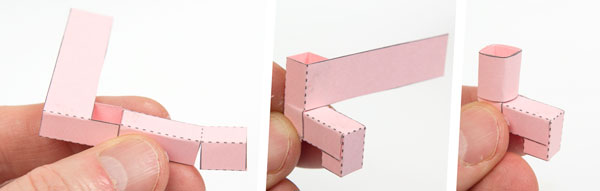
Assemble the handle in three steps.
Complete the model by gluing the handle into place.
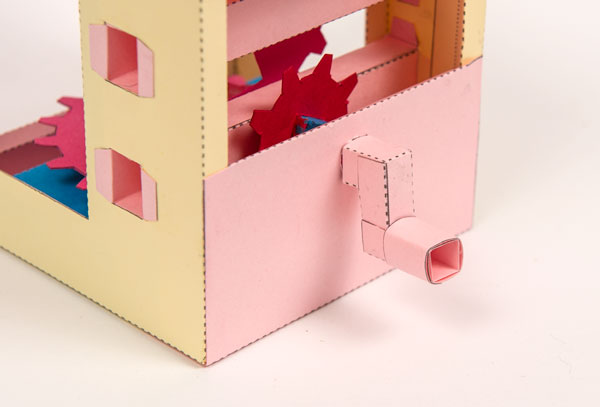
Step back and admire your work.
You can stop here and be pleased with this rather delightful paper mechanism or you can use it as a starting point for your own character based paper automata. Well done, I hope you had fun!