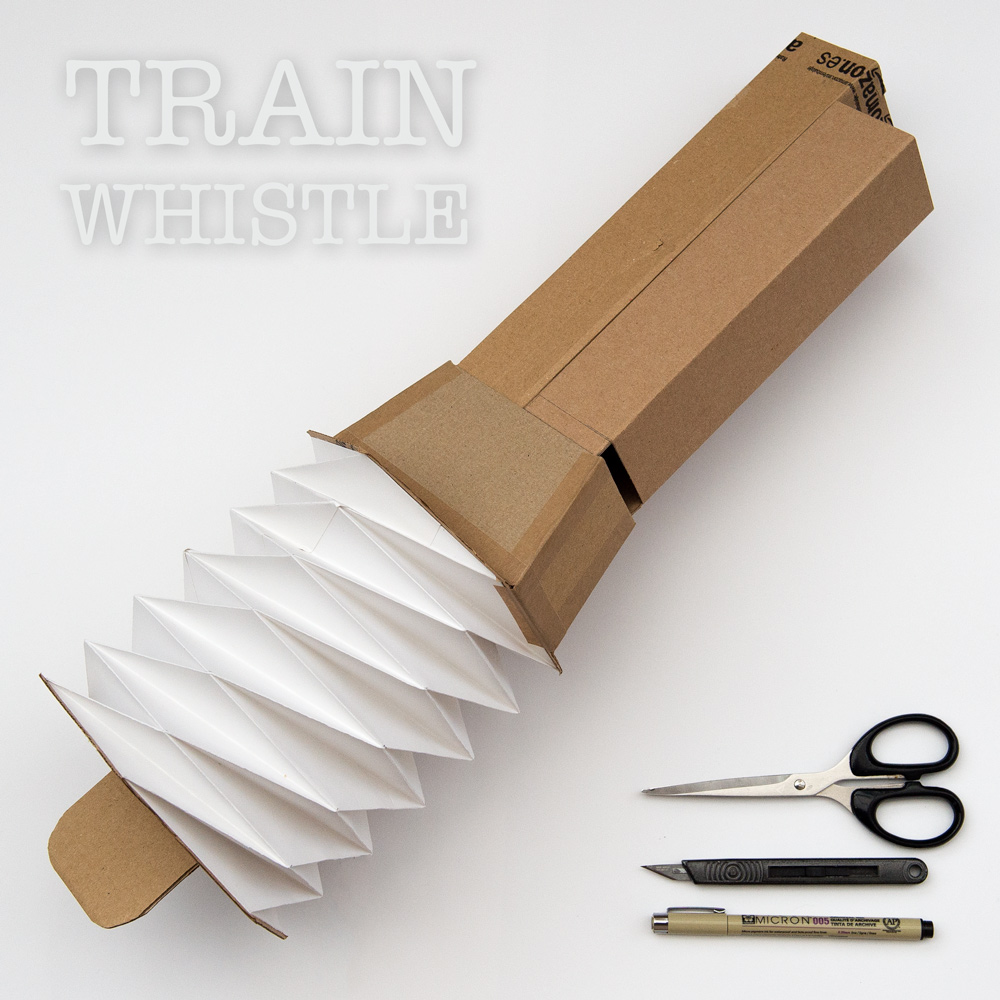
Though slightly different in theme from the usual models on this site, the Train Whistle is still made from card and I’m sure you will find it fun to make. There is only one part to download, the template for the bellows. It is available for everyone to download at the link. The rest of the project is presented as a step by step how-to. Follow the instructions and make your own corrugated card train whistle.
Print out the single part onto card and cut it it to use as a template.
You will also need a large sheet of thin card. I use a sheet 640mm x 450mm 230gsm white card. You will also need various sheets of corrugated card. We keep our Amazon delivery packages for just such an eventuality.
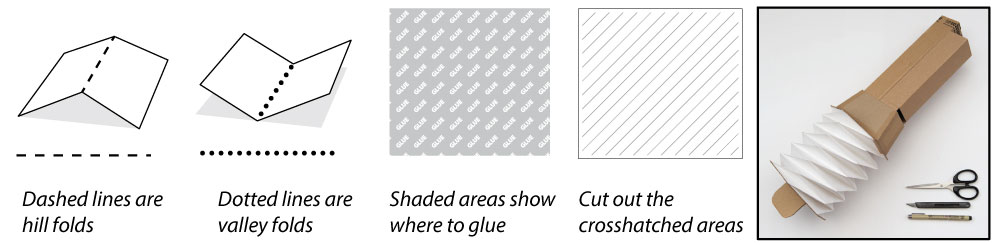
In the following pictures the large rectangle represents the large sheet of card. Starting 10mm from the top use the template to mark out small lines down both sides.
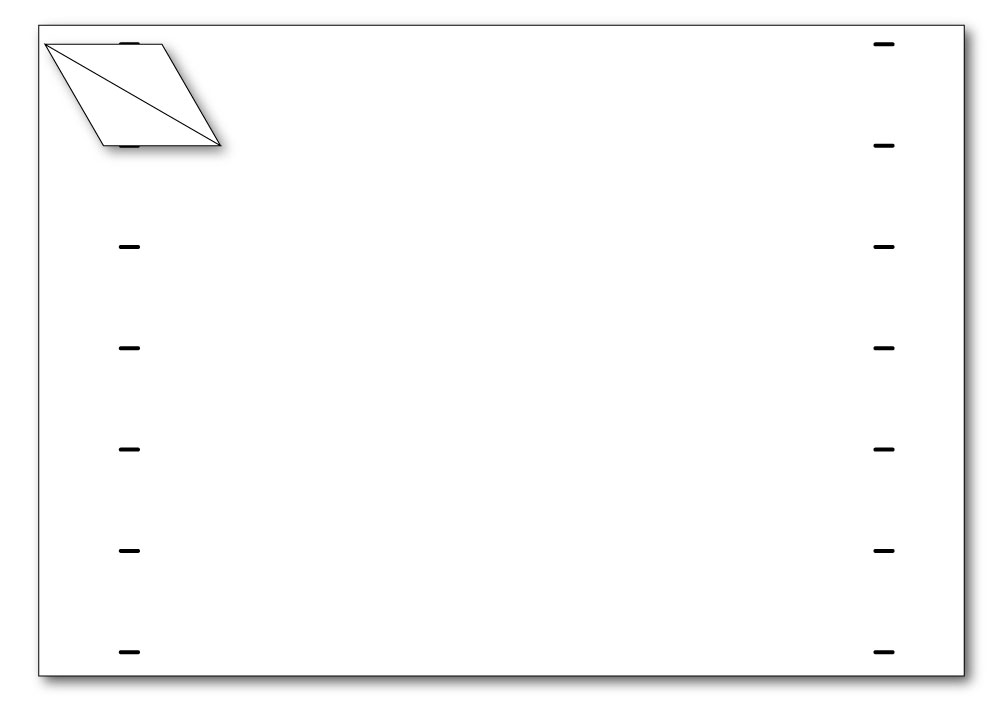
Using a long ruler and scoring tool, score between the lines as shown.
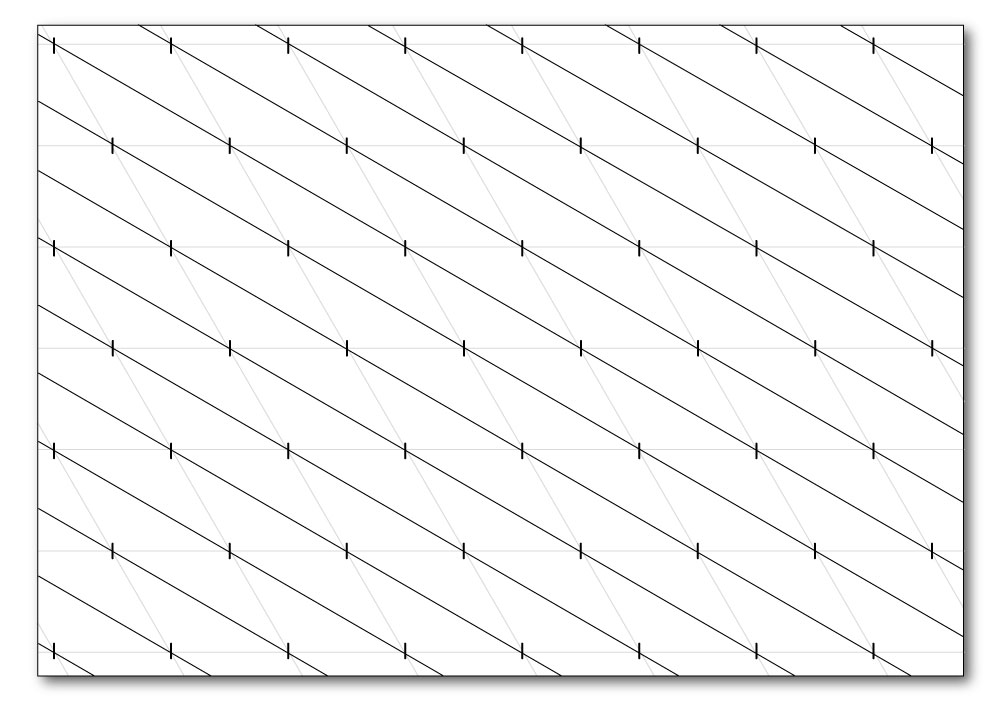
Start 7mm from one side use the template to mark on the score lines.

Work your way down to mark out all the score lines.
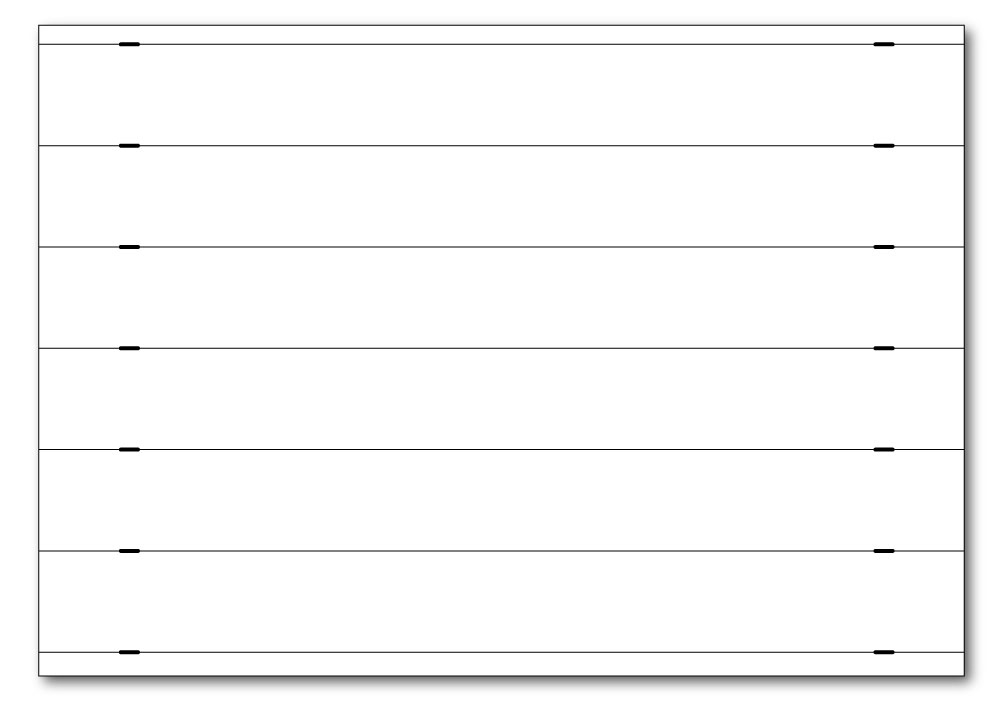
Use the marks to score the first set of diagonals.

Then the second set of diagonals.
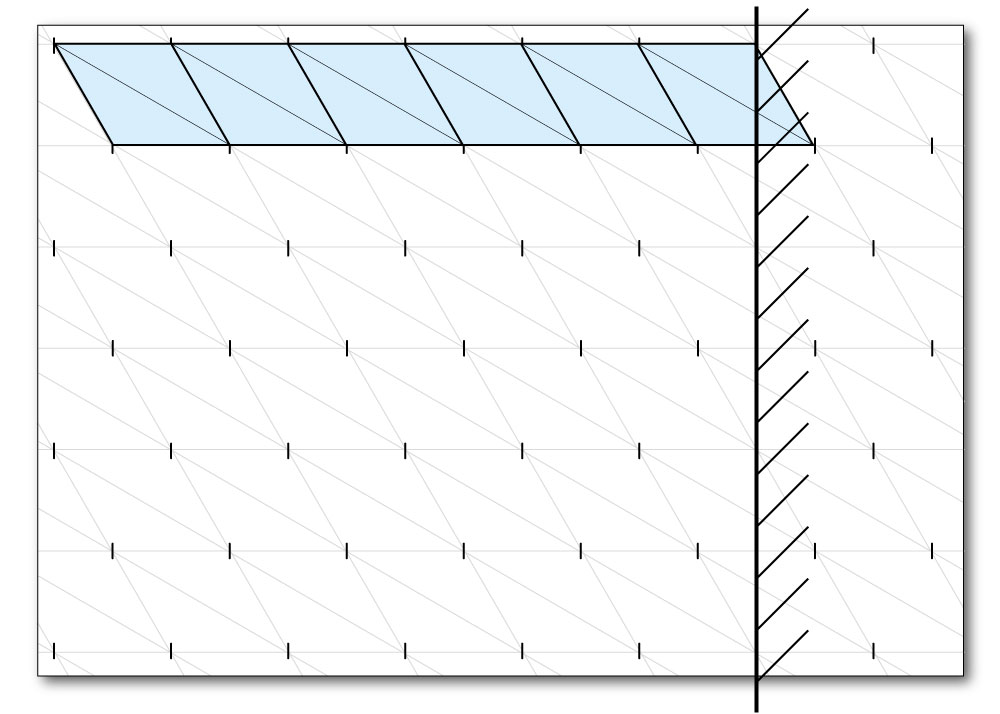
Count out six parallelograms then draw a line down and cut off the excess card.
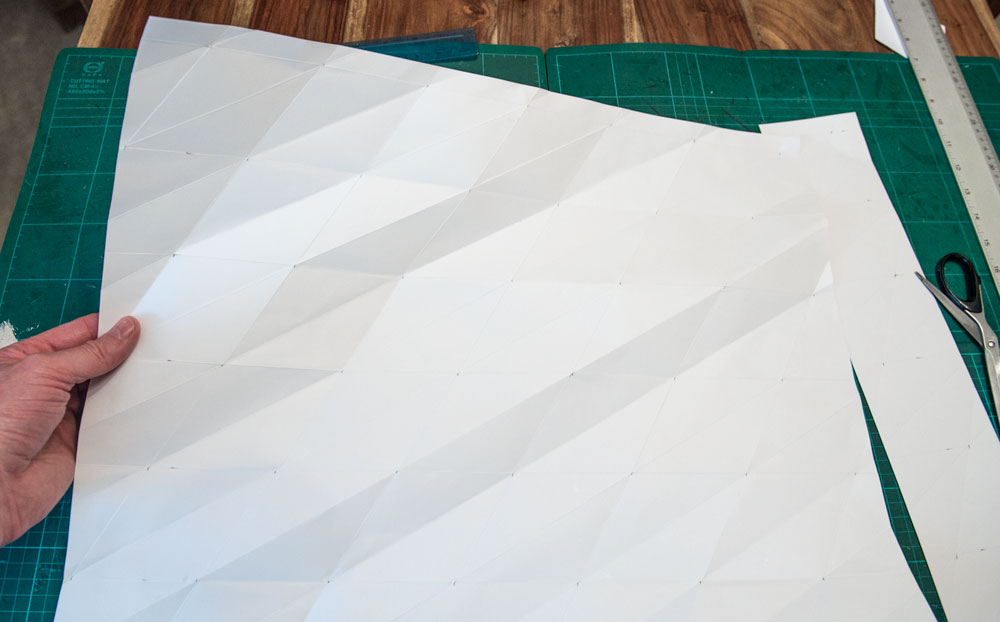
Pre-crease along all the score lines. The final sheet should look something like this .
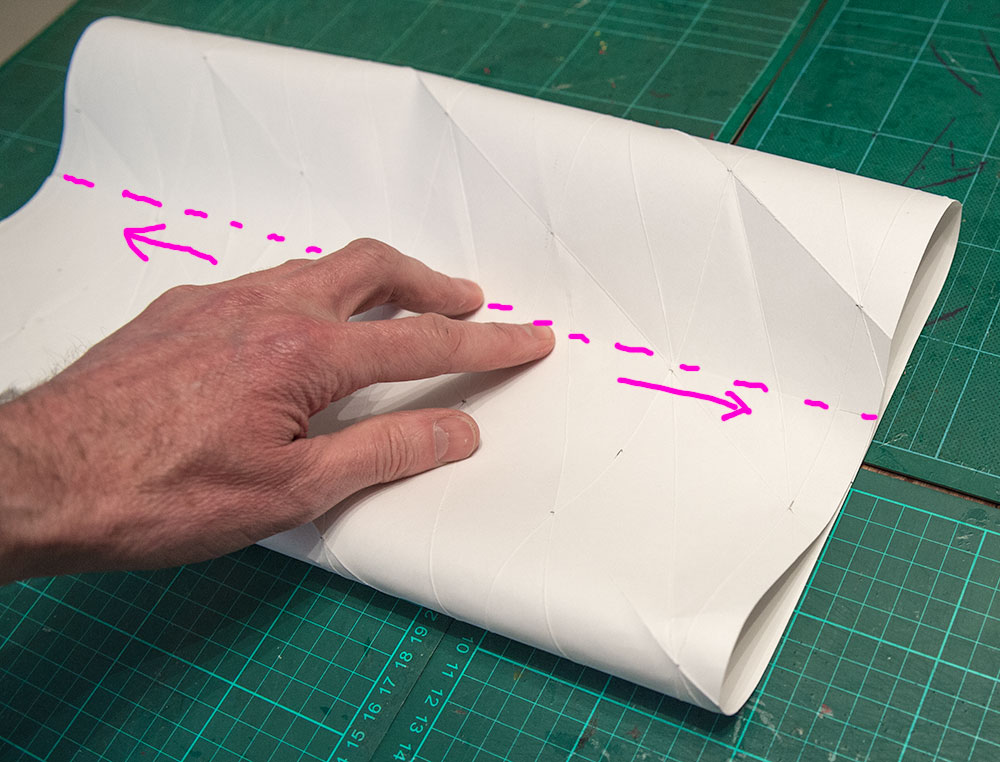
Roll round and line up the edge of the card sheet so that parallelograms are aligned and glue them together.
Cut a v shape into each of the tab as shown.
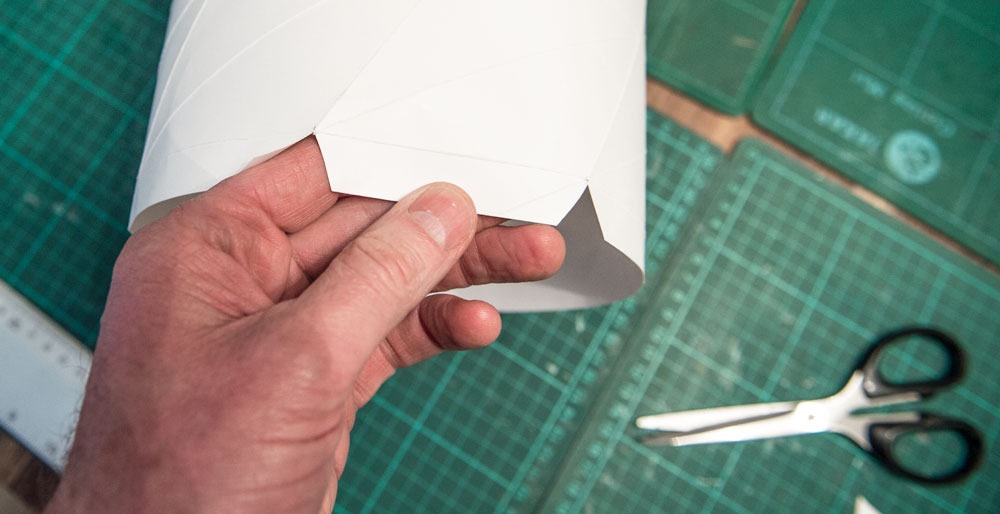
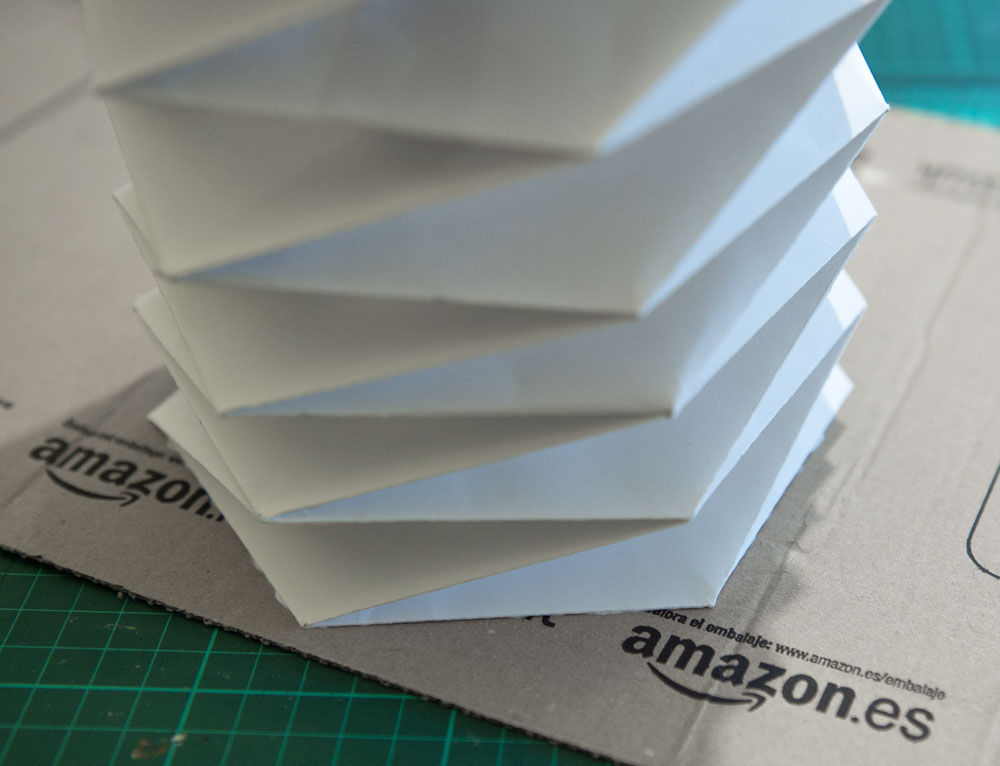
Working one layer at a time, fold in the bellows into shape.
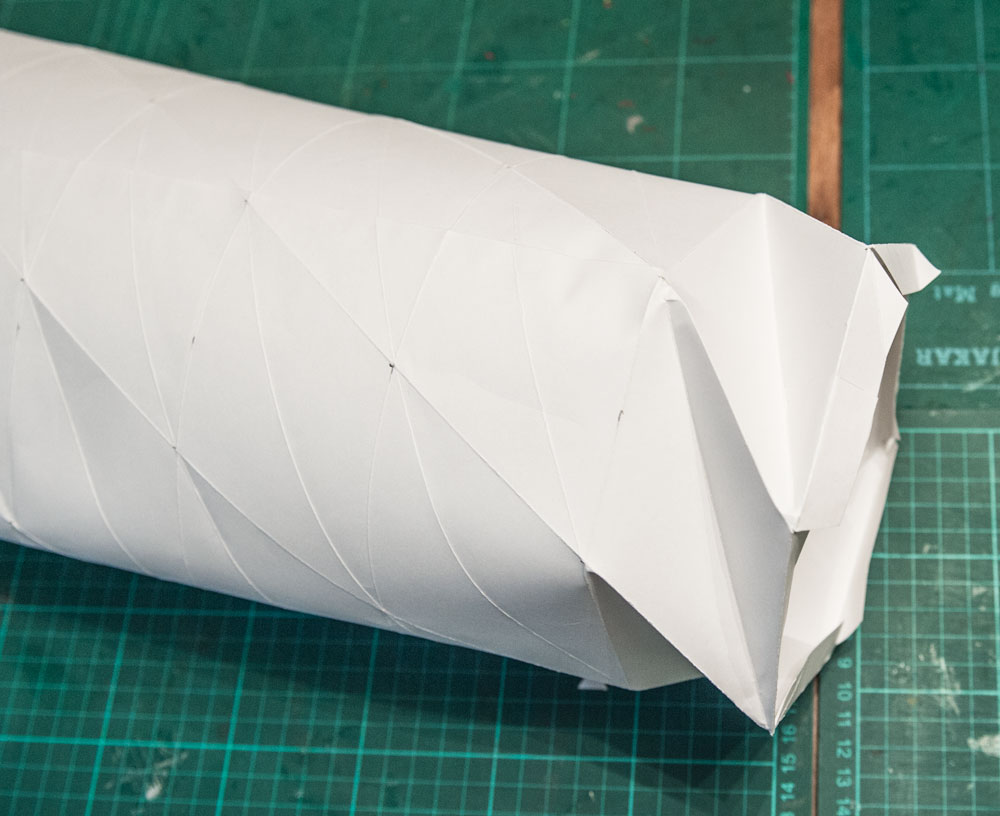
Work all the way down the tube…
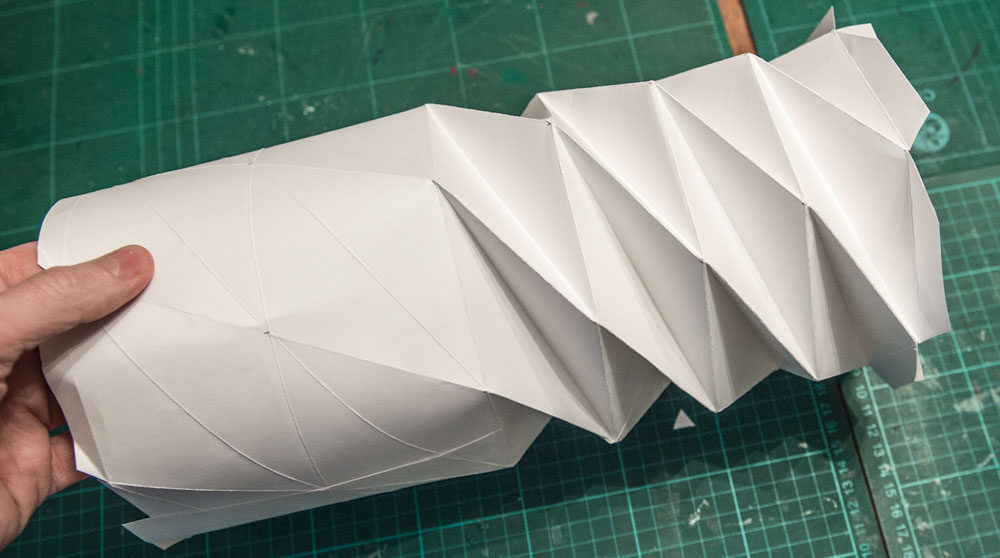
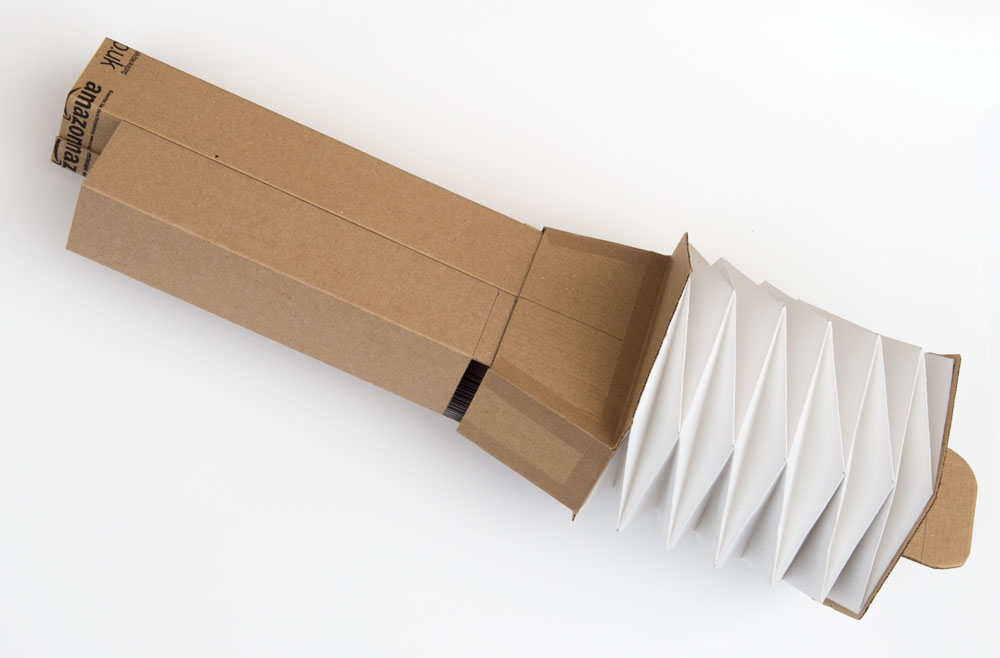
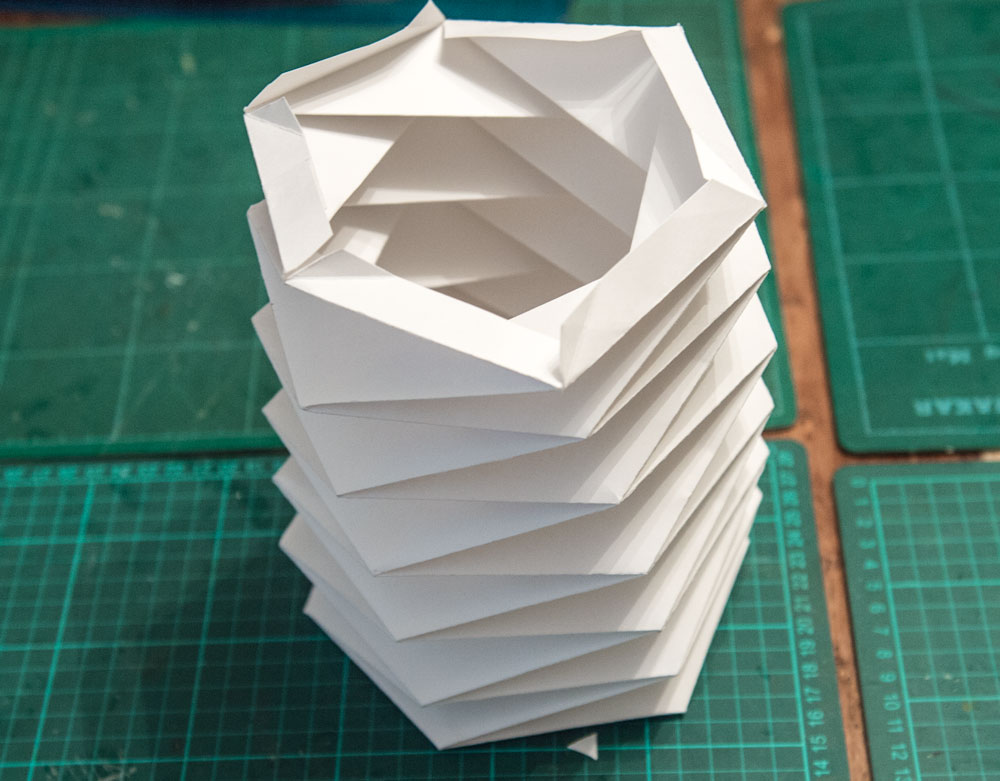
…to complete the bellows.
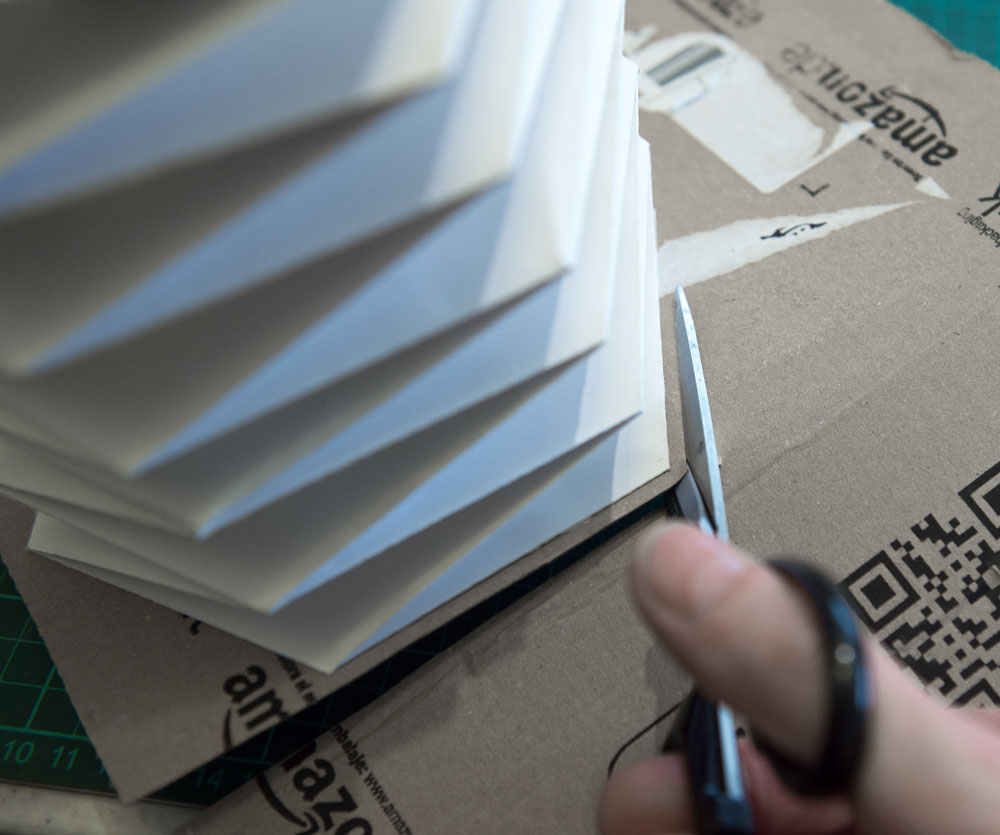
Select a piece of corrugated card that completely covers the open end of the bellows. Glue the tabs and glue the bellows to the card.
Once the glue is dry cut round leaving a gap of a few millimetres.
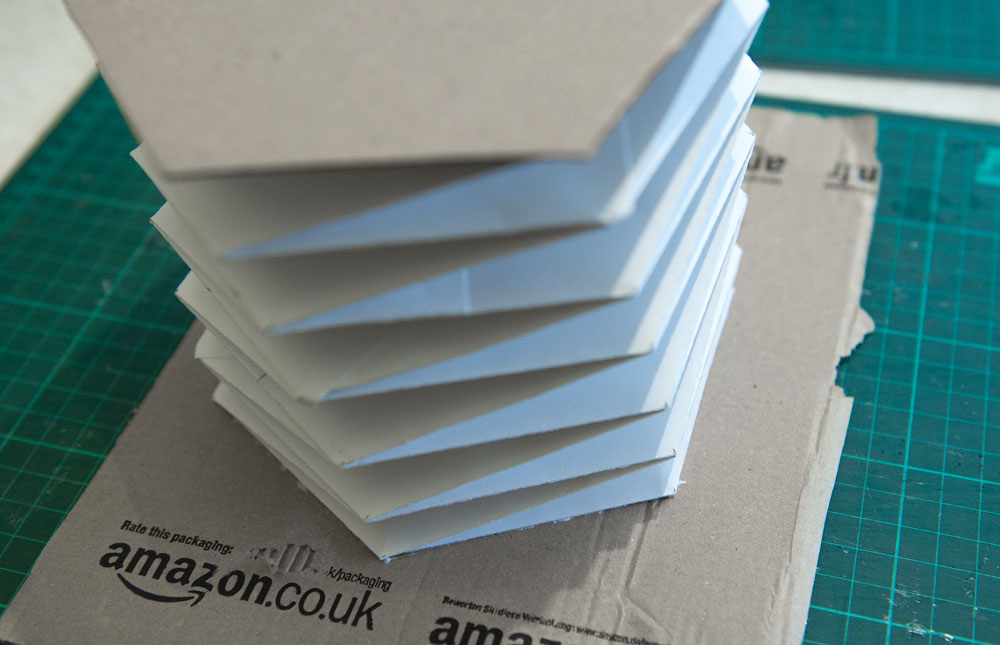
Repeat the process at the other end.
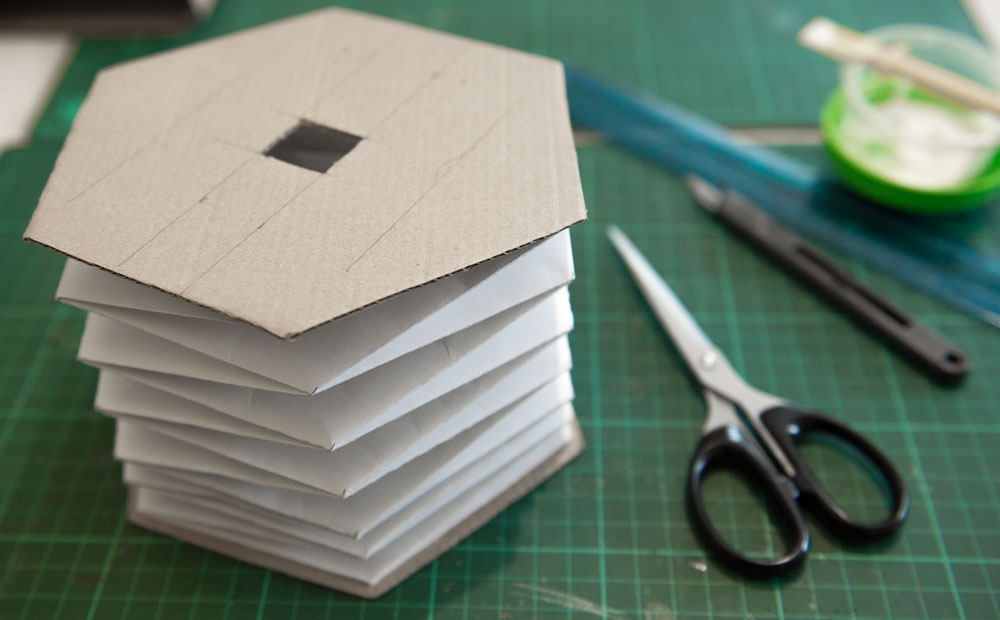
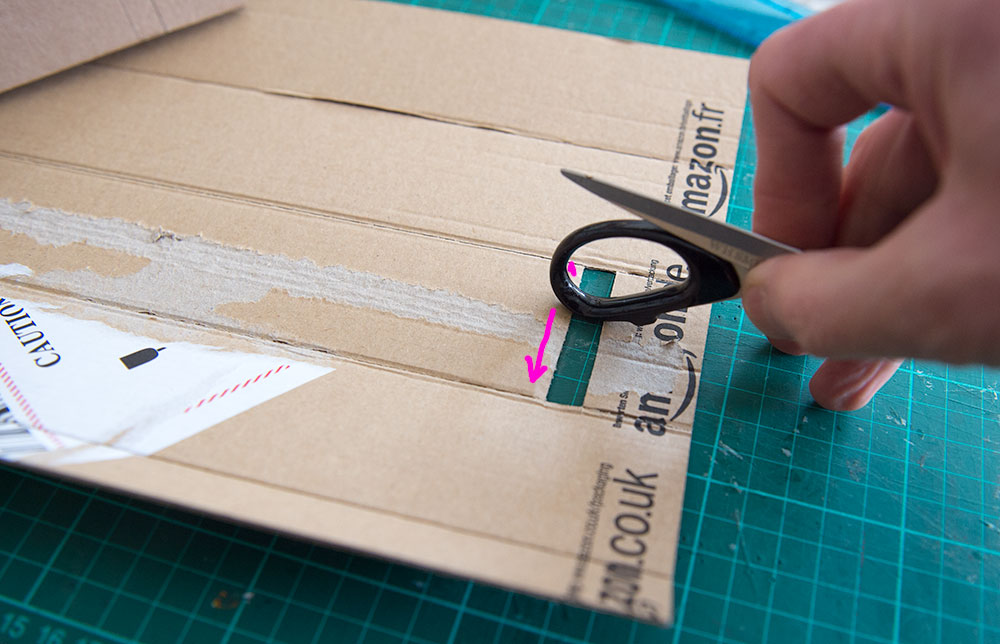
Cut a 15mm square hole in the end of the bellows.
Making the pipes.
Make the parts for two the pipes using corrugated card using the dimensions shown below. The corrugations should be running horizontally.
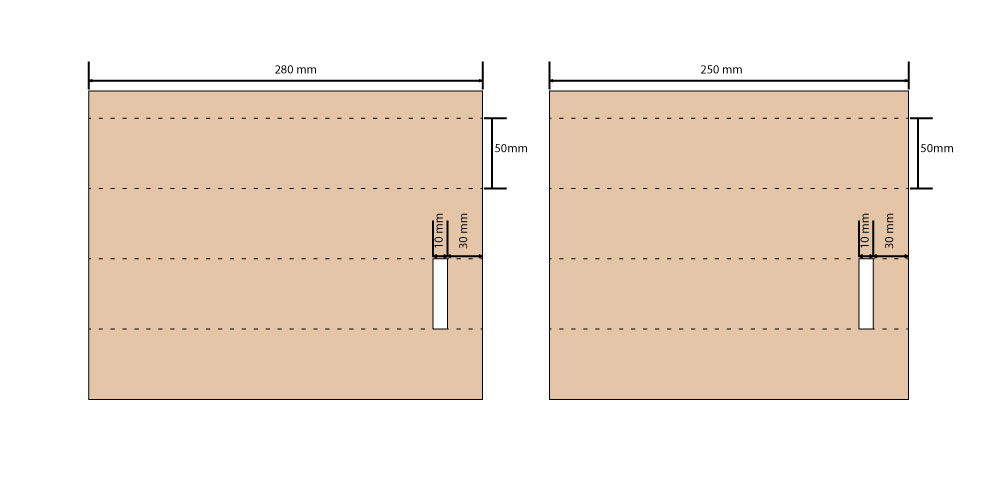
Using the handle from your scissors and working from the inside of each pipe, flatten down the corrugations of the upper side of the slot to make a thin sharp edge.
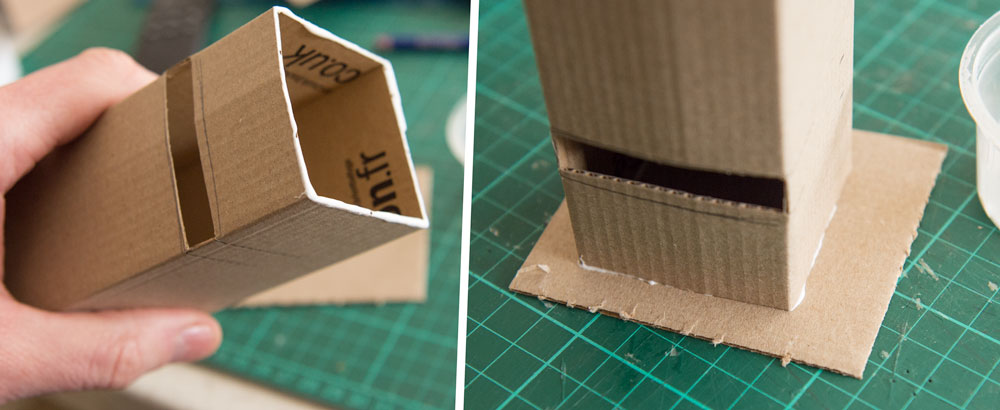
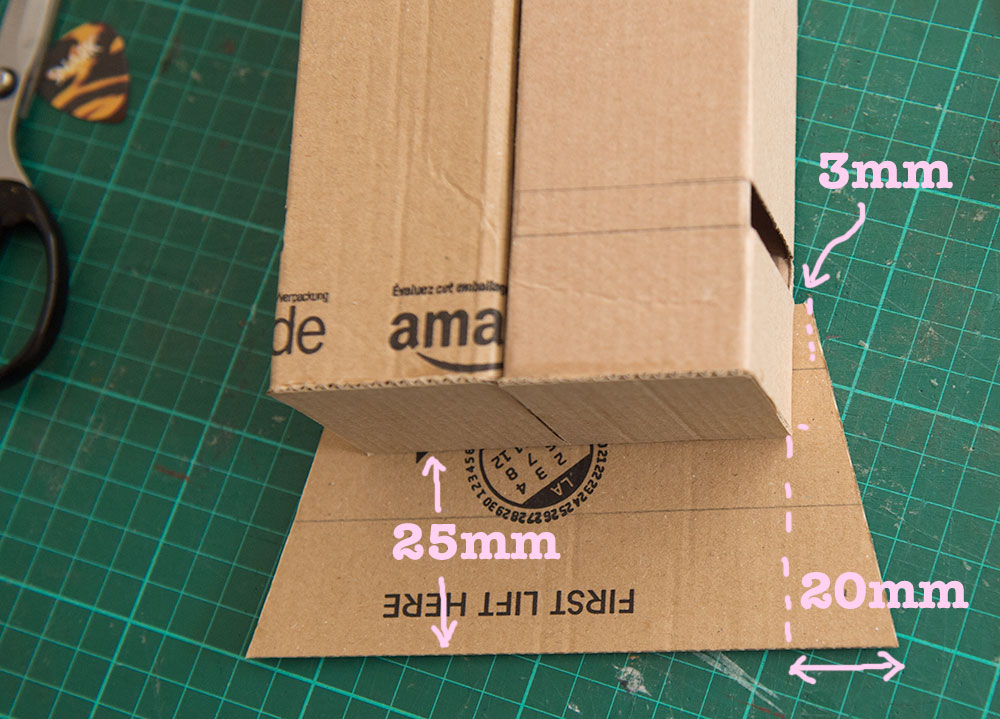
Fold round and glue the tube. Apply a strip of glue to the end of the pipe and stand it one a suitable off-cut of card making sure it is square. I stood a book on the end of the pipe to make sure it held into place as the glue dried. Repeat the process with the second pipe. Once the glue is completely dry cut of the excess card.
Glue the two pipes back to back.
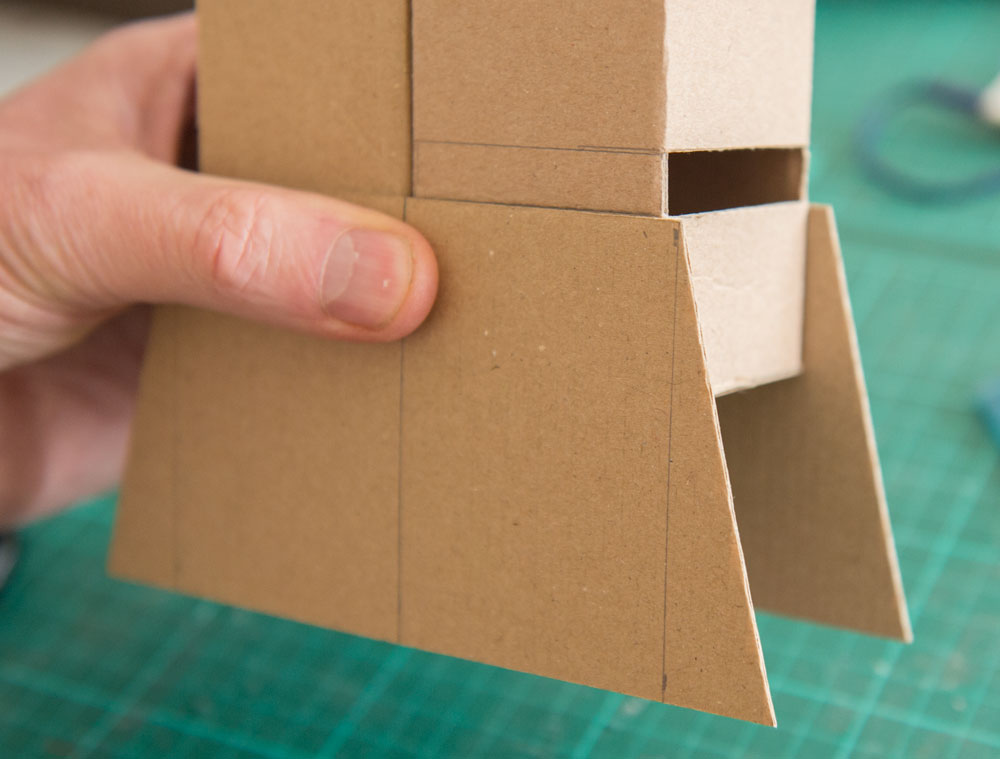
Construct to side covers like the one shown.
Glue them so that they are lined up with the bottom edge of the pipe slot.
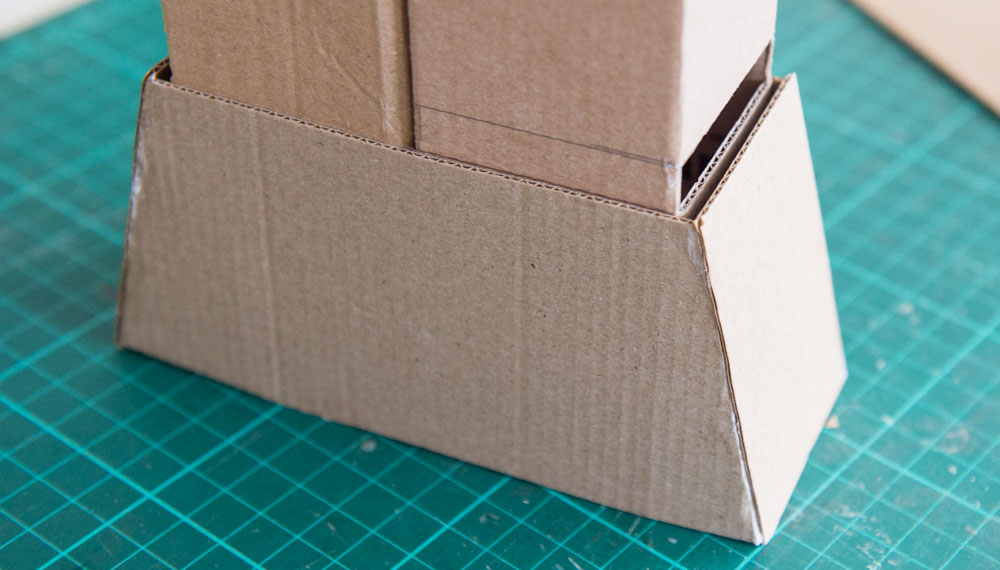
Cut the two covers and glue them into place. The top edge of the cover and the bottom edge of the holes should be lined up.
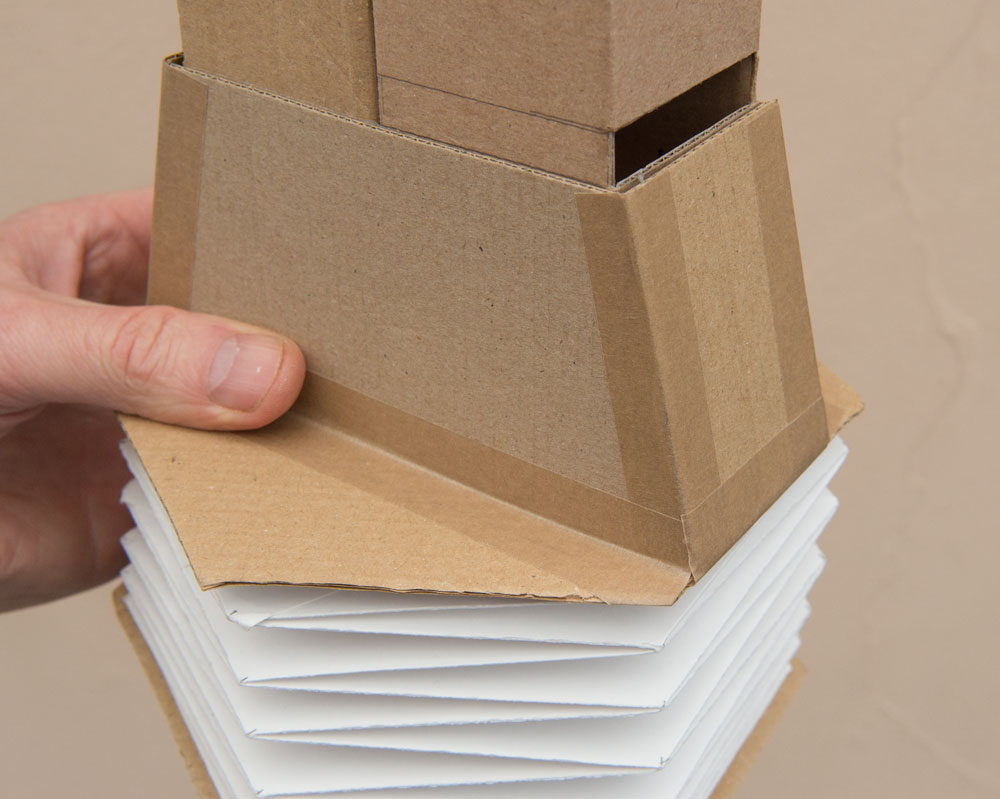
Using brown paper tape or glued paper strips, glue the pipes to the bellows over the hole.
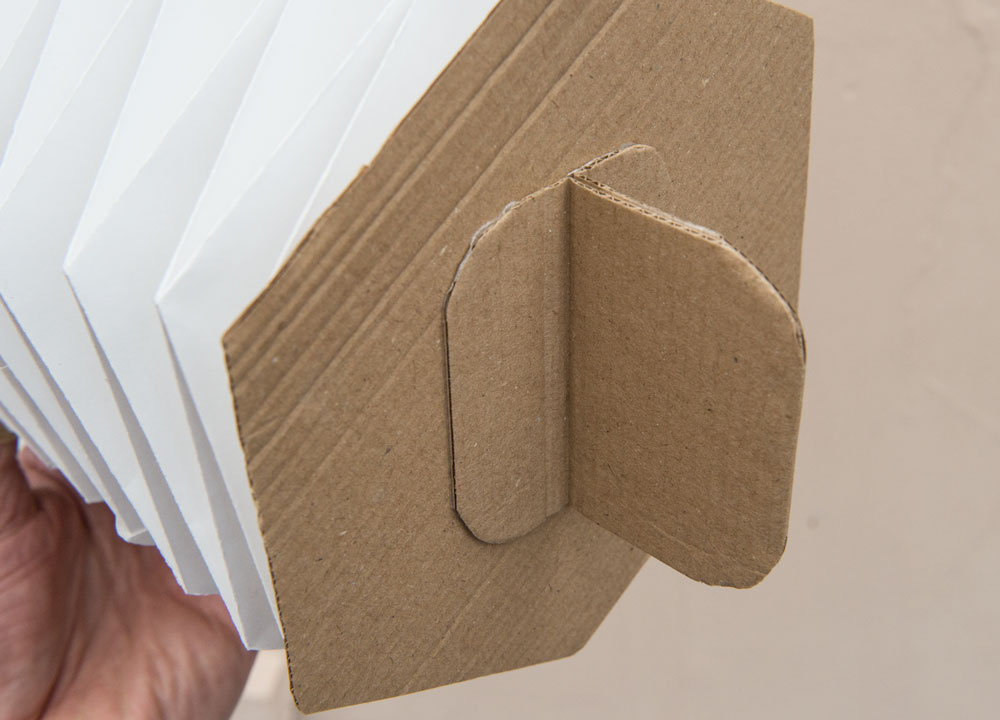
Fashion a handle from some card offcuts and glue it into place to complete the model.
Once all the parts are dried, operate the train whistle by pushing and pushing on the bellows. Hoot toot!